Clementine's Garage
Clementine the Cat
 
Image of flower
Yellow R4
 
Réparateur d'automobiles

Clutch Plate Change - yes im going for it, here we go. Photos.

Sprackers

Enthusiast
Messages
353
Location
Tunbridge Wells England
After much deliberation and reading of my last thread comments, I'm going to attempt to change my clutch plate.
I don't have a winch or even a big garage, but with a patience and guidance I reckon I can do it.

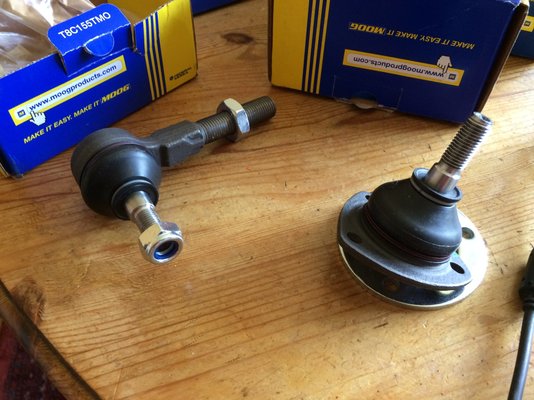
The clutch plate arrived and I also ordered 4 new tie rod ends and bottom things. (see Photo). these were told at the MOT needed changing.

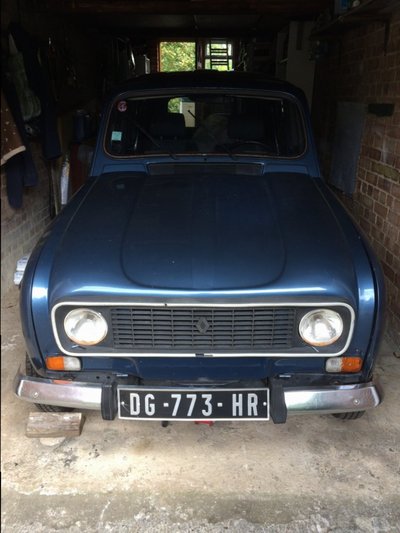
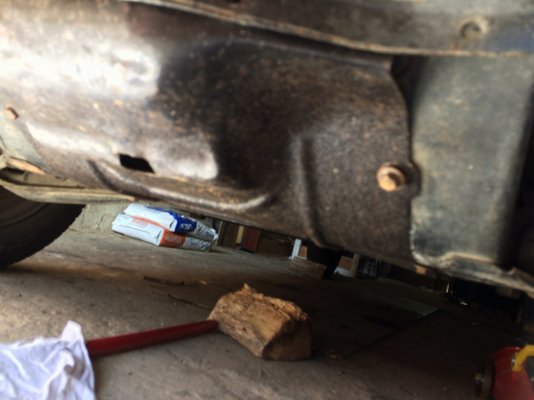
First things first get Christine up off the floor on a permanent set of bricks, then drain the oil from both the gearbox and the engine.

Unless anyone has anything else to add I will be back soon with photos.

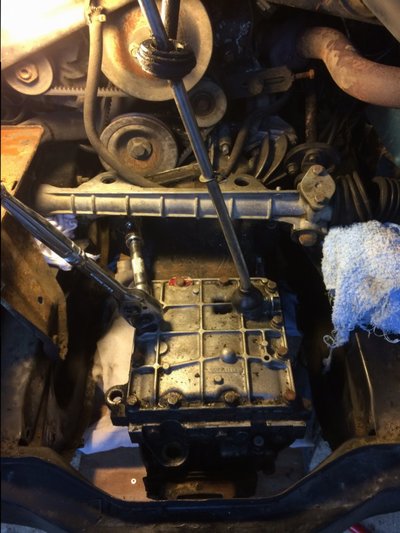
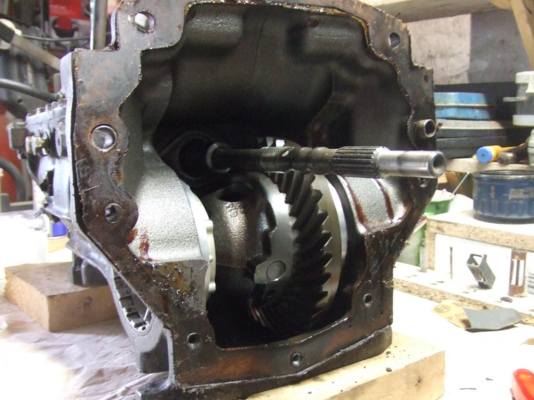
I now know how Jacques Cousteau felt as he prepared to dive into "ze ocean depths" (said in a French accent2017-05-16 11.03.57.jpg 2017-05-16 11.05.03.jpg )
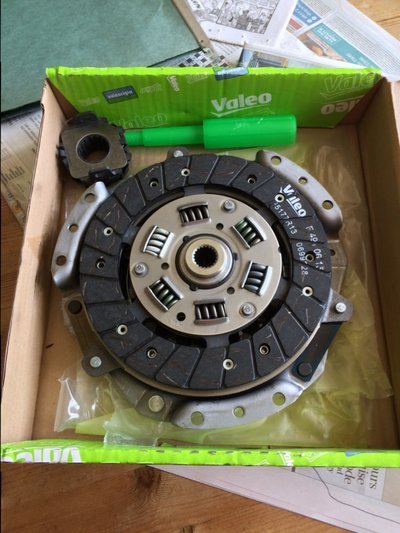
Wish me luck

Sprackers.
 
May the 4(orce) be with you... where did you get your clutch from.. thats next on my list of things to do
 
Hi Sprackers
You don't need the permanent set of bricks. First drain the oil in engine and gearbox with the car on her wheels.

Jack up the car and use a jackstand (or bricks). Don't only use a jack as you might wobble the car a bit and it could fall.
Then just remove one driveshaft at a time and then put your wheel back on.

With your wheels on you can still push your car around to where you want to work.

Looking forward to following your progress
 
Do not use bricks for this type of work.You need good quality axle stands at least.Bricks are very unsafe and could get you killed.
 
£20 axle stands from Halfords - Job done ! Put my R4 up on them the other day, solid as a rock, I got the 3 tonne models lot stronger with larger top plate
 
Day 1:

Well I gave myself a week to do this and there is no point in rushing:

2017-05-16 11.17.23.jpg

Christine was happy and calm before the operation, unlike the surgeon.

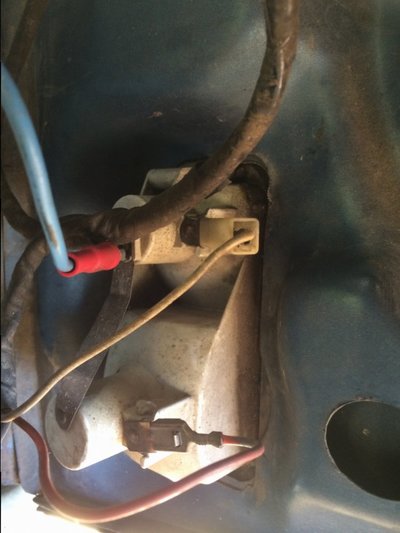
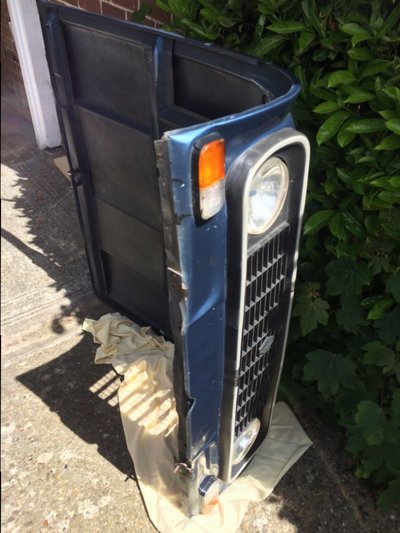
First was to remove the skid pan underneath then the bonnet but fist disconnect all the wiring to the lights making sure I took loads of photos to know what wire goes where on the way back.

2017-05-16 11.34.22.jpg

Skid pan removal

2017-05-16 11.41.01.jpg 2017-05-16 12.11.08.jpg

Wiring for the lights and the underside of the nuts that hold the hinges of the bonnet

then she just came away and its not that heavy so one person can pick it up and away.

2017-05-16 12.16.18.jpg

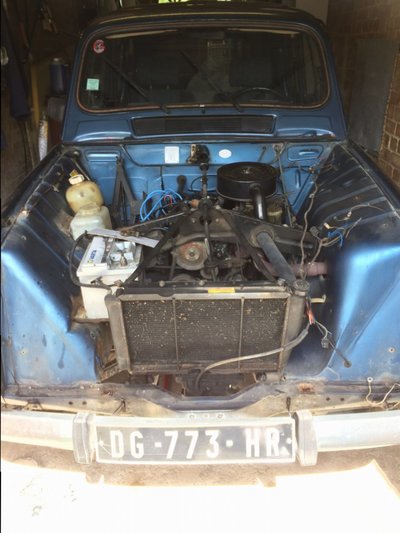
Then Voila!! all was revealed.

2017-05-16 12.16.31.jpg

Looks like my water bottle has a face on it and a man bun!!!

Now it was so much easier to see what I was doing.

Radiator next:

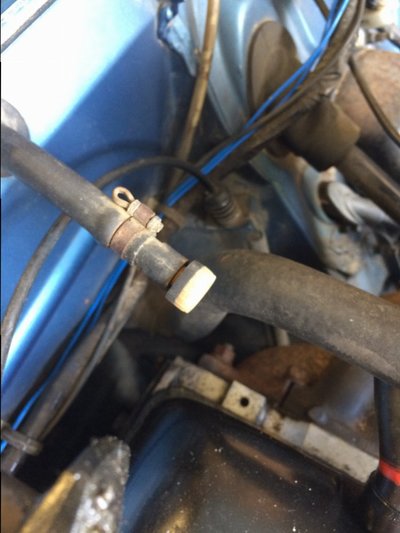
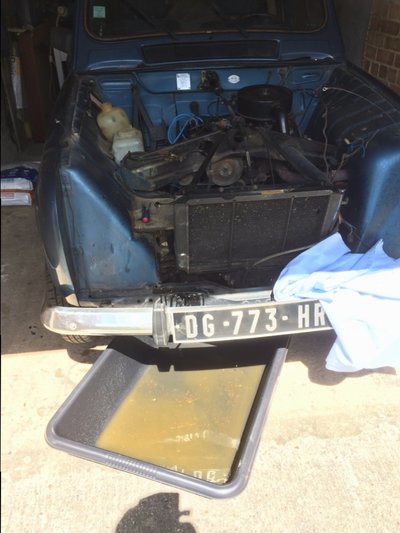
My radiator didnt have a plug at the bottom so I undid the jubilee clip on the bottom left hose and pulled it out.

Remember to take of the cap off the water bottle, also of the radiator, and also the little bleed screw and also put the heater to on position inside the car.

2017-05-16 12.50.02.jpg 2017-05-16 12.50.04.jpg 2017-05-16 12.50.14.jpg

Then drain the radiator fluid, I had a great big plastic cement mixing bowl, perfect.

2017-05-16 12.49.49.jpg

Cont.......next post
.
 
Day 1 cont.................

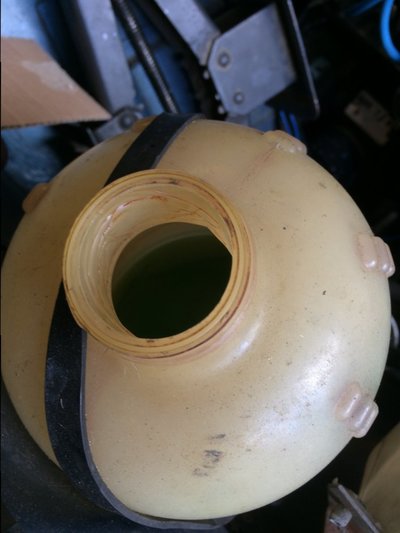
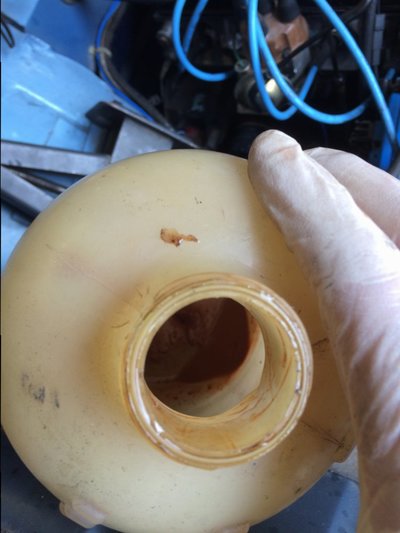
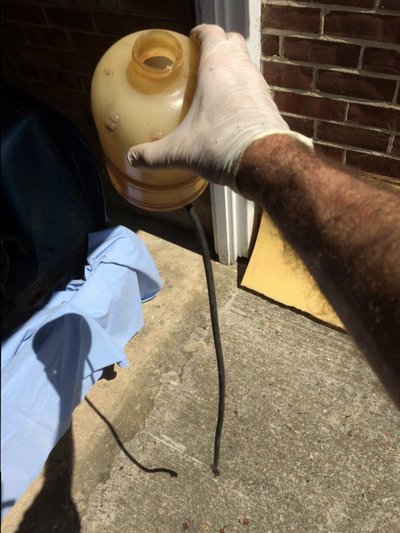
I disconnected the water bottle from the radiator and saw all the gunk inside.......nice and clean now.

2017-05-16 13.00.23.jpg

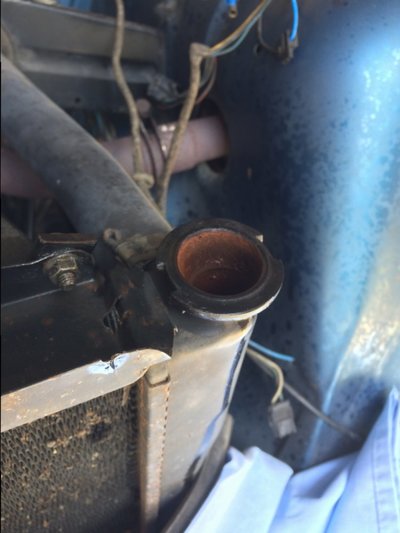
As I pulled the bottle out, the hose swung found and some rusty radiator blood spat out rather like Alien!!!Arrrggghh

2017-05-16 13.00.36.jpg

Renault 4 Alien Resurrection.

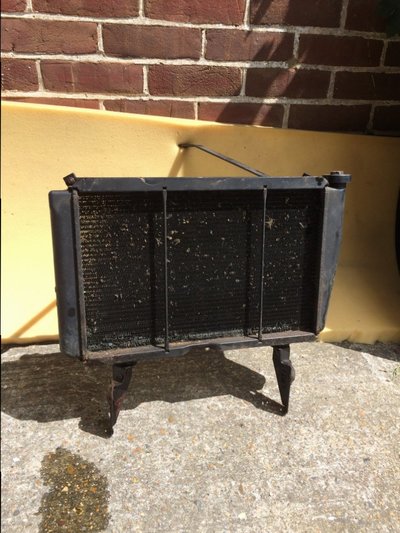
Undid the last bolts fairly simple and obvious and removed the readiator.....be careful there is always a load of rusty water still in the radiator.

2017-05-16 13.39.23.jpg

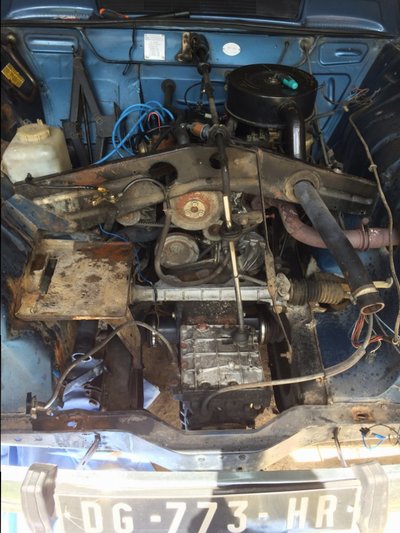
With her braces off I could now see the goal...........

2017-05-16 13.39.31.jpg


I have cleaned up the front of most of the caked on oil so I can see what I am doing.

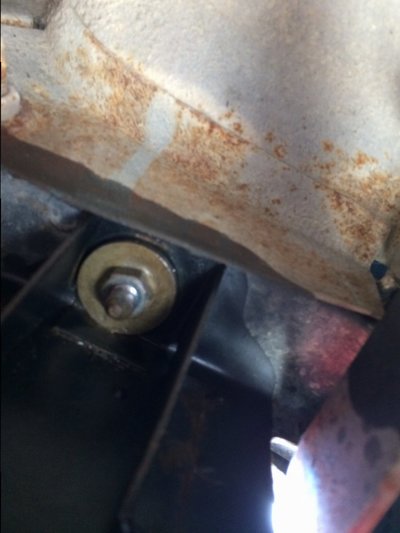
I see the wire coming from the front not sure what that is? maybe some sort of sensor?

I have decided to do everything I can without jacking it up so next is drain the oil and the gear fluid as best I can.

But first Lunch.............


2017-05-16 15.13.46.jpg

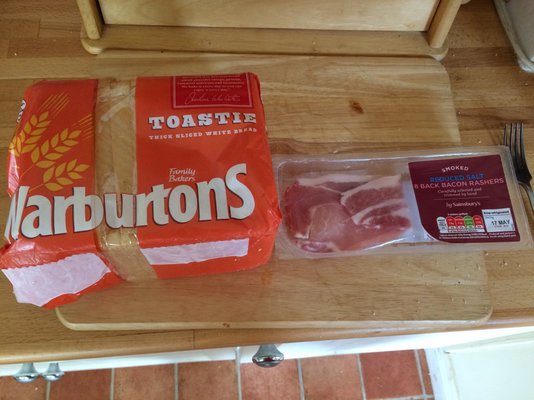
Bacon Sarni, I think the technical term is.
 
Day 1...PM.

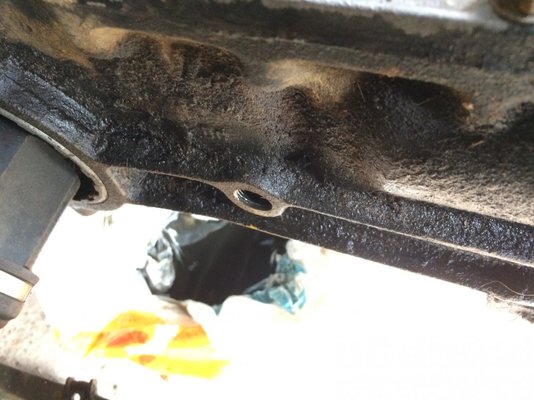
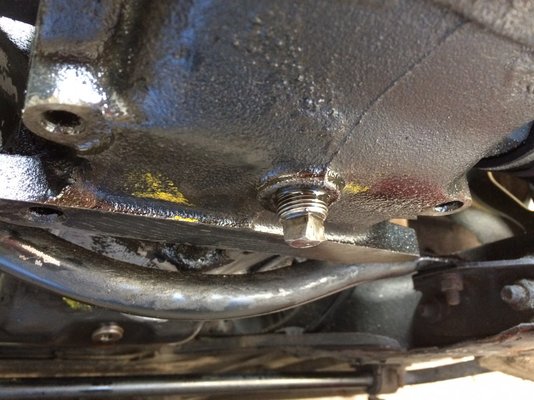
Oil is drained and what a stink form the gearbox fluid......it was definitely stinky. Then drained the engine oil no problem there.

Remember to take out the side screw of the transmission before draining so it actually comes out.

2017-05-16 15.29.27.jpg

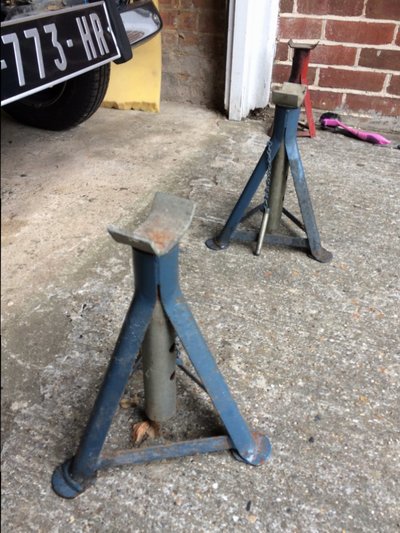
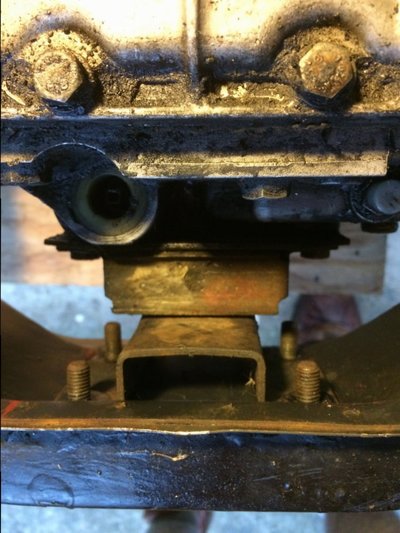
Managed to get my hands on some tripod stands and put Christine up on them and then got rid of the cross member underneath the gear box.

2017-05-16 15.52.17.jpg 2017-05-16 16.42.20.jpg


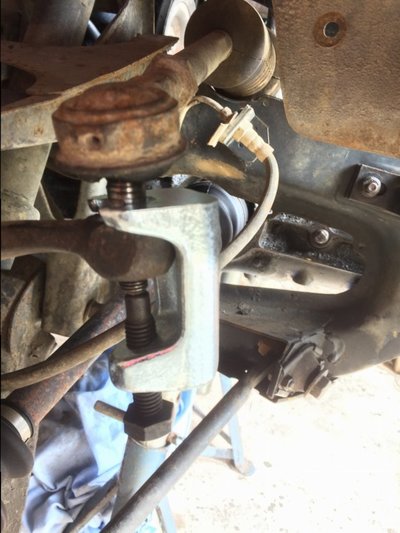
With all the fluids out I got to work on the wheels. took them off but couldn't get the ball joints apart. Ive done it before but I forgot by ball joint separator.

Ive come to a grinding halt. Without separating the ball joints on the top of the wishbones of the suspension I cant disengage the drive shafts.
2017-05-16 17.30.04.jpg

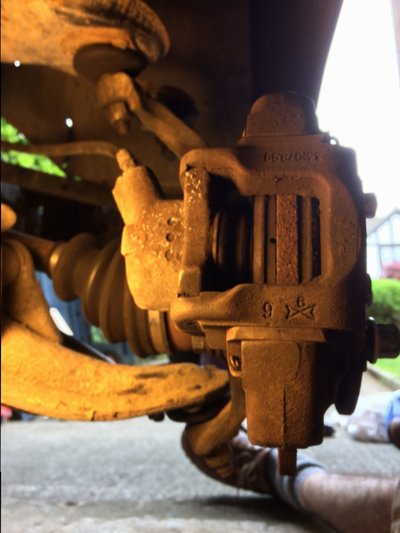
This is a photo of the front brake shoe looking forward from the middle of the car with the wheel off.

You can see one of the two ball joints I have to separate, with the rubber circular cover on the top and the protruding screw thread below (I have removed the nut you can see) that I must push up and through. I will need to get a ball separator tomorrow.

I am thinking, and correct me if I'm wrong....the fact that the whole suspension unit is hanging down surely puts more pressure on both ball joints and possibly why it wont come free.

I will try and put the wheels back on and let it sit level on the road then try and separate it maybe.

Any help with advice with the stage I'm at would be much appreciated.


Good evening all

Sprackers
 
Super that you were brave enough to undertake this project.
Now for the practical approach.
First put the wheels back on and let the car sit with the wheels on the road.
Then undo the centre nuts on the driveshaft. Socked number is 24

Put the car back on the stands and take the wheels of. Put the stands as high as possible
On your photos I only saw the steering ball joints and the upper ball joint. So be careful with loosening the lower ones.

Loosening the ball joint can be done with separator or with a 1 kg steel mallet. Do not strike on the thread but strike at the side where the ball joint sits in the wheel assembly.

Once you loosened all the ball joints cantilever the complete wheel assembly away from the car and downwards the driveshaft should come loose now.
When all is loose, hang the wheel assembly on one of the struts at the front underneath the wing.
Pull the drive shaft out of the gearbox and you can start at the other side.

The main thing is that you put the car higher from the ground or you won't be able to take she gearbox down enough.

Good luck.
Robert
 
Day2:

Excellent advice Harbourseal, I will follow your advice. Question the centre nuts on the drive shaft are the centre wheel nuts? I will find whatever is a number 24 socket and that must be them.

Ball joint separator here we come.

First breakfast...........
 
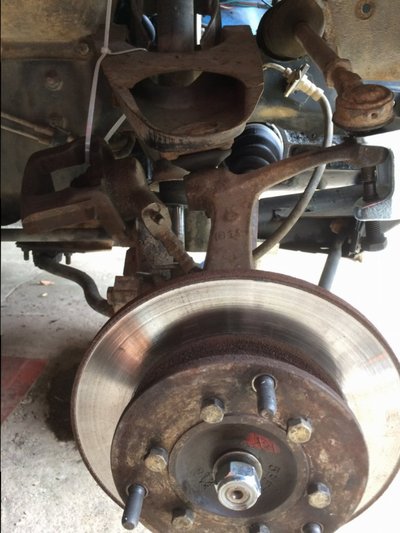
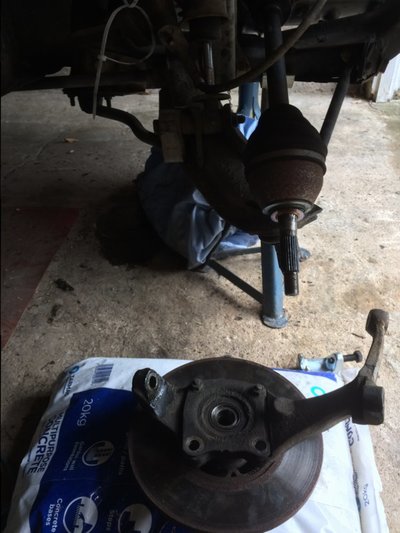
Well I managed to make some progress. I bought another ball joint splitter from Halfords (10.99) and took the ball joints apart and removed both drive shafts.


2017-05-17 11.22.16.jpg 2017-05-17 11.27.37.jpg 2017-05-17 11.45.46.jpg

Removed the centre pin with the 24mm socket (cheers Paul)

Drive shafts out. No back inside


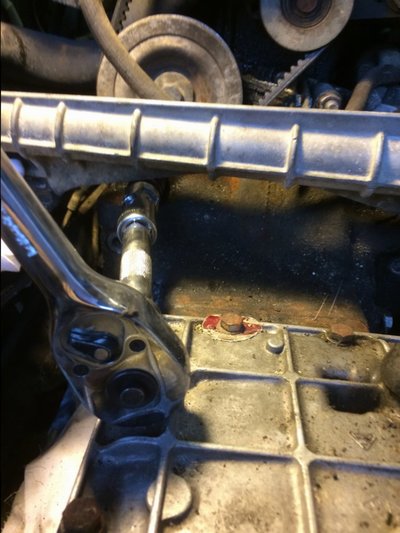
I undid the bolts to the steering cross member. No probs and just propped it up out of the way.

2017-05-17 17.51.13.jpg

Now got to work on the front bracket which was easy to undo all the nuts and bolts.

2017-05-17 17.51.23.jpg

Pushed these nuts back through the holes as my assistant held the weight of the gearbox.

Rigged up a jack with a piece of wood to hold the weight of the unit when it drops down.

Then I set to work on the last 4 bolts holding the gearbox to the engine.

2017-05-17 17.51.17.jpg

took them all out and.................nothing.

It doesn't budge, even with a gentle tap with a shim and a hammer it will not separate.

Half an hour later nothing still wont budge.

Double checked there are no other bolts in place, and no there are only 4.

OK Chaps what can I do to get these apart? any ideas?

Cheers

Sprackers
 
Is the gearbox able to slide forward off the engine? The gearbox shaft has to slide (straight) out of the clutch assembly a few inches before anything can drop down. I can't remember if the starter motor bolts fix the gearbox on as well?

By the way, remember to replace the suspension bottom ball joints BEFORE the driveshafts go back in..... or the shafts will need taking out again!
 
Ok now the magic comes in..
At the back of the bell house there are from the back of my mind 5 m8 bolts holding the engine and gearbox together

And you'll have to undo the starter motor as well another 3 bolts and nuts.
Best put the top 2 bolts at the nose of the gearbox back in. And undo everything except the bolts that hold the bell house to the gearbox.
Good job so far. And yes indeed a 24mm socket. :clapping:
 
Hi Harbourseal et al,

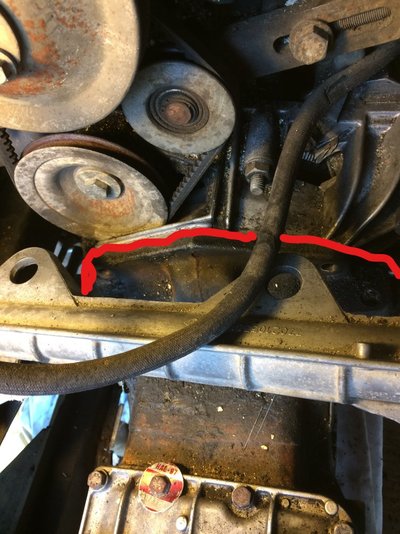
So have I got this wrong? See the photo below . I've taken out the 4 bolts and assumed that the gearbox would come away along the red seam. and then I would be able to change the clutch plate from there.

Inked2017-05-18 07.23.37_LI.jpg

Surely that is where it splits?

Cheers

Sprackers
 
Hi Harbourseal can see what you mean now, Just seen this on an old post from Mojobaby

upload_2017-5-18_7-47-30.png

I can clearly see the bolts A. I have taken out and B. the ones I need to take out.

The 5 M8 correct and I will find the starter motor one somewhere.

Fantastic news all round.

Sprackers
 
The gearbox won't split at the line you have drawn (unless it has already been removed from the engine). Undo the bolts where it connects to the engine which means removing the pulley and starter.

Have you got a Haynes manual? They remove a lot of the trial and error.
 
Back
Top