mr-reno-139
AKA Paul Cunningham
- Messages
- 2,247
- Location
- lancing west sussex england
That was the starting price
But guess posrage cost more than item
But guess posrage cost more than item
 .
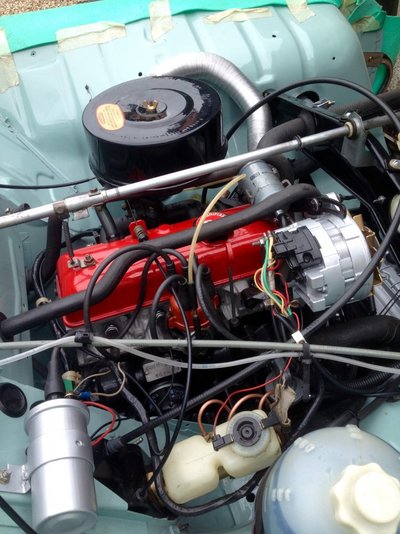
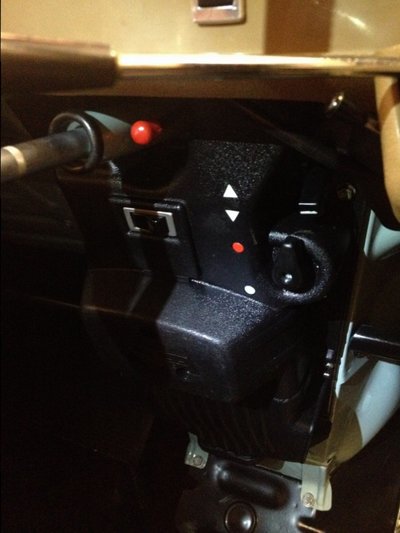
.I also in the process got the delightful blower unit fixed on better with little loss of air pressure against the bulkhead now it blows a hooley through the screen and foot vents now
Hi Paul I only had the centre nuts on securing it to the bulkhead. So air pressure was being lost around the junction of the unit to the bulkhead. The union relies on a foam plastic gasket to seal it. I had to take it all off to put the new heater hoses in. In the process I oiled the motor bearings which would occasionally squeal and make a real racketJonathan
What was wrong with your blower unit? Whilst I have bled any air from my heater, it could do with being more effective.
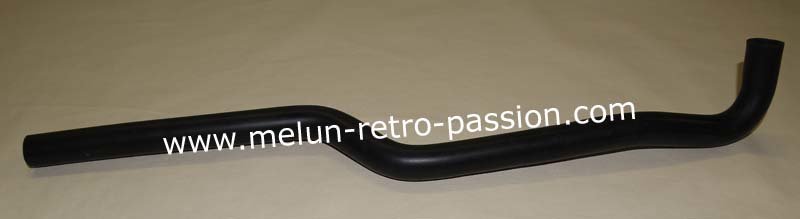
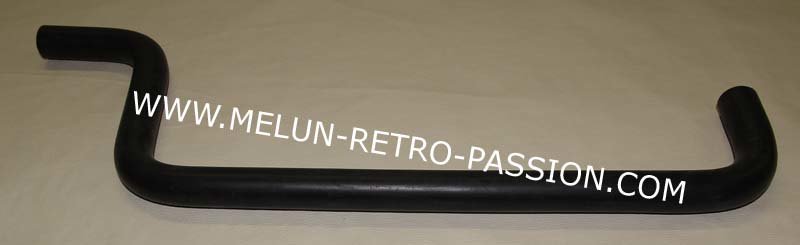
 cut 20mm of the end and refit everything. Close examination of the original pipe showed exactly the same modification. Here is a photo of the hose (old and new) before trimming.
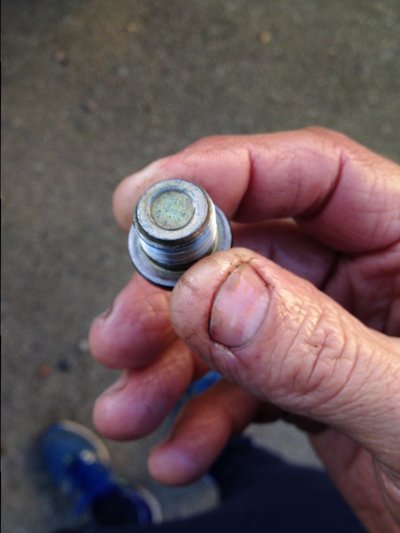
The other thing I have been tinkering with is a thermometer as recommended by Mr Reno. I bought a reasonable one off ebay but was concerned the sensor would not fit any of the blanking holes. I can see there are adapters available but discovered the end fits snugly into a bolt recess on the pump and it works fine like that. A bit more fiddling and I will have a proper installation. Here are photos of the bits. I intend to hide the themometer a bit
Top duo there.Hello Vulgalour thank you for kind words it's a project I thoroughly enjoyed and so great to have the support network that's this Forum. Yes it's an Eriba Puck caravan I tow. I restored that too about 4 years ago. A similarity with the Renault 4 it's an exceptional peice if design. Unlike 'teardrop' types which are effectively a double mattress on a trailer. This is a fully functional caravan with kitchen, wardrobe. Table, storage , fridge and comfortable seating all in the same footprint as a teardrop . I call her 'Sweet Pea' and everyone loves it
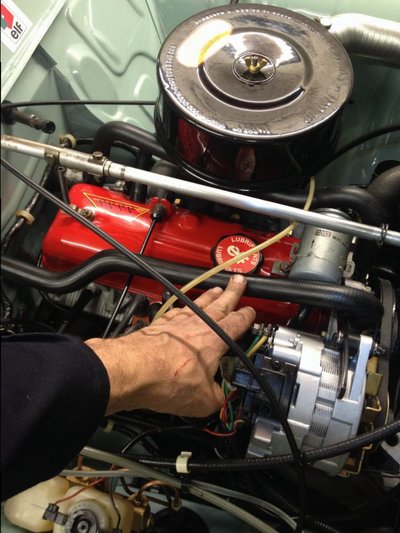
Hi PaulJonathan, Could you please show a photo of exactly where on the water pump your adaptor and sensor is bolted? I am looking at exactly the same water temp gauge on eBay. Irritatingly I just know I have an original Smith water temp gauge somewhere in my workshop and for the life of me, I cannot find it. I've had it for forty years now!
(Later) Solved. I've found two plugs on the water pump and presume the one I need is the larger of the two and facing forwards. I can insert my little finger into the hex recess of the plug. After failing to find the Smiths temp gauge I have bought the same eBay one as you did. I'm curious as to the size of the special adaptor you have inherited (male & female threads). The sensor thread might be 1/8" NPT but there is no information about it in the eBay entry. I should be able to turn one up on my lathe.
 So have ordered a new one off ebay. It was as cheap to get the whole lot than the sensor alone! - just waiting on that and I'll add the install to my thread


![IMG_5384[1].JPG](/forum/data/attachments/16/16392-077f2f2376e4cb6329e55b87d05fa510.jpg)
![IMG_5383[1].JPG](/forum/data/attachments/16/16393-ac6e158003e25dac165283ac42bf6a29.jpg)
![IMG_5385[1].JPG](/forum/data/attachments/16/16394-7ee74a021def28f48fb0c8ac9e47313f.jpg)
![IMG_5379[1].JPG](/forum/data/attachments/16/16395-86e952642a42fa2aad8079bbfcf2b644.jpg)
![IMG_5380[1].JPG](/forum/data/attachments/16/16396-89fc1ebbac746a2f93f5a2495c91fdde.jpg)