Inner suspension mounting welding
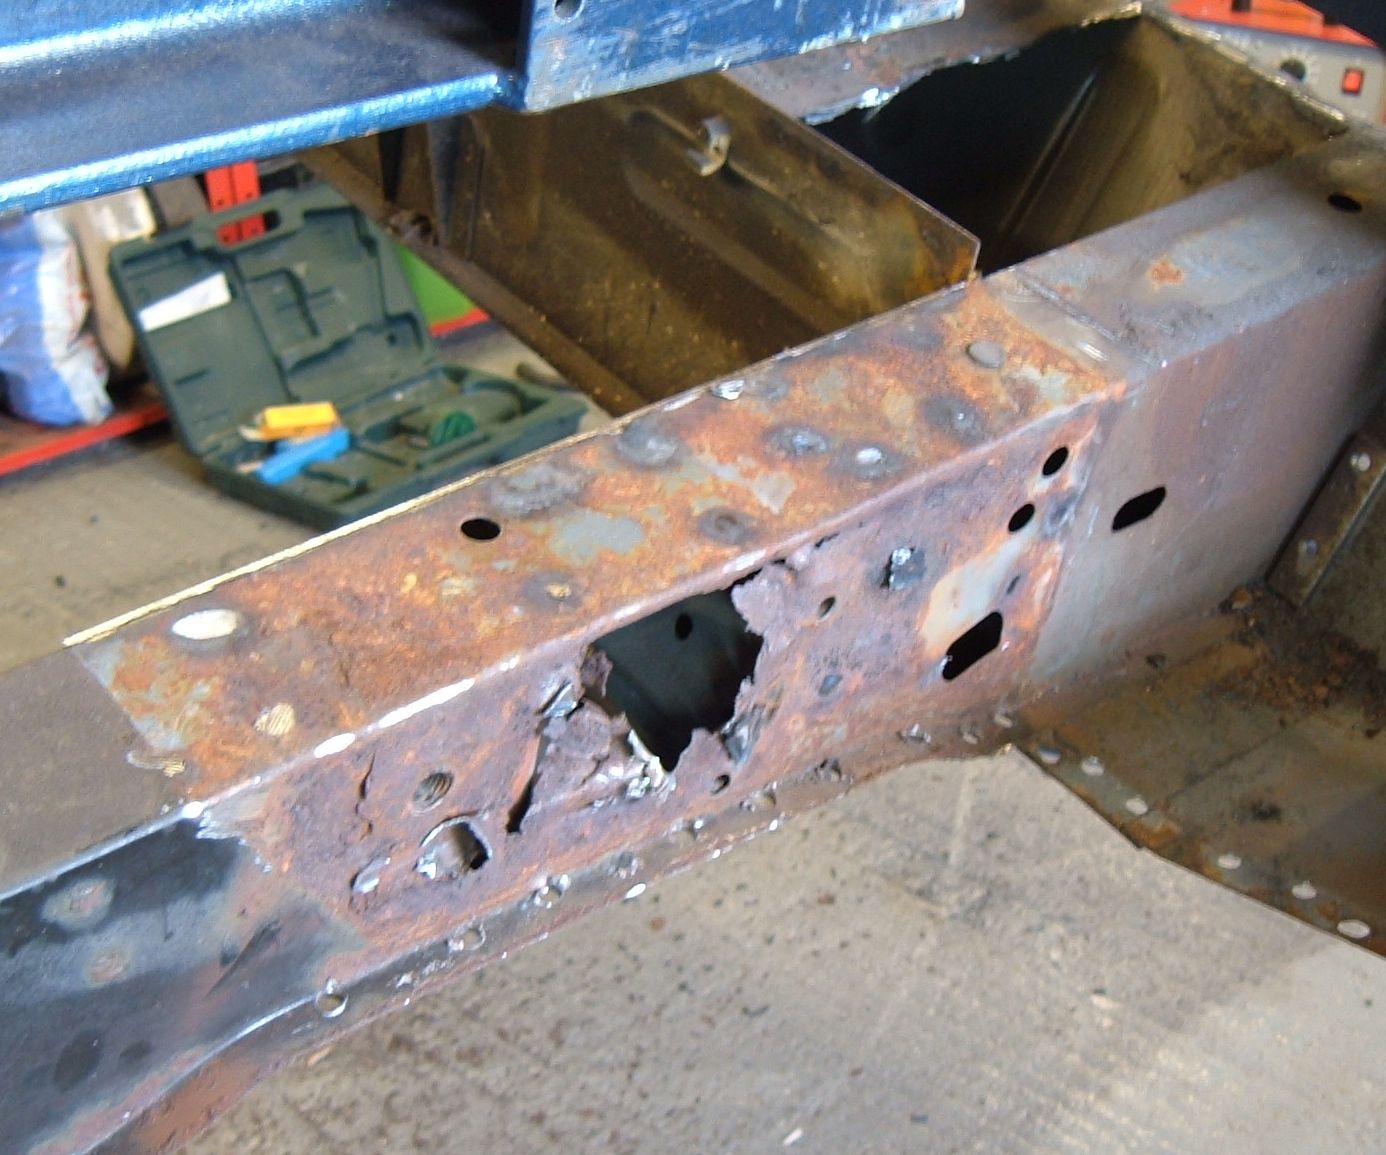
The rust in the rear inner suspension mounting is caused by a double skinned section that wasn't sealed by the factory. Capiliary action ensures the area fills with water and rots away.
I'll tend to replace double skinned areas with a single repair section, though just chopping through a chassis member and butt welding in a thicker bit would probably lead to fatigue issues. Some overlapping of the joint can reduce the risk of fatigue.
I've removed the second skin by locating the spotwelds and grinding the second skin off to remove them.
The second skin was used on this car to locally reinforce the area for a suspension mounting. It was convenient for the manufacturers to do this rather than increase the thickness of the whole chassis member.
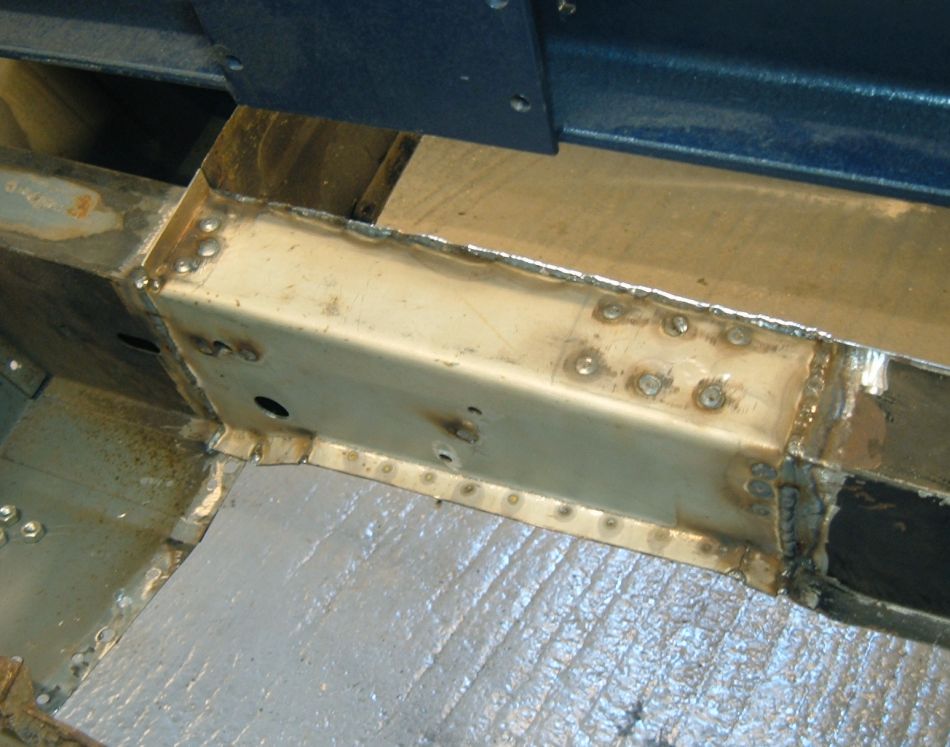
Here the rust has been cut away and the metal prepared for welding. There are various third skins and reinforcements for suspension mounting bolts inside the chassis, and I've left all of these in place.
The repair will be on two sides of the chassis only as the third side is in good condition. The weld on that corner will be made with a gap between the repair and the existing parts to ensure reasonable penetration, as welding from the outside of a corner would not otherwise leave enough thickness of weld to grind flush.
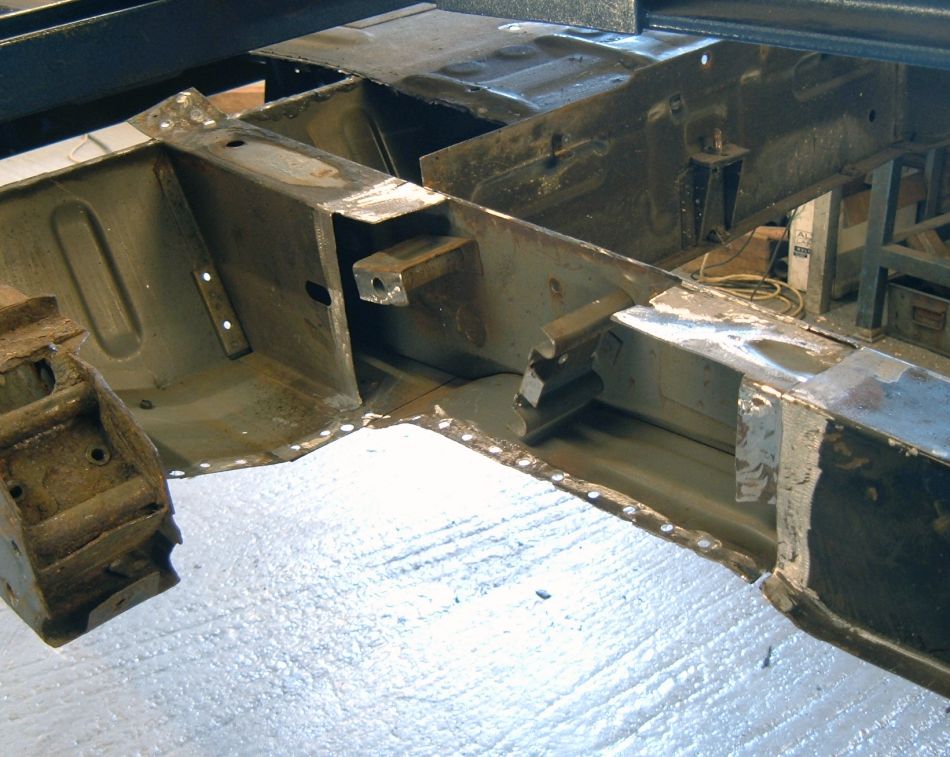
I've replaced the original double skinned part with a single piece of metal 2mm thick which should be roughly equivalent in strength to the original 1mm and 1.5mm skins. It's best not to go any thicker than necessary as that might result in stress concentrations at the end of any excessively thick repair.
The shape was worked out with a cardboard template, and the repair panel formed by beating it over the edge of a steel table.
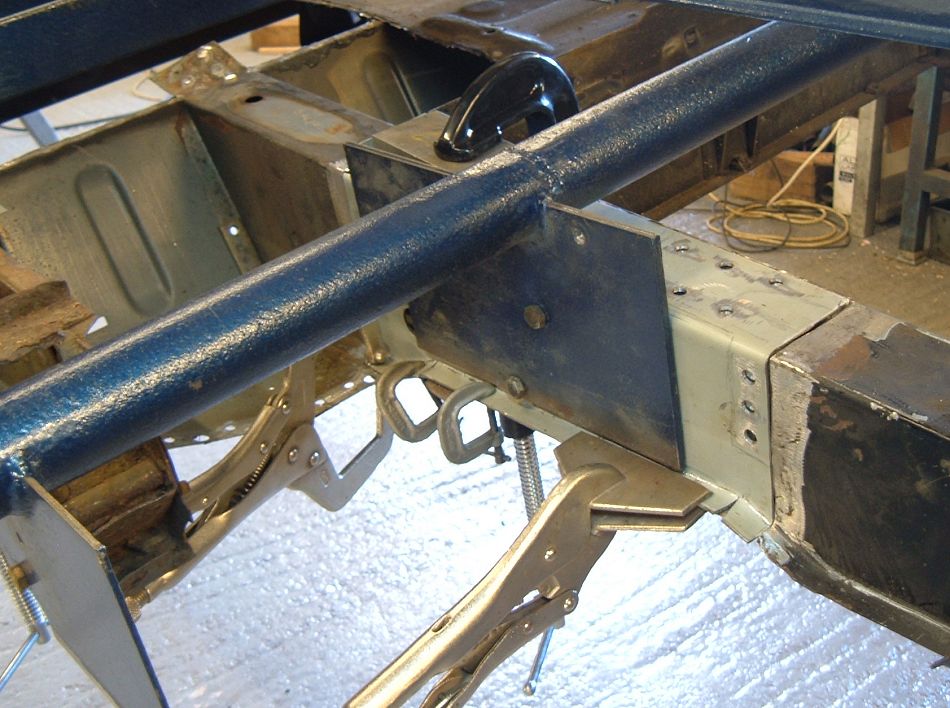
I've made a suspension jig to align the holes for the supension mountings accurately.
Accuracy of the hole positions is very important for suspension mountings. The torsion bar suspension on this car isn't adjustable for height in any other way, so getting the hole positions 1mm wrong would make the car lean to one side. I had that happen on an earlier repair before I made the jig. Non-torsion bar suspension is less sensitive to hole position - manufacturers would still normally aim for an accuracy of 1.5mm over the length of the car.
The various clamps set everything in position for tack welding. In hindsight I would also have braced the rear of the chassis rails across the body mounting holes as welding one side of the chassis rails caused them to move enough to stop the holes lining up correctly at the boot floor.
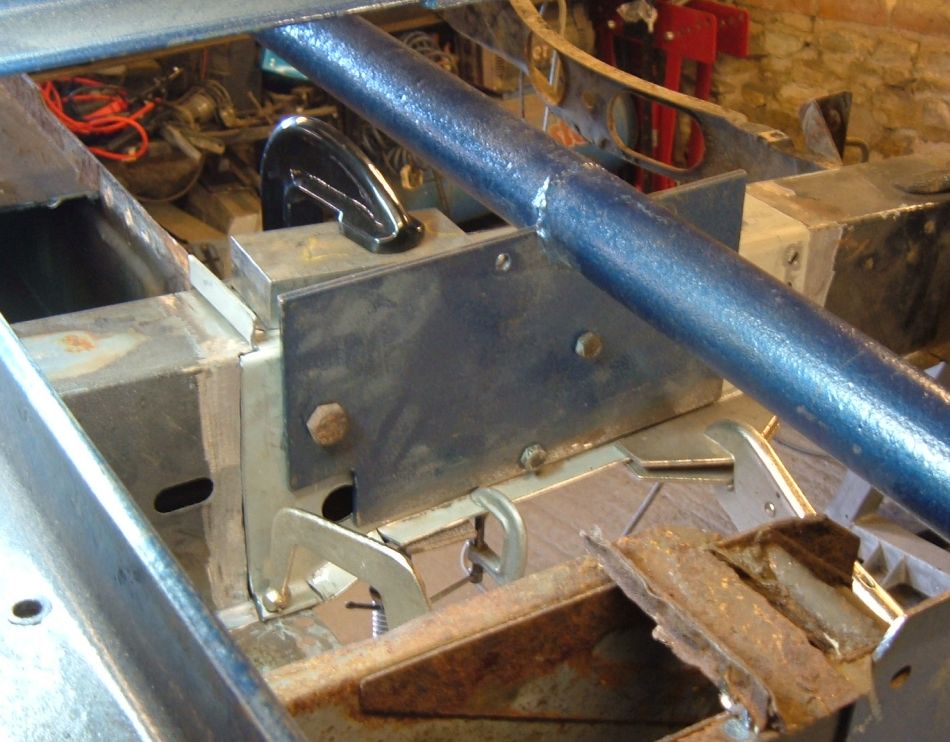
I've been careful to overlap the repair onto existing reinforcements where possible to reduce the build up of stress (the rear dampers are mounted to the chassis rearwards of this repair, and poorly welded factory joints near the damper mountings has been known to make the chassis crack. Spring mountings don't have nearly so much fatigue forcing as damper mountings).
The bottom of the chassis was overlapped at each end, and the side at the rear. The side at the front is a edge to edge butt weld for reasons I can't remember. That might have been better overlapped too. All the edges were also seam welded.
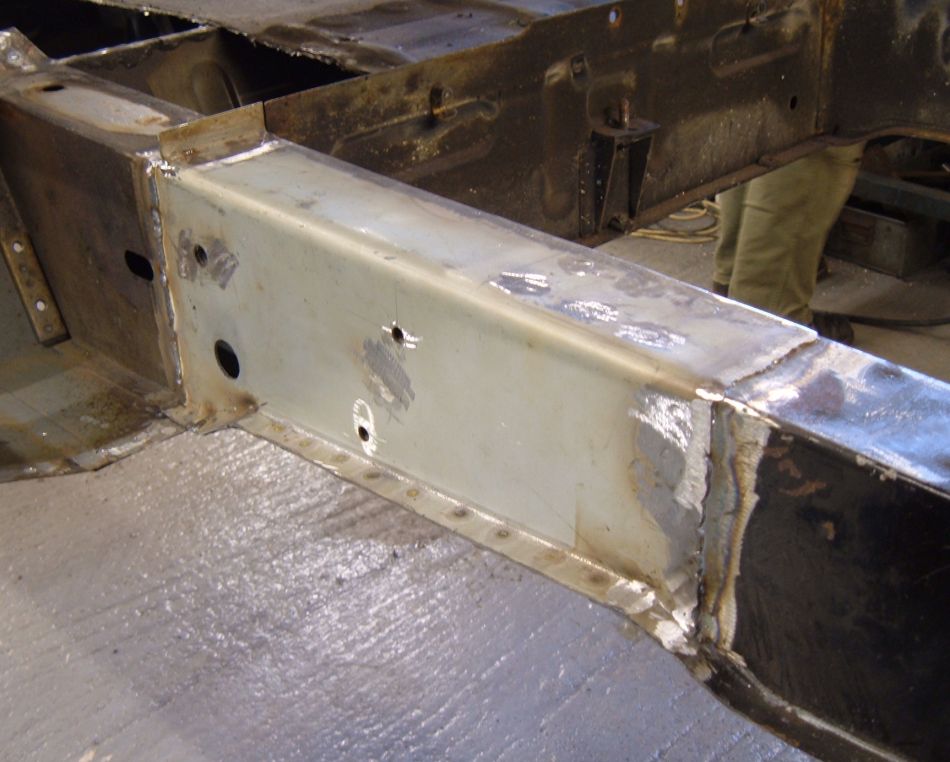
With the welds ground down the repair is finished (apart from the new closing panel for the rear crossmember (normally found to the far left of the photo) which would be fitted after the outer suspension mounting repair).
A little sealant should tidy up the overlap seam weld, and otherwise there's no evidence of the panel having been repaired.
Next> Outer rear suspension mount welding or back to the Gordini Project


