Renault 5 Painting
The car had been repainted previously and the paint looks reasonably good apart from where I've been welding (and all the dents).
I want to repaint as little of the car as possible because I don't like painting. Plan is to prime only the bits that are in bare metal or filler, spray colour only over the primer (and blend it in a bit), then clear coat everything apart from the roof. There are more details of the process in the paint tutorial.
Prep for paint is the time consuming bit. The project began at the start of June 2011 and prep for paint started at the end of August.
I'm taking a shortcut by applying body filler directly over the original paint. The photo was taken towards the end of September and a month and a lot of work since hasn't resulted in visible progress. That's why I hate painting.
Filler over paint is a recipe for disaster when using cellulose paints as they sink into the filler for weeks after painting creating an obvious sag in the finished job that needs flatting and repainting again.
I'm using 2 pack paint which hardens chemically which should hopefully get me around this problem. The 2 pack hardener is very toxic and requires an air fed mask.

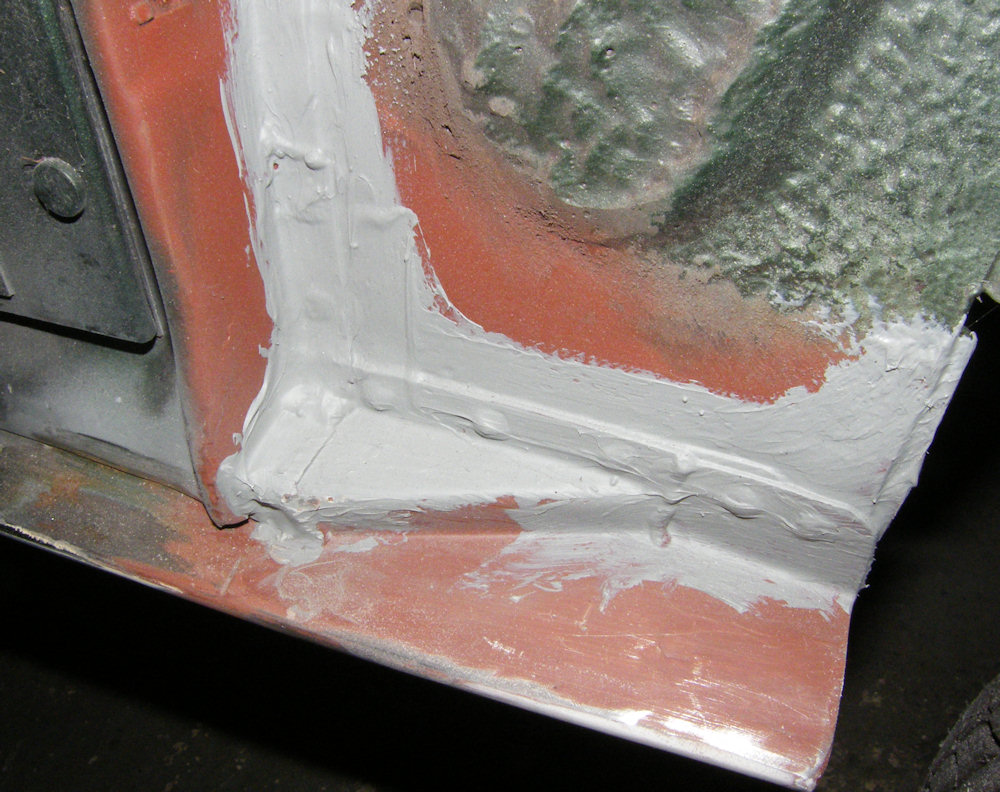
Before any painting can go on the whole underneath needs a good seam seal.
All joints need to be sealed otherwise water will capillary into the seams and rot them away (that's what caused the trouble in the first place).
Sealant doesn't last forever and I found a few joints where the original sealing was poor or had cracked where the old sealant needed to be cleaned out and resealed. The join between the sill and floor was one.
The photo shows brushable seam sealer which is handy for overlapped welded joints. Polyurethane seam sealer in a tube is good for larger gaps such as the damper tower in the rear wheelarch.
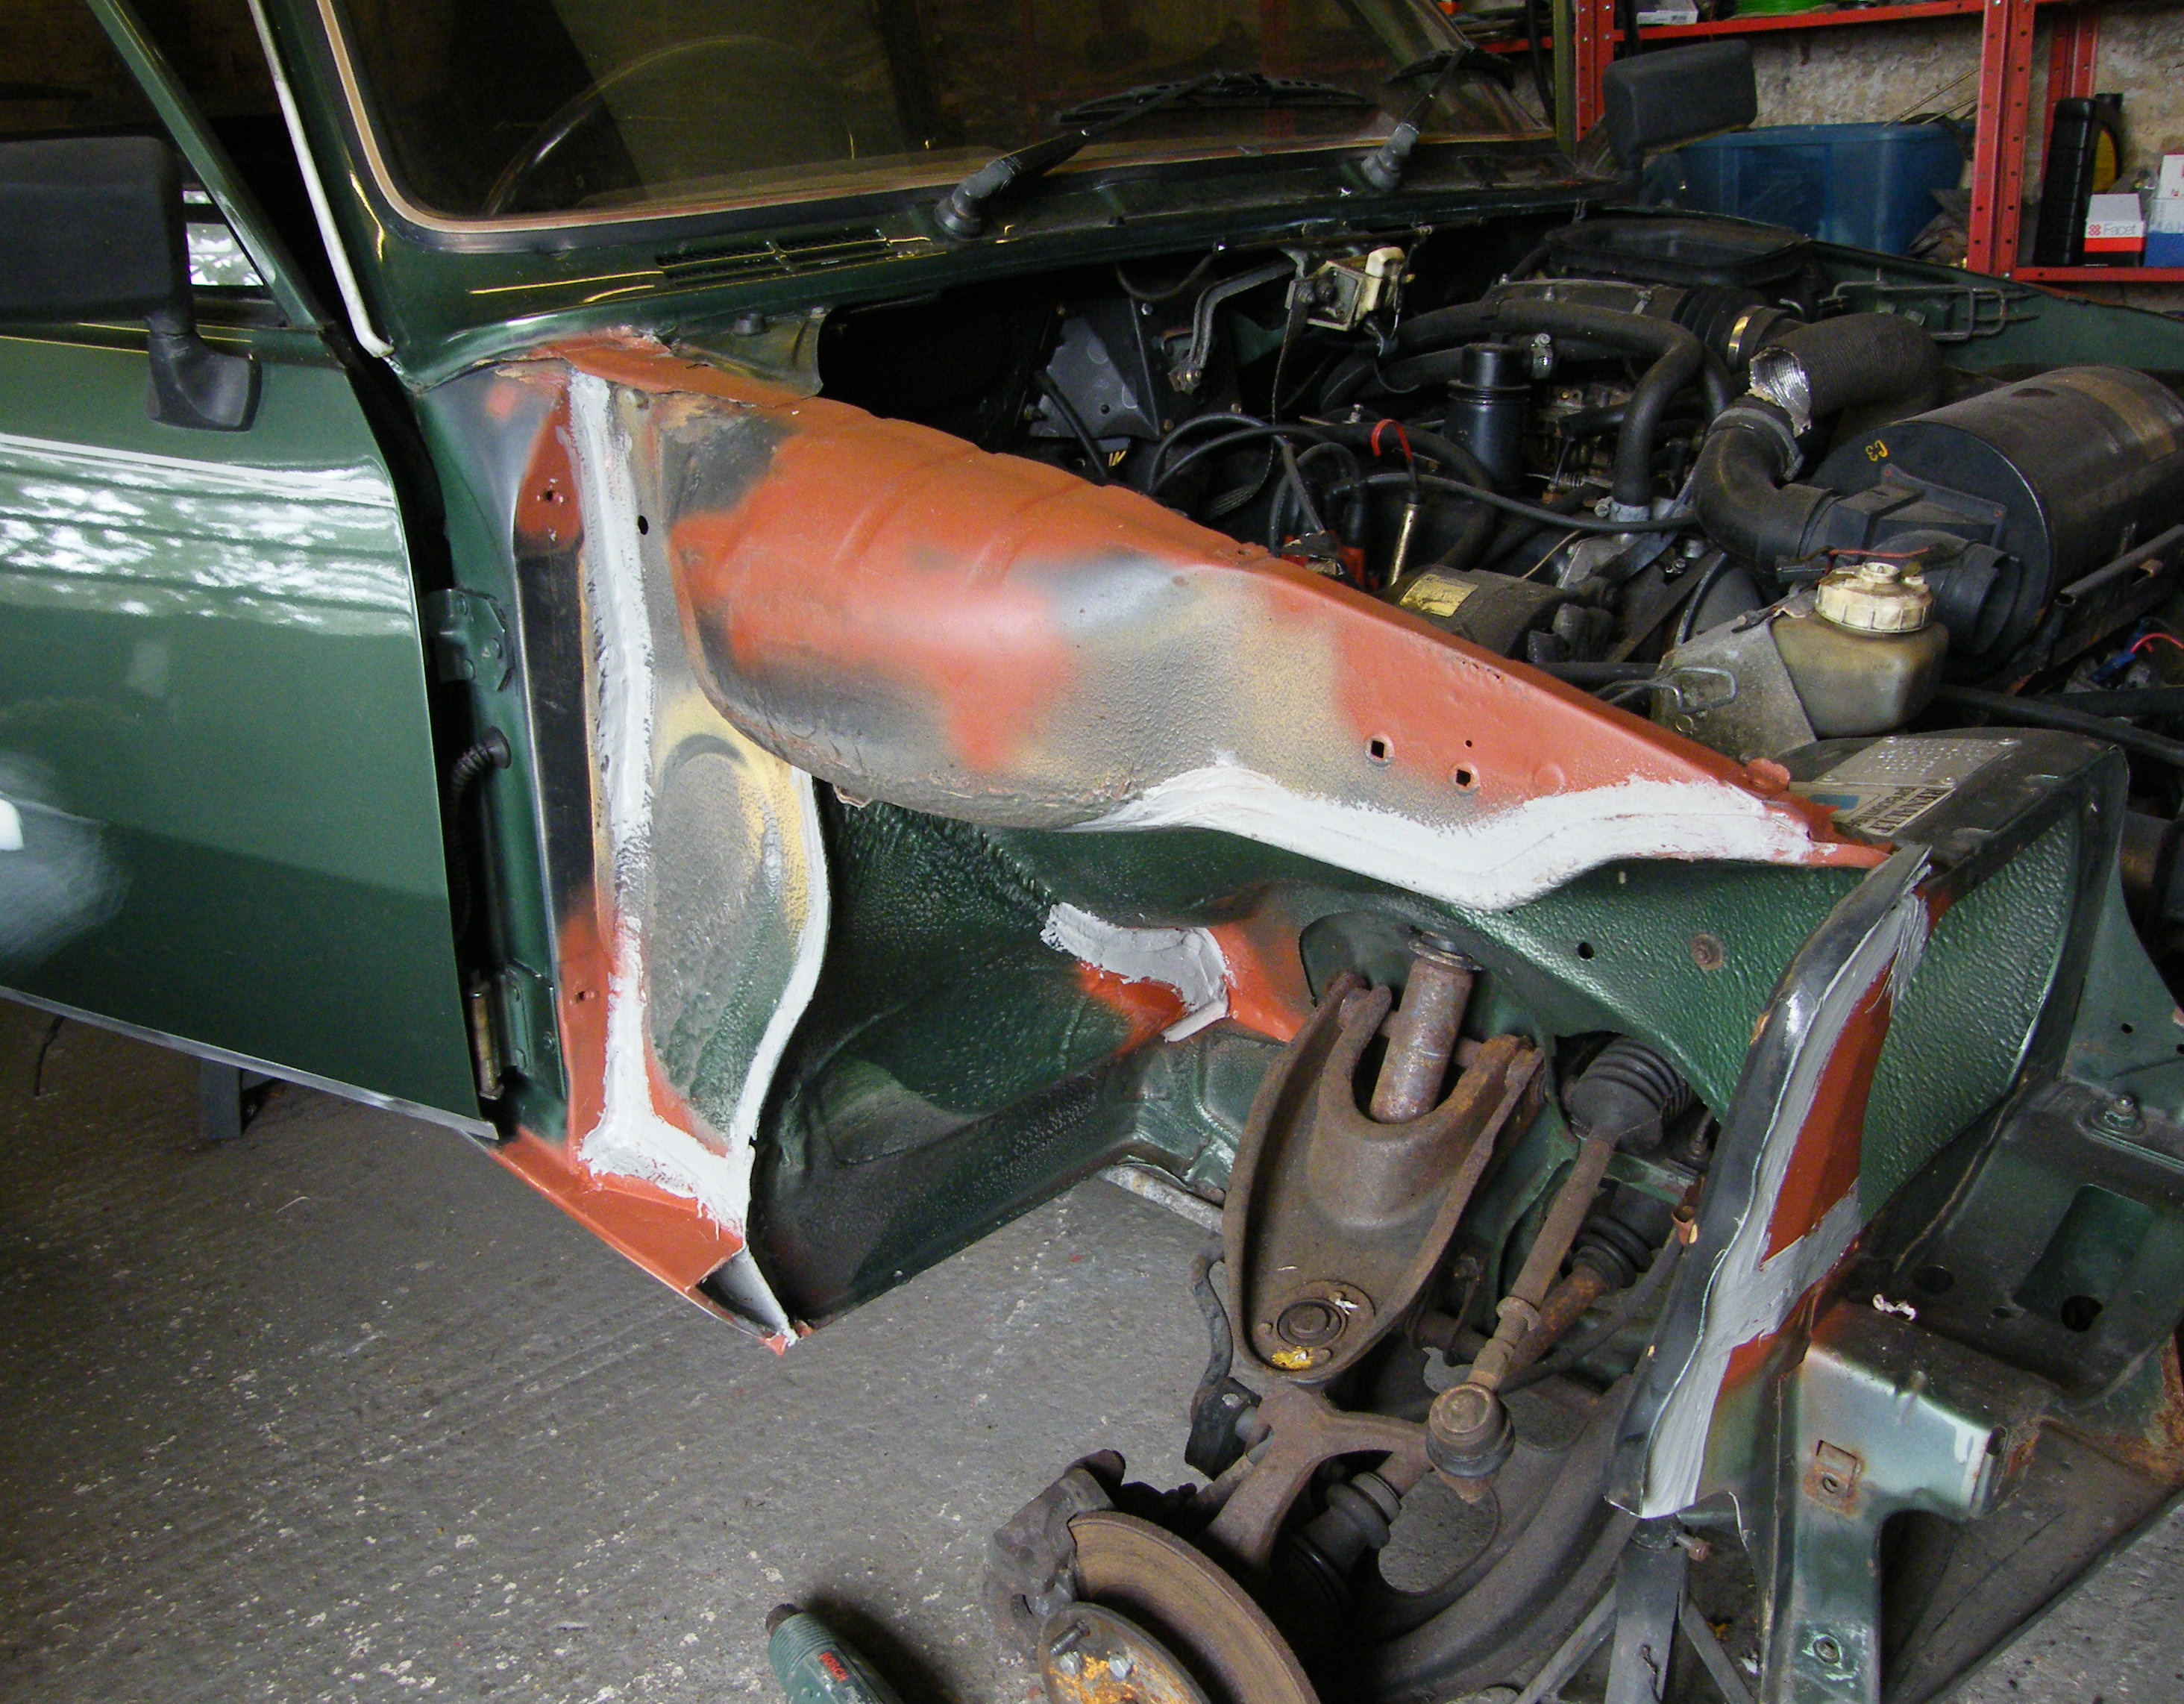
Prepping for paint is always a frustratingly slow process. Getting towards the end of September and it didn't help to find more rust at the last minute. The panel just outboard of the headlight needed fabricating, and a few seams needed digging out and resealing.
The battery tray area is worse than I thought, but that will be easier to tackle with the engine out which is a good excuse for ignoring it for the moment.
True enough that seam in the rear LHS damper tower is difficult to seal. It will be even more difficult to paint - I'll use a brush.
I've not photographed this side of the car since the welding. There were two deep dents in the passenger door going back to the rear wing which I've filled.
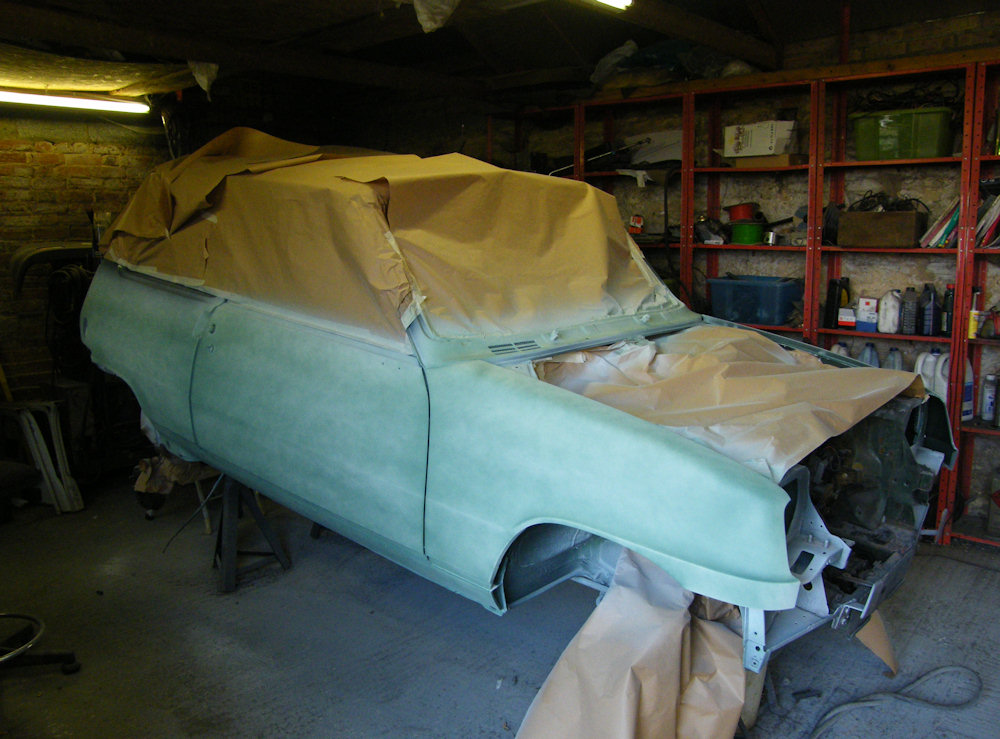
The masking is a bit haphazard - it's only to avoid overspray from the primer which shouldn't get anywhere near the masking.
The front wing was originally fitted before painting and the lack of protection can cause fiddly problems all around the outer wings and at the base of the windscreen pillars. I've primed the bottom half of the car and then taken the inside of the front inner and outer wings to clear coat before I bolt them on.
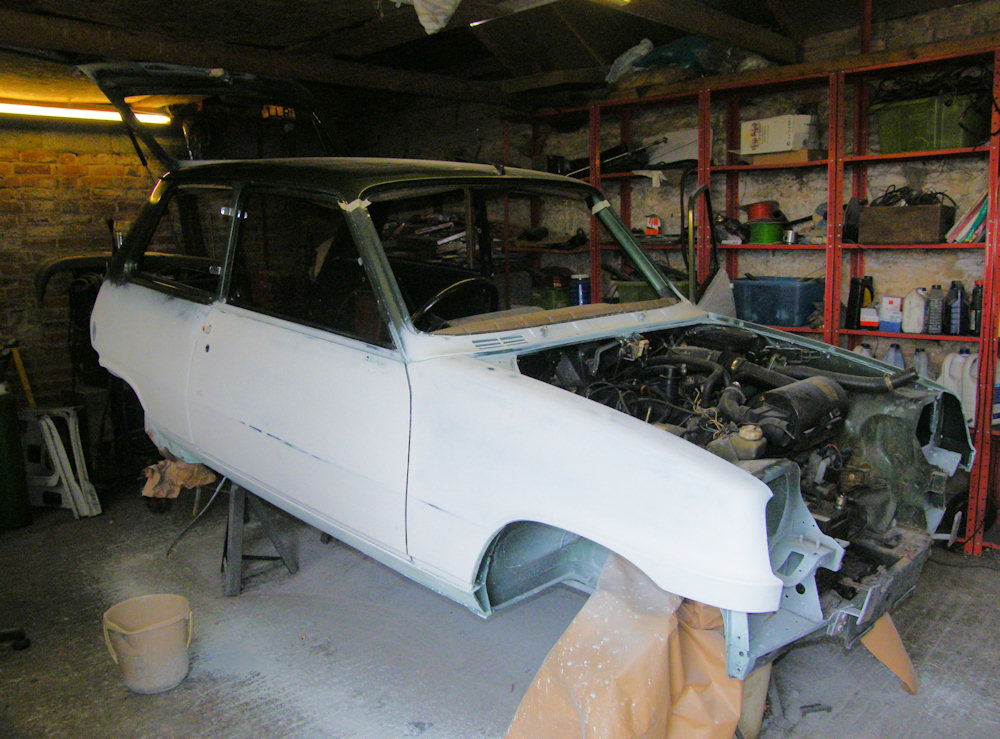
I notice the paint doesn't match the original colour very well. That's both a good thing and a bad thing. My dad had a Chevette in a similar colour to the original and I recall being subjected to long journeys in the back where it smelled of leaking petrol. The new colour is more blue and will remind me less of those times (and in any case the dog smell should mask the smell of any petrol leaks).
It's probable that I've not put enough colour on. Otherwise could be looking at a whole car repaint or some especially cunning blending.
It turned out that when the sides of the car were repainted early in it's life the match wasn't good. My new paint matches the original paint on the bonnet and roof much better, so the plan now is to repaint everything apart from the roof.
I've straightened a few of the dents higher up on the panels and put a couple of coats of primer on followed by a thin guide coat. I'll wet sand the guide coat, and when everything is back to white primer I'll know the panels are flat and ready for colour.
The guide coat wet flatted better than expected - the passenger door with the scrapes looks really good. I had been hoping to flat and colour coat this weekend but only managed to get everything mostly ready by Sunday lunchtime and then decided to have an afternoon off.
So next weekend for actual paint! That will be mid October.
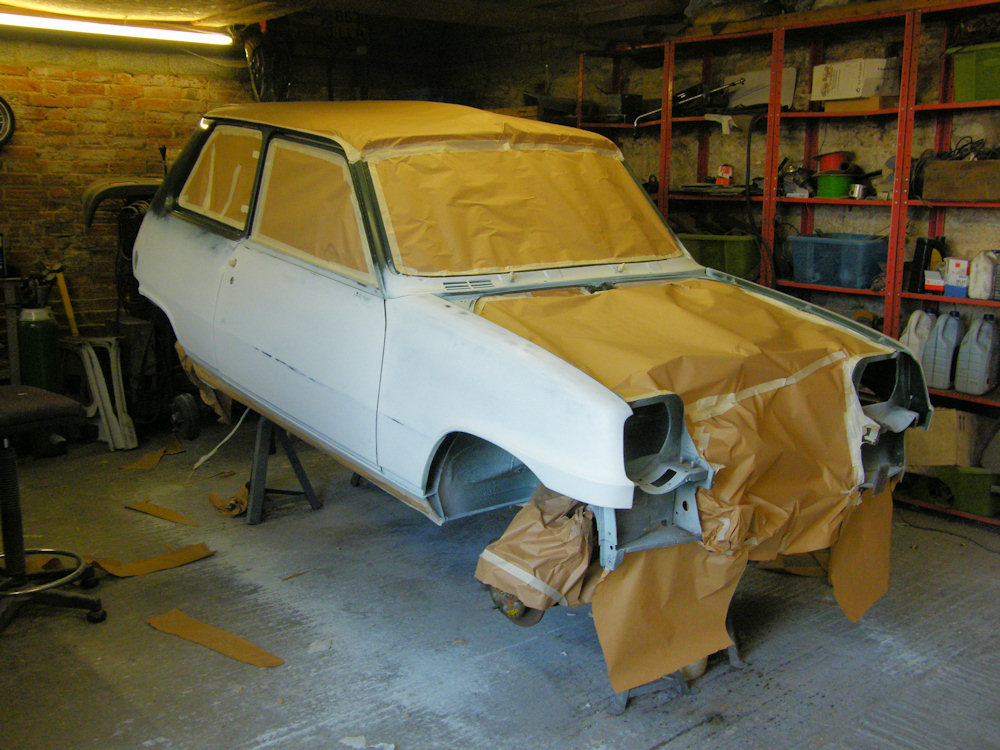
The sills on the Renault 5 Mk1 were originally left in grey anti-stonechip primer finish to match the bumpers. It's an odd way of doing things, but it's a nice oddity so I've sprayed stonechip onto the sills and under the wheelarch and masked the sills ready for colour.
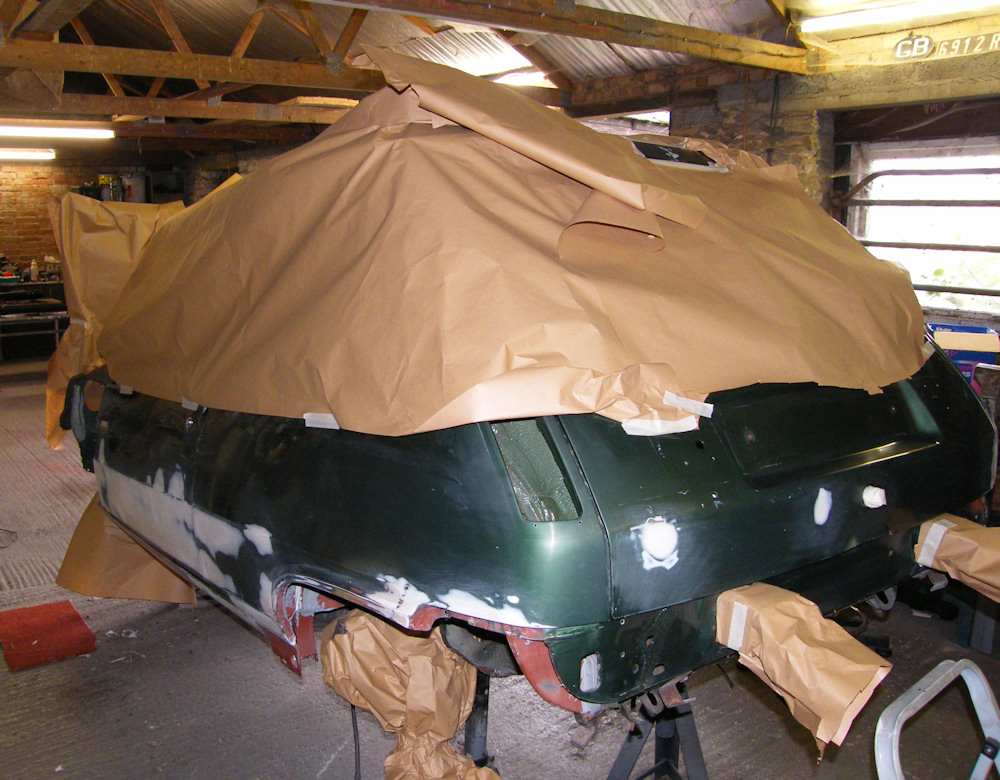
Masking the rest of the car took the best part of a day and 4 rolls of masking tape. I'm not planning to repaint the roof or the engine bay, but will do some painting in the door shuts mostly because I wasn't careful enough earlier on and primer got in there.
I'm using the 2K basecoat and clear paint system. It's lethal stuff and requires an air fed mask, but it's an easy paint to use.
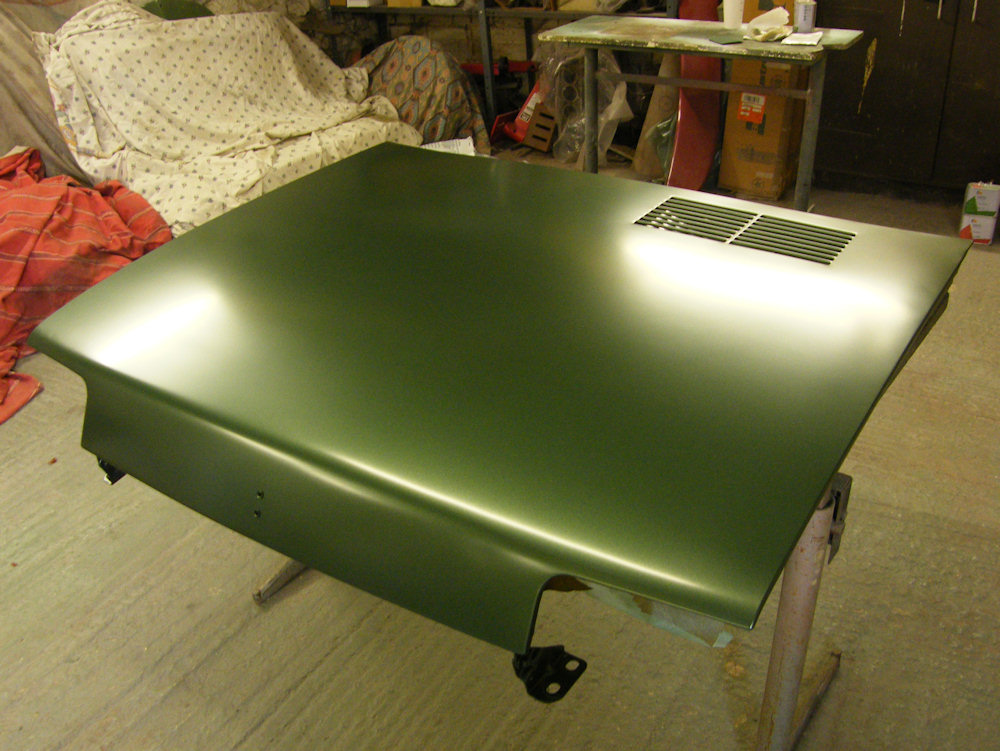
Metallic basecoat seems to go on flat no matter how badly it is sprayed. The trick is not to spray it too thickly - too thick and the metal flakes settle and the finish becomes uneven. The photo is the first coat which goes on especially thinly to avoid runs and provide a surface for subsequent coats.
I put on 4 coats of basecoat in total, allowing each to dry and running over any specs of dust with 800 grade sandpaper between coats. My workshop isn't the best place to paint in the world and I've not gone to the effort of making a paint booth from plastic sheets. Probably ought to have done as there was a steady supply of dust.
The final coat of basecoat can't be messed with. That provides the finish and any sandpaper marks would be seen.
The paint is protected by clear coat which ideally should be sprayed on the same day as the basecoat otherwise it can lift.
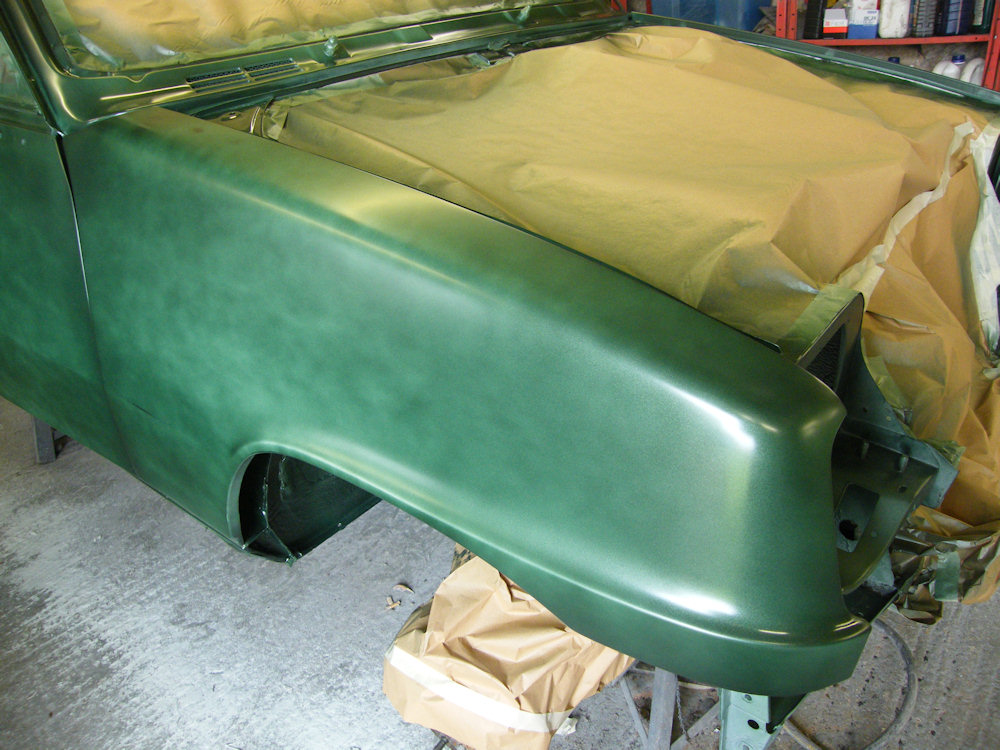
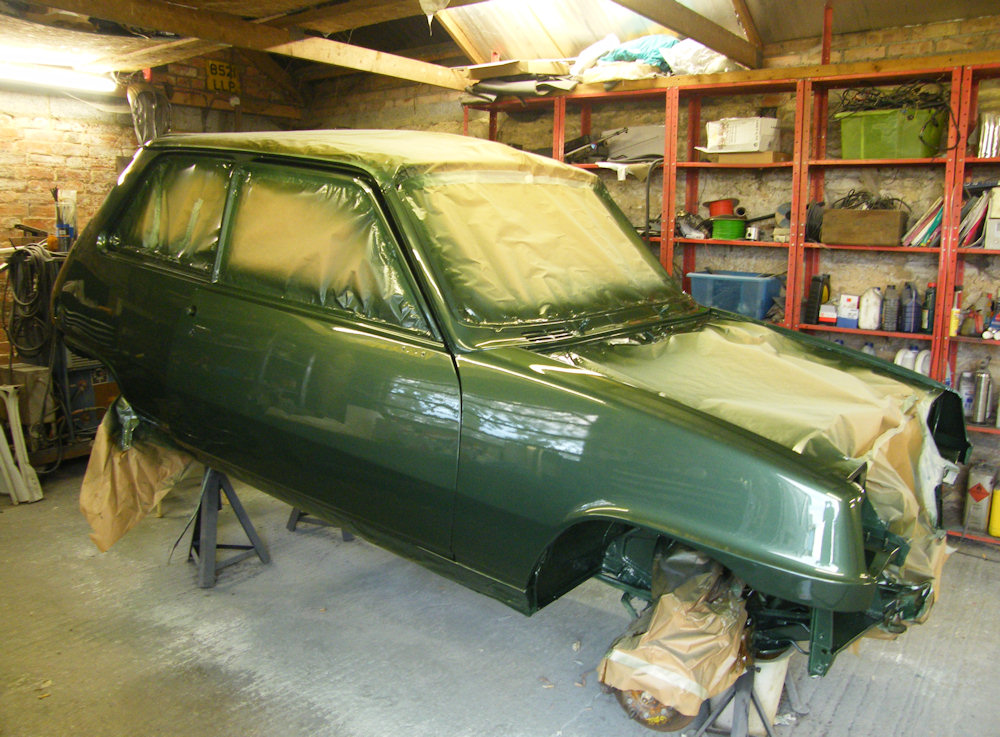
The clear coat went on very well. The second coat is always a pain as it's more difficult to see where you've painted, but that ended up fine too. I didn't chance my luck with a third coat.
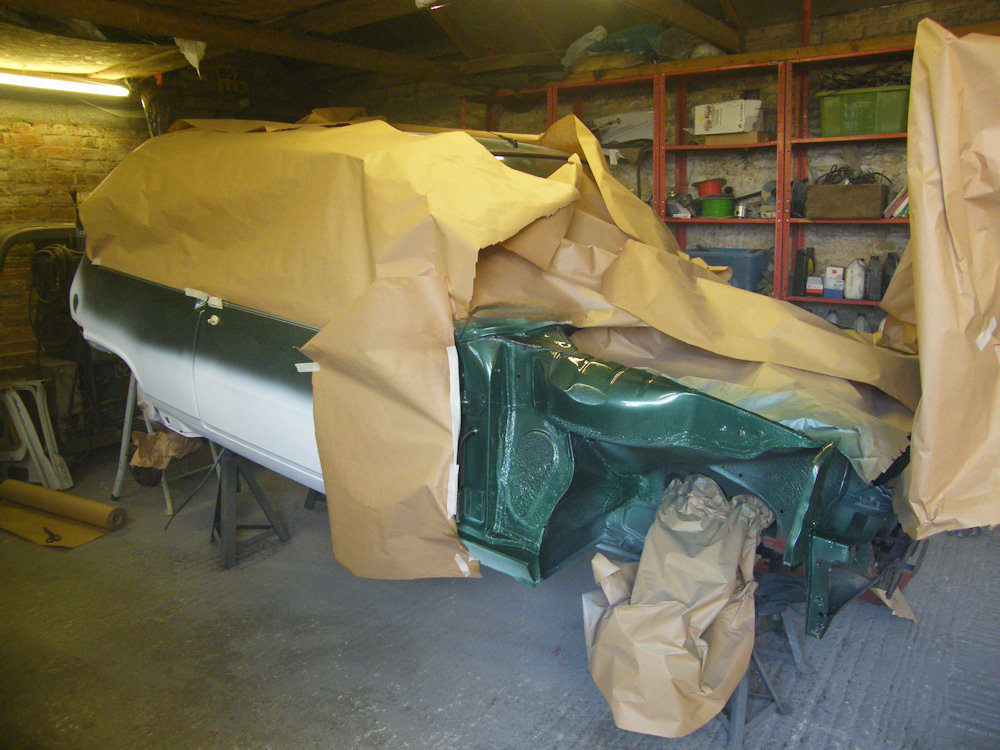
I'm really pleased with the result. It's not perfect, but it's what I was aiming for. Going back to look at it I can't believe it was me that did the painting. The colour is 918 green metallic.
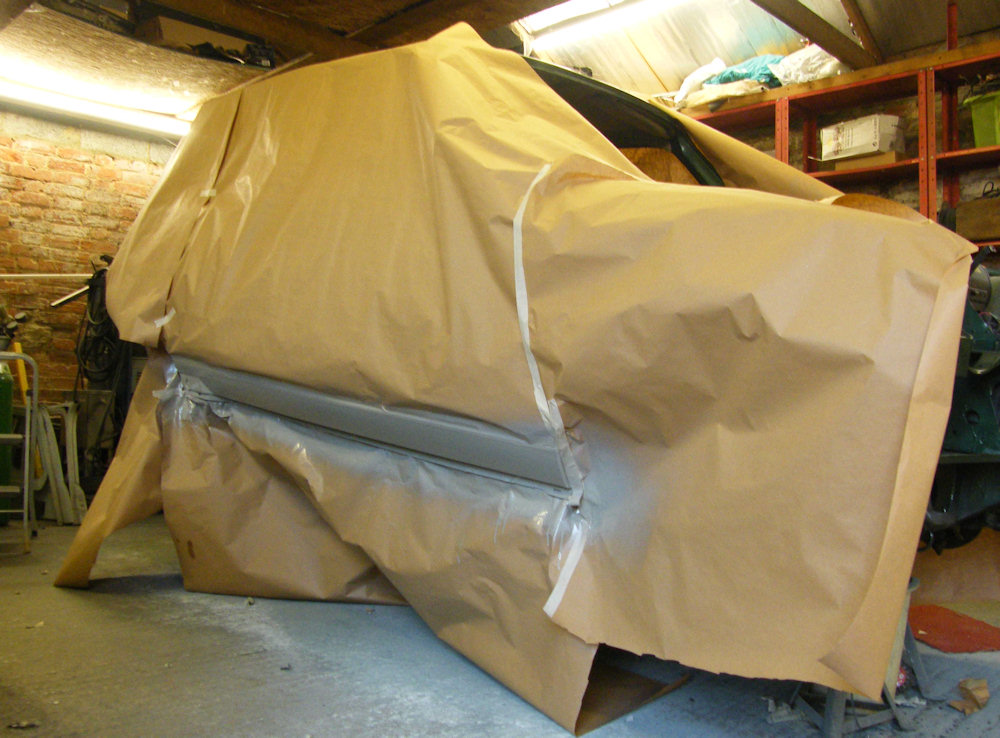
The shell is masked up ready for the grand unveiling!
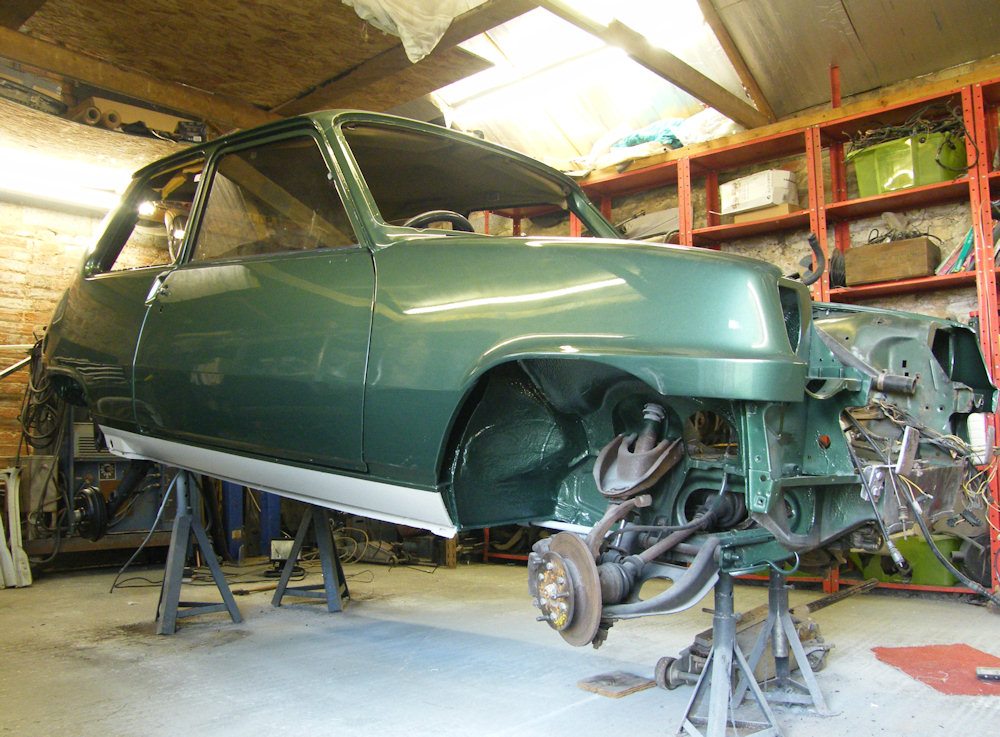
I'd left the sills in anti-stonechip primer which says it doesn't need to be overpainted. Turns out it scratches easily so I've sprayed some 667 Grey on top. That colour was often used for Renault wheels and bumpers so is sure to suitable for sills. Though it might be a bit lighter than the original.
Finally Ta-dah! The sill does look a bit light - I'll take the bumper in to the paint shop for a match at some point later.
I keep finding little dents I missed and that's kind of nice - If I get them too good I'm scared of using them.
The paint will need a light rub with 1500 grit to take some bits of dust out, then a good polish. That's for later - I've got an engine to rebuild first.
Last update 22nd October 2011
Next: More Welding! or back to: Renault 5 Restoration