Renault 4 Body Shell Welding
Rust in the rear wheelarches is the only Renault 4 body rust that would be likely to result in a MOT failure (although the wings will fail if they are hanging off and could slice through pedestrians).
There are a lot of rusty areas on Ermintrude the Renault 4, and I plan to repair all of them as I will repaint the car and don't want rust to show through immediately. Where is Clementine the Cat when you need her?
Refitting the Body
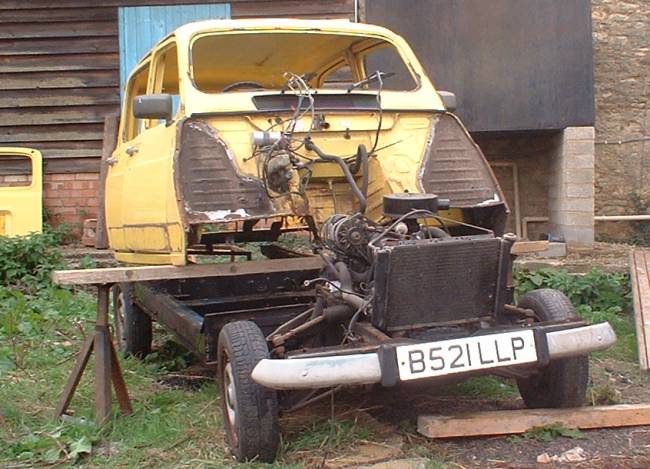
The body was refitted to the chassis for welding. This was partly to ensure the correct alignment of the body, but mostly to make the body mobile.
The Loadall was broken when we wanted to fit the body so we had to do it by the old fashioned method. We supported the body on axle stands and pushed the chassis underneath. With the windows removed the body is light enough for 2 people to lift, however the job would have been a lot easier if we had also removed the doors.
Incidentally, it took me a while to realise that the GTL doors can be removed by undoing two bolts in the pillars that hold each hinge on. The earlier cars are much easier - the doors lift off the hinge pins.
Seatbelt Mountings in Rear Wheelarch
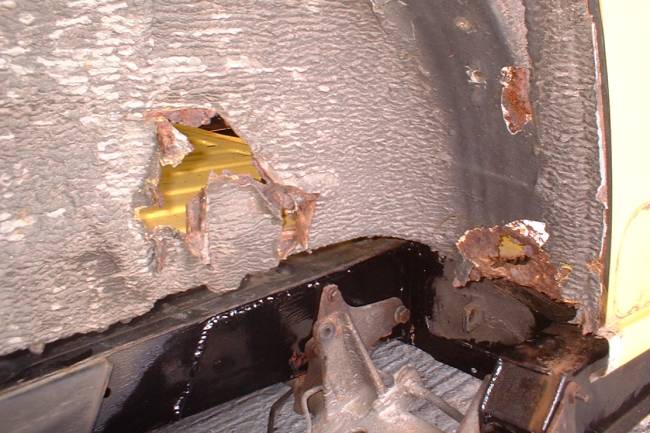
The rear seatbelt mounting on the rear inner wheelarch is heavily reinforced by an external pressed section. Water gets behind the reinforcement and rots the wheelarch and the boot floor.
The rot at the front of the wheelarch had spread from the rear suspension mounting. The flange supporting the front of the rear wing had also rusted.
Ermintrude the Renault 4 doesn't have rear seatbelts so I removed the entire reinforcement. It is questionable whether such a large reinforcement would be required even if seatbelts had been fitted. Was this panel to do with the bumpstops that I haven't seen on a Renault 4 since they fell off Florence my TL.
Rust had spread a long way into the boot floor and had to be cut away and replaced with a large patch. I didn't go overboard with putting the swages into the patch as the area will be hidden by a rubber mat.
The repair was finished by a patch on the wheelarch. The area shouldn't rust in future as I have removed the second skin that caused the rust in the first place.
To the left of the photograph you can see rust in the rear wing mounting flange, and above the rear suspension mounting.

Floor Behind Rear Doors
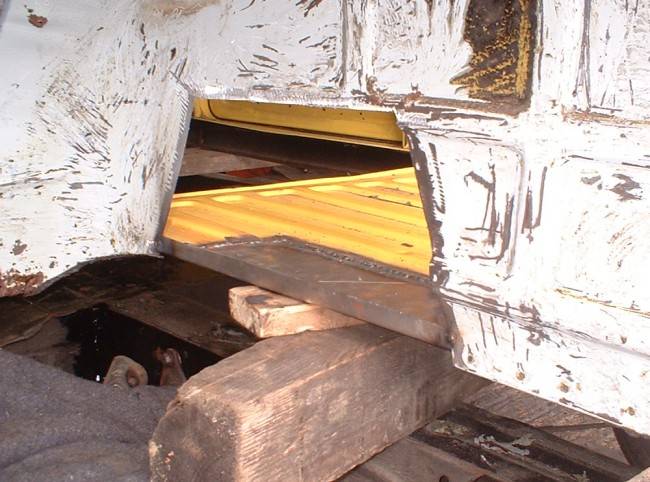
Most Renault 4s have a rusty patch in the floor just behind the rear door. I believe this rust is caused by mud trapped on top of the chassis above the the rear suspension mount, so the suspension should fall off by the time this rust gets too bad.
On Ermintrude the rust had spread into the sill cover, the wheelarch, and the boot floor. The rear wing mounting flange had also rusted away. The other side of the car didn't look quite so bad but needed much the same work.
![]() "I've come over all unnecessary" - Ermintrude, Magic Roundabout
"I've come over all unnecessary" - Ermintrude, Magic Roundabout
![]()
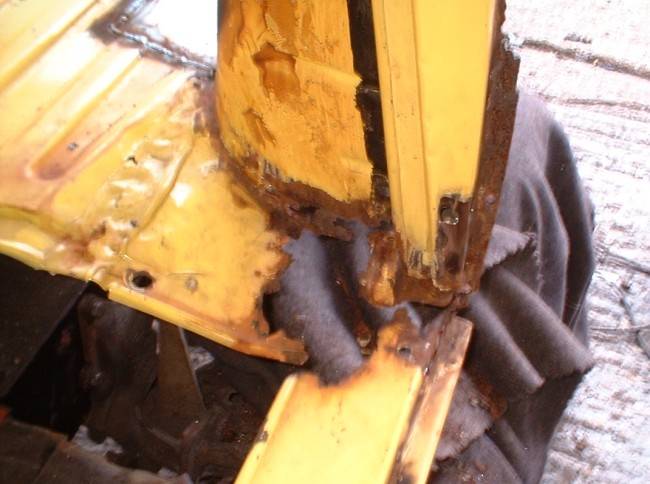
I replaced the rear section of the sill cover with a section removed from the sill of another car. The bottom of the D pillar had rusted away and I had to let some new metal into the rear of the D pillar to make a good connection with the sill.
The replacement sill cover is quite long as I also had to repair the holes I had cut into the sill cover to access the chassis for welding when I first bought the car.
Much of the rear wing mounting flange was also replaced. The rusty flange was cut out and replaced by a strip of metal with a right angle bend.
Panel Above Rear Wing
Rust in the panel above the rear wing is common on a Renault 4, and is normally due to moisture trapped between the wing and the body. Ermintrude was surprisingly good in this area, but had rust at the rear of the panel where it met the boot.
The rust on Ermintrude was probably caused by a split in the sealant which let water in. Had the rust been painted over when it first became apparent I suspect it wouldn't have spread as far as it has.
I shouldn't complain - the previous owner concentrated on keeping the car in perfect mechanical condition instead of painting bits of rust.
The body structure is complicated in this area and it would have been difficult to make a neat repair had I not had a spare Renault 4 from which to remove the entire section. The repair was reduced to cutting a section from the spare car (which was in good condition in this area) and welding it into Ermintrude.
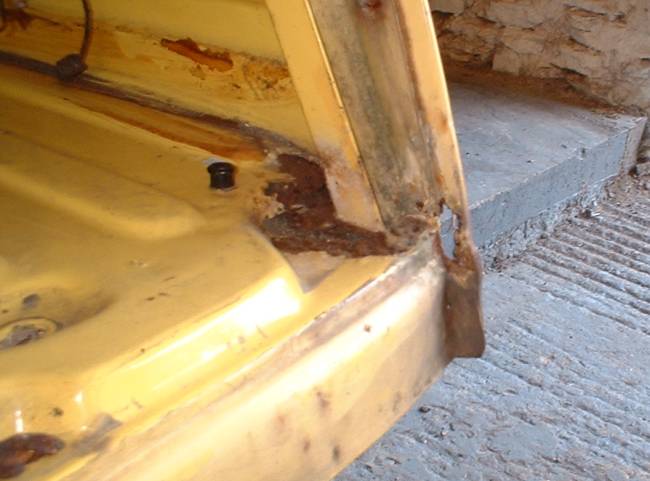
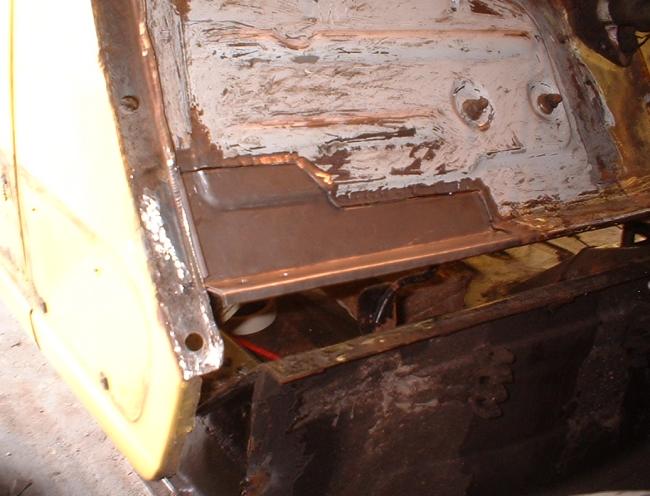
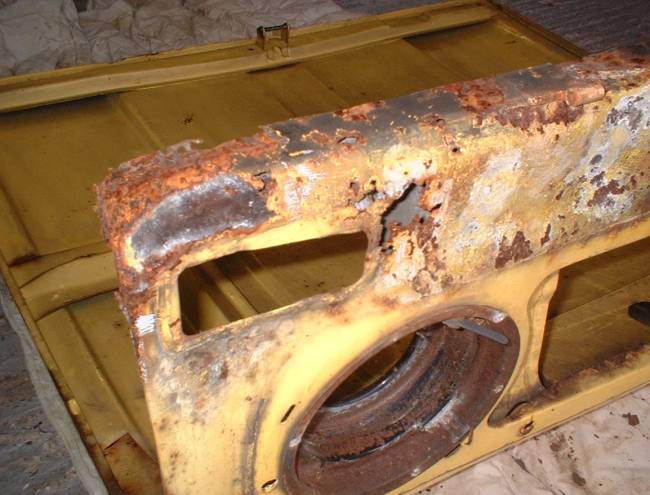
Boot Floor Corner
Most Renault 4s look a little ratty at the rear corner of the luggage compartment floor. The bottom of the rear wing mounting flange was holed on Ermintrude but the nearby structure looked reasonable at first glance.
I was surprised to find that the structural member going around the boot had completely rusted away at the bottom, and the side of the boot floor had rotten.
Could this be why the boot lid moved around and squeaked so much?
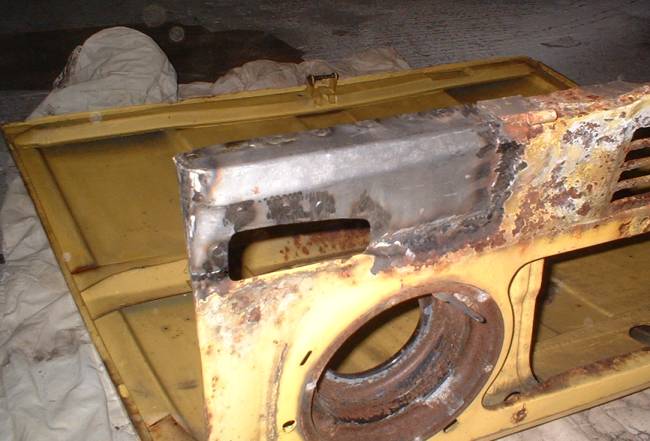
Having cut away the rusty metal I was left with a tricky repair. The rear of the boot floor (seen here with new metal) has a lot of interesting curves.
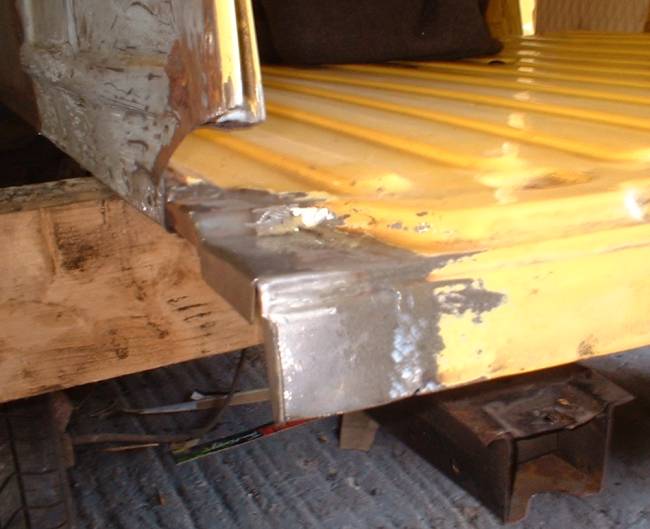
The flange where the rear wing bolts on has a rolled edge. Fortunately these are reasonable quick to replicate by knocking the edge of a piece of metal around with a small hammer.
The structural member was cut from another Renault 4 and welded into place to complete the repair. A glance at the rear of the car shows I have replaced all of the structural members connecting the upper structure to the chassis. The scope for distortion in these circumstances is large, so I regularly trial fitted the boot lid and rear doors to ensure the apertures remained the correct shape.
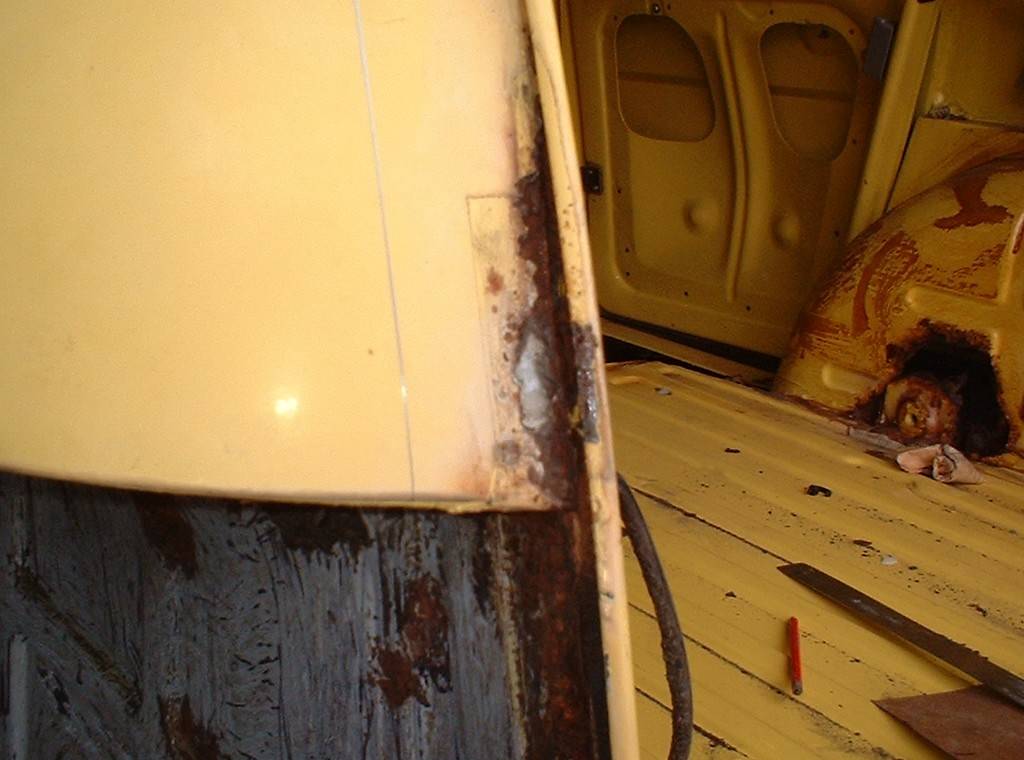
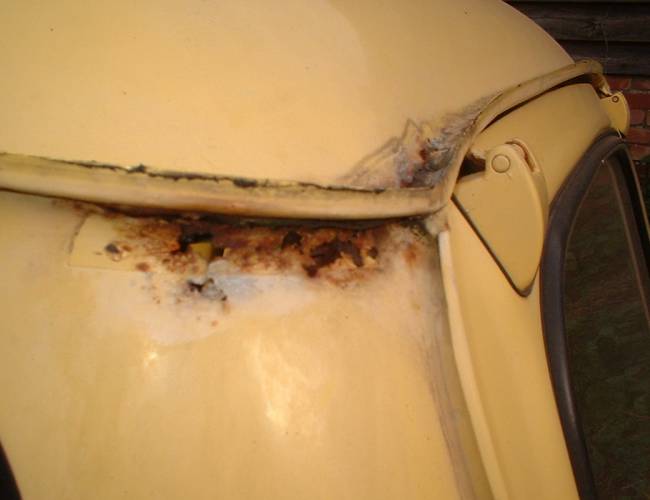
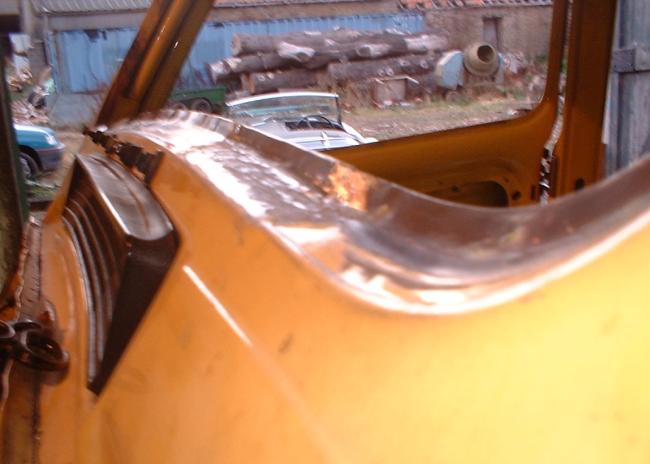
Roof
I have never seen rust eat through a Renault 4 roof in the way it has done on this car. The whole corner had completely rusted through.
It is common for mud and leaves to collect on top of the gutter, so perhaps a small crack in the sealant let to this destruction.
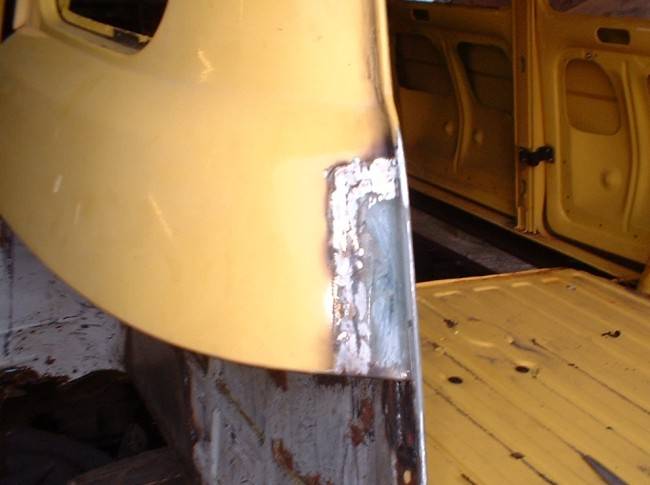
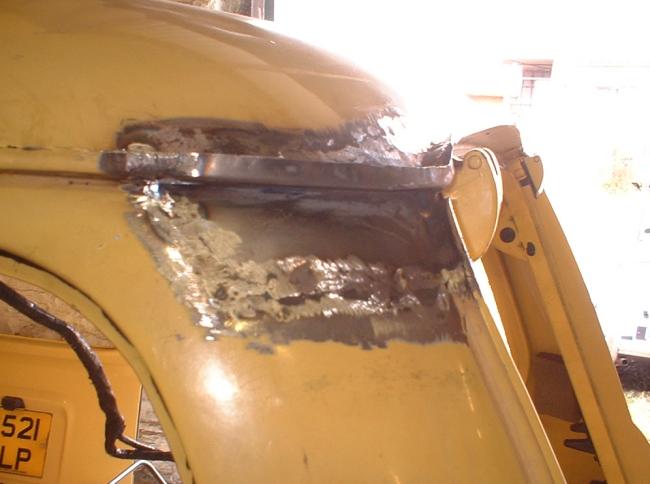
I transplanted a complete section of roof from my donor Renault 4 as the section would have been extremely complicated to replicate.
I will need to use a little filler to get the correct shape in this area before painting as distortion is very difficult to avoid when welding to a large thin panel such as the roof.
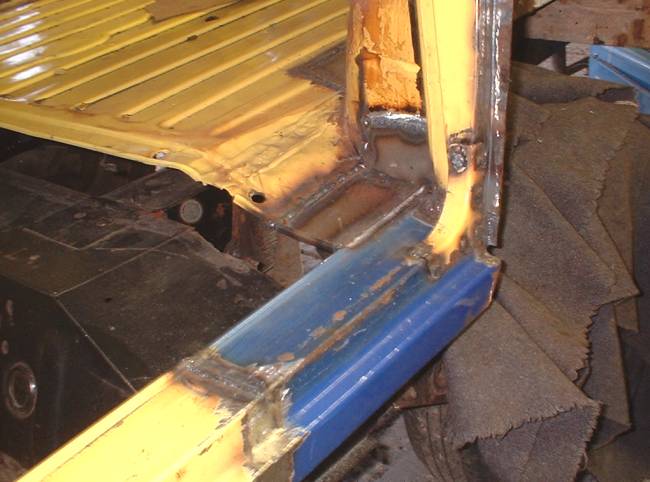
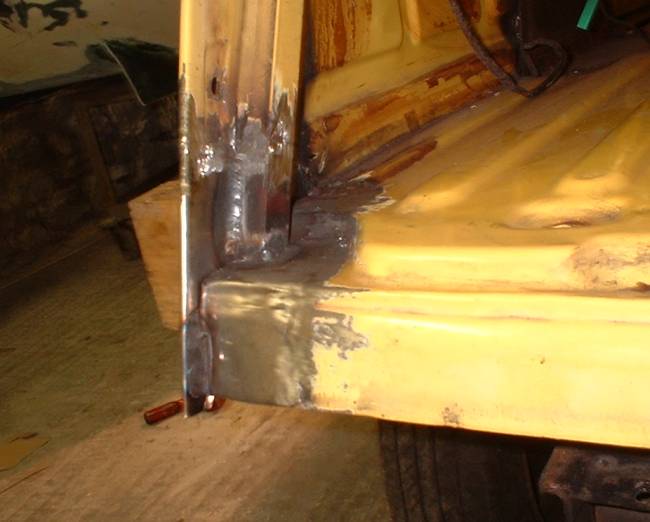
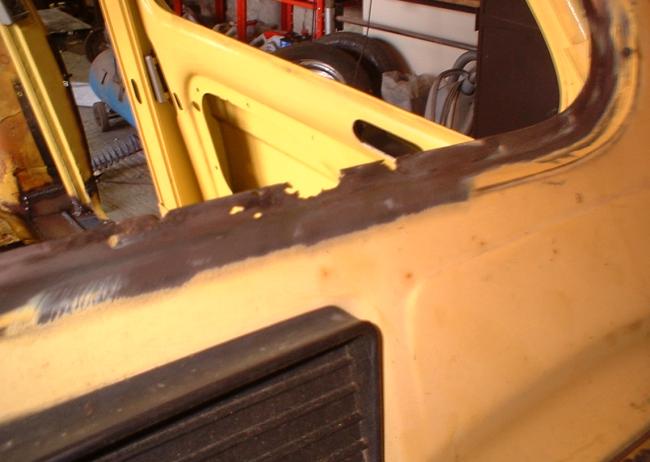
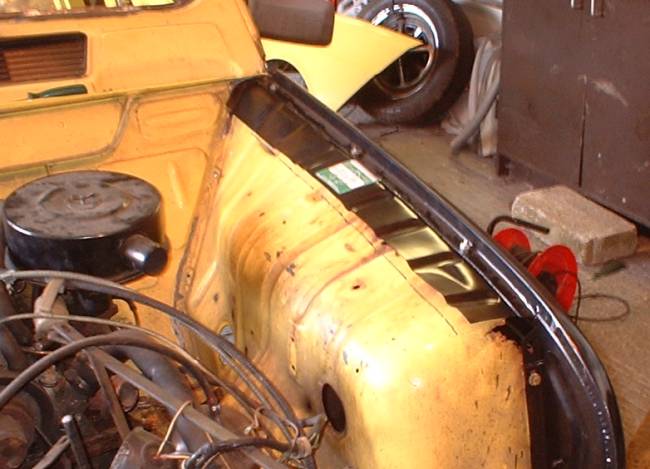
Front Corner
At last, the rear of the car has been completed. The front wasn't nearly so bad for rust, although a hole had appeared in the panel just in front of the driver's toes.
The photograph shows the repair section. I went a bit mad and included the swaging and decided the repair section deserved it's own photograph.
The flange on the triangular section to the left needed to be repaired. THe shiny area is new metal welded in and ground down to provide a flat mounting surface for the front wing.
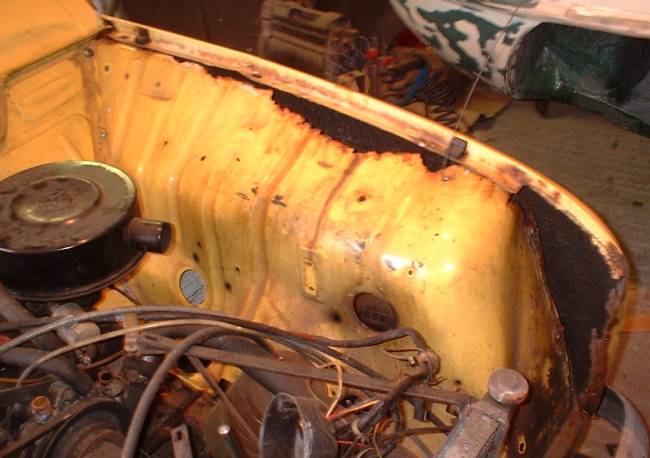
Windscreen Surround
The lower flange that supports the windscreen was rotten on Ermintrude.
The dashboard had to be removed to access the rusty areas. I noticed that the demist vents (made from two sections of plastic and clipped together) had become unclipped and would have leaked hot air behind the dashboard rather than directing it at the windscreen.
The rusty material was cut away and a new section welded in. It is a fiddly repair as the correct shape really needs to be achieved without the use of filler.
I replaced the inner section first and then made up a bent piece of metal and butt welded it into the windscreen flange.
A windscreen fitter once advised me to fit the windscreen without any sealant then inject sealant behind the outer lip of the seal. He reckoned this would stop water getting in and causing rust like this.
Front Inner Wings
Ermintrude's front wings were dreadfully rusty, but with new wings at £20 each this was not too much of a problem. The inner wings cost £83 for the side in the photograph, and a whopping £143 for the other side, so I opted for a repair rather than replacement.
For interest, I used an aftermarket outer wing on the LHS and a Renault wing on the RHS. Not surprisingly the quality of the Renault pressing and the fit of the wing was better the aftermarket part. The aftermarket wing was not bad, but it's worth paying the extra £5 or so for the Renault part.
The inner wing repair section is shown in the photograph attached to the brand new outer wing.
Inner wing repair sections are available from motor factors at around £15 each - which is exceptionally good value particularly considering that they include additional swages for free (the swage at the front of the wing was not present in the original panel).
It is always a good idea to trim the repair panel to the required size rather that cutting good metal from the wing. This is so that 20 years down the line the next restorer can cut away your welding and weld a less trimmed repair panel to original metal.
Ermintrude's rust extended forward of the repair section, but the pressing was very simple and easy to patch.
The repair panel was butt welded to the original wing as an overlap would inevitably have trapped water, forcing the next restorer to re-do the work much earlier than planned.

Bonnet
Is there no end to the rust in this Renault?
In fact I've been working fairly well from the back of the car to the front so this should be the end. The outer skin of the bonnet had rusted in the front corners, but the inner skin was still quite serviceable.
The bonnet pressing is fairly complicated, and my repair isn't perfect, but it should look reasonable after painting. The rest of the rust in this area is just surface rust and should clean up fairly well.
With body repairs completed it was time for painting.


