Clementine's Garage
Clementine the Cat
 
Image of flower
Yellow R4
 
Réparateur d'automobiles

Fossicking in the garage.

Cornish4

Le Dazzleur
Messages
1,812
Location
Falmouth
Recently on the forum someone was asking about fitting headlamp relays, sorry I can't remember who it was, but I do know that Andrew4Renaults recommended fitting them both to protect the switch and wiring, and if upgraded bulbs have been fitted to handle the extra load.
So, with all that in mind, that has been the latest mod on my GTL.
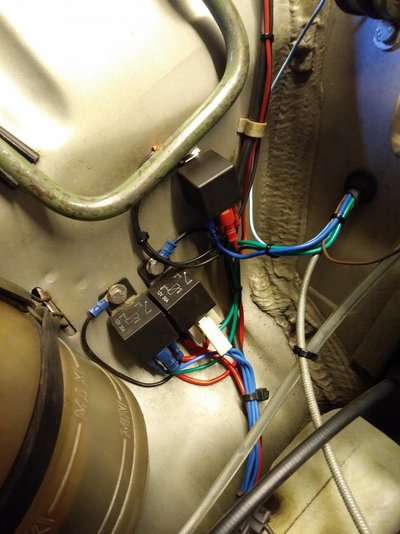
I fitted the relays on the left hand side inner wing next to the wiring loom so making the lamp cables close at hand. Plus it's a nice dry area. The only downside possibly is it's about a metre from the battery, so the power supply cable is a bit long maybe.
The relays, suitable sized cables and sundry fittings came from Auto Electrical Supplies, an excellent company to deal with, who I've used before. They have an easy to use website, and very prompt service even in these troubled times.
I've not had a chance yet to test the lights in the dark to see if this mod has upped the current to them, so making them slightly brighter, but we will see.
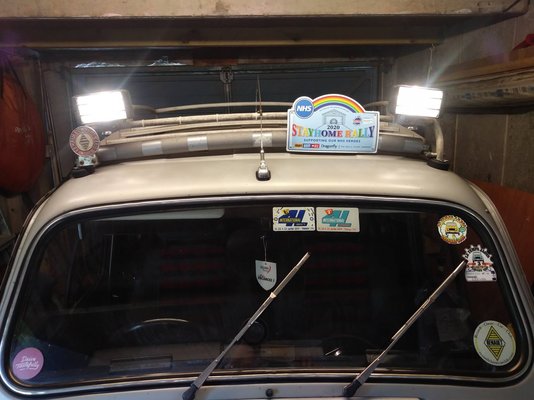
The second photo is of my car sporting it's Stay- at- home rally plate, supporting the NHS and produced by Dragonfly Rally Plates.20200426_153011.jpg20200424_162215.jpg
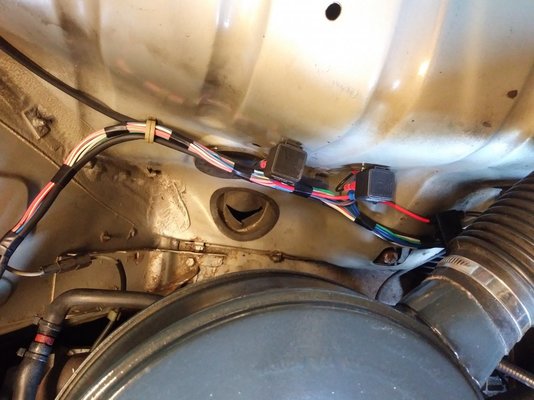
 
That's a really neat job-I'm impressed! Your concerns about the power supply suggest an in line fuse at the point where the power supply leaves the battery might help. In that case, should there be a short-circuit in the wiring before the relays, the fuse would blow, thus avoiding a possible fire and saving your wiring!
 
Recently on the forum someone was asking about fitting headlamp relays, sorry I can't remember who it was, but I do know that Andrew4Renaults recommended fitting them both to protect the switch and wiring, and if upgraded bulbs have been fitted to handle the extra load.
So, with all that in mind, that has been the latest mod on my GTL.
I fitted the relays on the left hand side inner wing next to the wiring loom so making the lamp cables close at hand. Plus it's a nice dry area. The only downside possibly is it's about a metre from the battery, so the power supply cable is a bit long maybe.
The relays, suitable sized cables and sundry fittings came from Auto Electrical Supplies, an excellent company to deal with, who I've used before. They have an easy to use website, and very prompt service even in these troubled times.
I've not had a chance yet to test the lights in the dark to see if this mod has upped the current to them, so making them slightly brighter, but we will see.
The second photo is of my car sporting it's Stay- at- home rally plate, supporting the NHS and produced by Dragonfly Rally Plates.View attachment 25687View attachment 25688
Yes, really neat job. I'm probably going to do this as well. I was considering putting the relays at the front of the inner wings just by the headlamps. You certainly should have a fuse in the new, main feed and fuses in the switch feeds from the existing headlamp cables (I think they may not be fused). Nice job though.
 
Thanks for your comments guys, I'm pleased with the result. I have actually fitted a fuse in the line from battery to relays, but it's close to the relays. The cable I've sheathed, so it should be protected from shorting on the metal frame it's fastened to. I remember now Eccles60 it was you that spoke on this subject before, and you are right the headlights don't have fuses, so I may consider doing this.
Regards Brian.
 
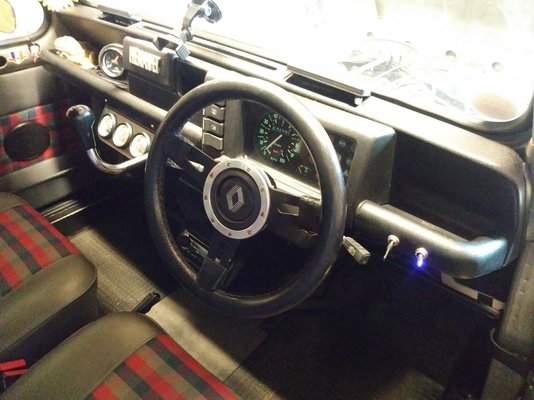
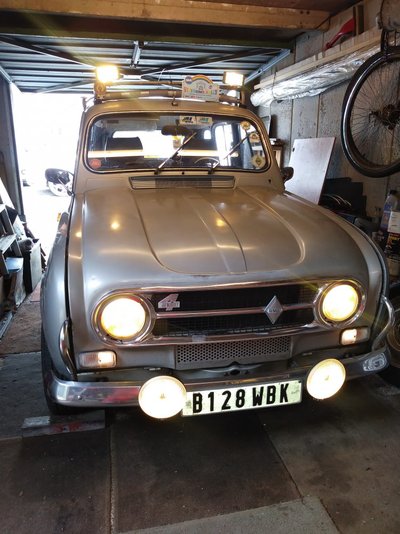
Just trying to find stuff to do chaps, I thought I would fit these old spot lights that I had on my previous 4, they are a bit cheap and cheerful, but they are very effective eyes in the dark. I have of course fitted the necessary relay, and the operating switch is just to the right of the s/wheel. I hope you are all coping with the situation as it is, and avoiding, like me, not going stir-crazy, just :D20200522_161307.jpg20200522_160821.jpg20200522_160745.jpg
 
Why not wire the spot lamp rely through the main beam circuit, thus giving you a very powerful main beam automatically, instead of having to switch them on manually?
 
Hmm, good point Andrew, I must admit I hadn't thought of that.
But in hindsight I think I prefer them separate to the h/lamps, which are halogen, so quite bright, and hopefully even brighter after fitting those relays earlier. The spots just give that little extra when it's needed.
I must get out in the dark sometime and test all this new illumination.
 
Last edited:
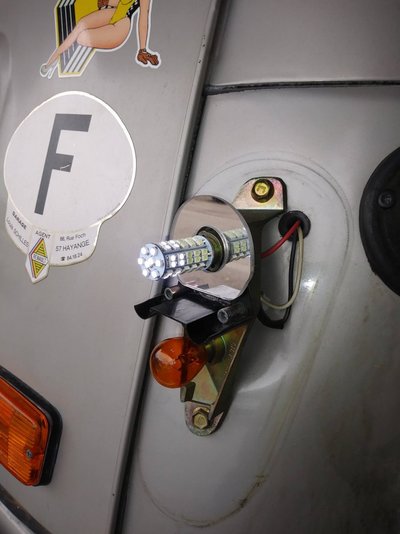
Hi there guys n gals. After fitting LED bulbs to the auxiliary lamps on my 4, and finding the result disappointing, I've now reverted to good old filament bulbs, 100w but yellow, nice and bright but a traditional look. However, I can't resist the LED vibe, so I've been experimenting with the tail/stop lights, and I'm using a two stage bulb, for want of a better description, but I've added a reflector made of mirrored acrylic sheet. There is a definite increase in brightness, and the reflector seems to work well. So, all ready for the next big adventure, whenever that is...:whistle:20200613_153151.jpg20200613_155616.jpg
 
Does your 4 have an alternator or a dynamo? If it has a dynamo, it might explain the 100 watt bulbs not lighting as you'd expected.... Most dynamos can only produce about 400 watts flat out, so you might have been asking too much....
 
Yes, Le Dazzleur rides again :laughing: In answer to your question Andrew my car has an alternator, so I'm confident the electrics are up to spec for the extra lamps.
Mmm Adam, I guess I could have used old CDs, but this is an acrylic mirror I attacked with a jig saw :)
 
Last edited:
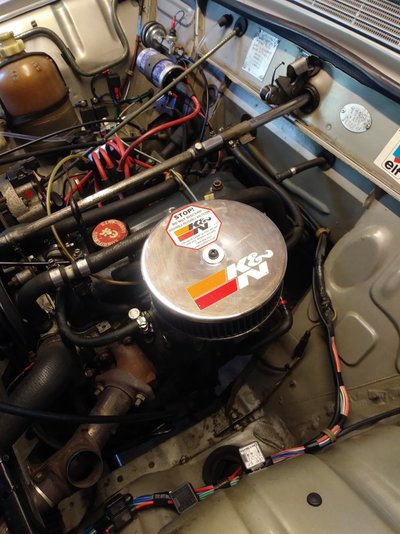
Hi folks. With the MOT booked I thought it would be idea to check the car over, I'm glad I did as a couple of things needed addressing. Firstly the left side upper swivel needed a replacement gaiter. I'd fitted a new one last year, but thinking back, it was very tight to fit, a track-rod one I think, so this time I fitted the next size up. It seems fine, and the nice man at the MOT garage was happy. The other thing that came to light was a front brake-hose, it was actually leaking, so it was past its best. A new one fitted, care of Andrew at AMG Renault (renault4mad), and the car was good to go. I'd recently refitted the K&N air-filter as the standard filter needed replacing, so the emissions test would be interesting. The car sailed through the test, she just needs a damn good waxoiling before the winter sets in, but I did tweak the mixture at the test centre, it was very lean. It does sound nice when you floor the throttle :laughing:
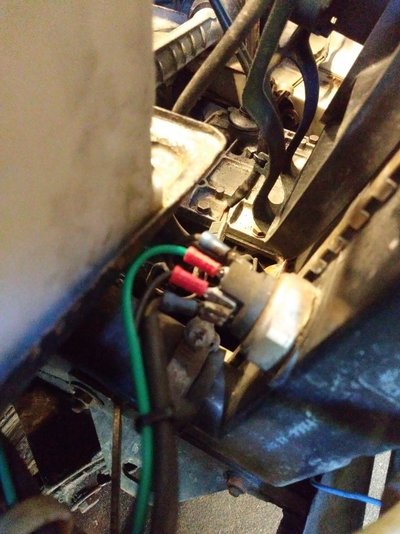
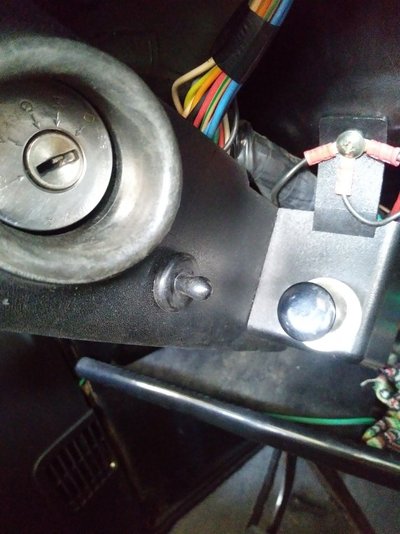
The other job I've been pondering for a while was fitting a override switch for the radiator fan, not a thing I'd use much in the UK, but handy in traffic queues, especially if I venture to hotter climes, next year, fingers crossed.
It's easy to fit a switch, two extra cables from the temp sensor on the radiator to a handily mounted switch and warning light. Ignition on all working, but the bonus is it also works on position one on the ignition switch, so it can be run after the engine has stopped. Also the warning light comes on when the fan automatically starts up. So its win win. Just hope I'm somewhere hot next summer so I can test it out.
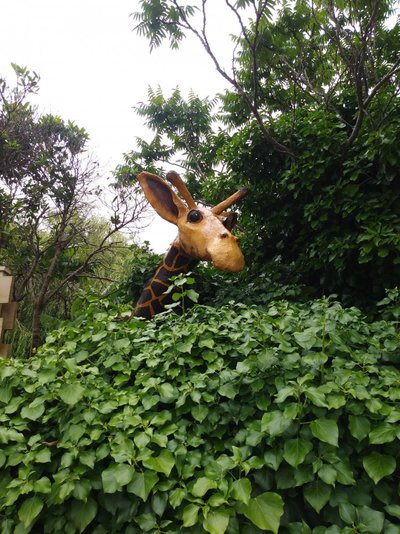
The last pic is of a chap I spotted on safari in deepest darkest Cornwall last month. All the best, Brian.20200719_135524.jpg20200719_134948_Burst01.jpg20200719_135020.jpg20200719_135217.jpg20200703_125445_Burst01.jpg
 
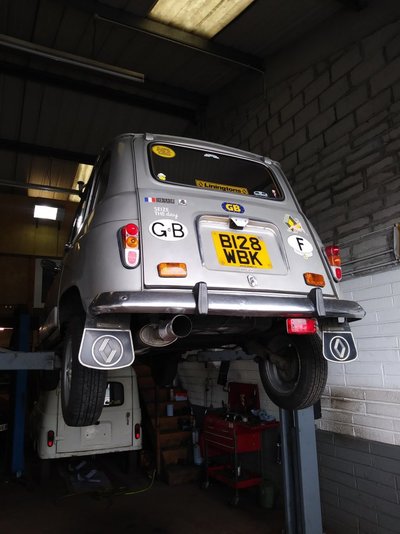
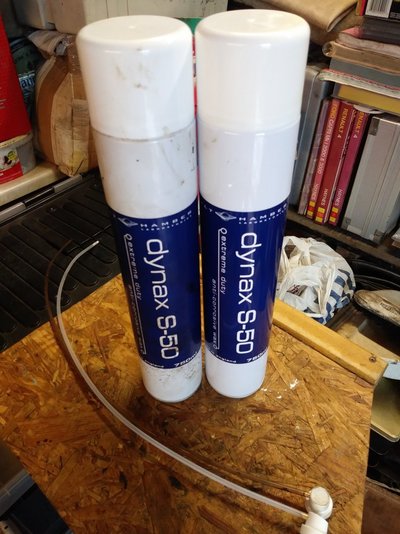
Hi folks, I've just spent the day down at AMG Renault at Crowlas near Penzance in the very good company of mon ami renault4mad. Following on from the MOT, I've been touching in where the underseal was getting a bit thin, and giving other areas a blast with cavity wax. Rear chassis arms and chassis sides especially. The underseal I use is the Hammerite product, and cav wax is Dynax S-50 by Bilt Hamber. It comes in 750ml aerosols with a 500mm probe. All this was dead easy on the garage lift, but at home at my leisure I can treat the chassis side box sections too, via the plastic plugs inside the car, and also the cavity under the front toe-boards. The car will stink for a bit, but, hey ho its protected. 20200724_141954.jpg20200724_164043.jpg
 
Hi folks, I've just spent the day down at AMG Renault at Crowlas near Penzance in the very good company of mon ami renault4mad. Following on from the MOT, I've been touching in where the underseal was getting a bit thin, and giving other areas a blast with cavity wax. Rear chassis arms and chassis sides especially. The underseal I use is the Hammerite product, and cav wax is Dynax S-50 by Bilt Hamber. It comes in 750ml aerosols with a 500mm probe. All this was dead easy on the garage lift, but at home at my leisure I can treat the chassis side box sections too, via the plastic plugs inside the car, and also the cavity under the front toe-boards. The car will stink for a bit, but,

nice job done - need to do the same to mine
 
Now's the time Jim, while the weathers not too bad, and before the winter sets in. Trust all good with you and yours. Regards Brian.:hug:
 
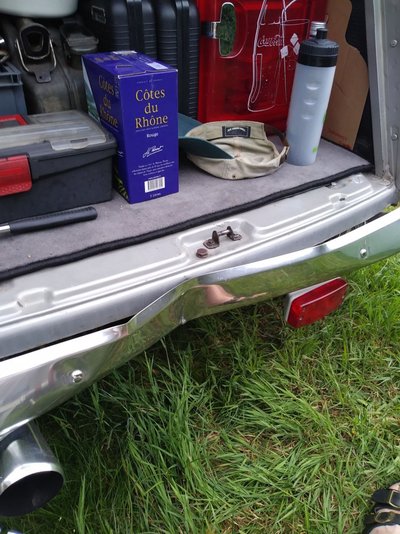
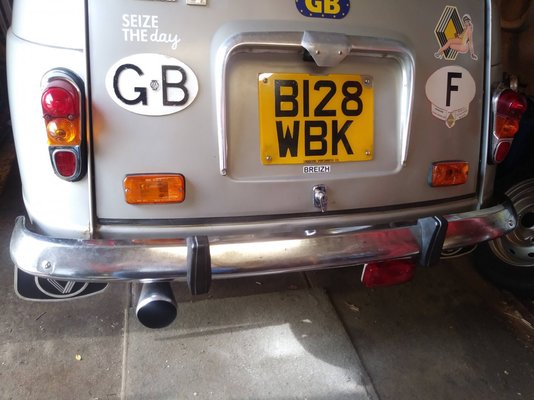
Whilst on holiday last summer in France, I managed to reverse into a concrete post at a campsite which didn't improve the look of my car's back bumper. I did straighten it as best I could at the time, and I had another go when I got home, but it was never going to be "as good as new", as the ding had stretched the metal. So it was always going to be deformed.
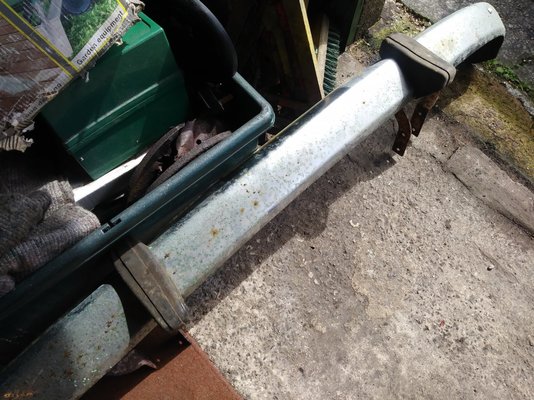
I have a very good friend who has a stash of R4 parts, and he came up with a bumper from an early 70s car that needed a bit of fettling, but might do the job.
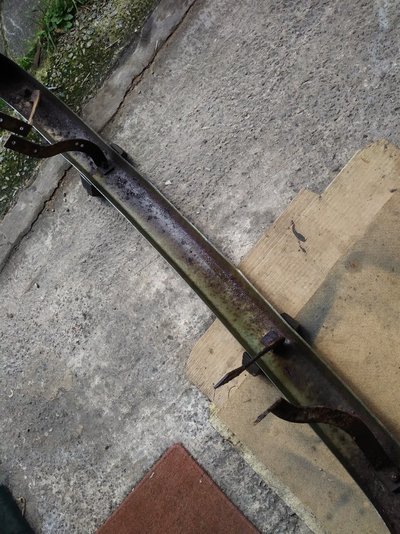
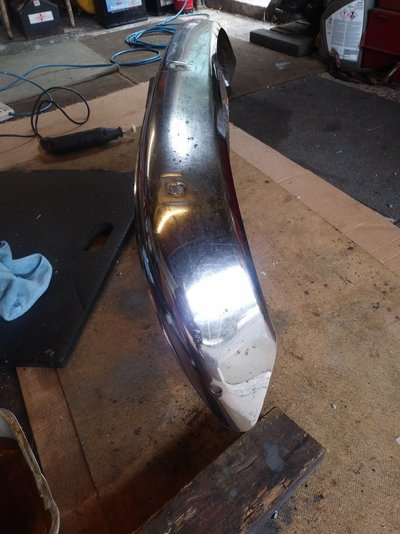
It's amazing what you can do with some diet Coke, kitchen foil, chrome polish and a polishing mop. The back was rotary wire brushed, painted with silver Hammerite Smooth, and treated to a coat of Dynax S-50.
I'm quite pleased with the end result. Some might say it's scruffy, but I prefer the word patina, and matches the rest of the car. I just need a front one now to match it, and mon ami is going to check his Aladdins Cave.
Actually it's nice to have an original bumper to replace what was a repro one.
Here's a question for the experts. I've often wondered what the small hole is for on the ends of the bumper, all I can think of is anchor point for mud-flaps?
PS, the box of Cotes du Rhone has nothing to do with my driving that day :whistle:20190708_203137.jpg20200801_111009.jpg20200801_110940.jpg20200801_150443.jpg20200802_142819.jpg
 
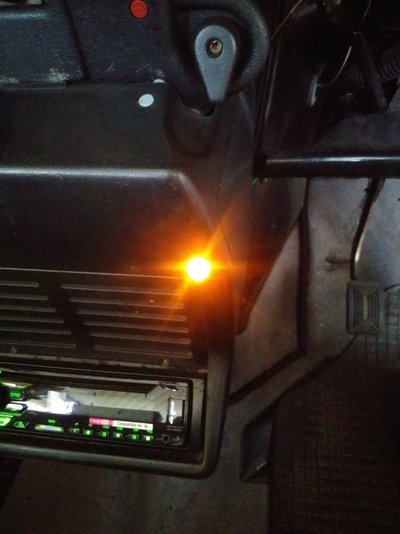
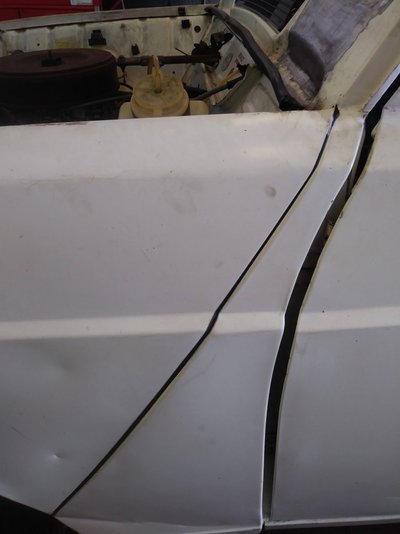
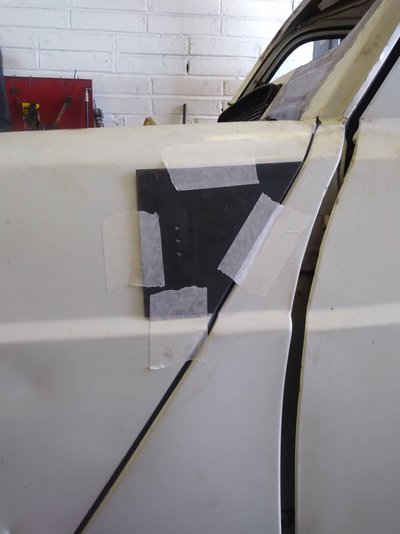
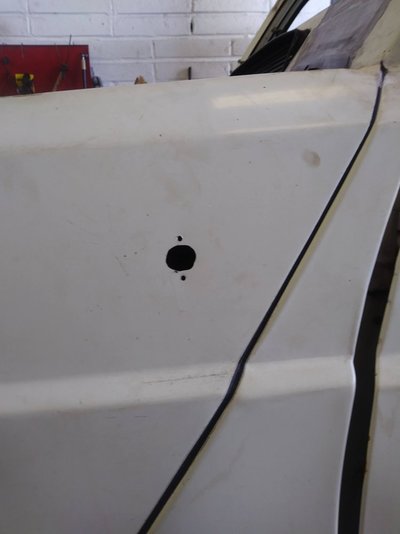
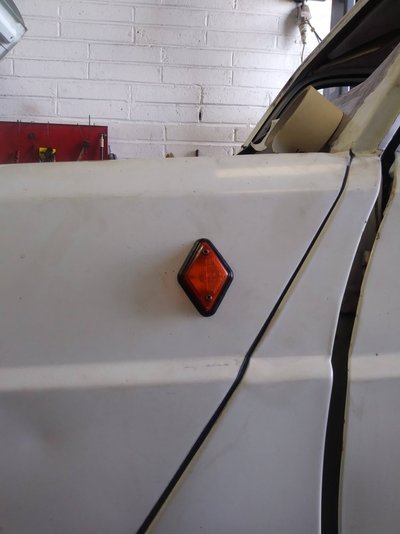
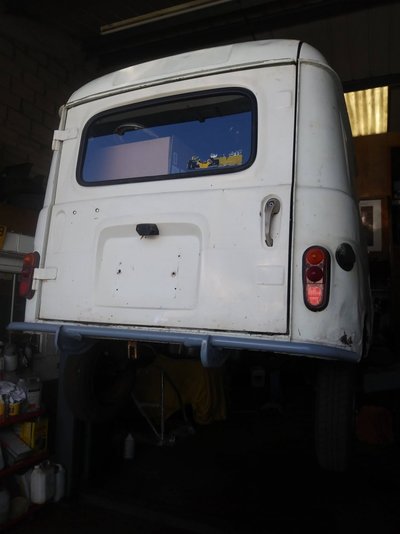
I spent a few enjoyable hours today at renault4mads' garage near Penzance, fitting a pair of side-repeater lights to his F4 Fourgonette for him, generally having a blokey day, chewing the cud, oh, and a pasty and cuppa for lunch.
I'd previously made a template to give the correct position for drilling, from the side-repeaters on my car. His van already had bullet connectors in the loom, so plugging in was dead easy, and it even had holes in the inner wings to pass the cables through, so it was all very straightforward. The last thing we did today was fit his newly refurbished rear- bumper.20200807_103441.jpg20200807_103822.jpg20200807_105906.jpg20200807_113713.jpg20200807_134848.jpg
 
Back
Top