


You are using an out of date browser. It may not display this or other websites correctly.
You should upgrade or use an alternative browser.
You should upgrade or use an alternative browser.
What I am doing!
- Thread starter JonathanT
- Start date
Paul Narramore
pre-moderated
- Messages
- 840
- Location
- Aylesford, Kent
Quite! Discovered little dent tonight Fortunately I can rub it out from the back easily.
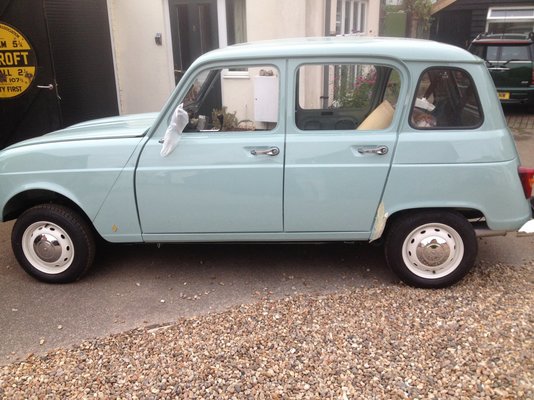
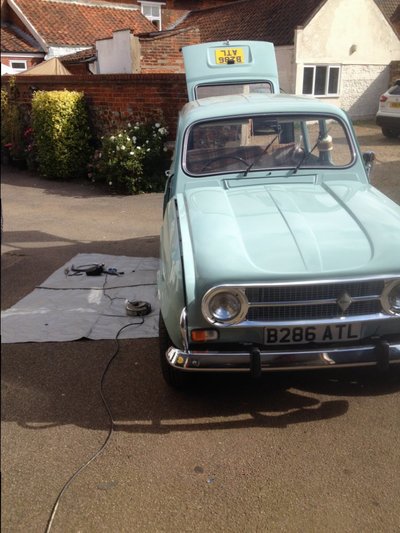
Every single panel on my car bares a dent, even the roof. With three previous women owners, am I surprised? Anyway they are part of her history, so let's call it patina
JonathanT
Not normal for Norfolk
- Messages
- 1,332
- Location
- Wymondham Norfolk
JonathanT
Not normal for Norfolk
- Messages
- 1,332
- Location
- Wymondham Norfolk
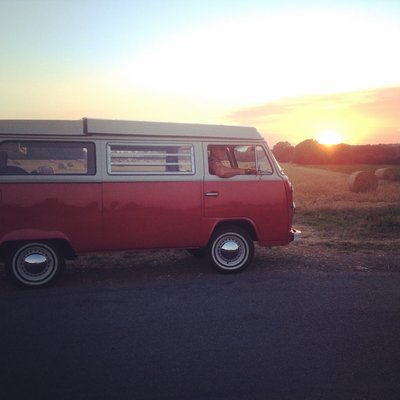
Well this evening has been a diversion. My mate Steve came round in his newly restored campervan. It's beautiful! So a burger and a few beers have been downed. So that has probably scuppered burning the midnight oil in the shed with Womble..
JonathanT
Not normal for Norfolk
- Messages
- 1,332
- Location
- Wymondham Norfolk
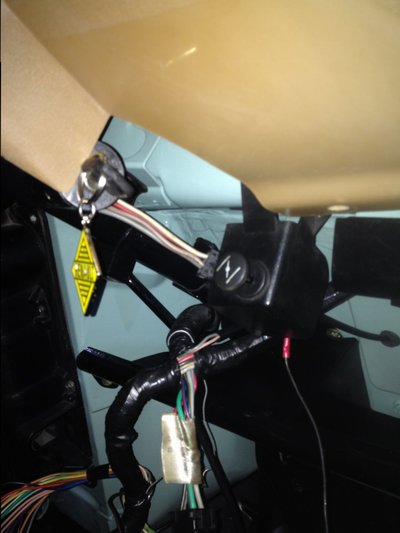
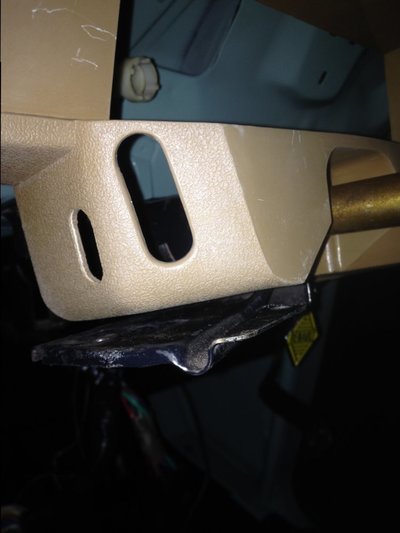
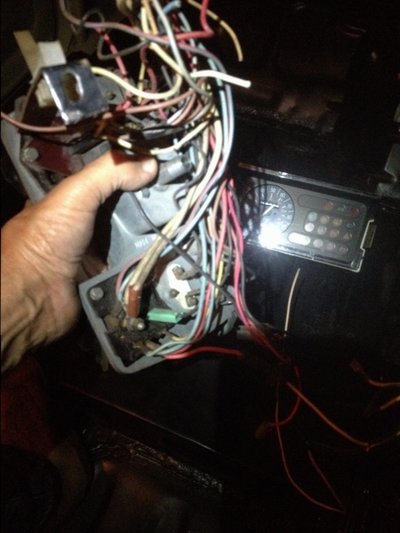
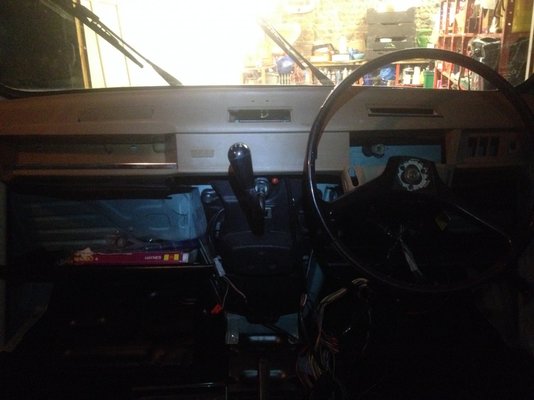
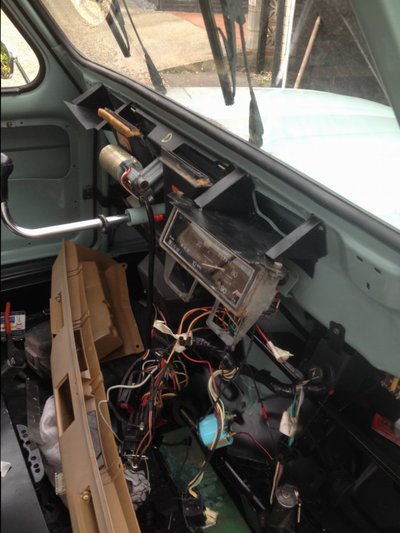
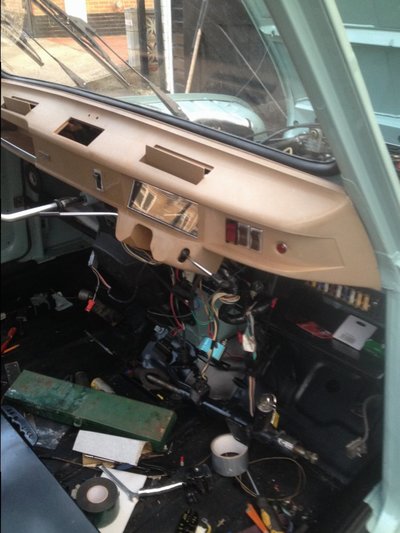
Decided the safest policy is do the contemplation rather than do. So thinking ahead for the final challenge .....fitting the old style dashboard and modifying the wiring and stuff.
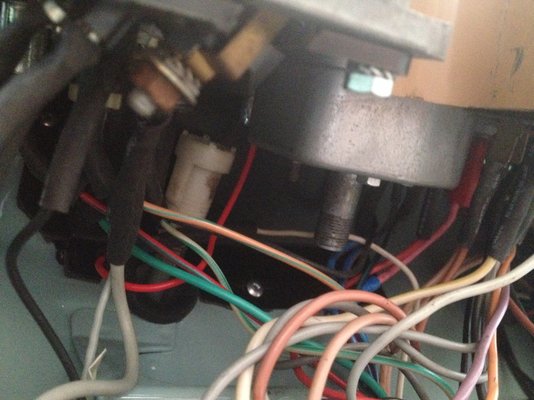
The dash fits well and the column is fine but will need the switch mounting plate cut off it . The choke is fine in its GTL position and I can make a little screen plate to hide the wiring alongside it too. The ingnition switch fouls the dash a bit and will need cutting carefully. Maybe I should sort the wiring first before modifying any of the mountings etc. The wiring looks fairly formidable
The dash fits well and the column is fine but will need the switch mounting plate cut off it . The choke is fine in its GTL position and I can make a little screen plate to hide the wiring alongside it too. The ingnition switch fouls the dash a bit and will need cutting carefully. Maybe I should sort the wiring first before modifying any of the mountings etc. The wiring looks fairly formidable
JonathanT
Not normal for Norfolk
- Messages
- 1,332
- Location
- Wymondham Norfolk
A long day and I just kept plodding along ...... Only this afternoon Rolemin came to see me in his newly aquired R4  . Stupidly I didn't take a photo.
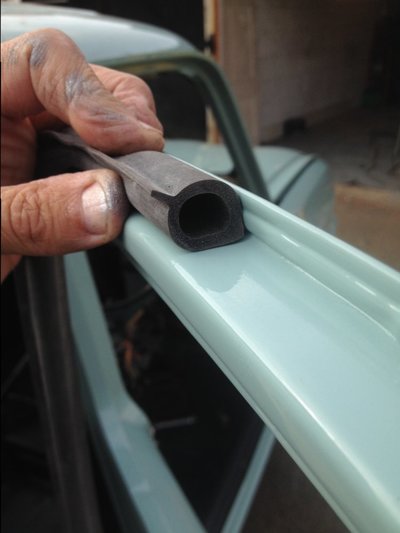
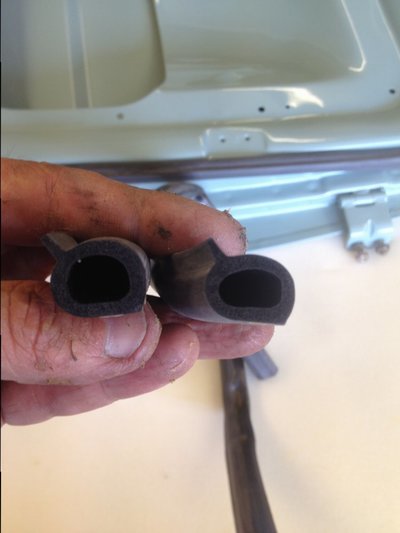
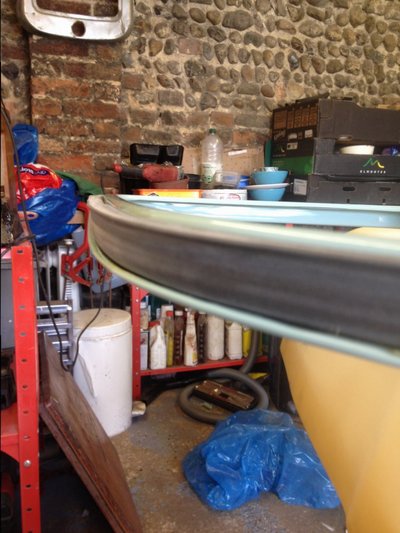
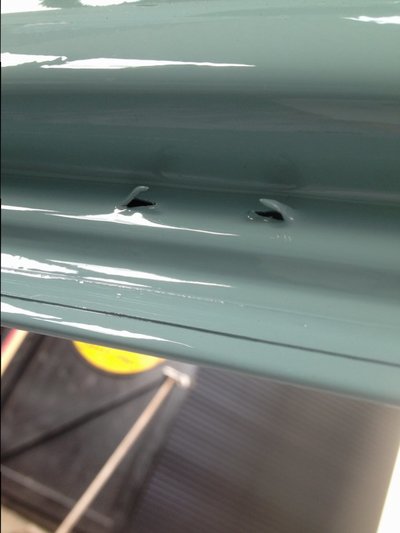
I managed to get all the door rubbers on Womble. This was challenge enough. Tried rubber gloves but gave up as I just kept sticking myself to the car. It has to be aligned really carefully as there is 90deg edge that must be sit tightly in the edge shape of the door. The rear door was particularly difficult especially at the lower edge. It was too long so I had to trim it. Also The profile pdidn't fit evenly against the boot shape. But I managed it in the end. Now completely knackered
. Stupidly I didn't take a photo. I managed to get all the door rubbers on Womble. This was challenge enough. Tried rubber gloves but gave up as I just kept sticking myself to the car. It has to be aligned really carefully as there is 90deg edge that must be sit tightly in the edge shape of the door. The rear door was particularly difficult especially at the lower edge. It was too long so I had to trim it. Also The profile pdidn't fit evenly against the boot shape. But I managed it in the end. Now completely knackered
JonathanT
Not normal for Norfolk
- Messages
- 1,332
- Location
- Wymondham Norfolk
I also got all the remaining Windows in . Got in a right mess with black mastic 
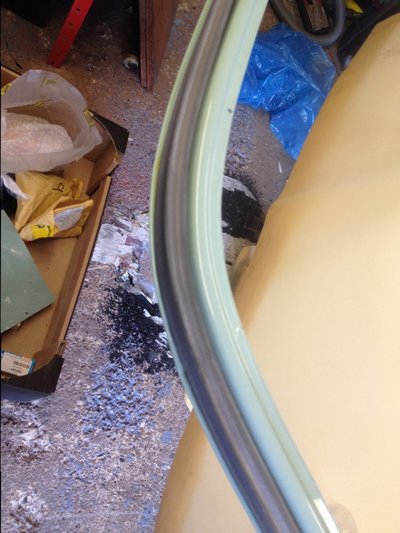
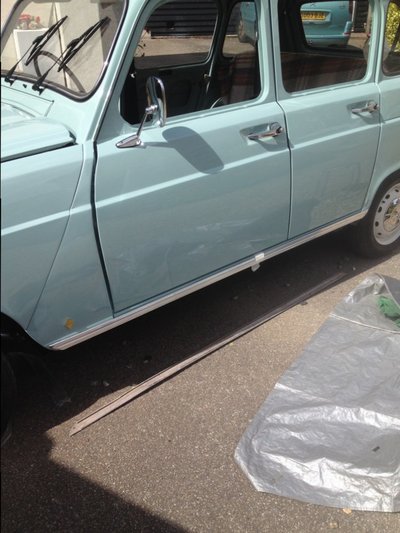
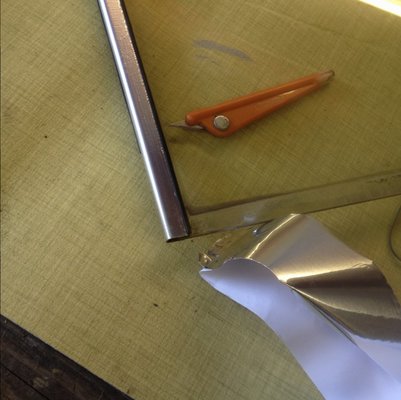
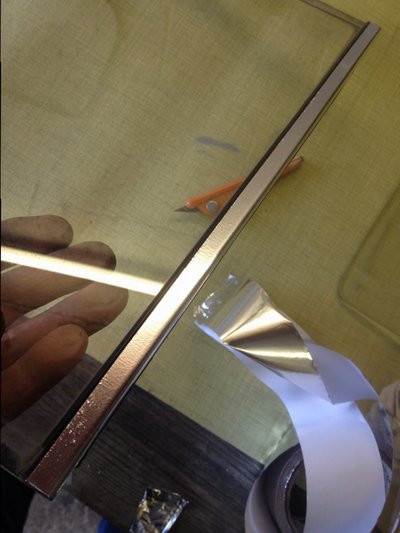
Came up with An idea to improve the finish of the chrome strips. Having cleaned the rust off they can be covered in aluminium tape .looks good but sadly didn't work on the curved ones
Came up with An idea to improve the finish of the chrome strips. Having cleaned the rust off they can be covered in aluminium tape .looks good but sadly didn't work on the curved ones
JonathanT
Not normal for Norfolk
- Messages
- 1,332
- Location
- Wymondham Norfolk
Boy gets girl?....that's just fabrication.(see feeling dim) ...and onto fabrication of another sort ...
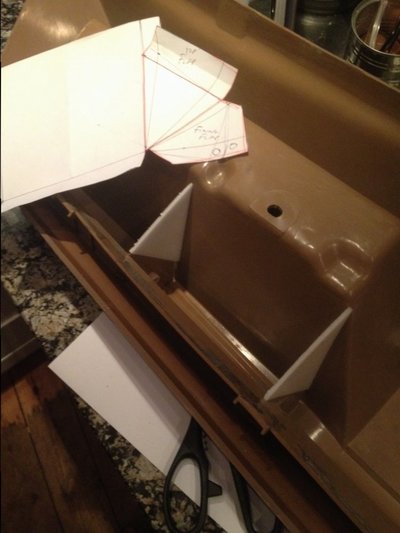
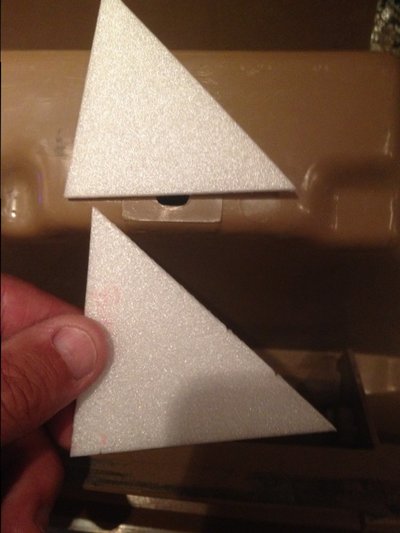
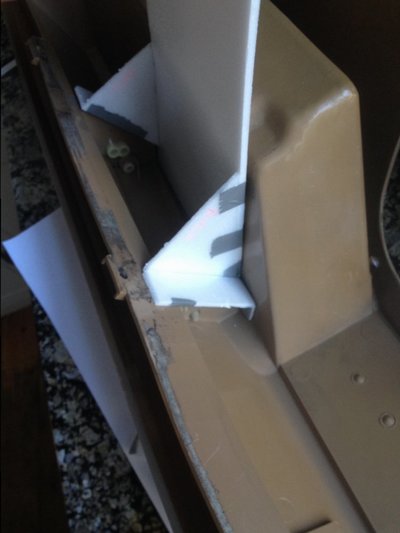
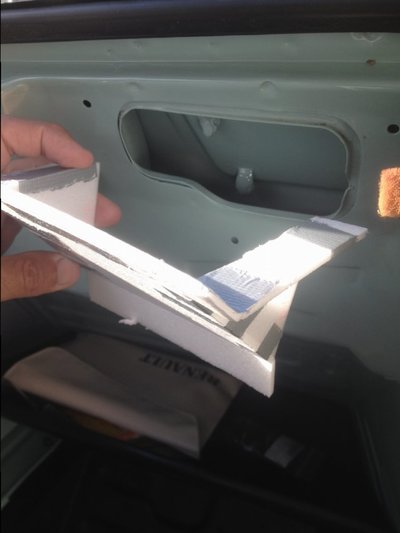
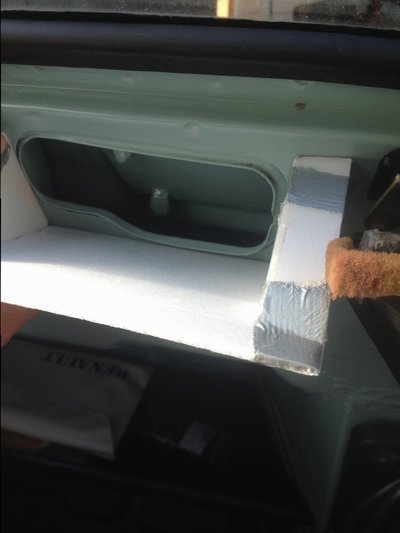
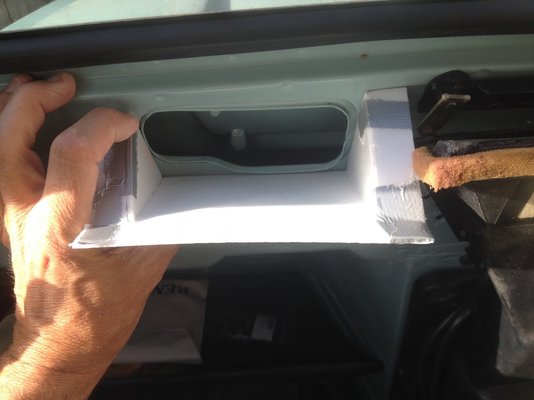
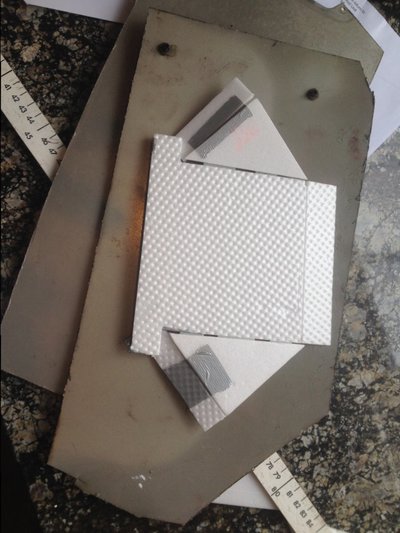
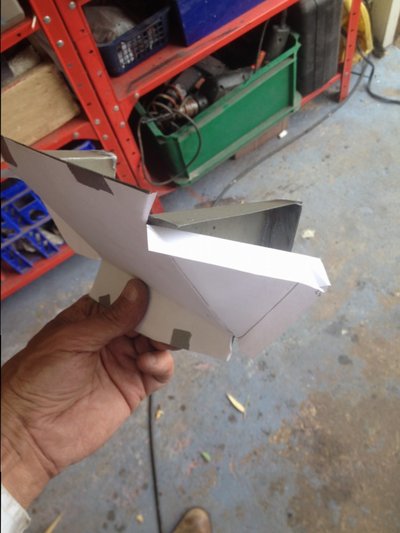
Following Azzazellos measurements I first made a paper model. Now in process of making a stiffer model from depron (pizza base packing) looking at the underside of the dashboard I can check the shape out. It's easy to see that these duct things are handed. Asymmetric -smaller on the outside sides than the middle sides.(tapered) So Paul you are right they cannot be swapped left to right . More tomorrow I'm off to bed completely knackered.
Following Azzazellos measurements I first made a paper model. Now in process of making a stiffer model from depron (pizza base packing) looking at the underside of the dashboard I can check the shape out. It's easy to see that these duct things are handed. Asymmetric -smaller on the outside sides than the middle sides.(tapered) So Paul you are right they cannot be swapped left to right . More tomorrow I'm off to bed completely knackered.
JonathanT
Not normal for Norfolk
- Messages
- 1,332
- Location
- Wymondham Norfolk
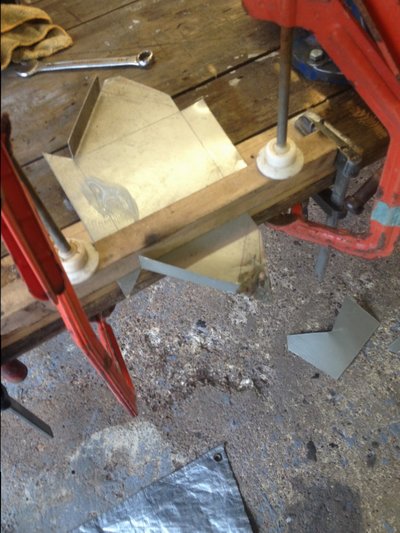
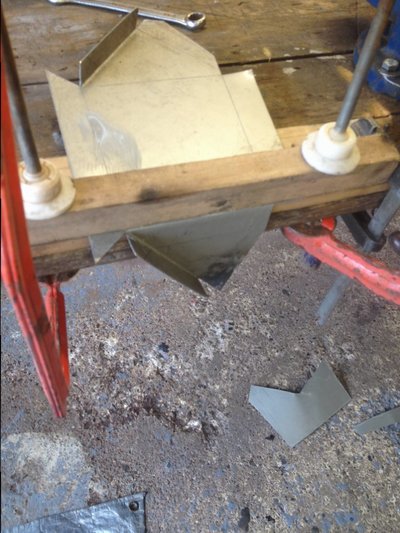
Well it's been very hard work today . Those air ducts are quite different from each other. Started out by folding the template the other way so I would have a left and right hand pair. But it's more complex than that as they extended further into the dashboard more on the Speedo side. The Speedo is also mounted on one of them and this needs to be strong Enough to support it.
JonathanT
Not normal for Norfolk
- Messages
- 1,332
- Location
- Wymondham Norfolk
mr-reno-139
AKA Paul Cunningham
- Messages
- 2,247
- Location
- lancing west sussex england
You are very keen ☺
Bet I could of found you a pair by asking Andrew Lewis on here
Bet I could of found you a pair by asking Andrew Lewis on here
JonathanT
Not normal for Norfolk
- Messages
- 1,332
- Location
- Wymondham Norfolk
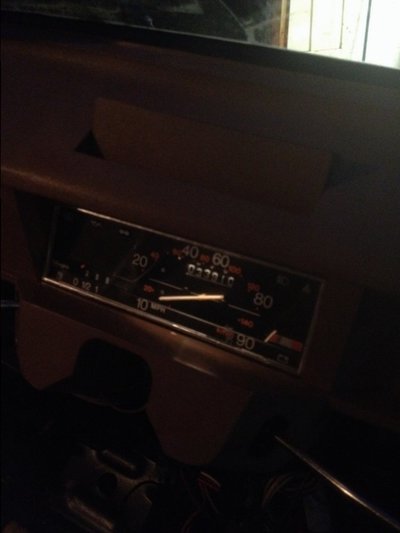
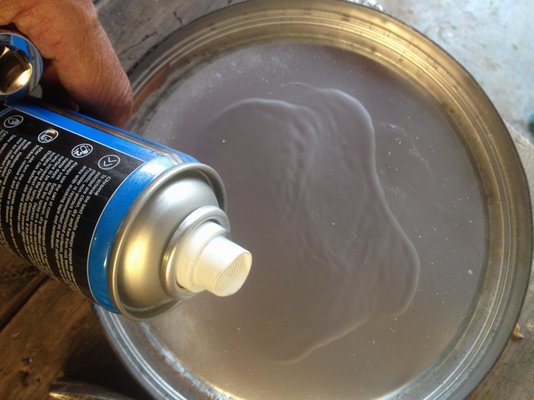
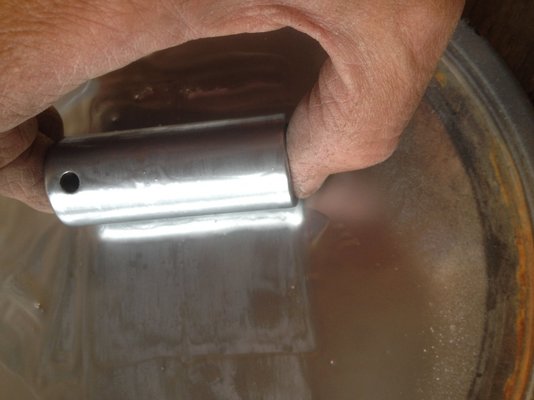
The speedo has the little silver trim around the edge and the lettering on the dashboard itself is also silvered. This had worn off. So I came up with a plan to print the silver paint back on . I used a socket set as a roller. spray paint on a flat tin lid. Then picked up the paint like a roller and printed it on to the speedo and Lettering

mr-reno-139
AKA Paul Cunningham
- Messages
- 2,247
- Location
- lancing west sussex england
Different speedo cable needed too or have you discovered that already ☺
JonathanT
Not normal for Norfolk
- Messages
- 1,332
- Location
- Wymondham Norfolk
Different speedo cable needed too or have you discovered that already ☺
Hi Paul yup I noticed but I still think the existing can be made to work. What I hadn't reckoned on was the fact the cable is in the wrong place and I need to drill a new hole (s)
JonathanT
Not normal for Norfolk
- Messages
- 1,332
- Location
- Wymondham Norfolk
From what I can tell originals won't fit as the bulkhead seems to have taller holes and different shapes . So mine are hybridYou are very keen ☺
Bet I could of found you a pair by asking Andrew Lewis on here