Clementine's Garage
Clementine the Cat
 
Image of flower
Yellow R4
 
Réparateur d'automobiles

1985 Renault R4 F6 restoration project

After a few days of drying the inside looks very promising!
The coating is nice, smooth, tough, and feels like ceramic. :D
 
  • Tank-Resto-21.jpg
    Tank-Resto-21.jpg
    34.2 KB · Views: 380
  • Tank-Resto-22.jpg
    Tank-Resto-22.jpg
    41.2 KB · Views: 386
  • Tank-Resto-23.jpg
    Tank-Resto-23.jpg
    33.4 KB · Views: 386
  • Tank-Resto-24.jpg
    Tank-Resto-24.jpg
    44.3 KB · Views: 381
I did a similar job on my tank, using phosphoric acid to remov rust and Tankerite to paint the inside of the tank. It is a 2 pack paint suitable for fuel. All the needed components (acid, paint and hardener) came together in a pack for 60 euros.
Quite happy with the result, but I did the job just a couple of months ago...
 
Finally - After more than 3 Years searching I was able to get my hands on a new badge for the rear door of my van.
Yahoo.gif


Here it is ...
 
  • Badge.jpg
    Badge.jpg
    20.6 KB · Views: 347
Today I started to prepare the tank for painting the outside.
First of all I had to remove the paint I sprayed on a few weeks ago "to work on a nicely fresh painted tank".

(What a dumb idea that was ...)
Doh.gif
 
  • Tank-Resto-25.jpg
    Tank-Resto-25.jpg
    39.8 KB · Views: 314
what was wrong with your special etch primer?? Couldn't you just spray over it with the final coat?
 
what was wrong with your special etch primer?? Couldn't you just spray over it with the final coat?
The tank is zinc plated. The spray primer I used was just a cheap anti-rust spray can.
It doesn't stick too good to the zinc surface. You can easily scratch it off.

So I decided to remove it completely.
The tank will be painted with a special zinc etch primer and a final coating of black 2 pack paint which I still have on the shelf.
 
I used a special paint to make normal paint stick on zinc coated surfaces, then antirust and black paint.
I wonder if the antirust will work fine, this way.
There were a few rusted areas on the tank, but I brushed and used phosphoric acid on them...
 
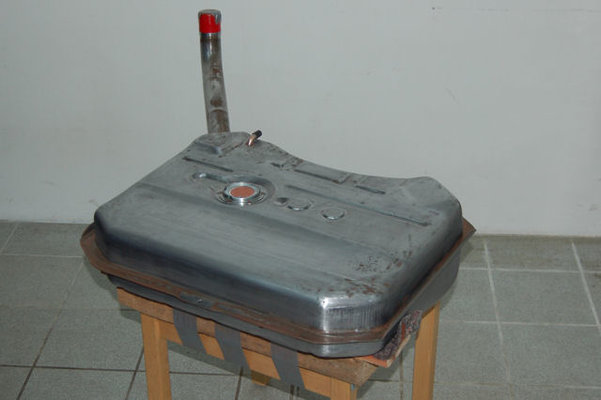
I bought a special 2 pack etch primer for zinc plated surfaces.

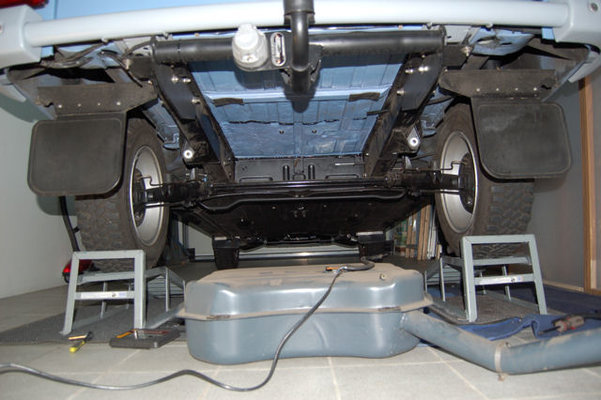
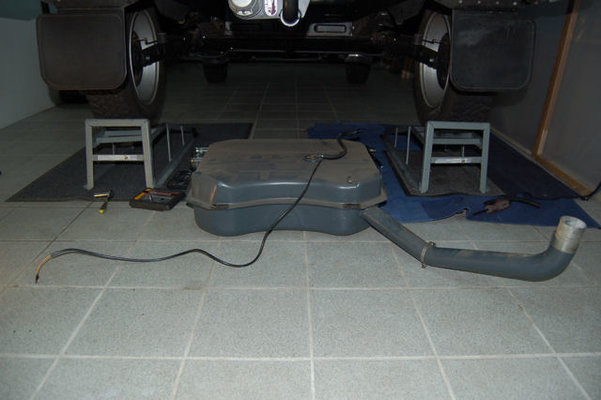
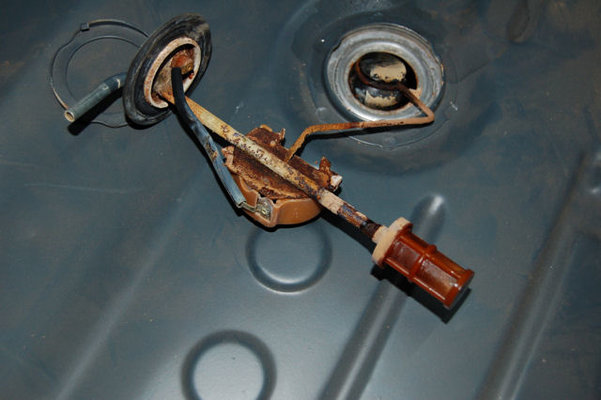
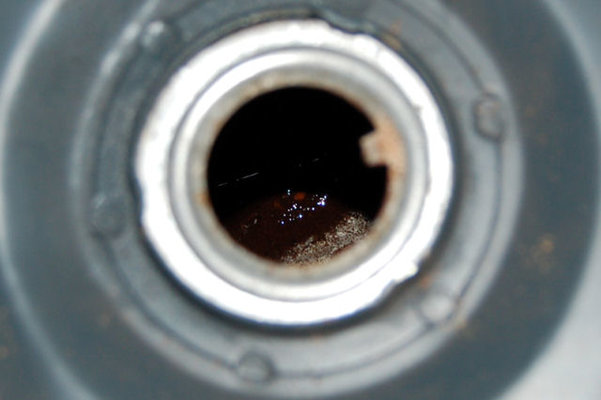
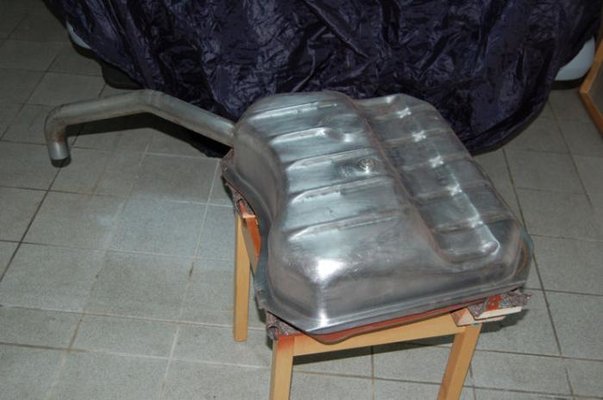
Yesterday I finished the preparation of the tank. There are some rust spots as well but I'm not too concerned about them.
The primer will seal and protect them properly...

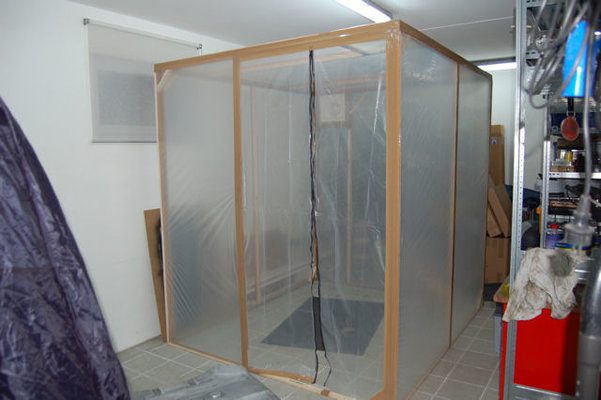
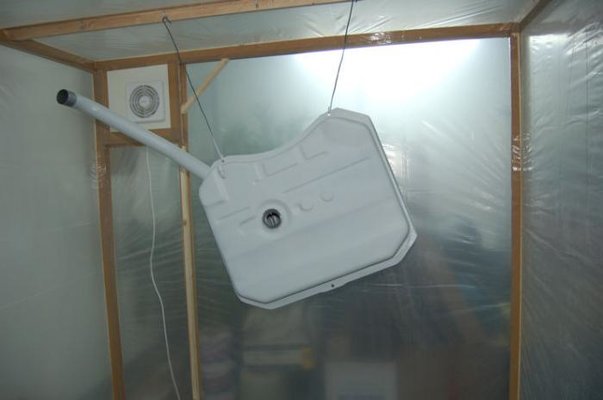
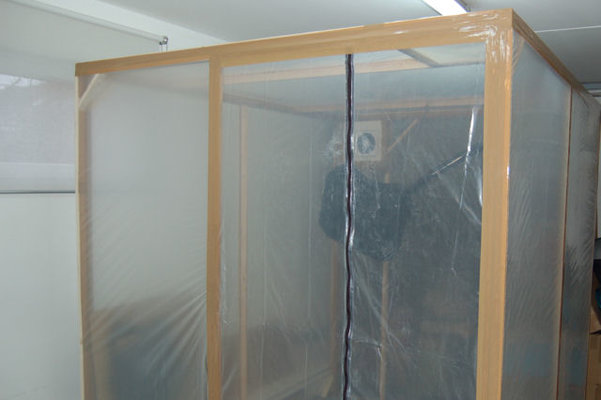
Then I installed my self-made paint booth in the garage.
It is modular and consists of 5 wooden frames, each covered with a durable plastic sheet.
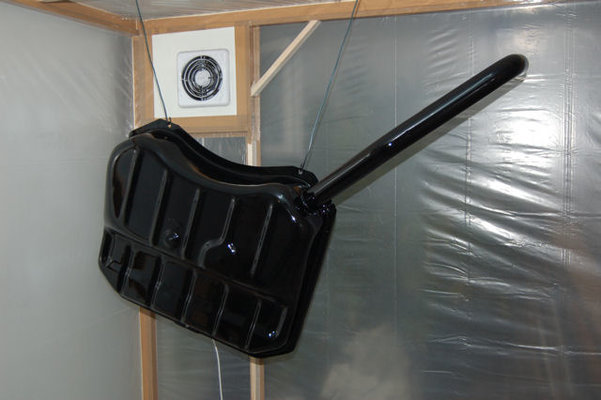
The rear frame has a built in blower to suck air out. (When in use I attach a flexible hose that runs out of the window.)
The top frame has a filtered screen to allow air-flow and a durable zipper works as a "door".
The frames are just taped together with adhesive tape. That way I can set up the booth in less than half an hour.
Afterwards I just cut the tape with a sharp knife and take the booth apart.
I store the frames at the far side of my garage and they take up very little space when not in use. :cool:
 
  • Tank-Resto-26.jpg
    Tank-Resto-26.jpg
    41.2 KB · Views: 290
  • Tank-Resto-27.jpg
    Tank-Resto-27.jpg
    58.1 KB · Views: 283
... and ... black !!!

:D
 
  • Tank-Resto-29.jpg
    Tank-Resto-29.jpg
    43.6 KB · Views: 513
  • Tank-Resto-30.jpg
    Tank-Resto-30.jpg
    51.4 KB · Views: 510
Thanks Alexandre!
I know I can be very nit-picking with my work. ;) :oops:

Here is a comparison of the fuel sender/pick-up unit new vs old ...
 
  • Tank-Resto-31.jpg
    Tank-Resto-31.jpg
    45.5 KB · Views: 470
  • Tank-Resto-32.jpg
    Tank-Resto-32.jpg
    44.7 KB · Views: 474
Usually it's a pain to remove and fit the fuel gauge; do the new one fit better? It should, given the smaller balloon...
I do not know why, but mine resulted too long after the inside-painting of the tank (and there was not a thick layer of paint, because I drained the exceeding), and I needed to shorten the metal tube of a couple of mm...
 
Today I removed the "old" fuel tank.
I put the car on ramps, removed the spare wheel and it's carrier, removed the small cross member that holds the tank, and then the tank itself.
Pretty straight forward everything ...
 
  • Tank-Resto-33.jpg
    Tank-Resto-33.jpg
    53.4 KB · Views: 427
  • Tank-Resto-35.jpg
    Tank-Resto-35.jpg
    71 KB · Views: 427
  • Tank-Resto-36.jpg
    Tank-Resto-36.jpg
    53.2 KB · Views: 442
The fuel sender is in a pretty bad condition. :eek:
A miracle that it still works.
The inside of the fuel tank is not looking any better ...
 
  • Tank-Resto-37.jpg
    Tank-Resto-37.jpg
    54 KB · Views: 426
  • Tank-Resto-38.jpg
    Tank-Resto-38.jpg
    45 KB · Views: 431
Today I assembled the new fuel tank.
It's a little bit challenging to get the sender-/pick-up-unit inserted into the small opening of the tank.
 
  • Tank-Resto-39.jpg
    Tank-Resto-39.jpg
    24.2 KB · Views: 423
After I checked that the fuel gauge is working properly I completed the installation of the fuel tank.
:D

I think I will prepare my "old" fuel tank as well.
I still have more than half a Litre of the expensive POR15 tank sealer and all the chemicals so it would be a shame not to use them as intended.
I'm sure in the Renault4 world there will be someone out there in need of a properly restored fuel tank. ;)
 
  • Tank-Resto-40.jpg
    Tank-Resto-40.jpg
    77.5 KB · Views: 410
Back
Top