Clementine's Garage
Clementine the Cat
 
Image of flower
Yellow R4
 
Réparateur d'automobiles

And what now? Help?!

Teodor

Enthusiast
Messages
64
Location
Istria
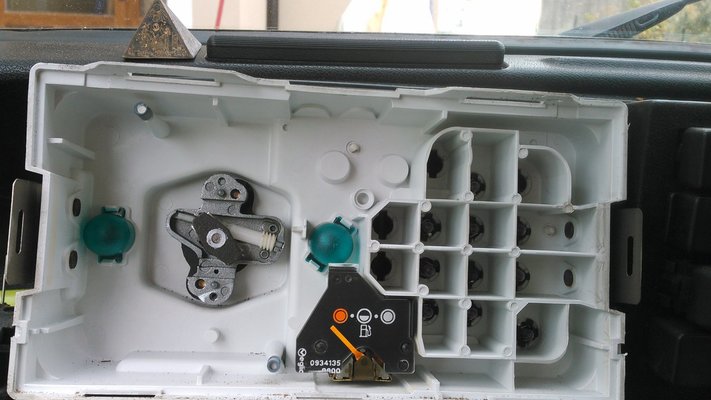
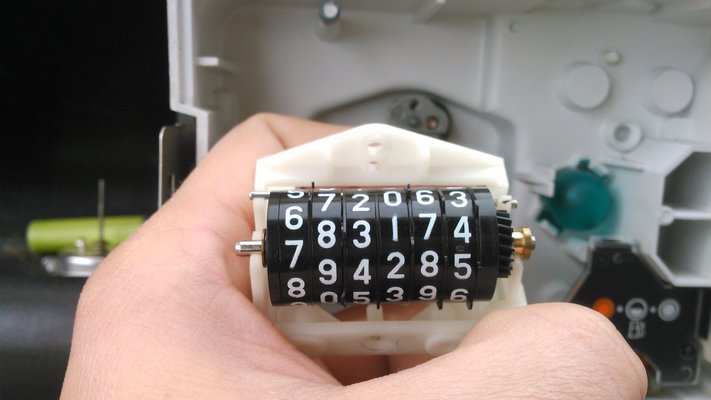
So, since i decided to completely renew the interior of Whitey, the last part is the dashboard. And to be able to take apart everything, i had to take apart everything, and while doing so, i managed to, simply put it, break this. Does anyone know how to align this, where those little "pins" have to be, and how do i set them up so they function properly, and count meters and km's properly? Please help :)20171102_115035.jpg 20171102_115105.jpg
 
I was doing something with counter and it was not so easy to put it back to function properly.
Maybe i have pictures somewhere in my archive.
Will get back.

If i remember correcrly you need to alighn those pins in straight line. They can be turned separetly from numbers. There is rod that holds those pins while numbers are turning (when counter is in one peace)
 
I do not have any picture of that job. Sorry.

Idea is to slightly lose numbers (you have one shim at the end of shaft) that allows you to turn number separately.

I think that goes like this (not 100% sure)

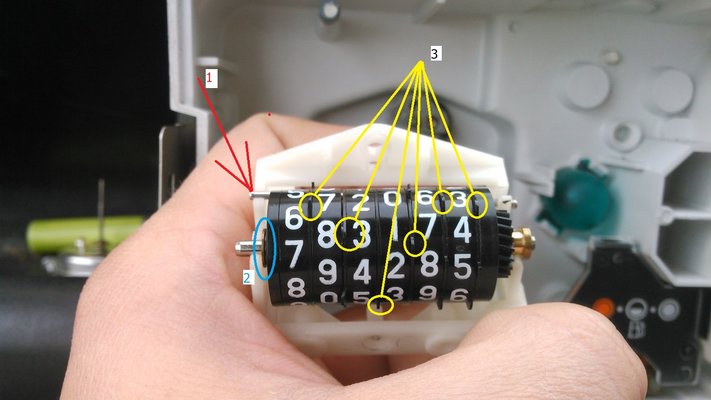
Steps!
1. Remove rod NO1.

2. loosen shim NO2. just enough so you can turn number independently from each other.

3. Those nobs beside numbers can also be turn separately. Align those nobs in line close to rod NO1.

4. When you set numbers you want and all nobs are in line close to rod NO1 then you can out back rod NO1 in his slot.

5. Press shim back to the numbers.

Picture that goes with steps
20171102_115105.jpg

Now it should work as before with new km on the clock.

There is possibility that all number wont be aligned and you wont see them clearly thru square hole at cover.
Then you need to repeat steps until you get them aligned right.

Good luck
 
Thank you petak, for this very detailed info and how to.
I have managed to adjust it, and i assembled everything back.
Went for a test drive with a friend, and with the adventure we had, i forgot to check if it works as it should.
Didn't take it for a spin after since i'm a bit scared if it now :P
Long story short, it stalled again, hiccups, not turning on, turned on but no power.. It's dirt and rust mud in the reservoir and tubes and filter. So, we figured we'd feed fuel directly and decided to pump it out in a jar. Very stupid move. He held the pipe that runs from the fuel pump directed in the jar, while i was cranking it so the pump would indeed pump the fuel out, and all of a sudden, a giant fireball or should i say, fire cloud, covered the engine and my friend. He didn't catch on fire but the engine did, and fuel pipes too aswell as grass around us. It was pitch black, so imagine that. Luckily, i managed to put the fire out by wiping the fuel off with my hands and covering the pipe so it wouldn't leak more fuel out.
All in all, a very stupid idea, very stupid. It would've worked, but the execution wasn't really bright.
 
Hello Teodor, thanks for sharing that scary news. Very glad that your friend is not hurt.

I'm trying to work out how that could have happened. it's obvious that the fumes must have ignited, perhaps a short on your distributer or from a hot engine.

From now on I'm going to be extra careful
 
Very scary. As if Michael Bay was directing the adventure :D
We laughed like crazy, probably from all of the adrenaline and shock. The engine was cold.
We're guessing the fumes ignited from the alternator sparks, or a few drops of fuel went on it, we don't know. It was night.

I am going to change the tubes that feed the fuel, secure the ends with zip ties of those metal ones and wrap the tubes with heat isolating tape.

Since i won't be able to clean the reservoir for now, i'm thinking about adding another fuel filter just before the fuel pump, do you think that's wise? It shouldn't be an issue for the pump, too hard for it, right?
 
Some good news and a few pics :)

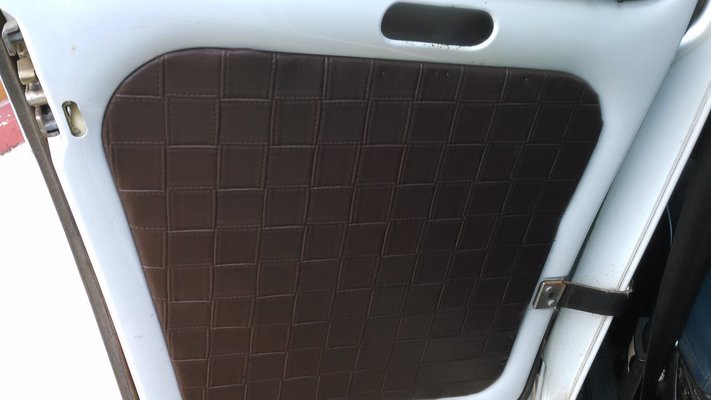
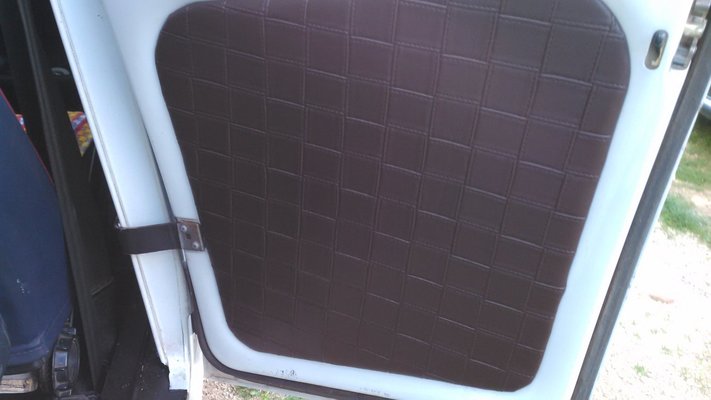
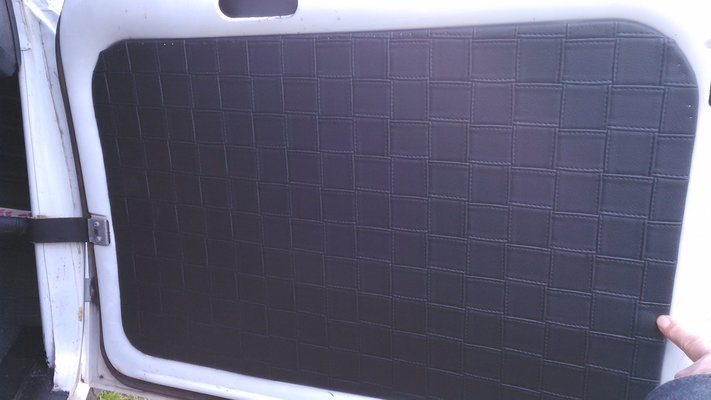
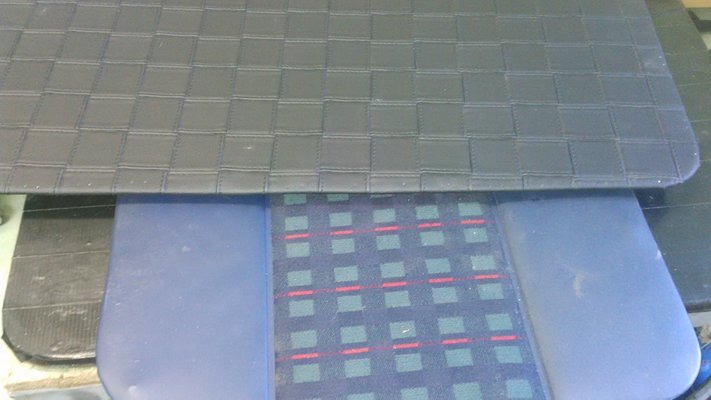
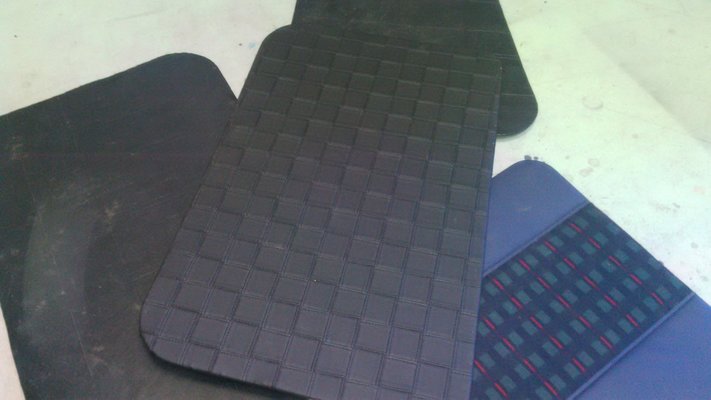
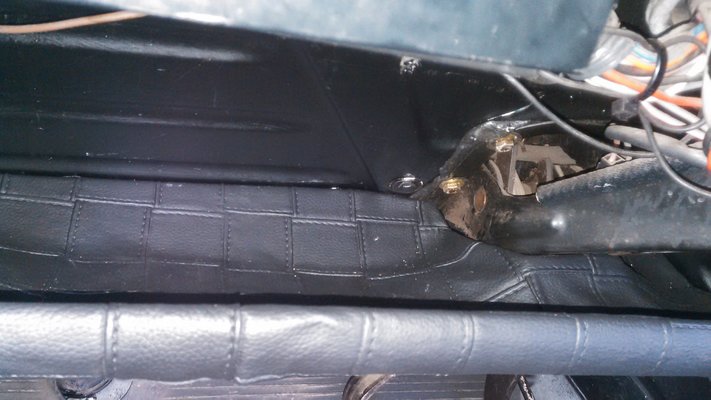
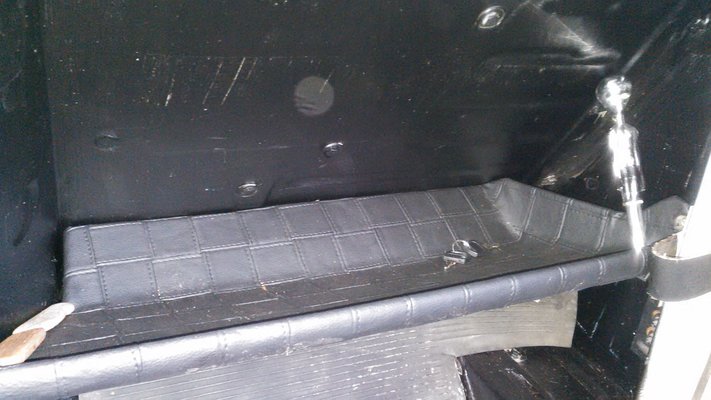
Panels and shelves done.

20171115_084858.jpg 20171115_084054.jpg
Back panels are brown since i had only brown left, after doing the front ones.

20171115_084035.jpg

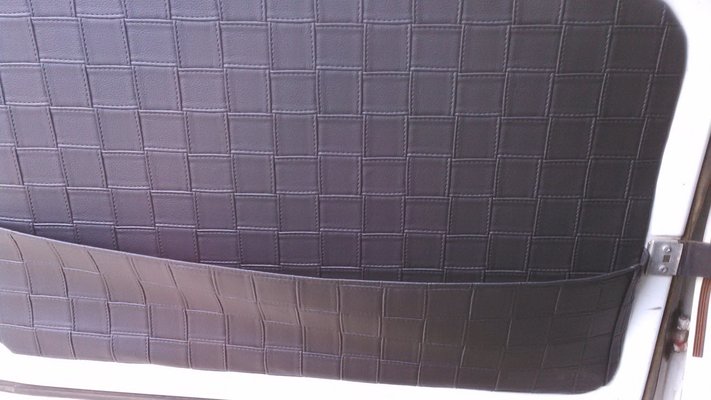
The driver's side has a pocket too.

20171115_083950.jpg
Original / New
20171024_151957.jpg 20171024_151909.jpg

20171115_084754.jpg

Little companion.

20171115_084409.jpg

Will post more after i'm done with the other plastic if i even do it, seems tougher.
 
  • 20171026_162434.jpg
    20171026_162434.jpg
    318.8 KB · Views: 3
Thank you Mr. Mojo,
The panels were easy peasy, the two shelves were a bit harder, all the curves and all. Still unsure if i should do the same to the main one, but it's one hell of a job to take it out as everyone here probably knows, and to cover it with that material while it's screwed in place is a bit complicated.

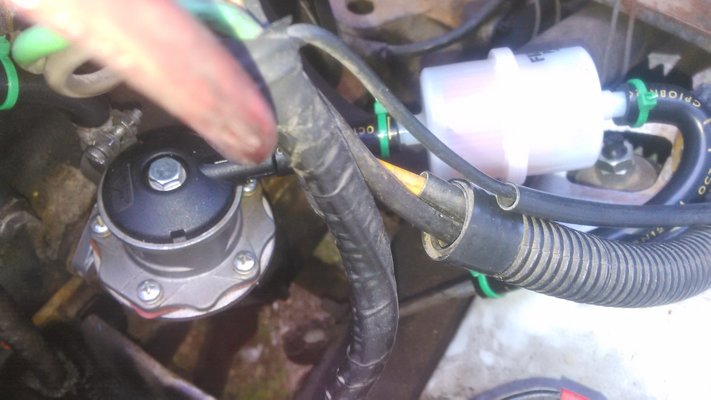
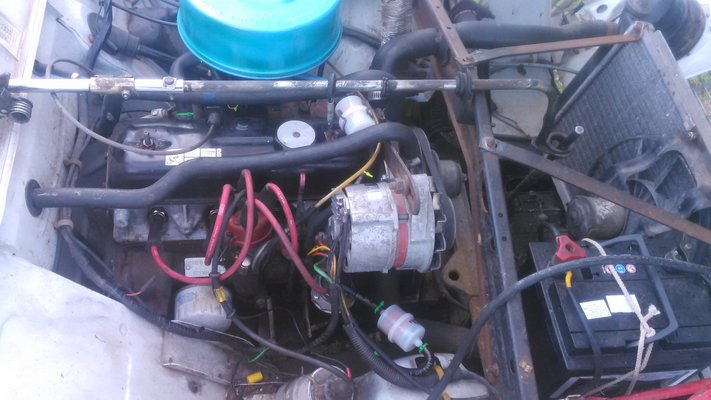
Also, i cleaned the carburetor and all of the pipes that run fuel through them and added an extra filter just before the pump. It seems the engine runs smoother than it did.
20171117_121214.jpg
20171117_121202.jpg


This is basically a cheat untill i clean the reservoir properly.
 
Let us know how much rust sediment you collect. The top of the fuel pump also has a filter in it.
 
Back
Top