Hi Steve,
I really enjoyed working on the 845cc! I also did a complete overhaul, and I learnt some lessons which I would like to share:
1. Make sure you refurb & polish the contactarea of the liners with the engine block. Then I used some grinding paste and an old liner to smooth out the surface. Twist the liner with gentle pressure.
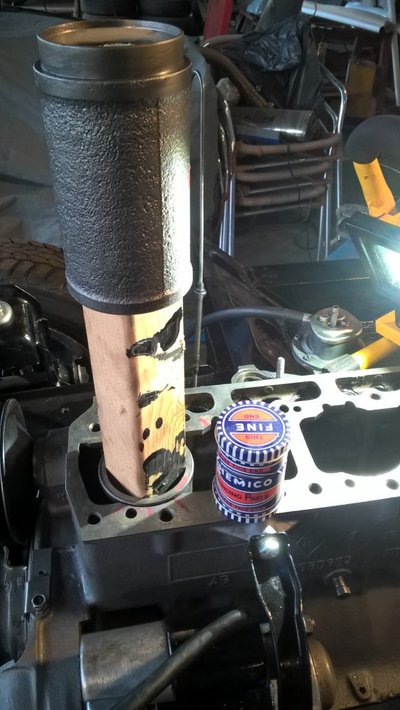
You will achieve smooth surface:
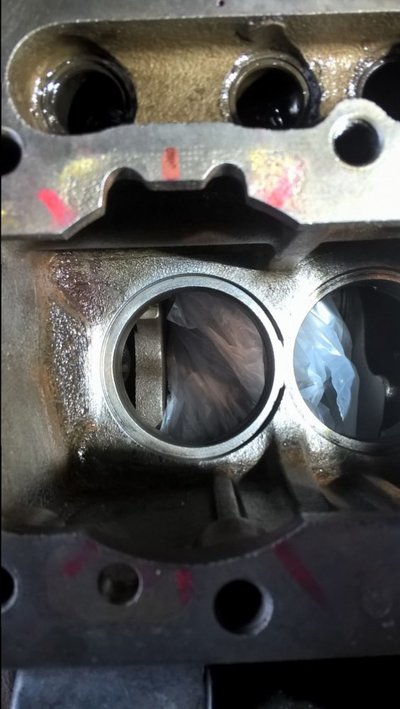
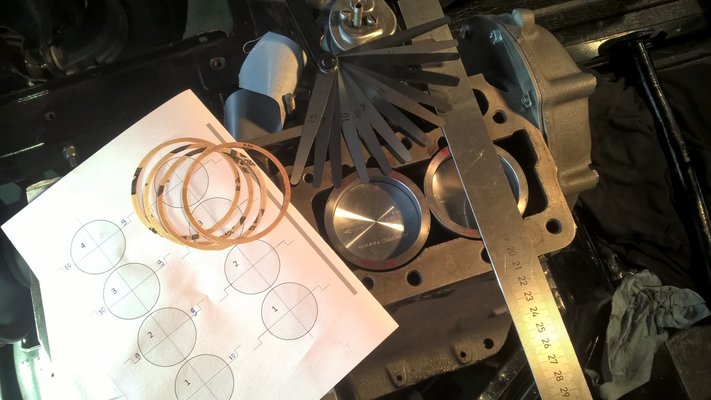
Then you can put the liners in without seals. You need to measure the distance of each liner with the engineblock surface. I used a special feelinggauge (range from 0,01mm - 0.02mm - 0.03mm etc.) to exactly measure the distance. You can use a clock micrometer too if you want.
Like these:
https://www.autogereedschap.com/a-24557616/voelermaten/voelermaten-midlock-extra-fijn/
You need to know this in order to use the correct seal thickness.
At my first try I used the paper seals provided by the parts supplier. It didn't worked out for me out as they were not thick enough to overcome the distance between the liners and engineblock. Result: leaking coolant through the engineblock direct into the carter. Second try I used
aftermarket paper gasket & cut to the proper dimensions.
And to be dead sure I used an heat resistant and fluid gasking seal.
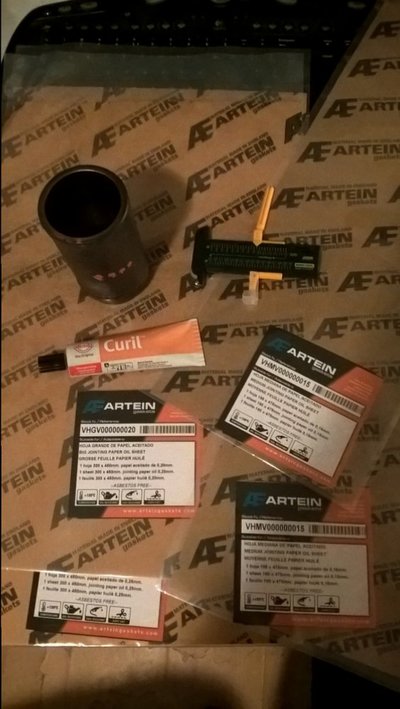
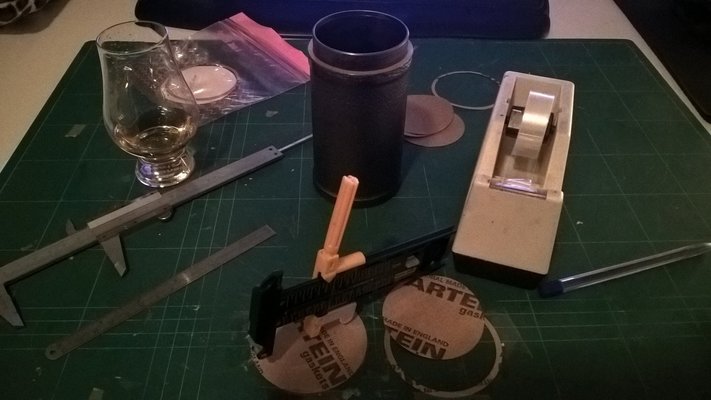
Or
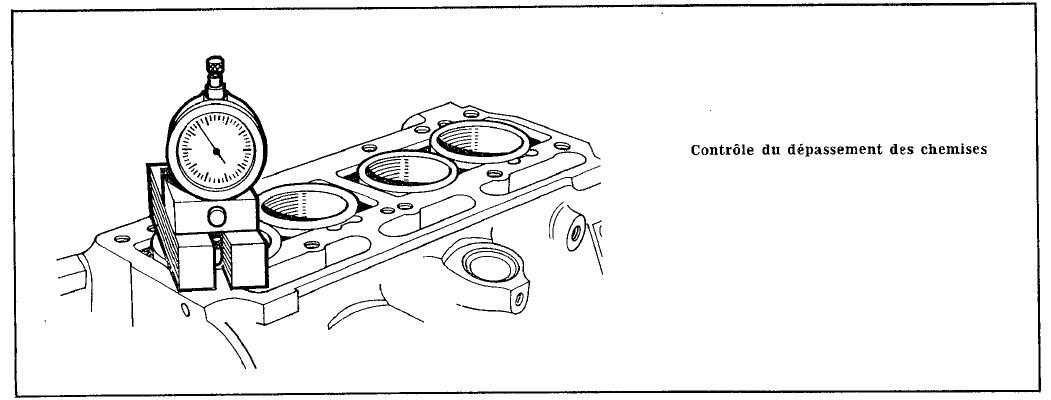
You have an 845cc B1B so that means to you need a tolerance of 0,04-0,12mm of the liners (with the seals included) sticking out above the engine blocks surface.
Then I put in the liners with some liquid sealant & paper gasket in the engine block. Then I placed the head gasket and cilinder head & bolted it with the correct torque. This will make a firm fit pressing the liners down. Then I flipped the engine in order to connect the piston rods to the crankshaft.
So, if I had to do it again:
-throw away the paper gaskets, and cut down your own
-measure, measure, measure
-use a small amount of liquid sealant
For a test if the seals work properly, I filled the coolantsystem, and opened the carter. If coolant comes out, you know you can do it again. Just be sure of this before you fill the engine with oil & first start. I was happy I did it first to to test..

Good luck and I would love to see your progress. Cheers, Jurjen


