Clementine's Garage
Clementine the Cat
 
Image of flower
Yellow R4
 
Réparateur d'automobiles

small works by allez-y

allez-y

Enthusiast
Messages
42
Finally I found some time to share my R4 here. It's an original GTL from '91, produced in Slovenia. 69,000 km and still factory paint. Except cut roof borrowed from twingo, repaired rims and bumpers coated, all the rest is in the first state.
Not in regular use, until summer when it becomes favorite car in family.:):cool::)

will come soon with a story how I did sunroof installation with no any assistance - only me and myself in a day and half..
Cheers!
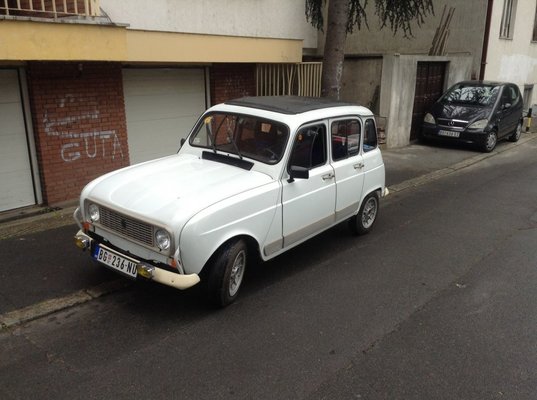
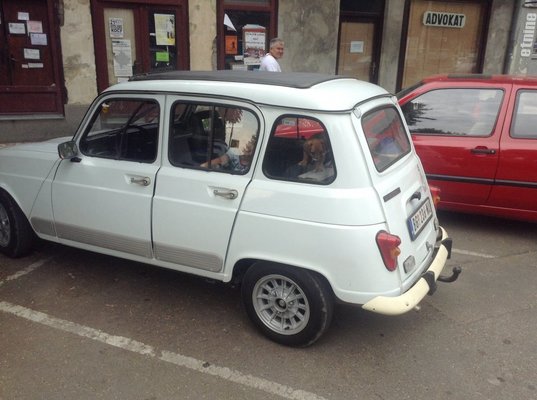
image.jpg image.jpg
 
Hi allez-y

Id love to see the photos and hear the info regarding your roof installation !

Cheers

Clanman
 
This is not any new guide in sunroof installation, but just what I found important or might be interesting for you.
Let's start with the list of material needed, tools ..

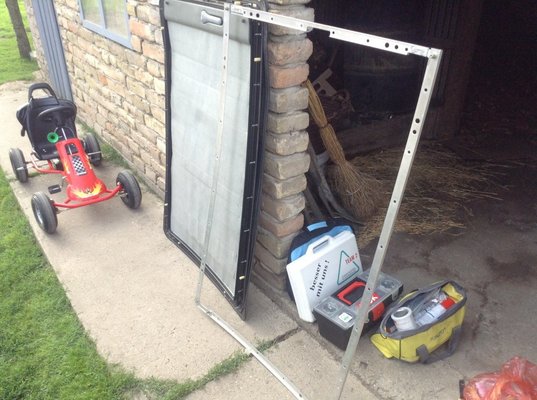
First, you need an used sunroof, twingo is fine. Be sure you have additional parts: alu rails, bolts, trims and front wind spoiler.

image.jpg
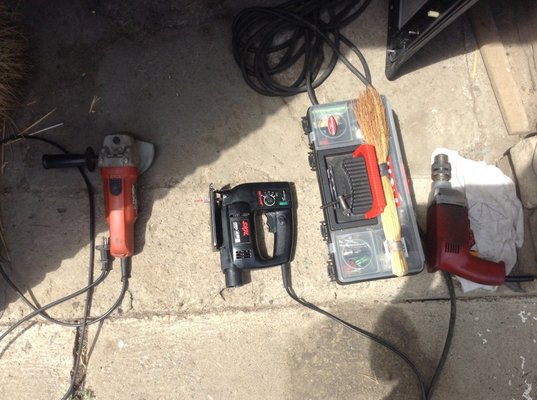
.. drill, jigsaw, grinder..

image.jpg
 
Last edited:
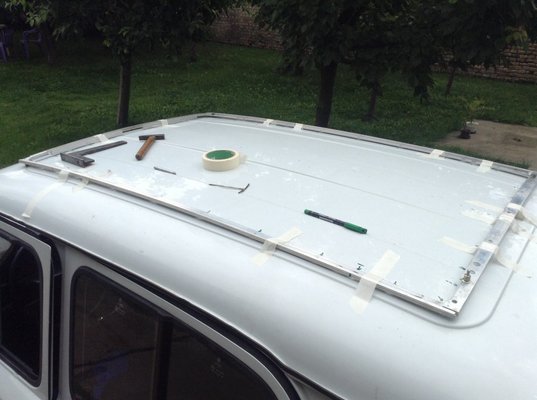
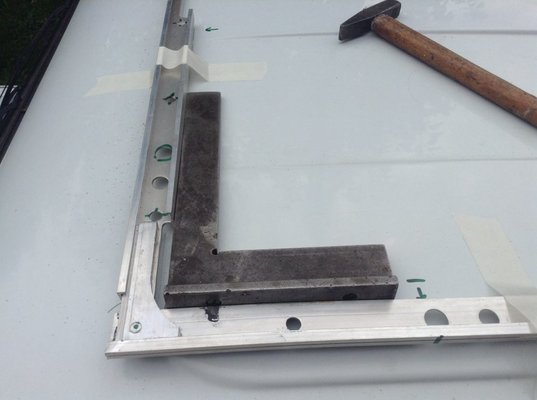
Marking starts with using closed rails made into a frame. Positioning on the roof should be taken into consideration, in particular to ensure front spoiler will sit near the bulge.

image.jpg

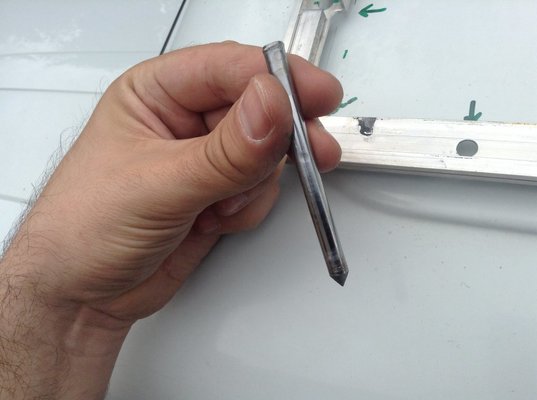
Once you position it correctly, use 6mm pricker to mark the spots for holes accurately through the center.

image.jpg
 
Last edited:
Important note before - make sure your rectangle has ninety-degree angles. This will ensure a moving of cover goes easy and smoothly..

image.jpg
 
Last edited:
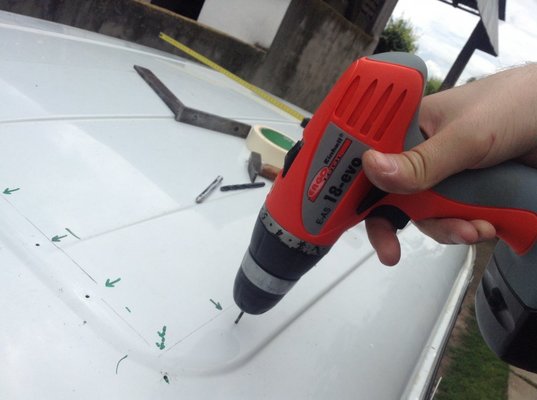
Drilling firstly with a 3mm drill, after with final 6mm.

image.jpg

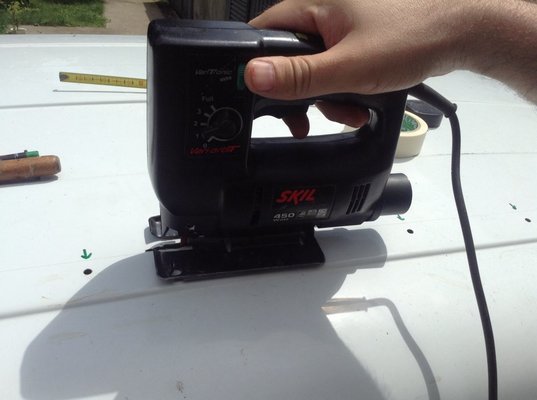
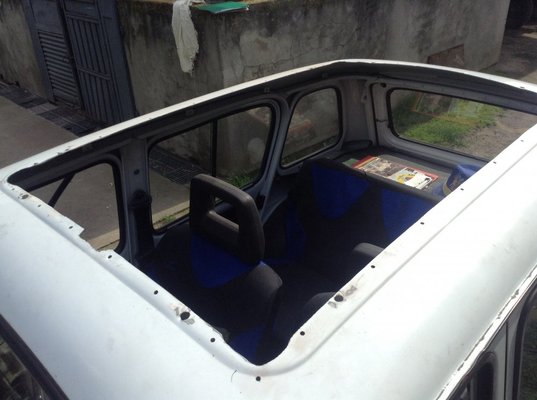
when the holes are finished, proceed to the cutting..

image.jpg
 
Last edited:
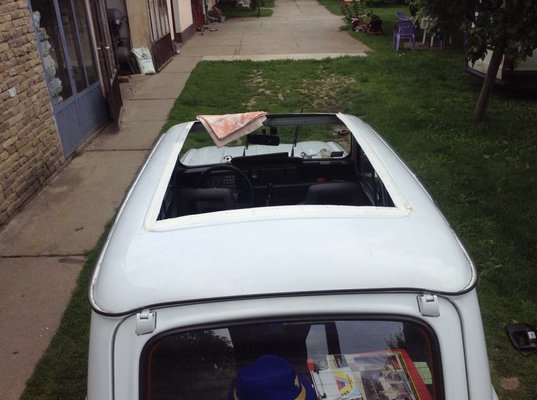
This is about half job finished..or even more.
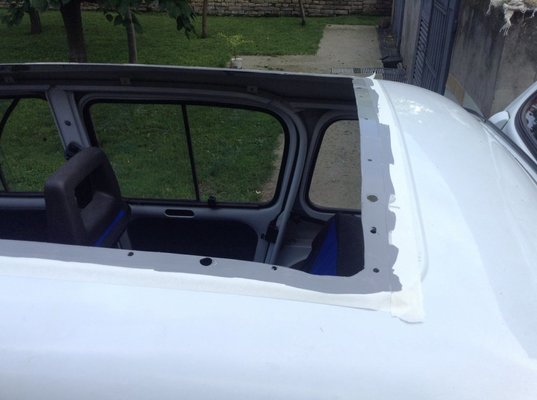
Before final adjustment, roof was placed at least twenty times. Edge zone was painted with primary protecting paint.

image.jpg

image.jpg
 
Last edited:
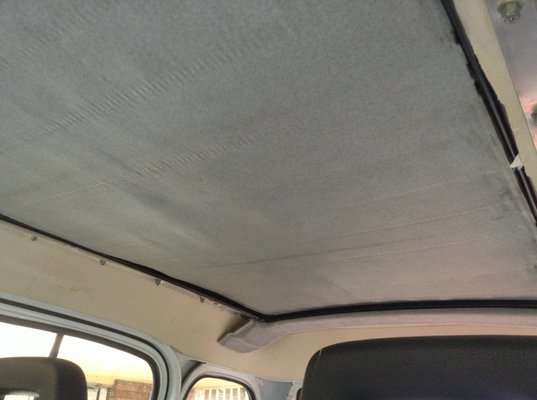
Inside the cabin, I reused the old sky material, just modeled it around the hole. Useful for fixing the trims..

image.jpg

also, it's nicer when its not naked. Trims can be mounted with screws by wood scraps behind.
 
Last edited:
Back
Top