Clementine's Garage
Clementine the Cat
 
Image of flower
Yellow R4
 
Réparateur d'automobiles

What I am doing!

Phew been a full on day with the Samba Band but I have managed a little late night tinkering which has seen the return of the boot lid. It's catch and the spring stay . That Spring stay had my brain doing somersaults trying to work out how it goes ! But I managed it in the end .
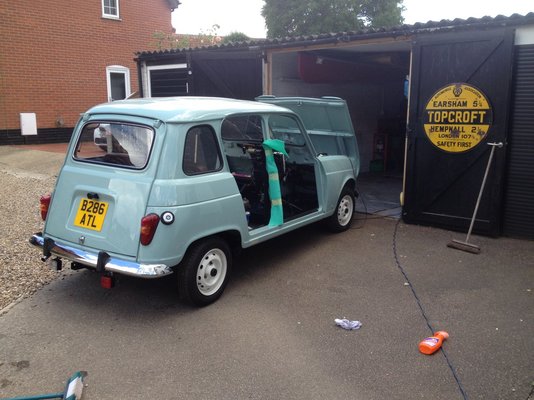
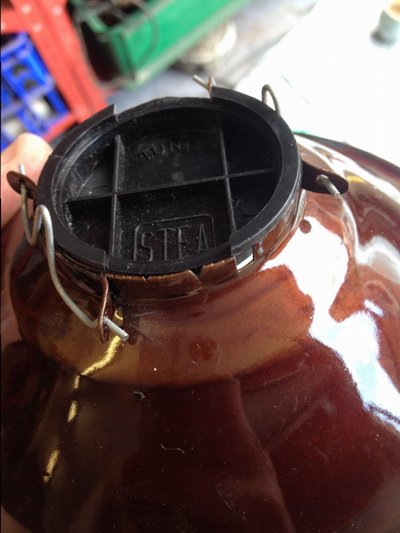
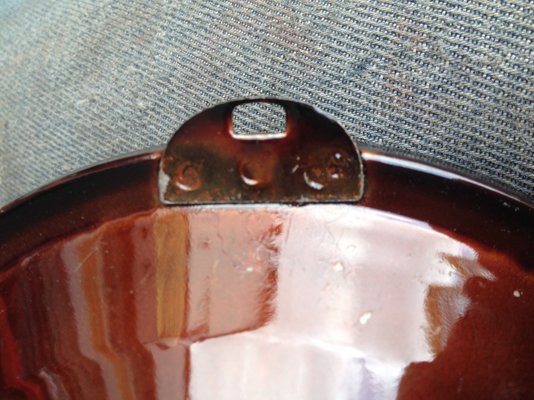
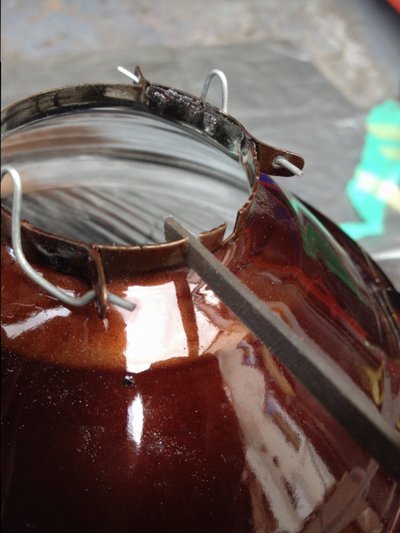
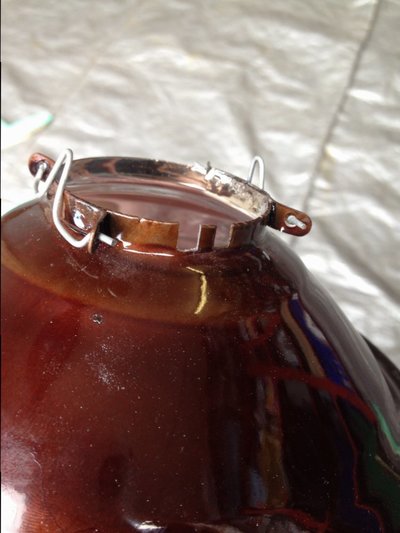
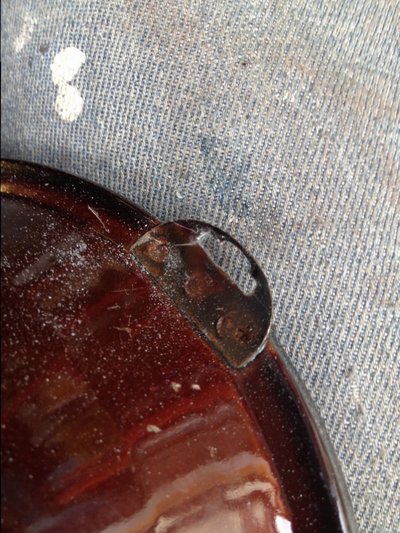
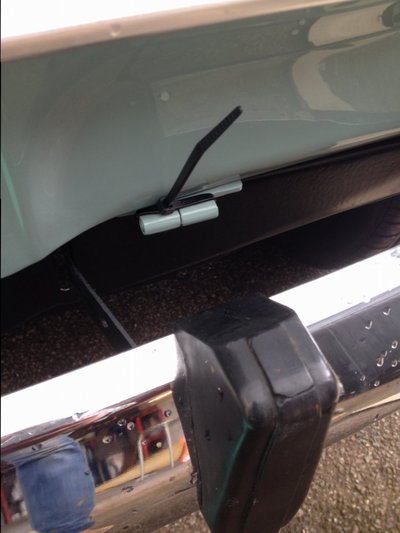
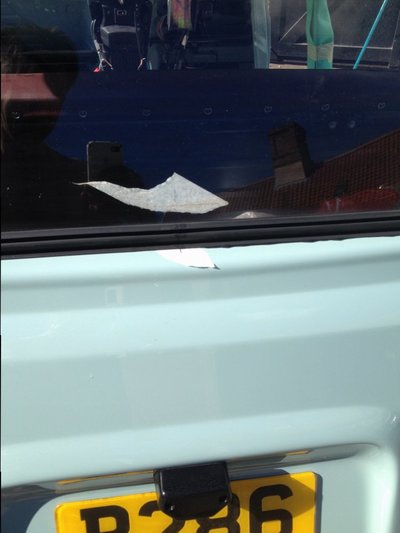
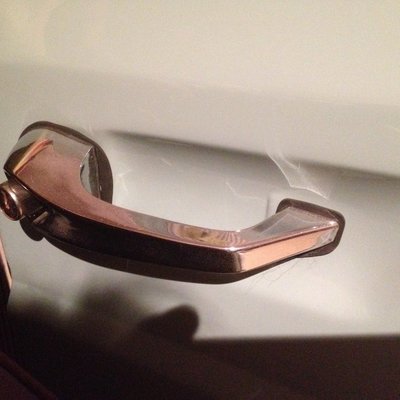
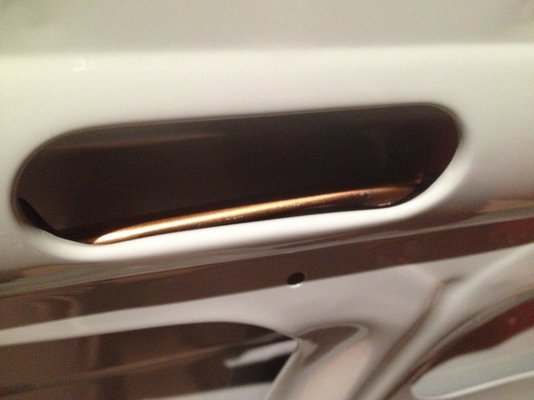
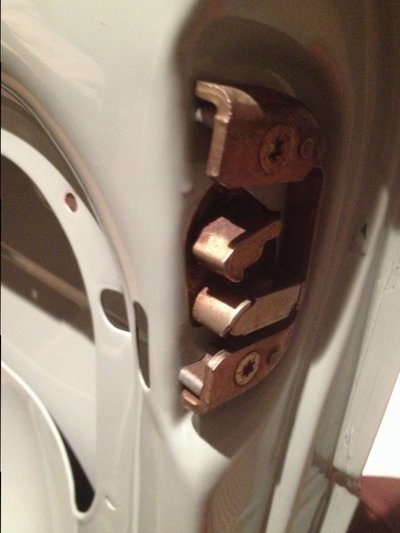
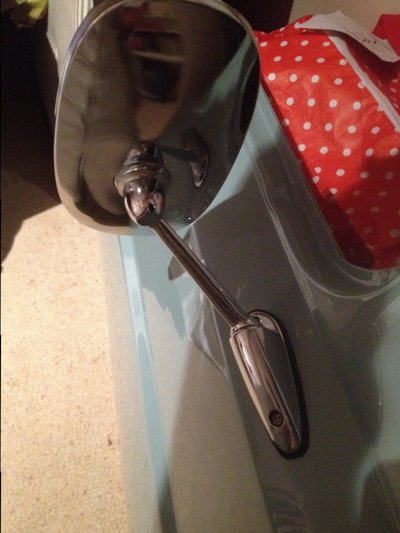
hi,jonathan would love a picture of the refitted spring stay position as mine has me beat,tried all ways and cannot get it right.looks like its a trusty stick otherwise regards nick.
 
Hi Nick yes will post when home . see the one taken in torchlight above this entry . The arm folds DOWNWARDS when closing the boot, and the little tab goes on the underside . The Spring faces the outside of the car. The enclosed side with the lever is on the opening side. Attach Spring end to car first remembering earth wire to top bolt position. Then pull arm round and it will be pushing upward. If it pushes up you've done it . Then attach to boot lid making sure assembly is not skewed and does not foul the boot edges or opening edges.
 
Day 2 in Olde Ansterdam ....and what have I seen (that's publishable in picture form! )
1x Vel Satis
1x 2cv
1x Ds
1x Renault 5 (amazing condition)
1x VW ...
 
  • image.jpeg
    image.jpeg
    136 KB · Views: 0
  • image.jpeg
    image.jpeg
    297.2 KB · Views: 0
  • image.jpeg
    image.jpeg
    157.2 KB · Views: 0
I am very interested in your dashboard modification... it would be very nice if you publish, at the end, a wiring project for the conversion!
I do not think the column should be a problem, cause the last r4s with the old dashboard already had the new steering column.
In my 1981 f4 I have the black old-style dashboard but the steering column is the new kind, integrated with pedals...
If you need photos or measures for the vent ducts, just ask: I have a couple of them relatively accessible.
Hello Azazello!

I'd love a simple dimensioned drawing of the folded vent ducts- maybe some pictures too.... Yes good idea

I'll combine all my GTL 'conversion to 'L' ideas into one posting when I have Womble back on the road.
I intend to try and keep the connecting blocks and modify the wiring between them and the old style dashboard.

Very interested to hear about the sterring column.

Hope you are progressing ok with your R4? Looking forward to hearing all about it
 
BUGGER! it's been one step forward several steps back tonight . Headlamp shells fixed in, wiring sorted, trial fit rare as hens teeth original new Renault grille ...lift bonnet it falls off straight after this photo and I put several dents in it. Some very careful tapping and rubbing will have if looking better but won't be quite the same :doh:
 
  • image.jpeg
    image.jpeg
    221.6 KB · Views: 4
Been a out of sorts with some crap family health news but being out in the shed is great therapy . So today I've got the rear windows in, the seatbelts, some cute Renault badges , the front grille fixed , bonnet badge on quite a bit!
 
  • image.jpeg
    image.jpeg
    144.8 KB · Views: 4
  • image.jpeg
    image.jpeg
    132.5 KB · Views: 4
  • image.jpeg
    image.jpeg
    213.4 KB · Views: 4
  • image.jpeg
    image.jpeg
    150.8 KB · Views: 4
  • image.jpeg
    image.jpeg
    274.1 KB · Views: 4
  • image.jpeg
    image.jpeg
    278.9 KB · Views: 5
So here's the headlamp detail. These lamps came from eBay. Quality crap compared with the original but they are ok. Needed some filing to make fit properly. They did have a little marker corresponding to the RHD position.
 
  • image.jpeg
    image.jpeg
    98 KB · Views: 0
  • image.jpeg
    image.jpeg
    248.6 KB · Views: 0
  • image.jpeg
    image.jpeg
    102.5 KB · Views: 0
  • image.jpeg
    image.jpeg
    93.5 KB · Views: 0
  • image.jpeg
    image.jpeg
    196.4 KB · Views: 0
The bonnet was a Bugger to manhandle even with two people.
But I hit on the idea of using cable ties to hold the hinges together while everything was bolted up. Worked really well after lots of failed attempts with clamps
 
  • image.jpeg
    image.jpeg
    82.4 KB · Views: 0
Having learned from the windscreen fitting the rear window was a lot easier. Marking the centres allowed the rubber to fit much easier ( in other words the corners ligned up ) I used a little Vaseline to help get the chrome trim in place too
 
  • image.jpeg
    image.jpeg
    74.3 KB · Views: 0
Screenshot_2016-07-31-18-15-14.png 3Getting on very well now I see
Friend of mine found these centre spinners which may look nice to bolt your wheel trims on
 
Oh ar! Not seen that type before , got to find my hub caps. I must have put them somewhere so safe I can't find them!
 
Door handles and wing mirrors fitted this eve. Putting the door lock mechanisms back inside the door was a real fandango but I worked out a system in the end. First one took an hour plus. The remainder ten mins each.
 
  • image.jpeg
    image.jpeg
    152.7 KB · Views: 2
  • image.jpeg
    image.jpeg
    182.6 KB · Views: 2
  • image.jpeg
    image.jpeg
    96.9 KB · Views: 1
  • image.jpeg
    image.jpeg
    107.8 KB · Views: 1
Jea....they are hard to put inside if you do not know "right" way
 
Hi Petak yes I nearly PM' d you!

Slam plates to fix tonight and maybe door Windows too. Leaving off the driver door until I have the dashboard done as my garage is narrow and I don't want to damage the door
 
Back
Top