


You are using an out of date browser. It may not display this or other websites correctly.
You should upgrade or use an alternative browser.
You should upgrade or use an alternative browser.
What I am doing!
- Thread starter JonathanT
- Start date
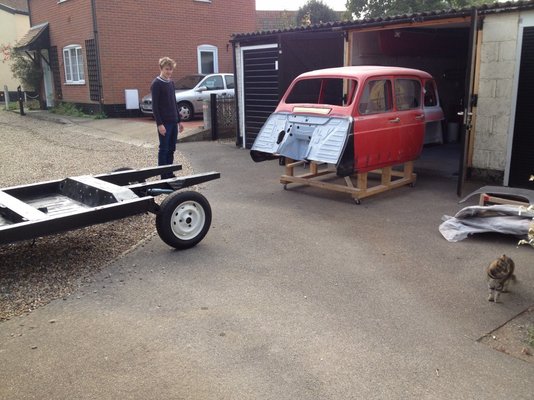
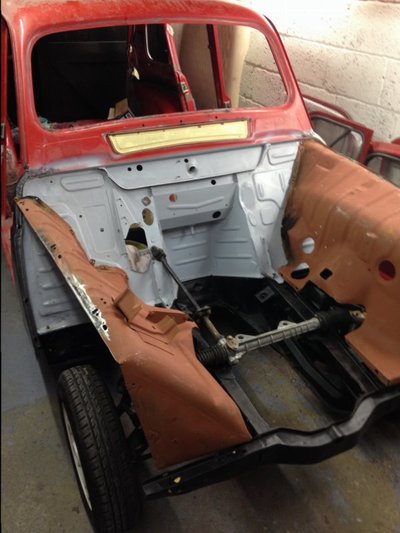
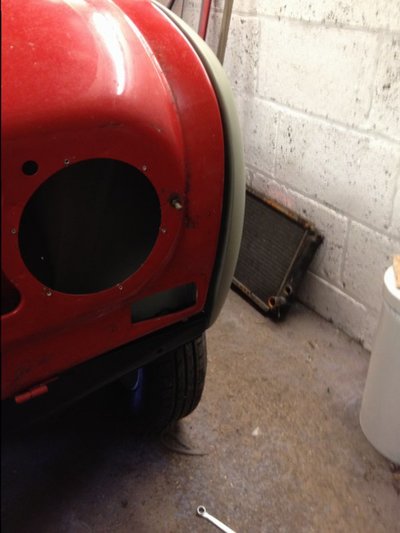
 Womble and me enjoying a much needed BOOST. Body back on the chassis temporarily to align the front inner and outer wings bonnet etc
JonathanT
Not normal for Norfolk
- Messages
- 1,332
- Location
- Wymondham Norfolk
 it's good to get a boost after so much hard work
JonathanT
Not normal for Norfolk
- Messages
- 1,332
- Location
- Wymondham Norfolk
Why did you put the body on before fitting fuel tank and spare wheel base? Isn't easier to do put them on before?
Hello Azazello
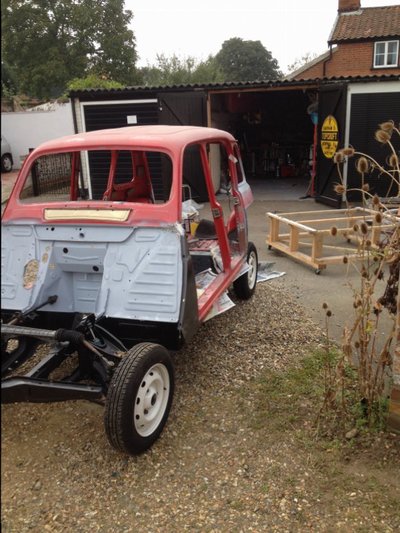
The body is only on temporarily. I want to get the front inner and outer wings and bonnet all aligned correctly. Then bolted and seam sealed before removing the body again and sending it off to the paint shop. Whilst it's there I shall be refitting the brakes on the chassis with new pipes etc

petak
Enthusiast
- Messages
- 1,883
- Location
- Vodice, Croatia
Hello Azazello
The body is only on temporarily. I want to get the front inner and outer wings and bonnet all aligned correctly. Then bolted and seam sealed before removing the body again and sending it off to the paint shop. Whilst it's there I shall be refitting the brakes on the chassis with new pipes etc
Good thing to do....so you can paint body as were in factory.
I have send body and chassis to bodyguy so he can align front wings correctly
mr-reno-139
AKA Paul Cunningham
- Messages
- 2,247
- Location
- lancing west sussex england
Feel I must add congratulations for getting this far and not giving up
Certainly looking good now and if you can keep at it will be a working car again pretty soon
Well done
Ps where are the pics of the team of volunteers you must of had to lift the body on and off ☺
Certainly looking good now and if you can keep at it will be a working car again pretty soon
Well done
Ps where are the pics of the team of volunteers you must of had to lift the body on and off ☺
JonathanT
Not normal for Norfolk
- Messages
- 1,332
- Location
- Wymondham Norfolk
Ha ha .... The team is me with a bit of wood across my shoulders resting in the front of the rear door openings. It's possible to lift on my own then walk over the chassis. My son helped me guide it into position Yes keeping motivation is important. amazingly I bave not lost steam at any point ...the forum chat is a great boost...
JonathanT
Not normal for Norfolk
- Messages
- 1,332
- Location
- Wymondham Norfolk
mr-reno-139
AKA Paul Cunningham
- Messages
- 2,247
- Location
- lancing west sussex england
but if you are trying to convince everybodythat you've really got a 70s R4 I guess it's important
whether any one will crash into you as you attempt to reverse into a parking space is anybodys guess
whether any one will crash into you as you attempt to reverse into a parking space is anybodys guess
JonathanT
Not normal for Norfolk
- Messages
- 1,332
- Location
- Wymondham Norfolk
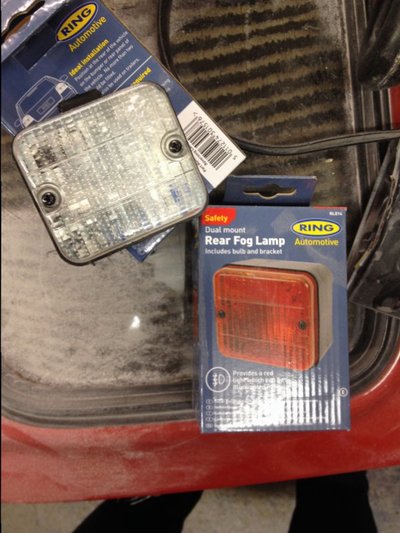
Ha ! Mine are displaced to below the bumper and inset (directly beneath the rear cross member. One reverse one fog both the same) got some off eBay but at weekend found some gorgeous vintage ones I suspect from a cabin light in a train or something... If I succumb and buy them I'll post a photo. This photo is of the plastic ones bought off eBay
JonathanT
Not normal for Norfolk
- Messages
- 1,332
- Location
- Wymondham Norfolk
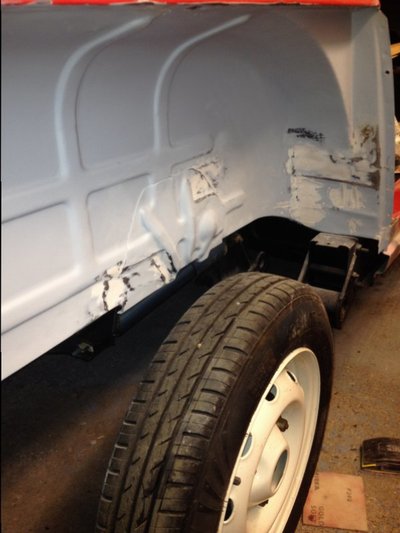
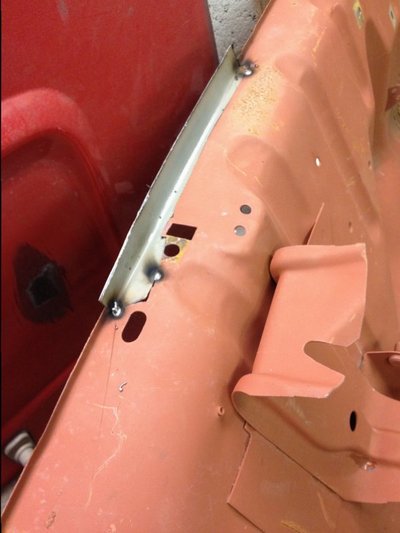
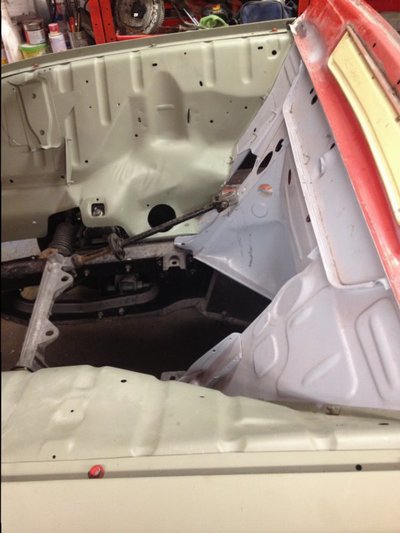
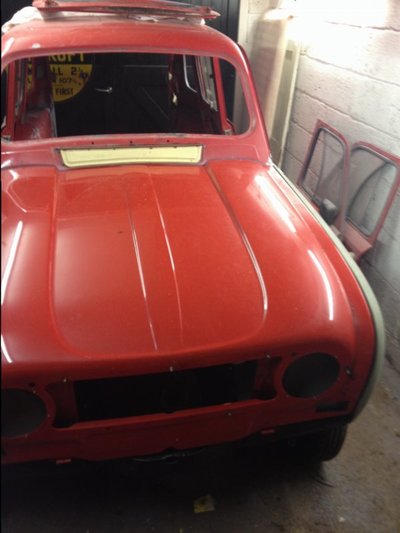
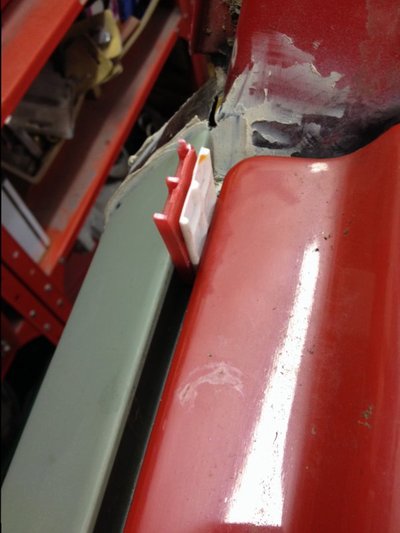
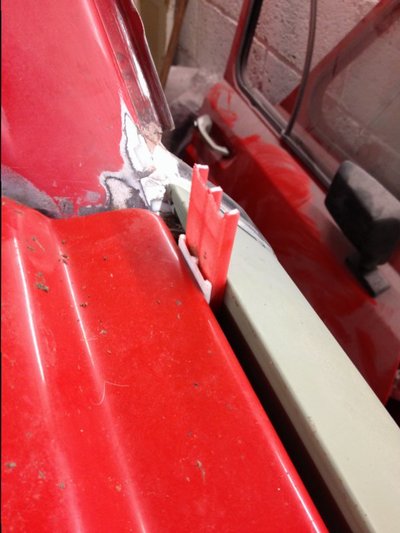
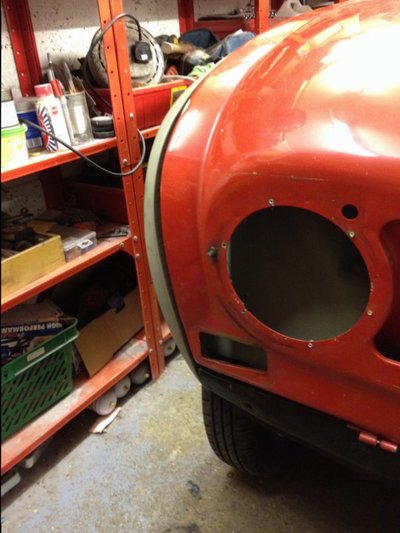
Finally back on top of the projects column with this evenings efforts. Been a long time since I've been in the shed and this evening has been fruitful fitting the new front wings and restored inner wings. It's all just a trial fit at the moment and I will take everything off and re-fit again with sealant between the joints. So have been giving it a bong here and there With a great big rubber mallet to get everything to align correctly. I also wanted to check the clearance of the little flap as it's just tack welded in position at the moment. Fortunately all is well. Hopefully another go at the weekend will see the wings all finally on.

JonathanT
Not normal for Norfolk
- Messages
- 1,332
- Location
- Wymondham Norfolk
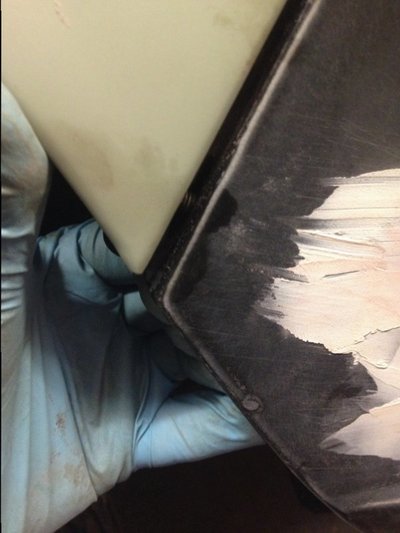
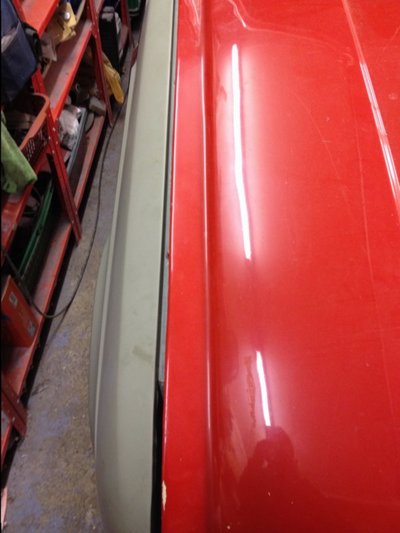
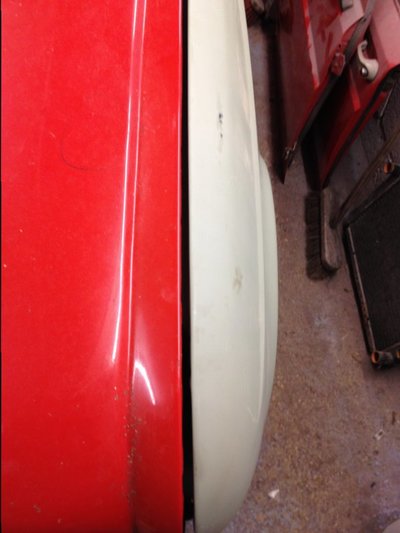
Well it's been another whole evening of bonging around with a big rubber mallet and loosening and tightening spire bolts . So much so I think I may have lost the plot....no hang on it was to get everything aligned dry before putting the sealer on the joints and tightening it all home. The thing is .....bong it right on one side and the other goes out....Apply science to align all by centering and measurement and that doesn't work either. So you end up with a general consensus that looks right. So now to trace the wing positions with a pencil so I can disassemble apply sealer then run the same process wet only faster so it doesn't dry out before I've settled on the perfect position and shut line width. The truth is these parts fit where they touch. Even the original photos of these little cars show differing opinions of how wide or how parallel the shut lines should be. One thing is clear the original wings are a better fit but these are not bad ex Der Franzose.

mr-reno-139
AKA Paul Cunningham
- Messages
- 2,247
- Location
- lancing west sussex england
I am usually happy if the bonnet opens and shuts without rubbing on the love handles
Glad to see more progress
Glad to see more progress