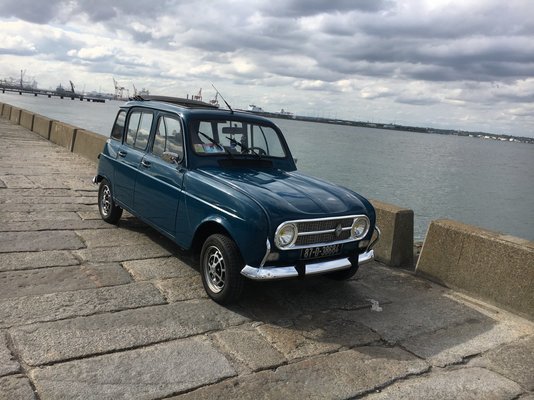
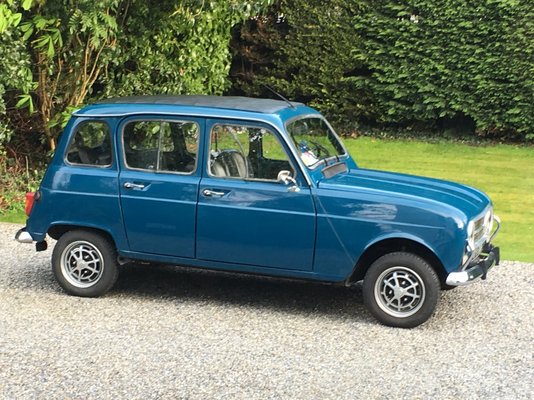
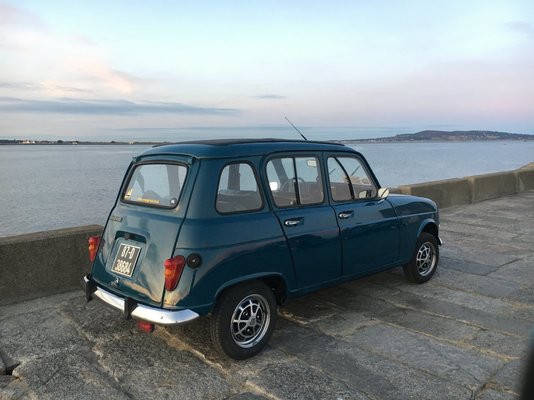
OK, I had time to finish it off yesterday evening. Here is the result, open, closed, inside and out side. Fits very well.
These are my instructions for those who are not used to doing thing like this! If you are used to doing tings like this I suppose it is straightforward enough.
To do the job I used a marker, a ruler, an angle grinder with 1mm cutting discs (x4), 2 inch wide masking tape, one inch wide masking tape, a drill with 10mm drill bits, one tube of automotive sealer some gloves, double sided foam tape and a 10mm ratchet.
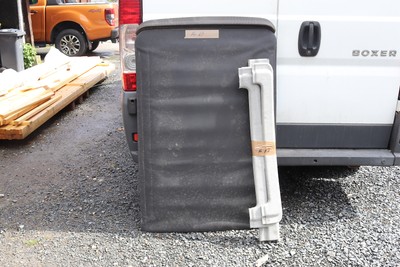
The roof is a complete unit comprising the main sliding section in its rails, a separate inner alloy frame comprising the 4 sides and finally the front plastic air dam. and 4 inner trim pieces.
Around 30 studs are welded to the main roof structure. These pass through the car roof skin, then a new alloy inner frame and is secured with special metric nuts with built in washers, from inside the car.
The new roof has to drop into an accurately cut hole in the cars roof skin. More importantly, the roof bolts through the skin and also the inner alloy frame, so you have to drill the holes (about 30 of them in the correct place).
This is slightly easier than it sounds, as long as you get the holes drilled in the correct place!
To do it this was the order of events.
I covered up the seats and taped up the inside of the windows to prevent damage. Any iron fillings need to be vacuumed up within a few hours otherwise they will turn to rust and stain.
First I placed the main roof unit on top of the car in the correct position, using a ruler to centre it and also ensure it was in the correct position front to back.
This was without the alloy frame in place and also without the special nuts used to secure the roof. This is easier than it sounds because the roof has symmetrical pressings in it, of course.
The main folding roof unit is rigid, so will not go out of square.
I strategically taped the new roof to the car roof with 2 inch tape to make sure it could not move out of the correct position.
I could then accurately mark the contact points of all the studs to the car roof with a dot from the marker, making a large rectangle in total.
I then drilled the 30 ish 3mm holes, then opened them right up to 10mm, to ensure enough wiggle room for the 30 odd studs.
I then "joined the dots", making a large rectangle on the inner edge on the 10mm holes. This is the cutting line.
I then cut out the large rectangle of the roof, the cut out touching all the 10mm holes I had just drilled. You can just miss the holes with the cut but the hole you have to run the cut very close otherwise the main folding roof frame will not seat correctly on the roof skin.
The headline now needs cutting back an inch inside the car. Used the one inch tape to create a line for the cutting disc to follow. The will allow the studs and their nuts to be completely clear of the headliner panel when the roof is dropped in place.
I then carefully dropped it all in place for a final clearance check, then removed it for the bonding.
Using the black silicone (£6 a tube) and a pair of rubber glover, I beaded an even line around the outside of the hole.
It was then a matter of dropping the roof in, attaching the inner frame, and bolting it all down tight.
Finally I placed the front air dam in place, marking the 4x10mm holes required and attached it.
The inner trim is in 4 pieces with needs double sided foam tape to attach at the outer edges.
Then a good clean up.