Clementine's Garage
Clementine the Cat
 
Image of flower
Yellow R4
 
Réparateur d'automobiles

R4 F6 resto progress

entwistlecymru

Enthusiast
Messages
67
Bantamallan bought this F6 5 months ago after a 3 year lay-up and I started restoration work properly 6 weeks ago. Here's the progress!

100_1294.jpg

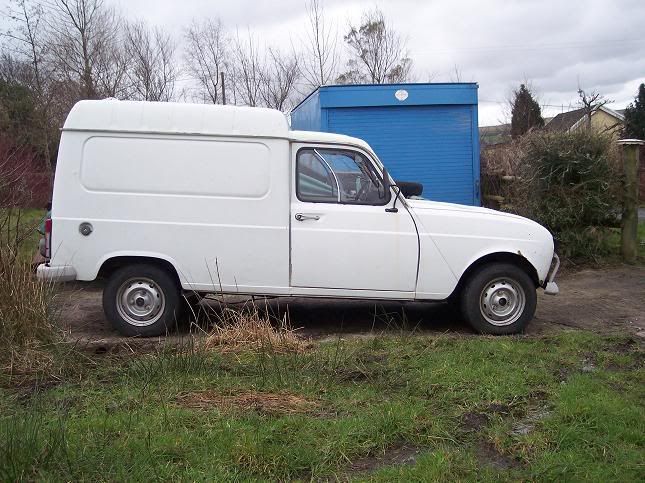
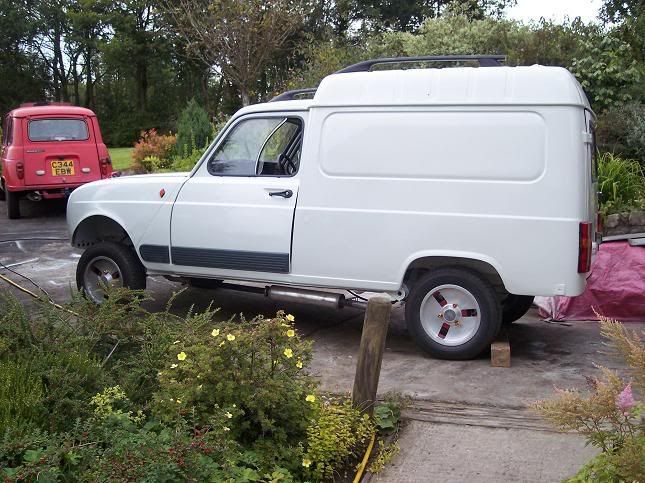
As it was when bought. It looked great!

Picture007.jpg

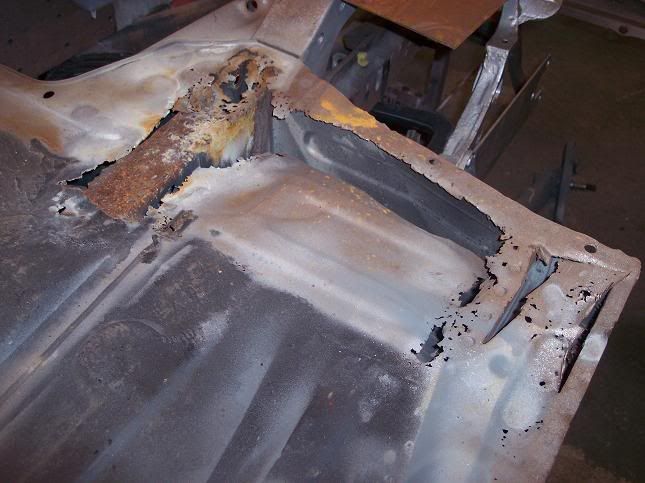
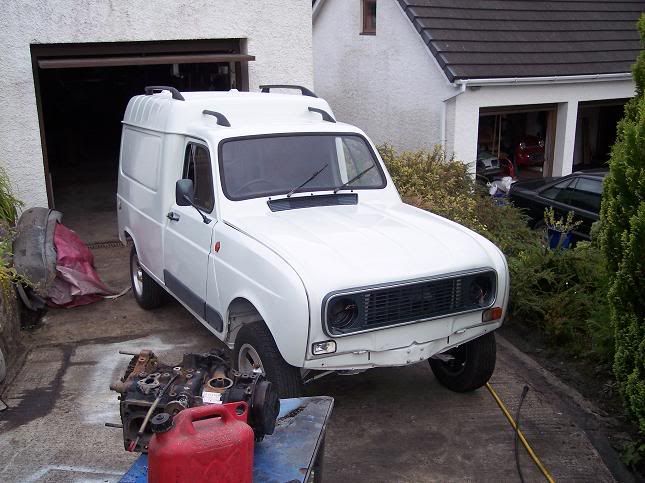
As it was after the chassis was sandblasted - not so great! Every single piece of metal on the chassis was rotten. Time to learn to weld!

Picture022.jpg

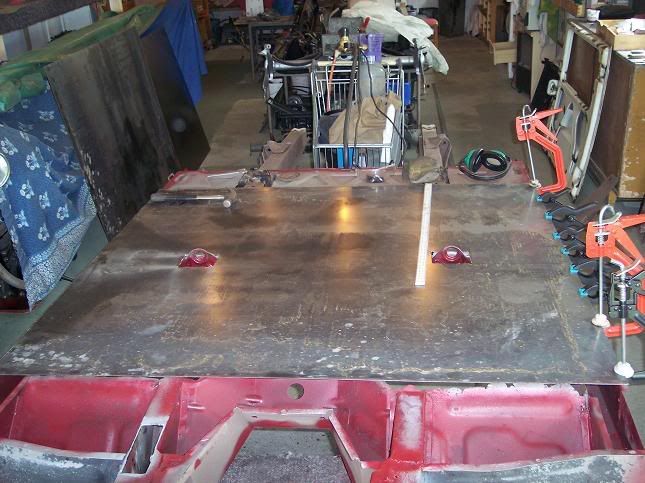
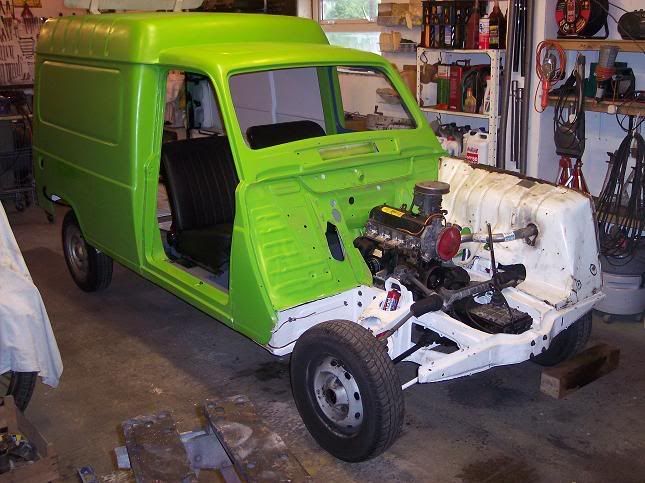
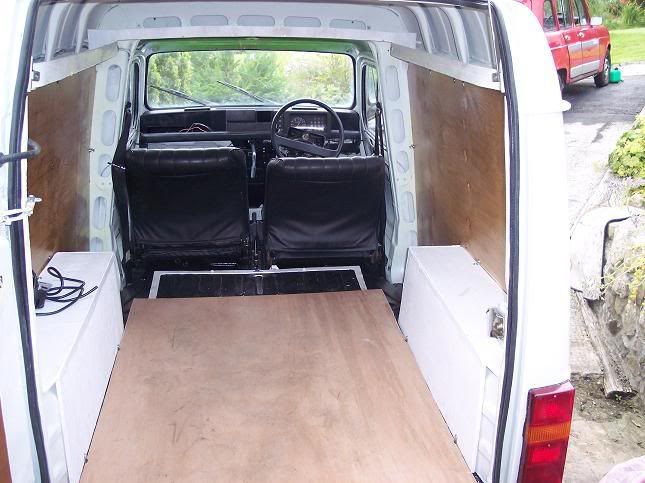
After a week welding the box sections and chassis rails, I fitted a new floorpan cut from sheet steel.

Picture028.jpg

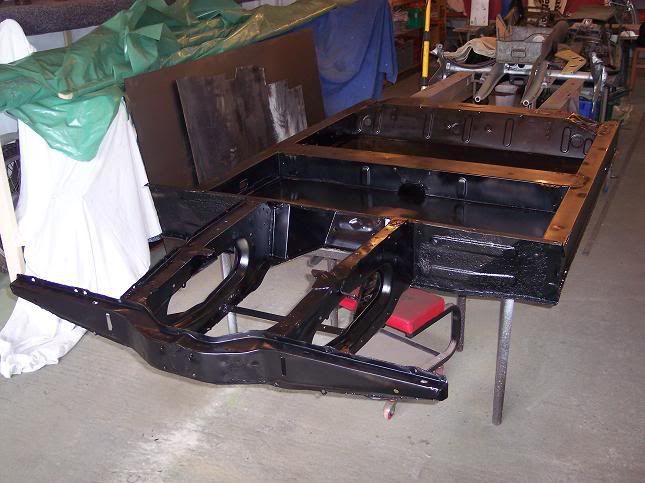
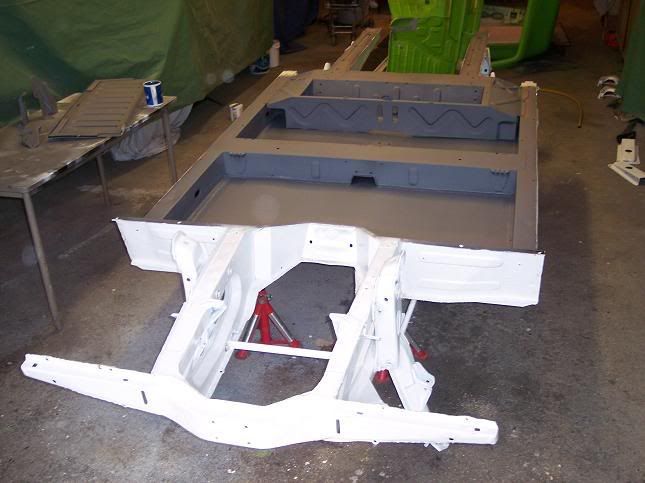
One new F6 chassis! Once the welding was complete I zinc primed, etch primed, then painted it in cellulose black before seam sealing the joins, stone chipping it in white and painting it in white enamel.
 
Picture041.jpg


Picture043.jpg

As soon as the paint had dried I started assembling the running gear which had also been painted the same way as the chassis. Once it was on 4 wheels I gave all the box sections a soaking with Bilt Hamber Dynax cavity wax which works its way into every nook and cranny. Hopefully the van will last at least another 25 years.

Picture020.jpg

The body needed its fair share of new metal letting in. The load floor had plenty of little holes, the rear door frame was totally rotten and both rear quarters needed remaking after some previous bodged repairs.

Once all welding was complete on the shell I etch primed it, stone shipped up to the swage line in white and painted it Kawasaki green so it could be kept outside for a while (primer is porous so you can't get it wet!)

Now it was time to refit the body! I used body sealing strip from a kit car suppliers along with some seam sealer and BA and I lifted the shell on in 2 minutes.

Picture045.jpg

I trial fitted all the detachable panels to make sure fit was as good as possible (ie less than an inch panel gap!) and also welded up any holes that weren't need in the inner wings, before etch filler priming the whole car. Because the car had been stone shipped, it took a hell of a lot of flatting back (4 days to be precise) to get a good base to paint on to. One final coat of etch primer and it was time to paint the van in 2 litres of Renault Bianco
 
And here it is in all its glory!
Picture049.jpg

Picture048.jpg


All the trim is gun metal grey, new door seals (from Woolies) were fitted and found to be a little bit too thin but will do for now. The windows went back in fine and I fitted roof rails off a Vectra estate to add a bit of practicality!

The back of the van has been ply lined with shelving all around the roof, halogen interior lamps, 12v sockets and a tow bar with electrics.
Picture050.jpg


The engine (as shown in pic 8) was a 1100 bottom end with an R5 1300 head (bigger valves) and a Weber 28/36 on a bored out manifold. I say was because thanks to Mr Reno, we now have a 1400 with Weber carb and 5 speed box ready to fit. This should give a healthy increase in torque and the fifth gear will either give better cruising or acceleration - there are 2 types of 5spd box with different gear ratios and we don't know what type we've got! See my other post on HOW TO FIT A 5SPEED BOX

Jobs left to do are:
fit the new engine and box (that's todays job!)
rebuild and fit front brakes
fit new bumpers - R5 front, strengthened rear bumper
finish and paint roof bars, bumpers and badges
MOT!

More pics at:
http://s50.photobucket.com/albums/f350/entwistlecymru/R4 F6/
 
excellent ,(personally liked the green colour)definitly an inspiration to us all
hope the engine you bought is all ok after its hibernatation in my store
got your shopping list in mind will keep in touch
well done
paul
 
Thats absolutely superb, definately inspirational as I am currently tidying my F6 up.

I'm currently considering a engine swap for something a bit bigger over winter, the extra cruising ability would be useful. What are you doing for the rear bumper? Can you still get standard rear bumpers from Renault/

Loving the roof rails as well, nice touch!

Incidentally, what is it that your neighbour has in his garage?
 
Cheers guys! :)

Paul, your engine has had a good scrub down, I've fitted a ported head and manifold and replaced the sump gasket just cos I had one spare. It's cleaned up really well so hopefully it'll go as well as it looks! The main thing I need off that list is the F6 door mirror - it'll be finished body wise then!

The rear bumper quarters are very rough but I'm gonna have a go at saving them. That may mean making new ones completely though :( The tube in the middle was totally battered so I'll fit some heavy duty tube in its place. I've already beefed up the mounting brackets to cope.

That's our other garage in the pic! There's my Dads '59 Frogeye, my sis' '72 Beetle and my 1979 Manta turbo. You can just see the back of my manual Vauxhall Senator 24v. There's also a race Scimitar, Panda 4x4 (planning on using the running gear on a 4) and our R4 Gordini Turbo hidden elsewhere.
 
Two double garages - sweet! My dad had a frogeye once. I remember the registration from photos TVD 893.

What a job on the van - well preserved! Do you have pickies of the R4 gordini? Especially your approach to steering columns before I do mine for a second time.
 
The exhaust is the rear pipe and silencer from my Scimitar. Fits well and should sound good as its straight through.
Allan
 
Back
Top