Clementine's Garage
Clementine the Cat
 
Image of flower
Yellow R4
 
Réparateur d'automobiles

R4 GTL 1985 Restoration

JdeW

Enthusiast
Messages
1,020
Location
Laarbeek The Netherlands
Hello,

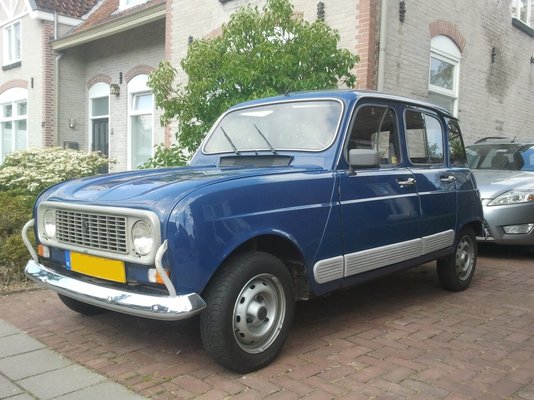
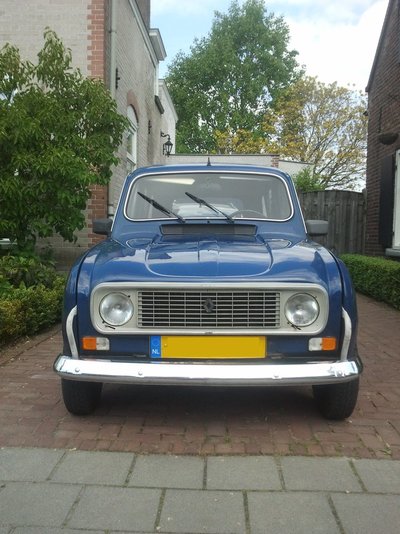
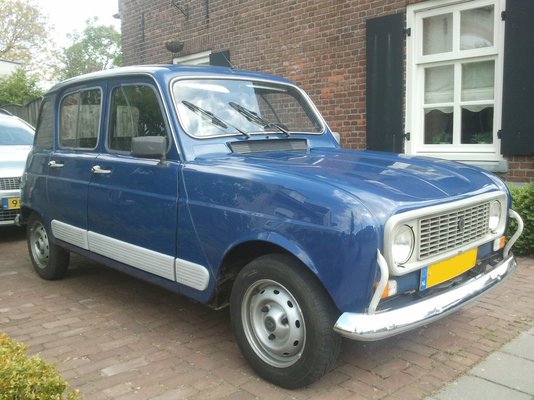
After months of preparation I started Januari 2017 with the full restauration of my R4 GTL 1985.
This is my second R4 which I purchased in 2014.
My first R4, and first car, was a GTL 1983 which I purchased in 1987. I've driven over 280.000 miles with that first R4 untill 1992.
Everybody knows that R4's are very reliable, the engine never failed me, repairs are cheap and overall easy to perform. The only disadvantage is... they're rust sensitive.

I've got several years in mind and everything will be kept as much original as possible. It's an oldtimer so for me never a fancy electronic ignition system, upgraded engines or whatever other modern gadget. Although she will get some blingbling underneath the bonnet :whistle:

Hereby the state before dismantling and of course you will be kept informed for the upcoming years.
2014-05-04 11.36.43.jpg 2014-05-04 11.36.56.jpg 2014-05-04 11.37.09.jpg
 
Last edited:
January 22, small update and pictures;
003.jpg

004.jpg

005.jpg

Everything is still not that bad, wondering what we see when the bodywork and chassis are separated.
Furthermore, what little things like bolts suffering suddenly from full metal fatigue ...
007.jpg
 
Last edited:
January 29;

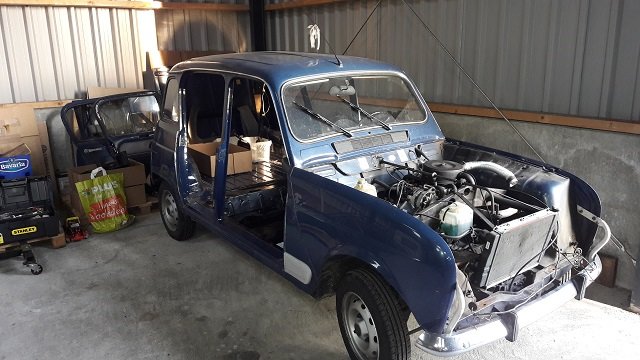
The dismantling proceeds steadily, bolts, nuts and screws come loose in several ways.
On the one hand through some penetrating oil and a smooth moment of force, on the other hand very easy because they are encapsulated in a cloud of red iron oxide.
009.jpg

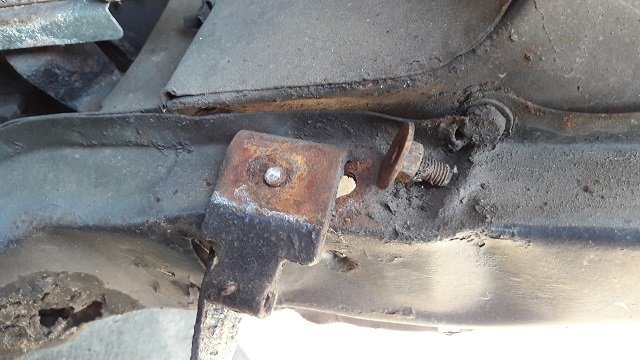
After removing the towbar more sight on a rear support beam. I believe that previous "repairs" in the past were not well performed...
011.jpg

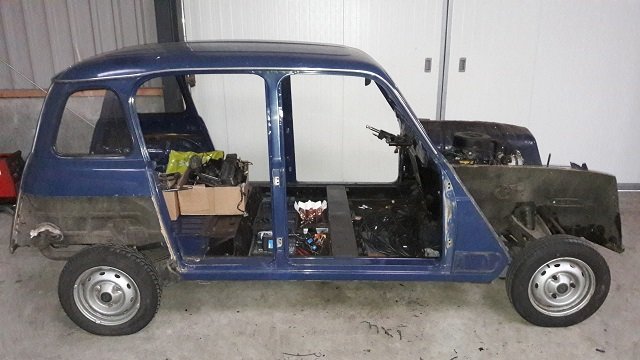
The beach race look.
012.jpg

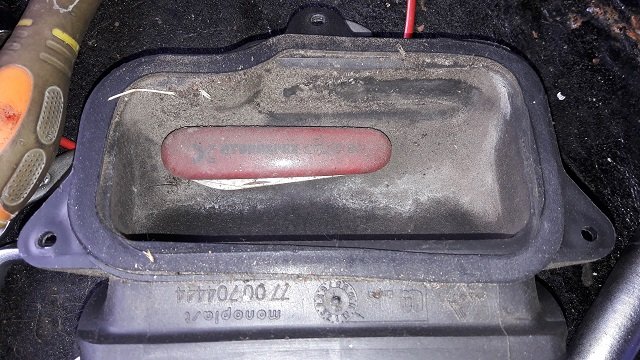
It rains a spontaneous tool after removing a ventilation duct.
010.jpg
 
Last edited:
February 3;
Always nice when grandpa takes away the swing of his granddaughter.
For years, that thing stood in all kinds of weather, and suddenly everywhere rotten wood, really unsafe, here you can not play anymore and everyone knows the security of your granddaughter is very important !!!
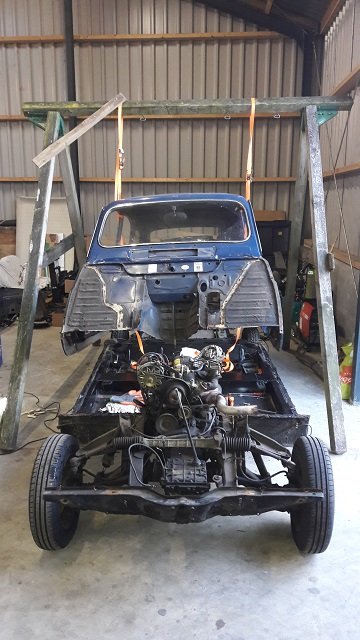
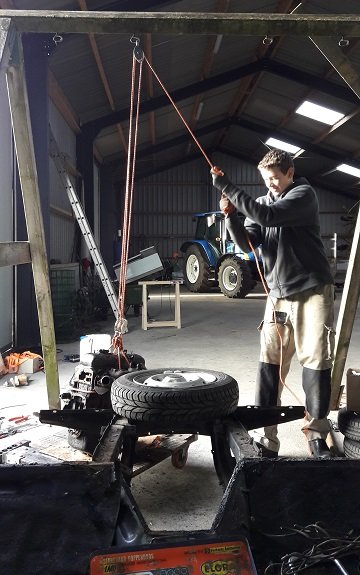
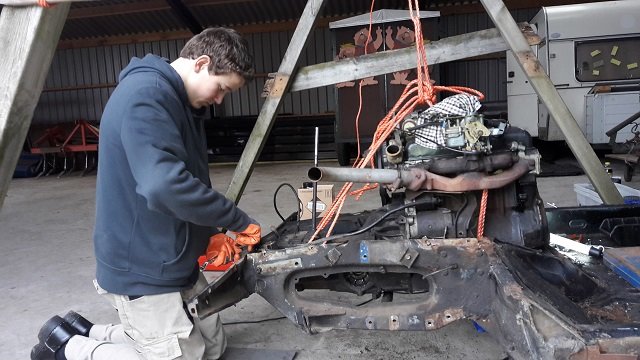
It's better to use that old rotten wood for a double A-frame to hoist the R4 for body chassis seperation
013.jpg

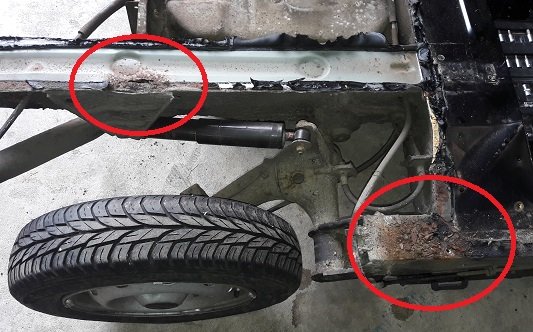
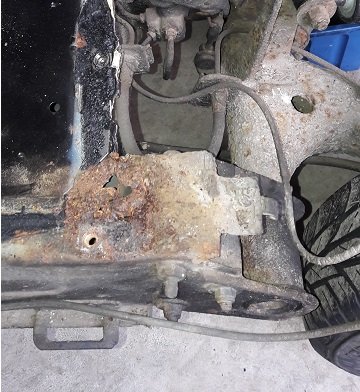
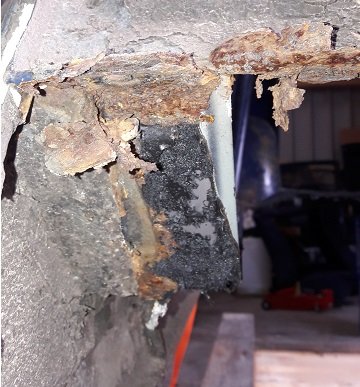
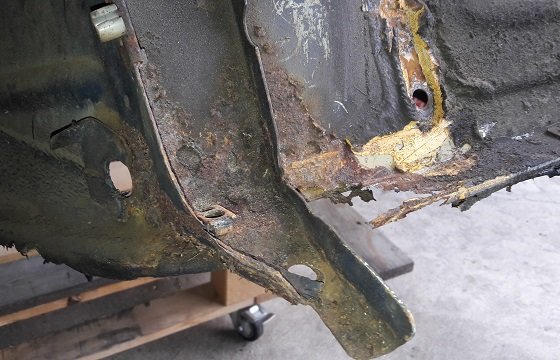
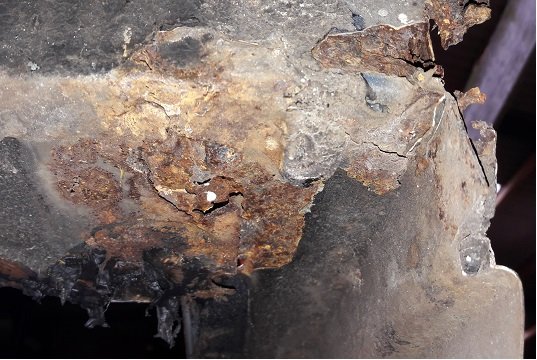
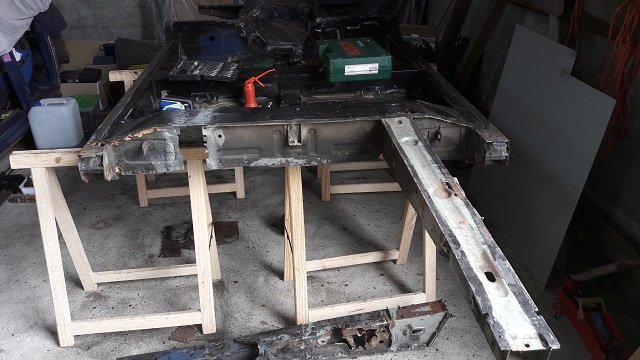
After the successful separation of chassis and body, by means the weight of the chassis, there is a better view on the known affected areas.

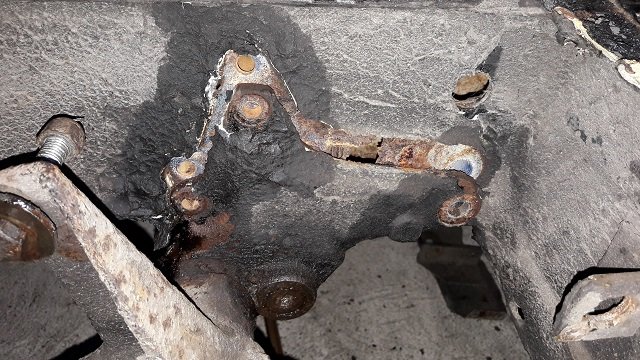
Chassis cross-beam and radius arm holder (cross-beam) at the rear right.
014.jpg

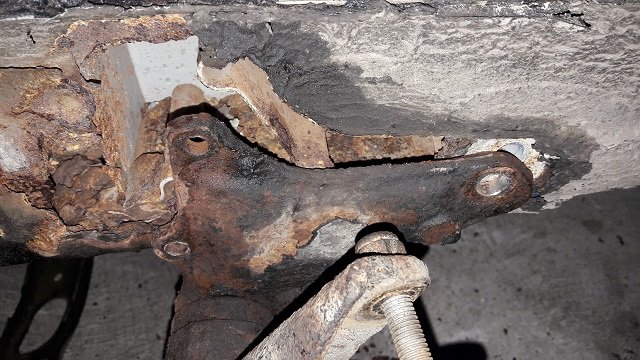
Radius arm holder (cross-beam) at the rear left.
015.jpg

Front right floor pan etc.
016.jpg

Front left floor pan etc. as well as left front beam due to brake fluid corrosion...
017.jpg

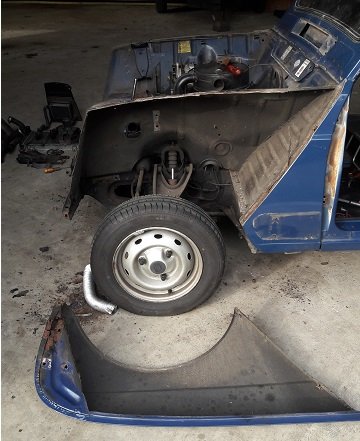
Bodywork front right
018.jpg

Bodywork pedal floor, to where you pedal through the floor with your right foot to experience that great acceleration.
019.jpg

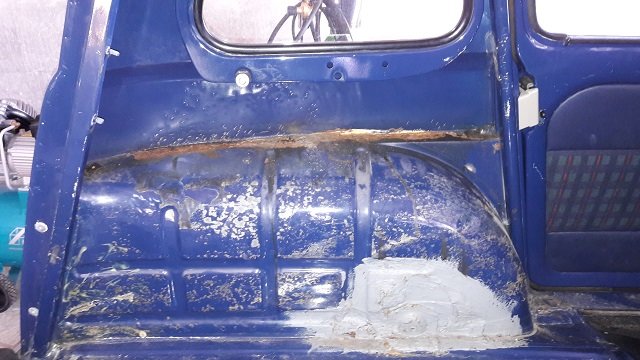
Bodywork underneath C-support
020.jpg

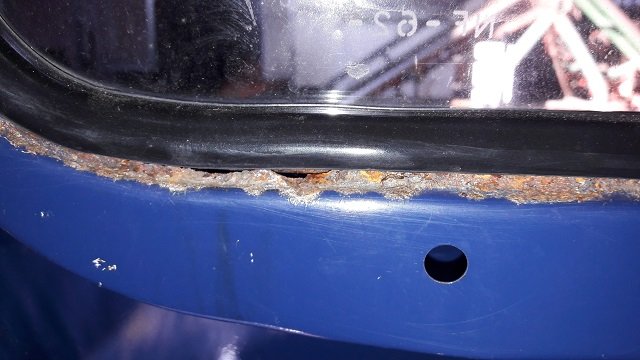
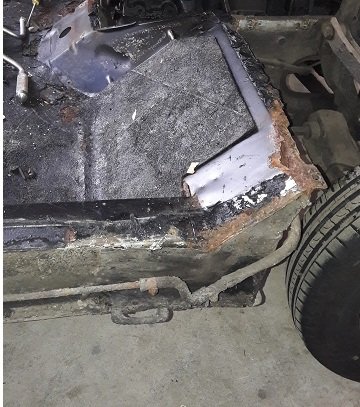
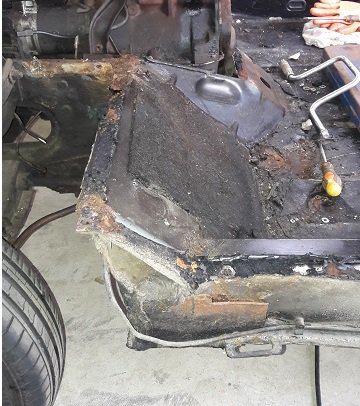
Rear left fender and reinforcing plate.
021.jpg

The youngest son helps a hand.
022.jpg
 
Last edited:
February 5 update;
Again some of those wonderful pictures so we know why we have this hobby.

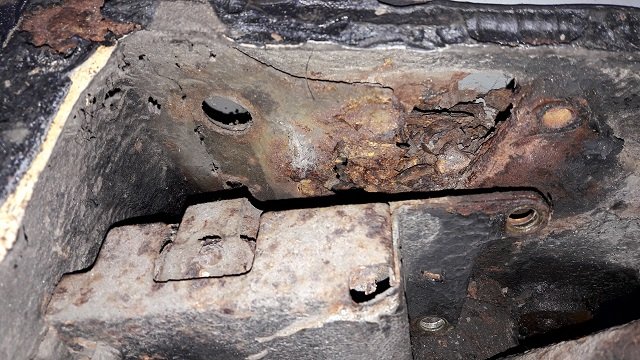
Yes, behind the brake power controller support .
027.jpg

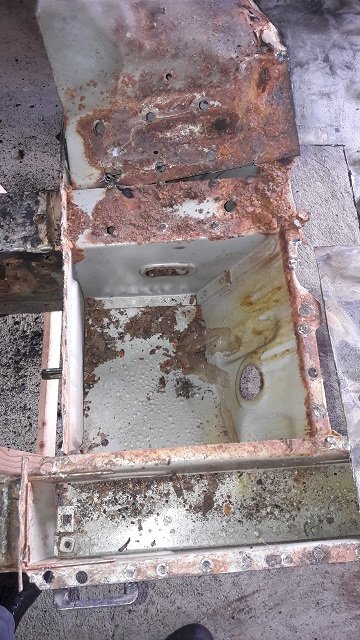
Rear right behind torsion bar support plate.
028.jpg

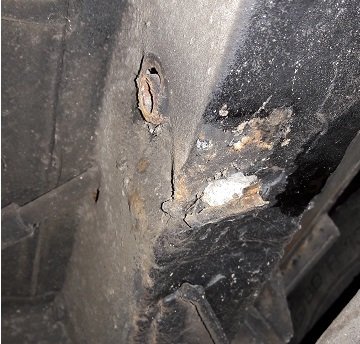
Rear left behind torsion bar support plate a true goldmine.
029.jpg

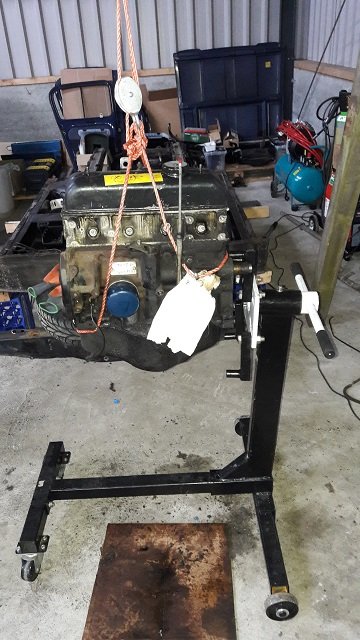
And the youngest son busy handling the engine
031.jpg 032.jpg

The great thing is that indeed there is still plenty to do, for about 2 years or so...
But even better, I am more than pleasantly surprised because the whole chassis, so front beams, longitudinal beams, rear beams and floor panels, everywhere I meet the original color 417 Blue Versailles.
 
Last edited:
February 21;
Now all the main groups are removed we will begin further disassembly and start recovery operations.

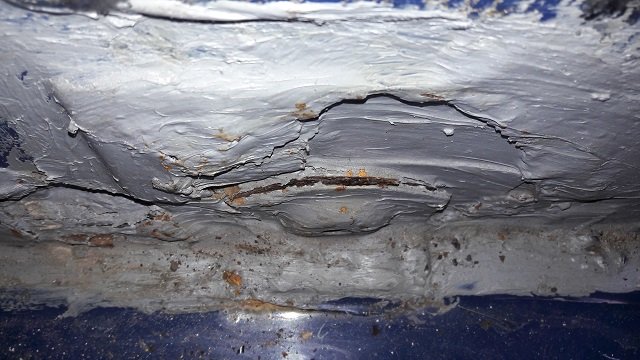
First, the chassis largely cleansed of all its sealant, bitumen, underseal and what I have not met.....
Thus we find even more overlap welding (patchwork) complete with camouflage sealant, bitumen and tectyl and rust underneath.
After this kind of repair rust goes on and on and on ....
033.jpg

034.jpg

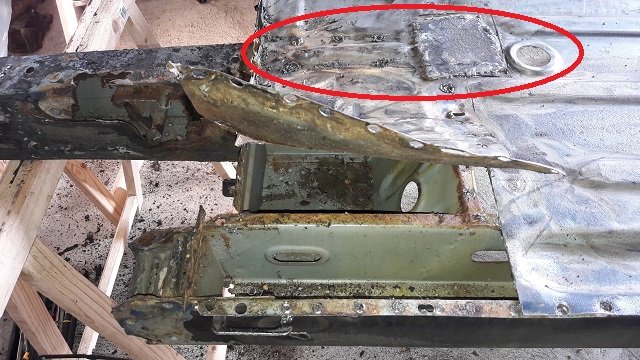
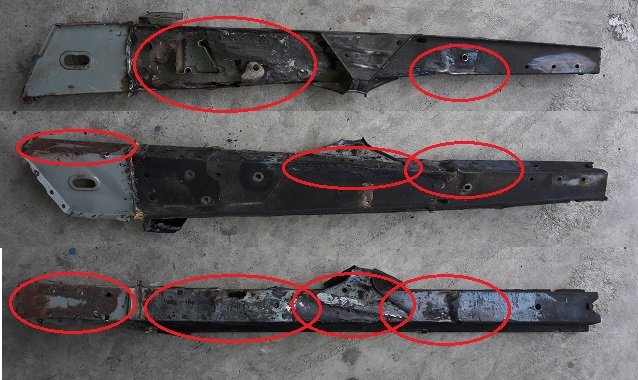
After a few good nights of contemplation I decided to amputate the rear chassis cross beams because there was a lot wrong with them. Too many holes, too many patchwork and also the bars are swaged on the attachment points of the tow bar.
Strange thing is, that at the towbar mounting they don't have extra compression plates placed in the beams, only a single compression tube should do the job .... "Ils sont fous ces Français (adapted from a statement by Obelix)
036.jpg

Of course we do it side to side to preserve the dimensions.
037.jpg

Did you know that our R4 are, moreover, extremely green?
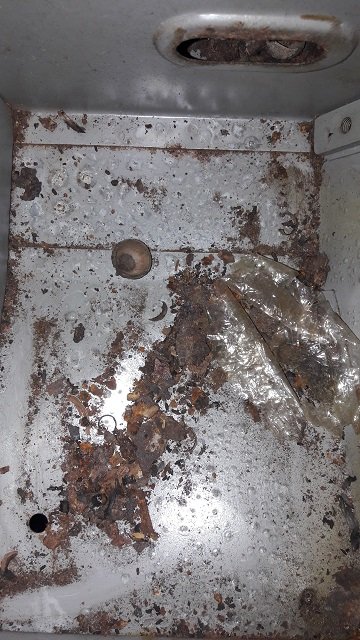
In addition to the low fuel consumption of an average of 1 liter to 22 kilometers (my first R4 was 1 at 24 and my Skoda Fabia Diesel 1 at 29.8 ...) the cavities are very popular among various breeds of rodents, mainly Mus domesticus.
035.jpg

My son has its project "la gros moteur Cleon".
049.jpg

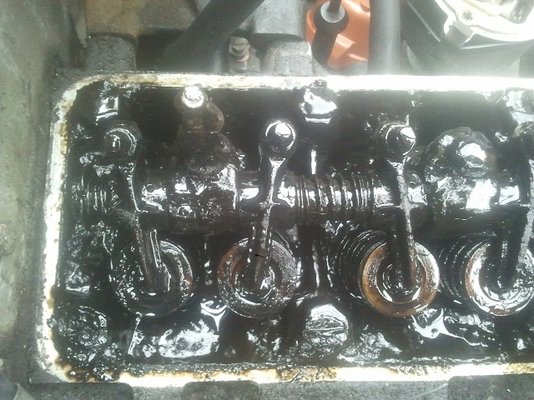
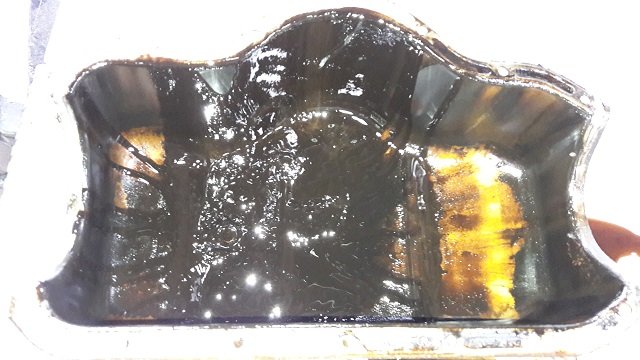
Revision is necessary since I already wanted to set the valves after purchase in 2014 when I ran into this under the cylinder head cover ...
040.jpg

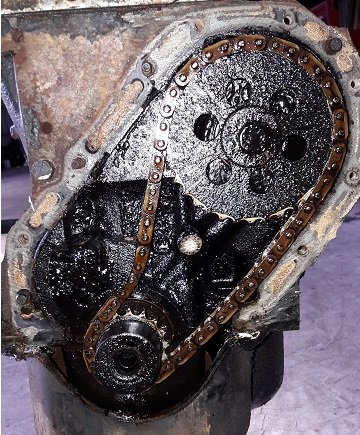
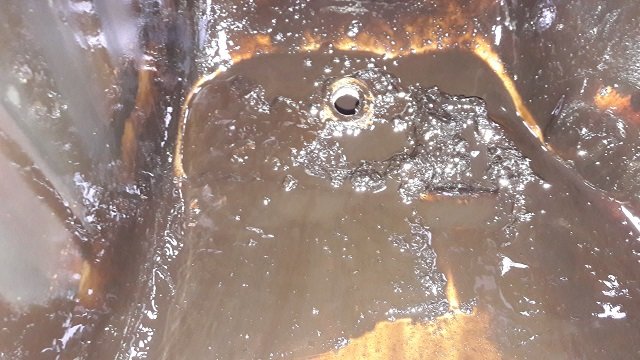
After careful study, we found that it was an emulsion of tar and sand. Caused usually by late oil change and according to us the sand is probably from desintegrated oil filter(s)

In 2015 I cleaned the engine temporarily, but now in 2017 we encounter that same crap (tar sand) even throughout the block.
042.jpg
043.jpg
046.jpg
 
Last edited:
JdeW, Your R4 looked in very good condition until you began taking her apart. Always very informative these posts.

Goodmorning Paul,

Well yes you are absolutely right, from a distance it looked indeed very good, but when we look closer.... you can't judge a book by looking at the cover ;)
At purchase in 2014 I saw that restauration was necessary, I only had to wait looking for space and time.

Best regards,
Joop
 
Hi Joop.

Thank you for posting this restoration. It really does show all the problems one can encounter when taking on an R4, but nothing is impossible. Please keep us informed of your progress. The photos are great. And lovely to have your young son helping. This car will become very special to him. Looking forwards to seeing the progress you make.

Best wishes

Tim
 
Goodmorning Paul,

Well yes you are absolutely right, from a distance it looked indeed very good, but when we look closer.... you can't judge a book by looking at the cover ;)
At purchase in 2014 I saw that restauration was necessary, I only had to wait looking for space and time.

Best regards,
Joop

Hello Joop, Just curious but once you began to start, how long did it take you to lift the bodyshell away from the chassis. A day perhaps?
 
Hi Joop,

I´m curious about your plans on the engine. Is it going to be a total rebuild or a thorough cleansing?
 
well done Joop and a what a great job your doing in saving another of our friends. good luck, and we look forward to the transformation of this old girl back to her best. :clapping::clapping:and its nice to see the younger ones getting stuck in also. mike
 
Hi Joop,

I´m curious about your plans on the engine. Is it going to be a total rebuild or a thorough cleansing?

Hi Jurjen, I'm afraid that just a thorough cleansing won't be sufficient.
Guess it will indeed be a total engine rebuild. You know, I follow your project for a decent time, and the only thing that stops me a bit are those paper cylinder base gaskets or liner seals.
I'll just watch your progress (and experience) on those paper liner seals v2.0 :o
 
Hello Joop, Just curious but once you began to start, how long did it take you to lift the bodyshell away from the chassis. A day perhaps?
Hi Paul, I didn't time the seperation process. After all the preperation work I just hung the R4 with a couple of straps on my granddaughter's old swing (a double A-frame with top-beam). The whole construct (chassis with wheels and engine and still attached bodyshell) hung in the air about 4 inches free from the floor.
I left my workshop at 5 p.m and next morning at 9 a.m. I entered the workshop and saw that seperation was completed just by the weight of the chassis.
So, it could be an hour but I think it took a bit longer.
 
Hi Joop.

Thank you for posting this restoration. It really does show all the problems one can encounter when taking on an R4, but nothing is impossible. Please keep us informed of your progress. The photos are great. And lovely to have your young son helping. This car will become very special to him. Looking forwards to seeing the progress you make.

Best wishes

Tim

Hi Tim,
Yes, the youngest son always had (and still has) an interest in cars, mainly those Bugatti, Lamborghini, Ferrari, Nissan GTR type of cars for their engine sounds and hundreds of Brake Horsepower :vsad:.
Fortunately he can't afford those, but still he keeps saying if it's possible to put another engine inside a R4.... you catch his drift?
So I tell him about the Marreau brothers Dakar Sinpar R4 with a 140 bhp R5 Alpine Gr. 2 engine and the necesarry reinforcement modifications and yes son maybe in the future you can start your own project e.g. From 35 to 350 bhp with a nice rear mounted v8 engine... It's possible to build but unfortunately it will never be street legal.

Still I'm glad that he's interested and keen in restoring our R4.
 
Welcome Joop

I'm so glad we have another project to follow. What a great start ! Great pictures and script . Reading with interest - I can see you have an eager and jolly aptitude. This is going to be a fine rebuild I'm sure :hug:
 
Welcome Joop

I'm so glad we have another project to follow. What a great start ! Great pictures and script . Reading with interest - I can see you have an eager and jolly aptitude. This is going to be a fine rebuild I'm sure :hug:

Hello Jonathan,
I just like to do my rebuild and to follow overseas R4 projects (rebuilds) as well as our homestead projects on http://forum.r4club.nl/viewforum.php?f=18
Uhm... Think it's a bit hard to follow due to articles in the Dutch language...sorry for that :doh:

Anyway, the rebuild timeline is about 2 years and there's absolutely no hurrying.
And, in the most unlikely matter, if I really wouldn't be able to finish my project, my wife will do an appeal to that TV program CarSOS for an overseas edition :whistle:
 
Ha ha hopefully that won't be needed. Yes two years for an evening and weekend project sounds right. Mine was similar timeframe. You're making smart progress . Tie on labels are a good idea by the way. I used masking tape and felt tip pen. Most of it dried up and fell off!
 
Back
Top