You are using an out of date browser. It may not display this or other websites correctly.
You should upgrade or use an alternative browser.
You should upgrade or use an alternative browser.
R4 GTL 1985 Restoration
- Thread starter JdeW
- Start date
JdeW
Enthusiast
- Messages
- 1,174
- Location
- Laarbeek The Netherlands
I posted them back in february 2018 https://www.renault4.co.uk/forum/threads/r4-gtl-1985-restoration.8252/post-59337Looking fantastic.
Where did you find Decarbons?
But it took more then a year 2017 to 2018 to find them, but nowadays I think it's very very rare but maybe not impossible to find them.
Last edited:
JdeW
Enthusiast
- Messages
- 1,174
- Location
- Laarbeek The Netherlands
It's almost time to put the chassis on it's wheels and rejoining the body with the chassis.
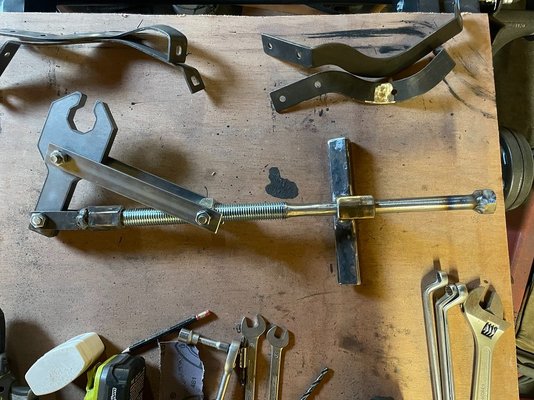
But first I've to create "The Tool" or as it's true name is the FACOM SUS 311, to pre tension the front torsion bars.
I've added a pdf with measurements I found once on a forum.
Basic ingredients consist of some nuts (M20 and M24) a threaded rod M24 and 5mm thick steel.
I started with grinding the sink of the M20 nuts and welded 3 of them together and filing the inner thread off.
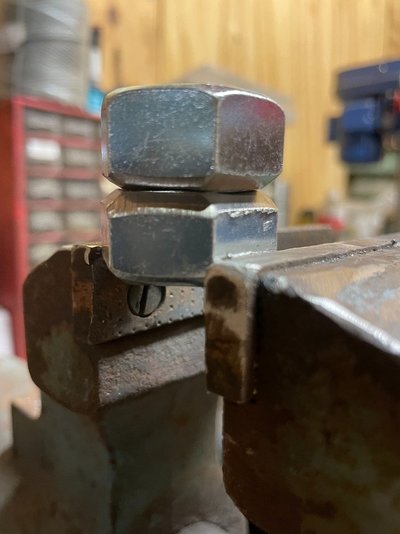
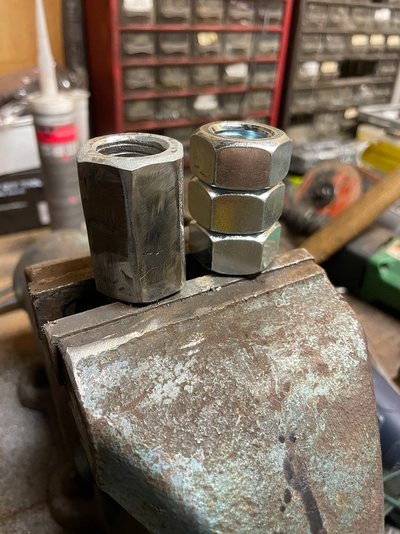
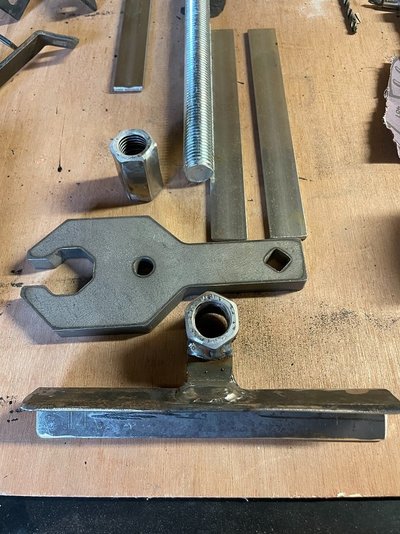
Use your creativity to make the various parts; the most work is filing the threaded rod for the slide and turning piece. A lathe could also be used, but unfortunately, I don't have one.
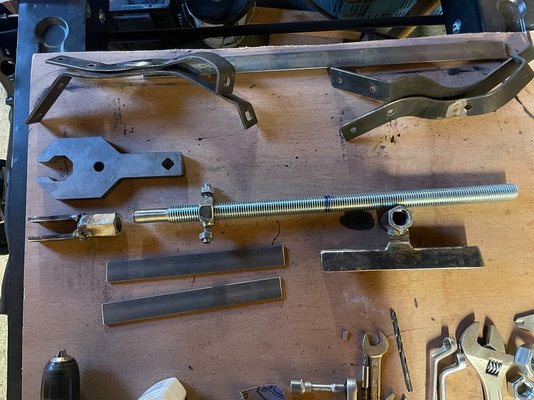
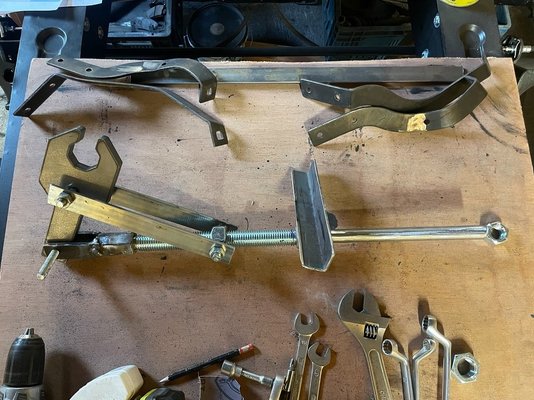
Finally the tool is ready and will be tested soon.
Cheers
But first I've to create "The Tool" or as it's true name is the FACOM SUS 311, to pre tension the front torsion bars.
I've added a pdf with measurements I found once on a forum.
Basic ingredients consist of some nuts (M20 and M24) a threaded rod M24 and 5mm thick steel.
I started with grinding the sink of the M20 nuts and welded 3 of them together and filing the inner thread off.


Use your creativity to make the various parts; the most work is filing the threaded rod for the slide and turning piece. A lathe could also be used, but unfortunately, I don't have one.


Finally the tool is ready and will be tested soon.

Cheers
JdeW
Enthusiast
- Messages
- 1,174
- Location
- Laarbeek The Netherlands
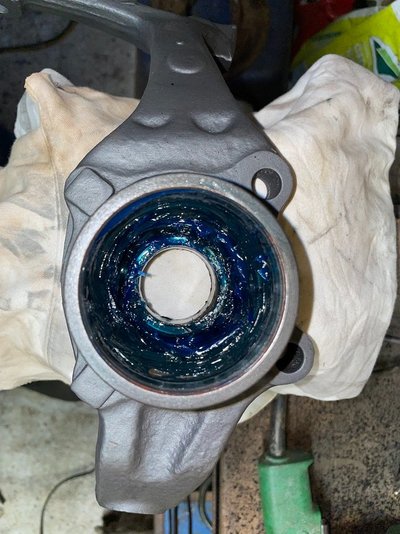
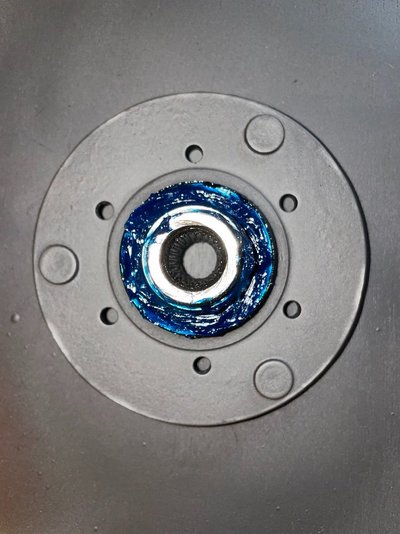
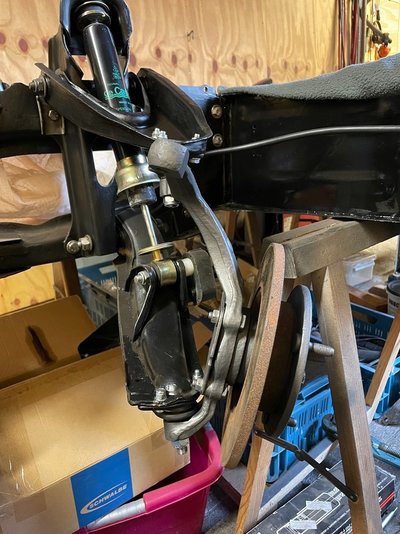
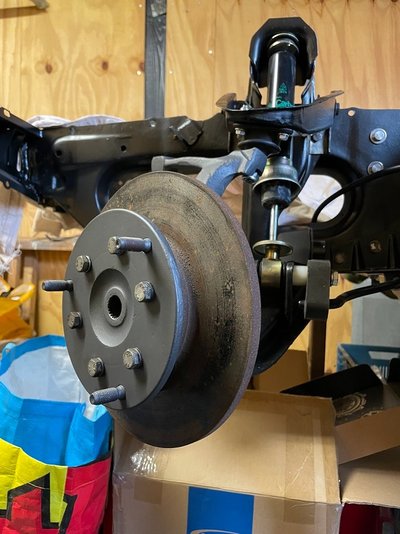
Before using "The Tool" I want to install the wheel hubs and that means taking the left and right hub apart.
The left wheel hub still had a worn, stubborn lower ball joint that was very stuck. It finally gave way after a lot of persuasion and with the help of a ball joint puller.
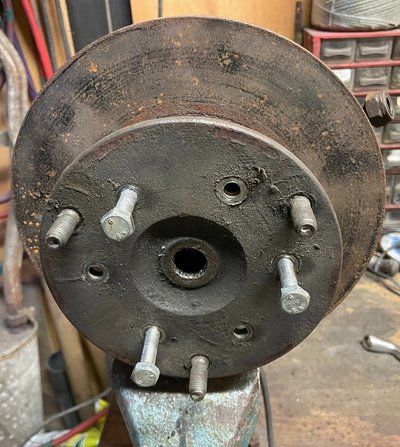
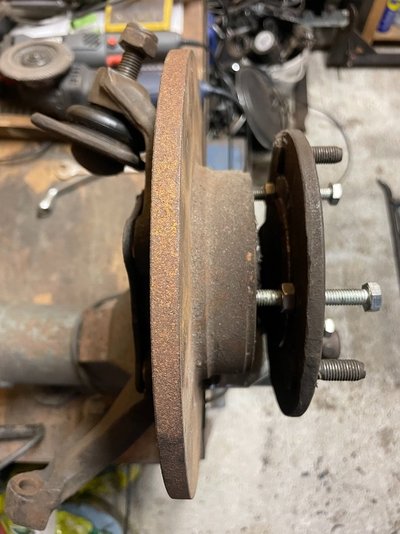
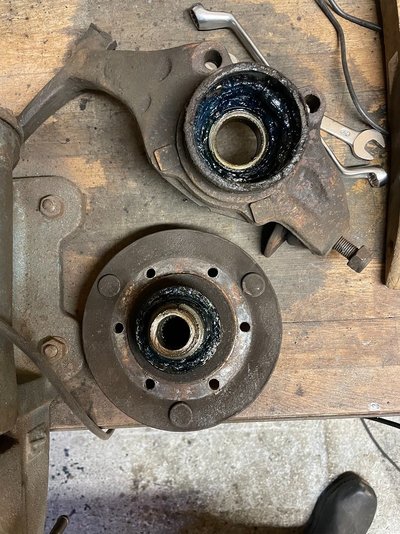
The bearings are in excellent condition, no strange noises or anything like that.
Judging by the two colors of bearing grease, a bearing set has been replaced at some point in the past.
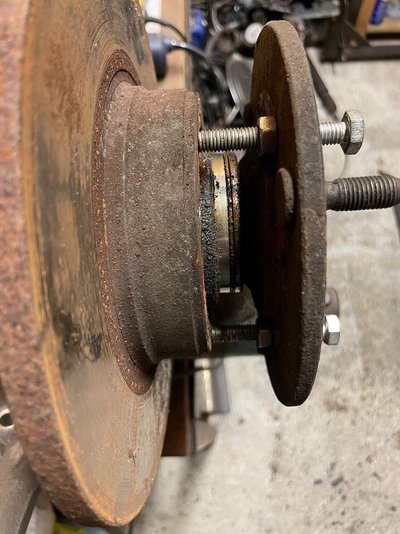
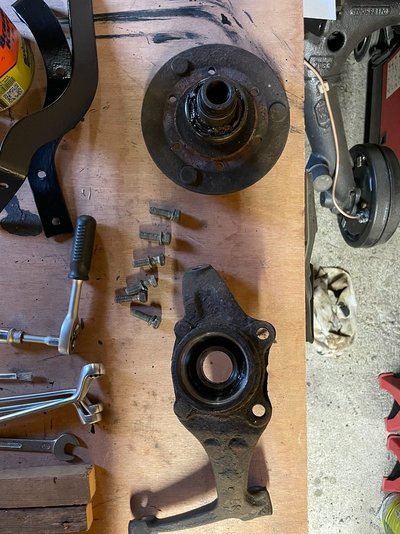
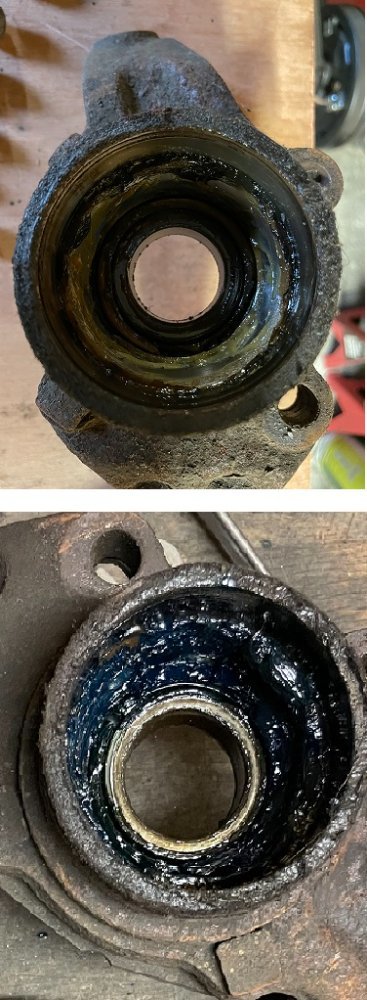
Needless to say, all parts are covered in a bit of caked-on gunk. So, back to work with rotating wire brushes, etc.
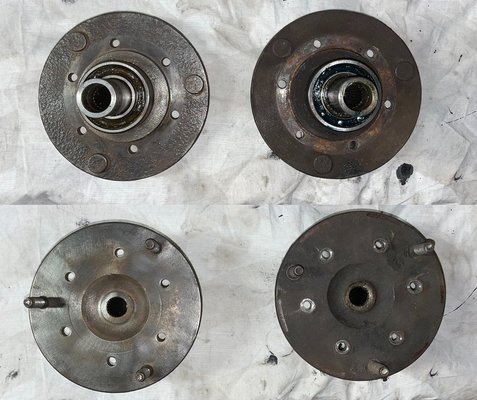
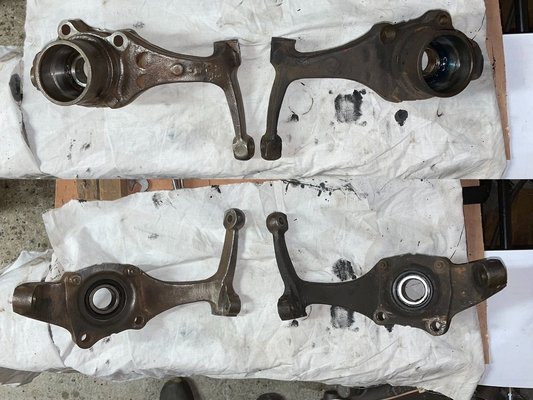
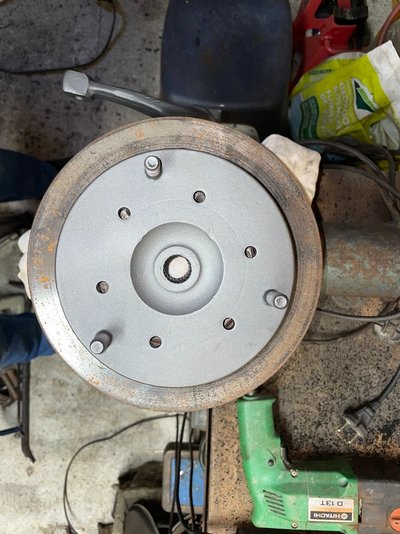
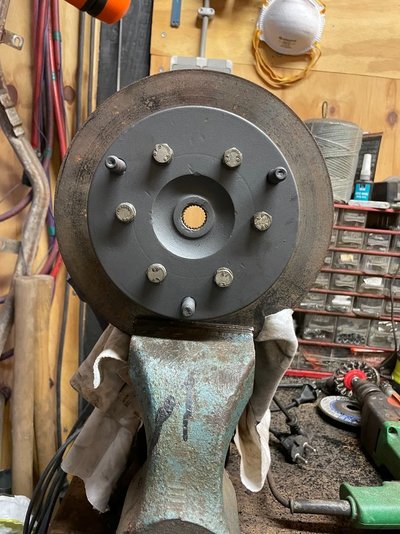
Time to mask off some parts and then apply an anti-rust primer and give it an anthracite color. In the photo it still shines, but the end result will be a matte anthracite.
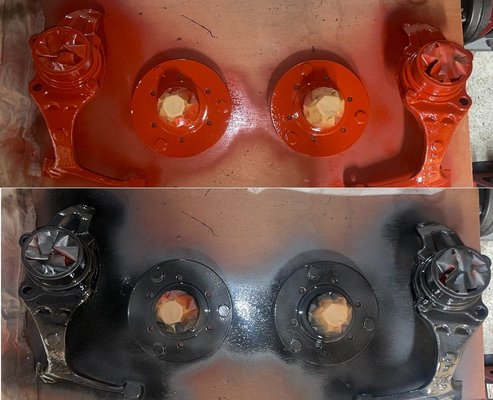
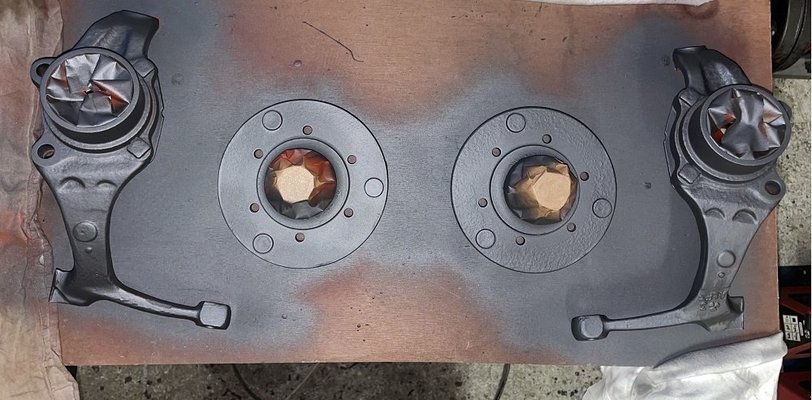
The brake discs are untouched so a little bit of rust resides, but that suites the R4
More next time.
The left wheel hub still had a worn, stubborn lower ball joint that was very stuck. It finally gave way after a lot of persuasion and with the help of a ball joint puller.


The bearings are in excellent condition, no strange noises or anything like that.
Judging by the two colors of bearing grease, a bearing set has been replaced at some point in the past.


Needless to say, all parts are covered in a bit of caked-on gunk. So, back to work with rotating wire brushes, etc.


Time to mask off some parts and then apply an anti-rust primer and give it an anthracite color. In the photo it still shines, but the end result will be a matte anthracite.


The brake discs are untouched so a little bit of rust resides, but that suites the R4

More next time.
Last edited:
JdeW
Enthusiast
- Messages
- 1,174
- Location
- Laarbeek The Netherlands
And now it's time to install the front torsion bars and use "The Tool."
I have no idea if a step-by-step guide has ever been posted on this forum, so apologies in advance.
First, don't forget to put the rubber washer back into the lower control arm before installing the torsion bar.
Second, when you installed the upper and lower wishbones you should NOT tighten the bolts, so untighten them when you did.
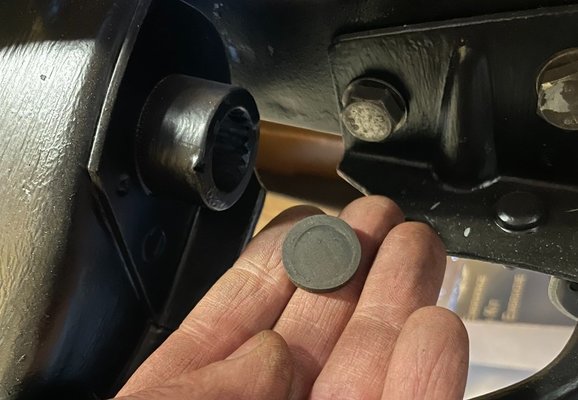
Remember the lid gasket, and remember to grease the splines.
The torsion bar should be moved back and forth slightly, observing the markings you made earlier.
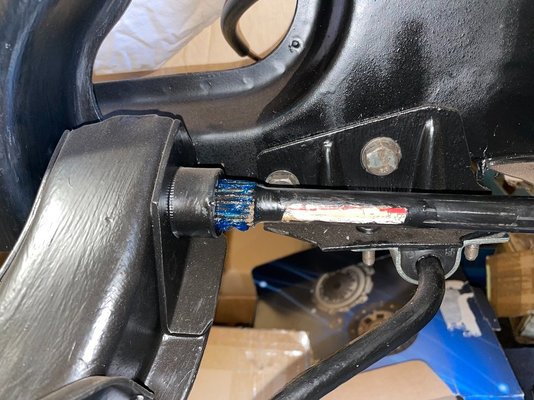
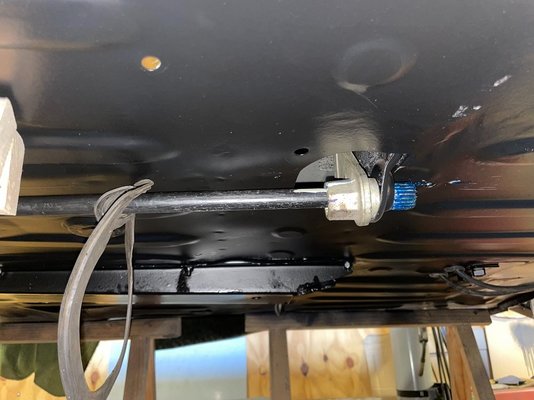
Place the rubber thule in place.
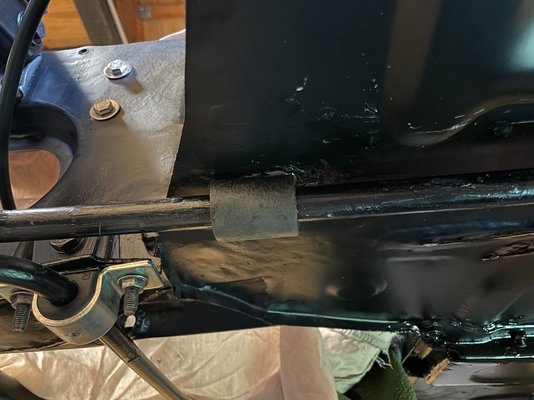
Tap the torsion bar into the lower control arm and simultaneously into the anchor plate, of course, taking into account the markings. It's important that the anchor lever rests properly in its recess.
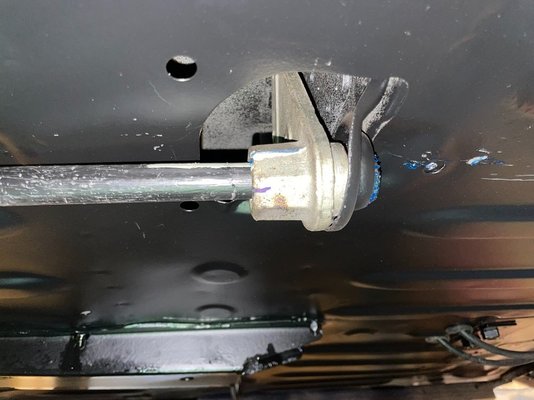
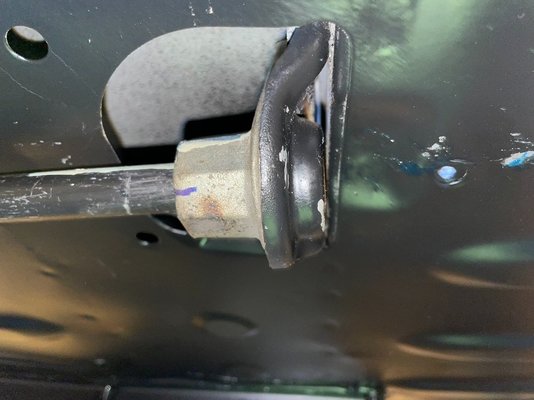
Now it's time to fit the tool and start tensioning the torsion bar.
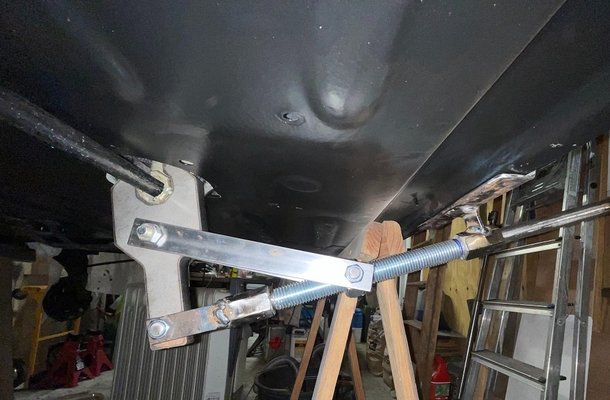
Here you see the end position of the tool. Keep in mind that there is a considerable load on the tool.
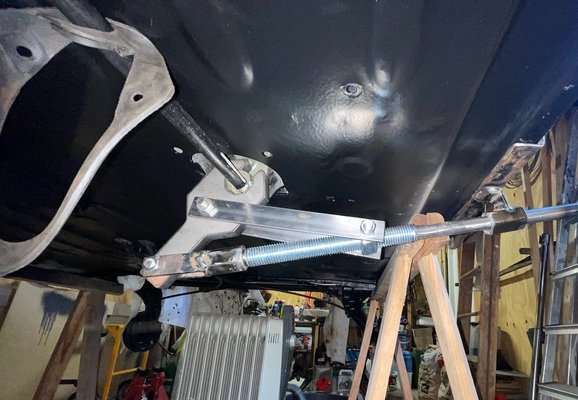
The anchor lever bolt holes are now nice in line so put the bolts in and tighten them to their specific torque.
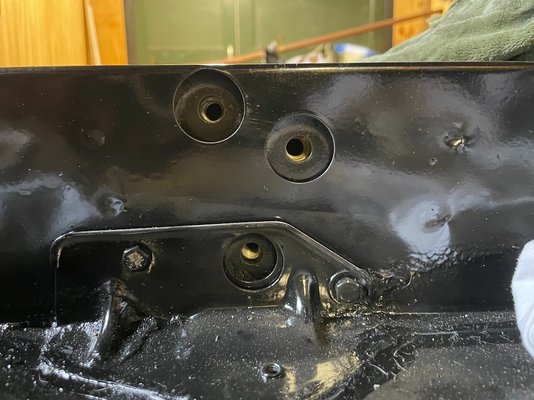
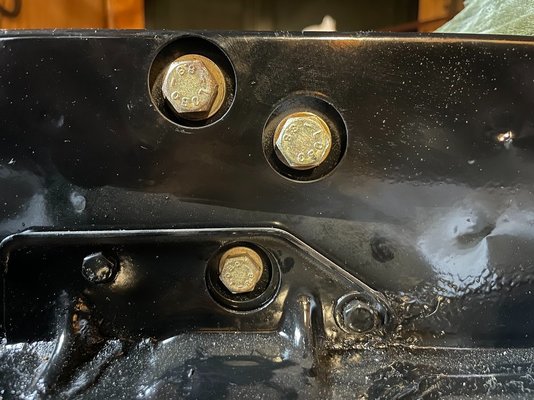
Remove the tension from the tool, remove the tool and now tighten the upper and lower wishbone arms bolts and again a job nicely done.
Though the load is considerable I found it quite easy to tension the torsion bars, but always use common sence.
Cheers.
I have no idea if a step-by-step guide has ever been posted on this forum, so apologies in advance.
First, don't forget to put the rubber washer back into the lower control arm before installing the torsion bar.
Second, when you installed the upper and lower wishbones you should NOT tighten the bolts, so untighten them when you did.

Remember the lid gasket, and remember to grease the splines.
The torsion bar should be moved back and forth slightly, observing the markings you made earlier.


Place the rubber thule in place.

Tap the torsion bar into the lower control arm and simultaneously into the anchor plate, of course, taking into account the markings. It's important that the anchor lever rests properly in its recess.


Now it's time to fit the tool and start tensioning the torsion bar.

Here you see the end position of the tool. Keep in mind that there is a considerable load on the tool.

The anchor lever bolt holes are now nice in line so put the bolts in and tighten them to their specific torque.


Remove the tension from the tool, remove the tool and now tighten the upper and lower wishbone arms bolts and again a job nicely done.
Though the load is considerable I found it quite easy to tension the torsion bars, but always use common sence.
Cheers.
JdeW
Enthusiast
- Messages
- 1,174
- Location
- Laarbeek The Netherlands
@petak I have to say, it's easy once you get the hang of it. It's a bit fiddly to position the bar at the front and back, but once it's in place, tightening it is a breeze.
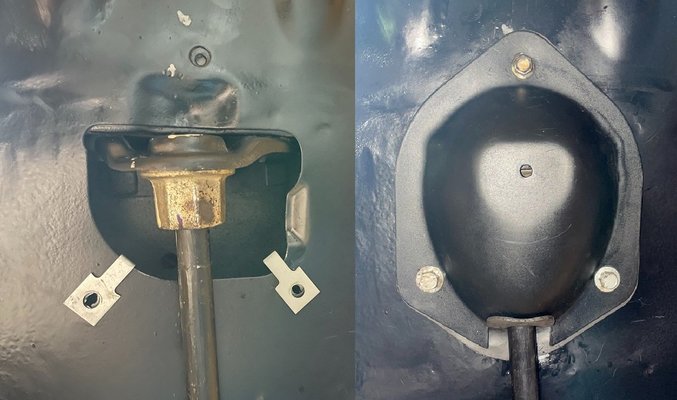
Time to install the torsion bars cover caps.
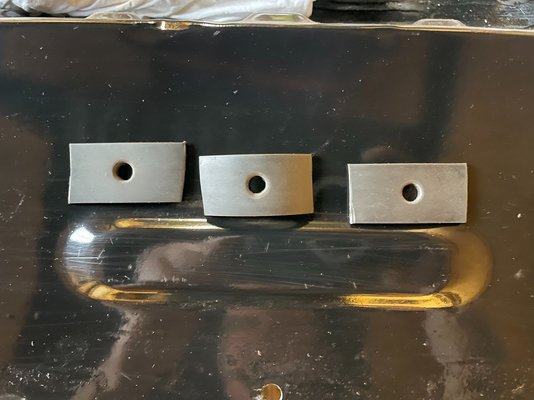
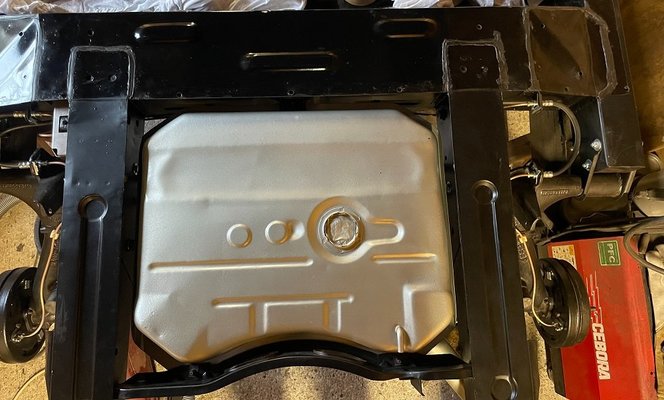
New rubbers for the fuel tank and mounted immediately.
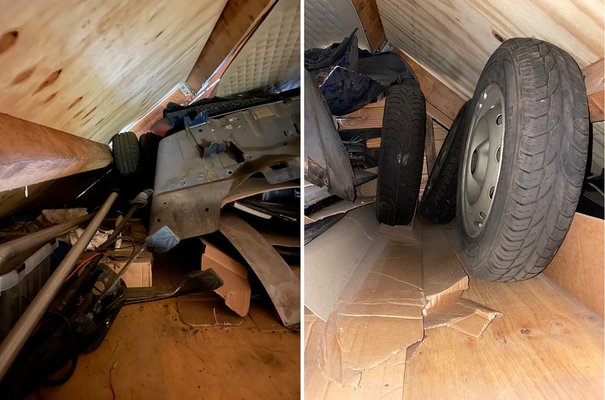
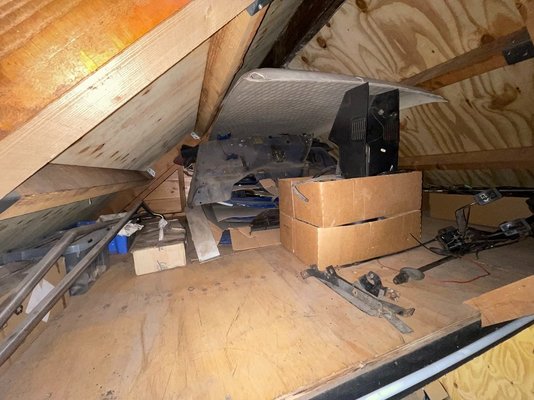
Time to dig out the tires that were tucked away in the parts attic and take a look at the other parts that are due for repair.
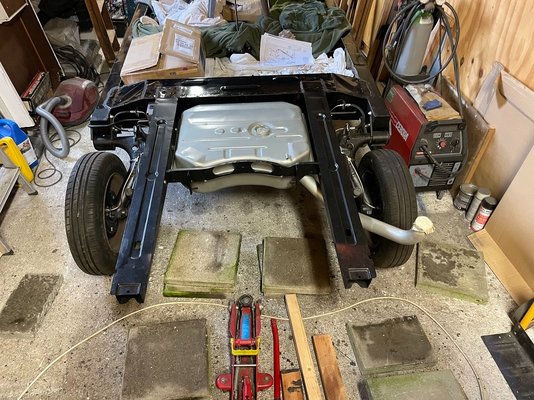
The wheels are inflated and mounted, and finally, our Reeske is back on its wheels.
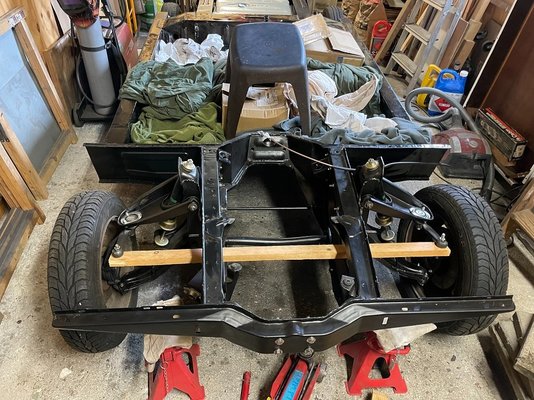
I've to wait just a little while longer until the fuel line clips are available, and then we'll continue reuniting the body and chassis.
Cheers
Time to install the torsion bars cover caps.

New rubbers for the fuel tank and mounted immediately.


Time to dig out the tires that were tucked away in the parts attic and take a look at the other parts that are due for repair.


The wheels are inflated and mounted, and finally, our Reeske is back on its wheels.


I've to wait just a little while longer until the fuel line clips are available, and then we'll continue reuniting the body and chassis.
Cheers


