You are using an out of date browser. It may not display this or other websites correctly.
You should upgrade or use an alternative browser.
You should upgrade or use an alternative browser.
What have we done this time (R4 F4)
- Thread starter petak
- Start date
petak
Enthusiast
- Messages
- 1,920
- Location
- Vodice, Croatia
petak
Enthusiast
- Messages
- 1,920
- Location
- Vodice, Croatia
petak
Enthusiast
- Messages
- 1,920
- Location
- Vodice, Croatia
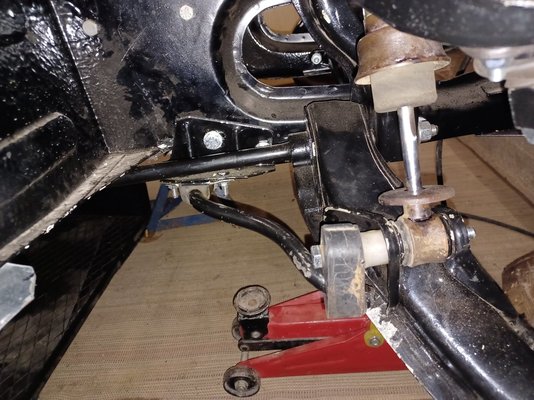
Then i jumped to rear axle.
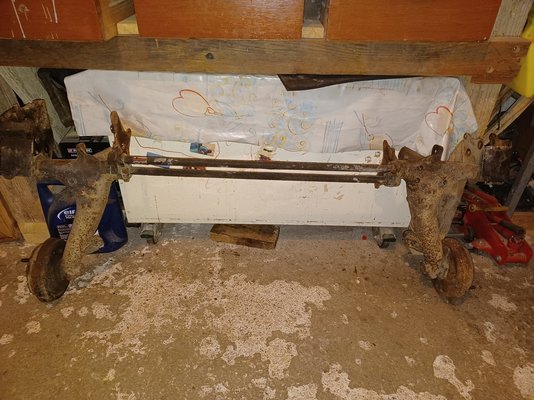
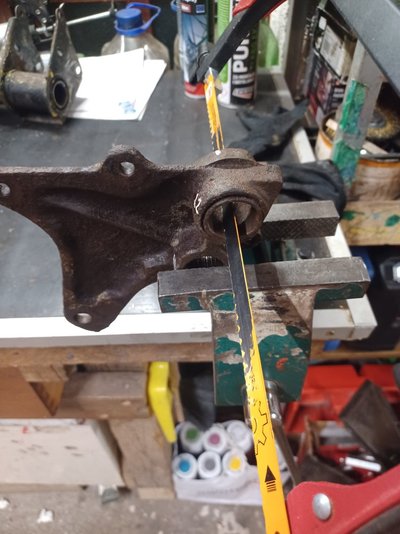
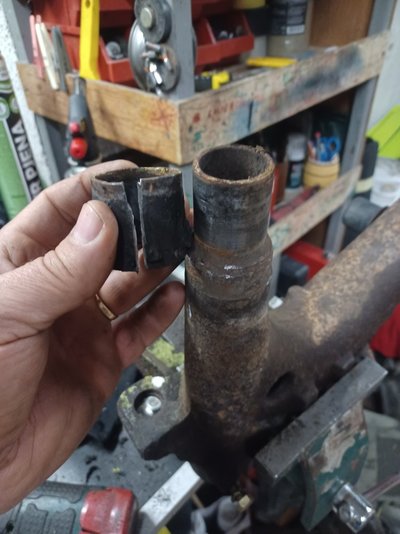
First i needed to remove chassis leftover which was welded to bracket
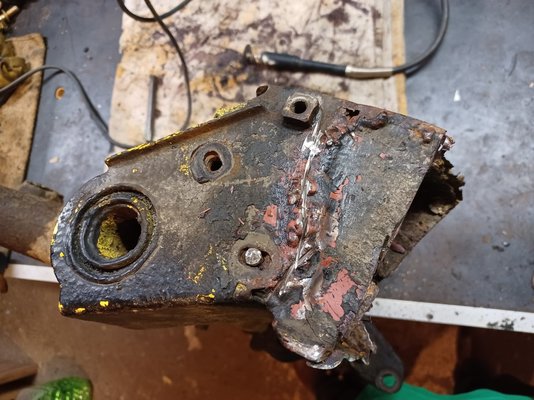
A lot of precise (dremel) cutting and grinding was done in proces as i di not wanted to ruin bracket
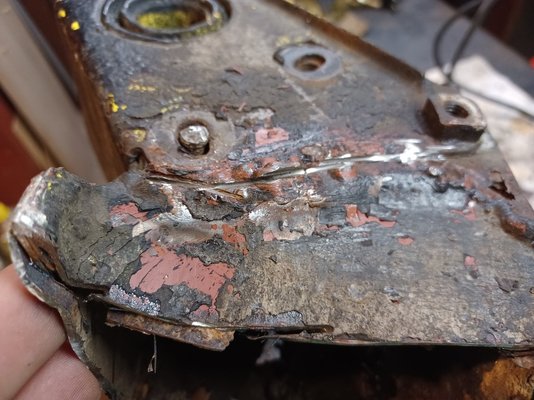
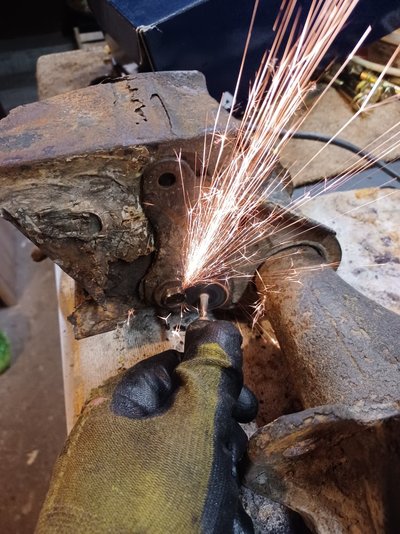
And some hammering was involved
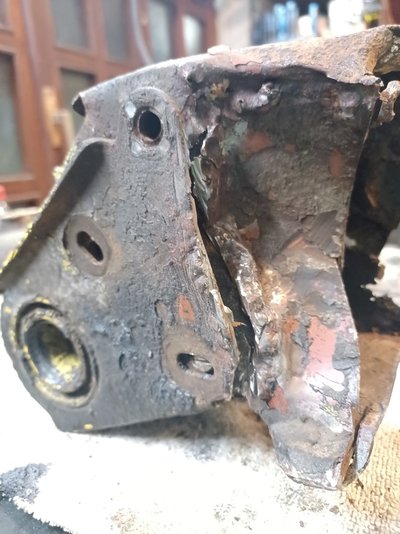
And finaly chassis was removed
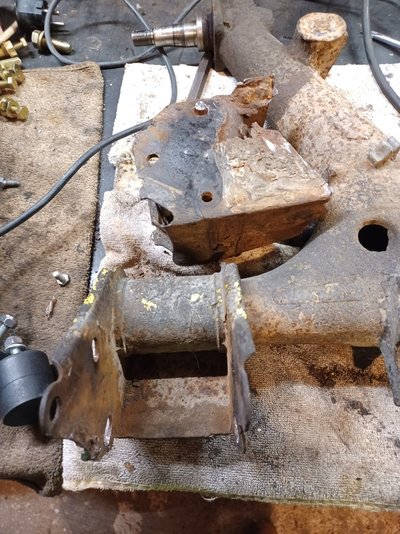
Had to cut off welding metal left on bracket (black line on far side)
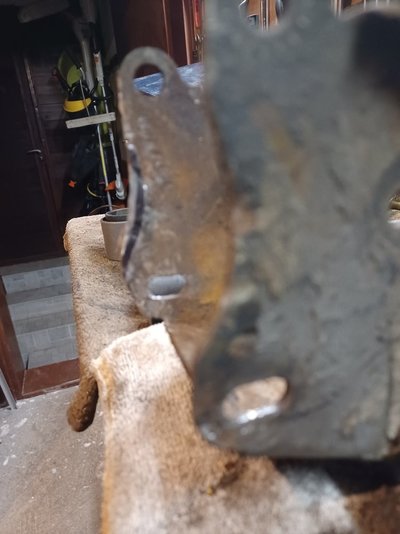
Marked torsion bar possitions
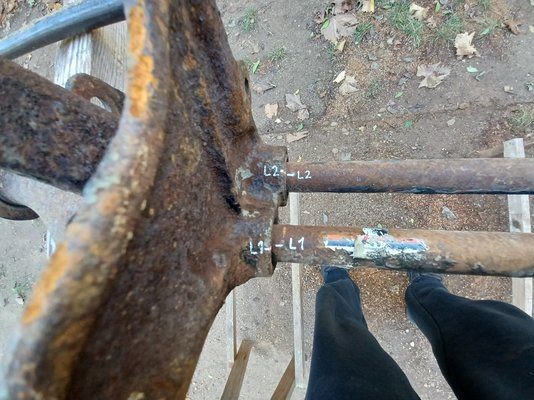
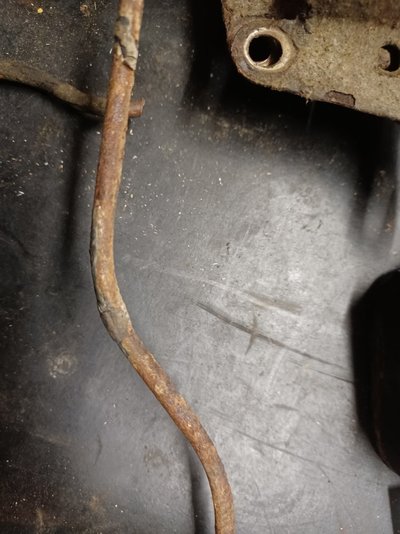
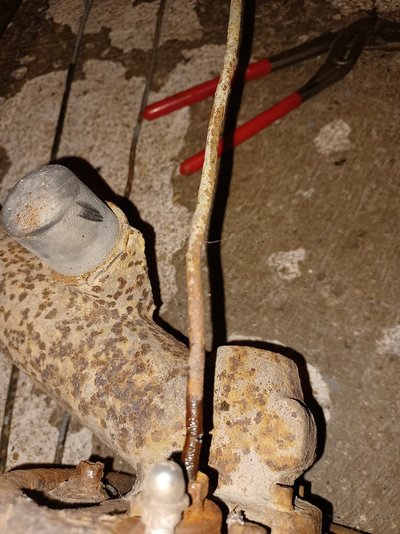
But can not took torsion bars out. They are so rusted and stucked that even heating did not help. I did not heat to much as i am afraid not to destroid torsion bars
Now i am triing to figure out some other way to take bars off. Not sure if it will work
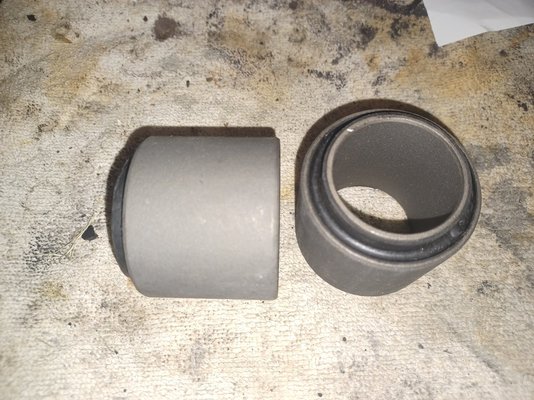
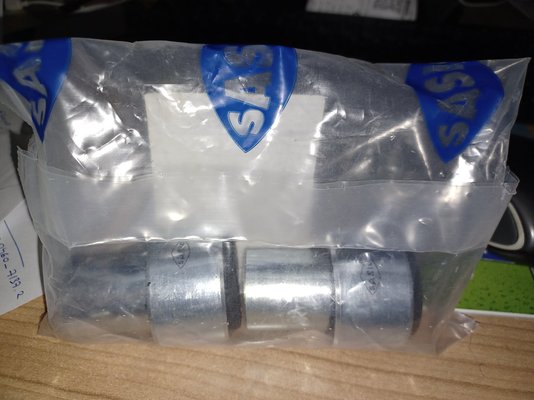
New silend blocks are already in house. Waiting to be instaled

First i needed to remove chassis leftover which was welded to bracket

A lot of precise (dremel) cutting and grinding was done in proces as i di not wanted to ruin bracket


And some hammering was involved

And finaly chassis was removed

Had to cut off welding metal left on bracket (black line on far side)

Marked torsion bar possitions

But can not took torsion bars out. They are so rusted and stucked that even heating did not help. I did not heat to much as i am afraid not to destroid torsion bars
Now i am triing to figure out some other way to take bars off. Not sure if it will work
New silend blocks are already in house. Waiting to be instaled


JdeW
Enthusiast
- Messages
- 1,161
- Location
- Laarbeek The Netherlands
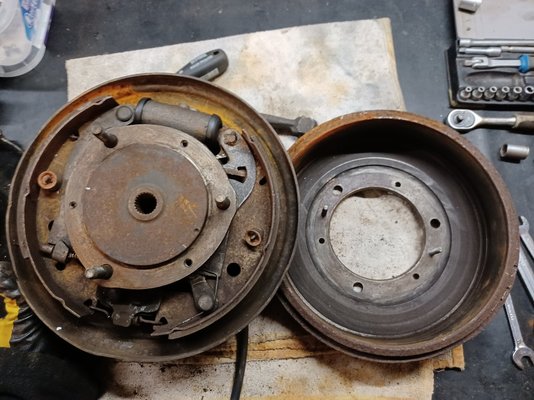
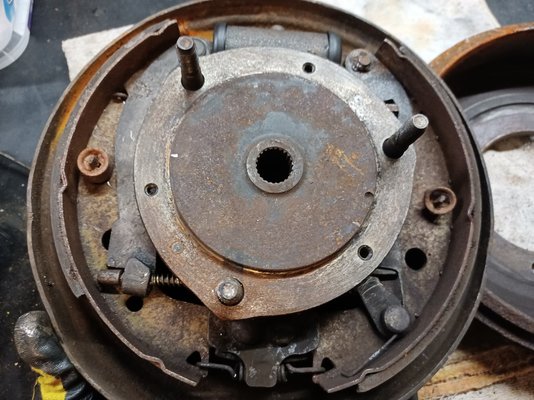
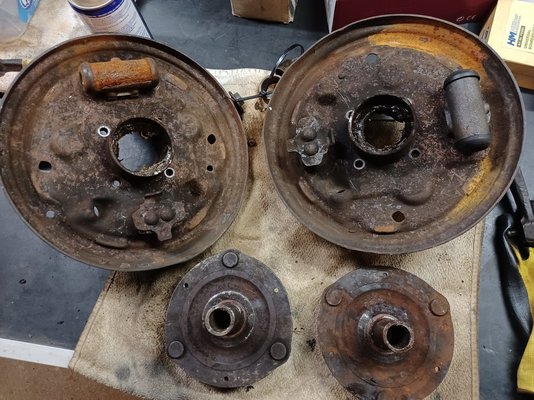
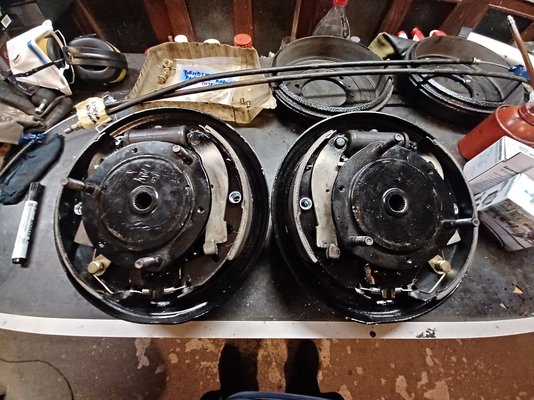
Very nice work on the drum brakes 
About the torsionbars.... I had the same issue with my R4 back in 2017. Everything was so stuck due to the rust that it took a lot of time and force.
I used every day a lot of penetrating oil and let it soak for a couple of days. Use a 1,5kg hammer and a stump chisel and just start hammering. It took me several hours but eventually the bars came out.
petak
Enthusiast
- Messages
- 1,920
- Location
- Vodice, Croatia
TX JdeW! I was studding your topic about removing arms from rear axle.
Managed to get my hands on steel rod fi20mm 300mm long.
Plan is
1. lover axle on ground in horizontal orientation.
2. one side support to wall
3. put steel rood inside arm into splint hole that holds torsion bar
4. put 2T jack on that rod and support it to wall opposite ot first wall.
5. use 2T hydraulic force to press put torsion bar.
Hope it will work!
petak
Enthusiast
- Messages
- 1,920
- Location
- Vodice, Croatia
Today i was destructive.
Finally took a part rear axle.
Did not go as planed with hidraulic press but bigger hammer (5kg).
Support axle on step in garage
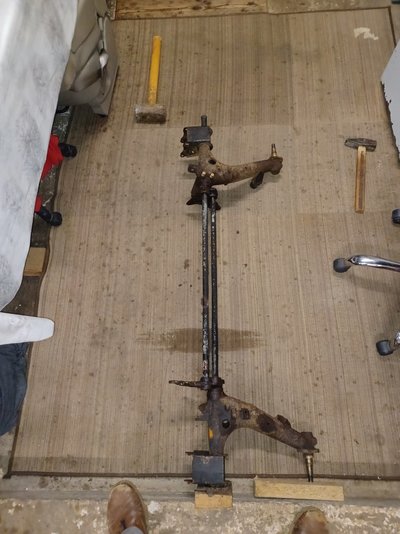
Put rod inside arm. It was easier to hit it wirh hammer while it was staing still inside arm. After i started to move torsion bar have turn around and hammer it out thru arm
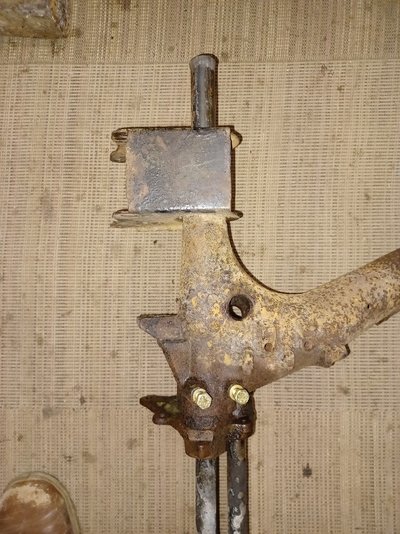
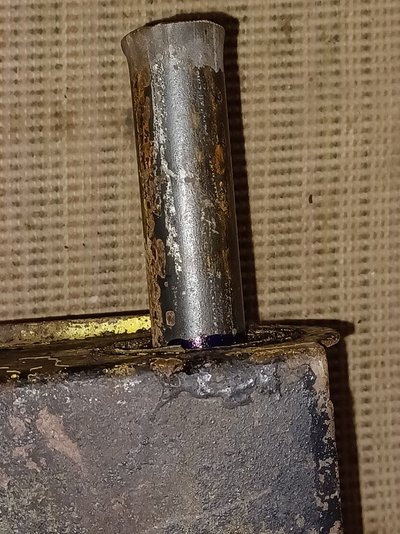
Eventually torsion bar started to.move
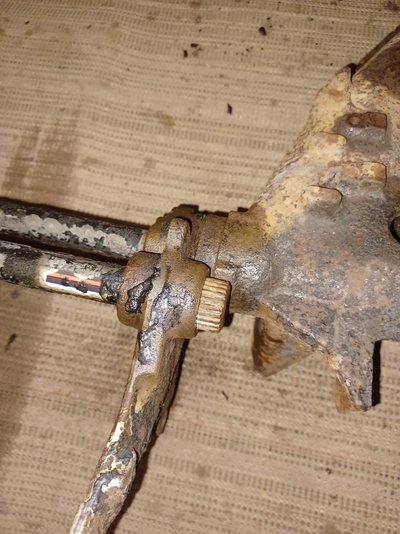
Then i turned direction .
After an hour of hammering everithing came apart.
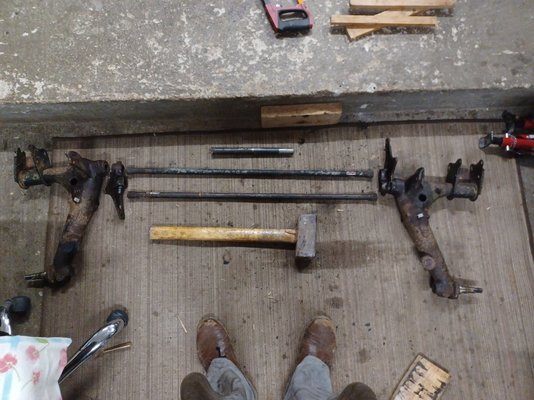
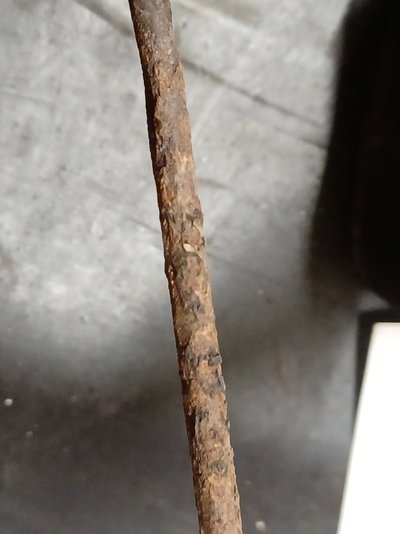
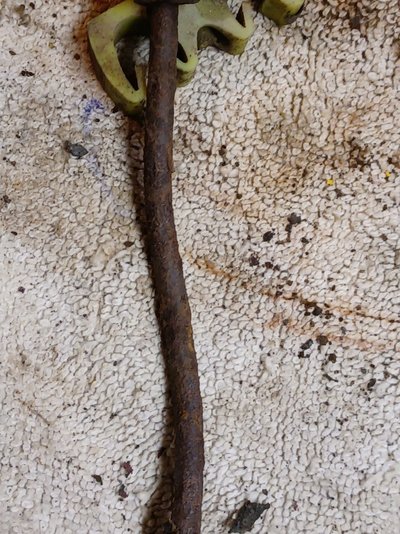
Now i am affraid that markings i have put on bars are not to visible anymore. But will deal with that later when time come.
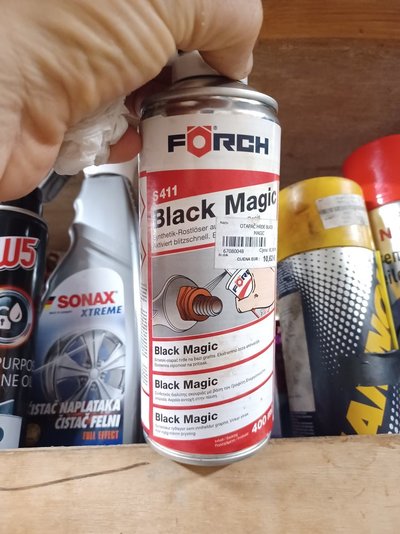
Apparently tgis penetration fluid helped alot
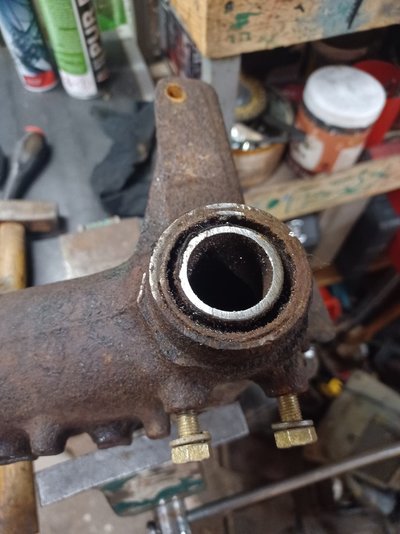
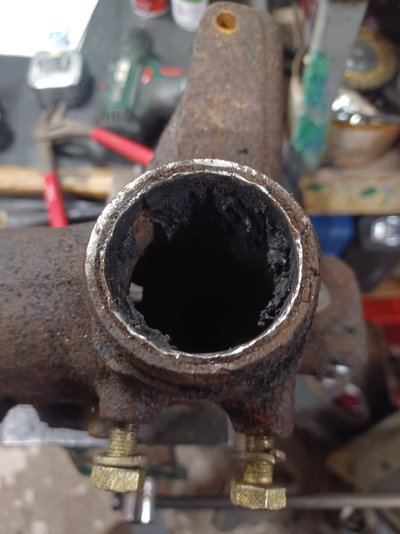
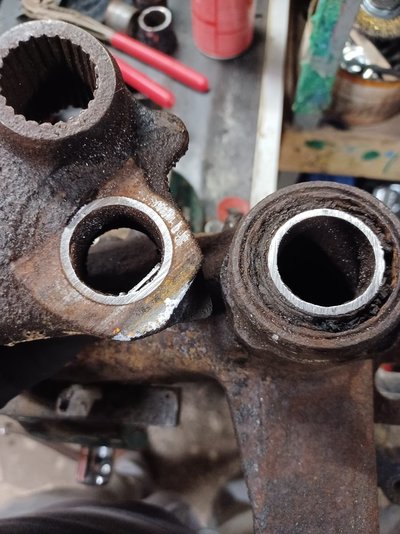
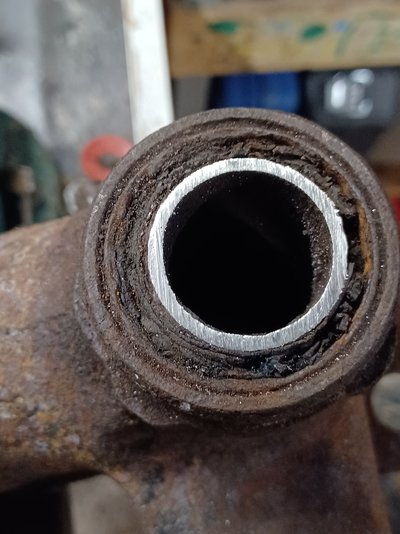
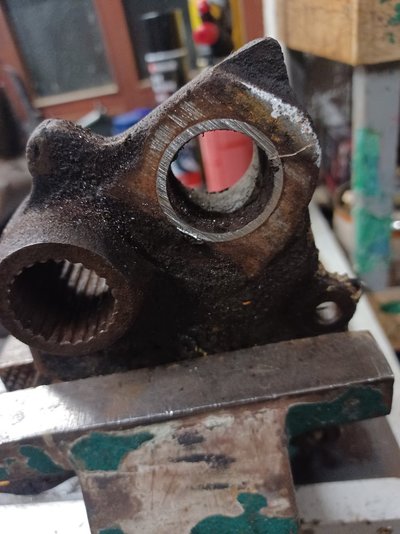
Still lot of rust left inside splines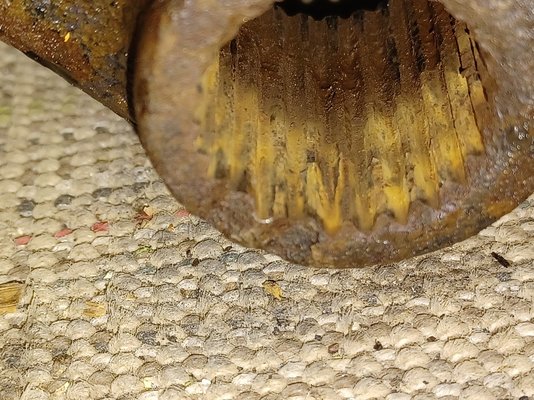
One thing i am wonderin if someone know.
Are this marking on bracket and toraion bar have some alighment meaning
Marking on bracket
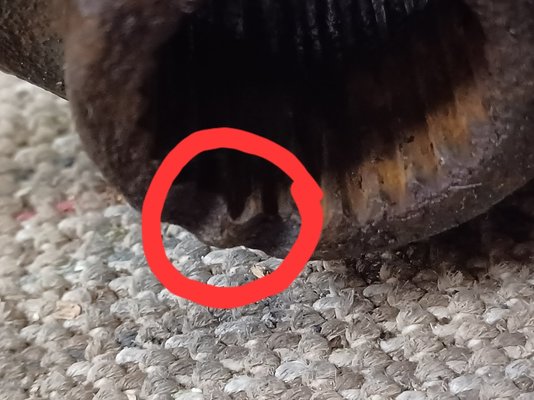
And sricker on torsion bar
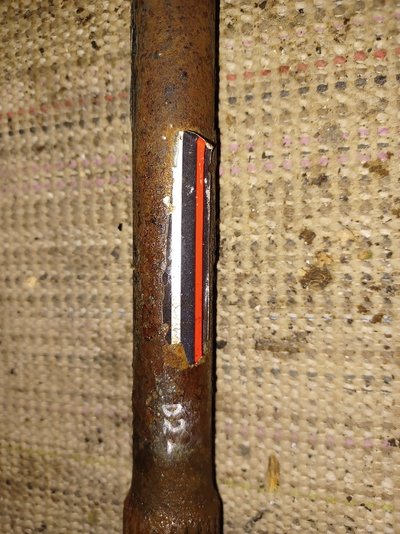
Finally took a part rear axle.
Did not go as planed with hidraulic press but bigger hammer (5kg).
Support axle on step in garage

Put rod inside arm. It was easier to hit it wirh hammer while it was staing still inside arm. After i started to move torsion bar have turn around and hammer it out thru arm


Eventually torsion bar started to.move

Then i turned direction .
After an hour of hammering everithing came apart.

Now i am affraid that markings i have put on bars are not to visible anymore. But will deal with that later when time come.
Apparently tgis penetration fluid helped alot

Still lot of rust left inside splines

One thing i am wonderin if someone know.
Are this marking on bracket and toraion bar have some alighment meaning
Marking on bracket

And sricker on torsion bar

angel
Enthusiast
- Messages
- 2,595
- Location
- Athens, Greece
Congratulations on dismantling such a rusty rear axle without having to cut or break a single part!
The markings are there to aid reassembly, I suppose the sticker had been placed at the factory to line up with the mark on the inner mounting.
I would not bother with aligning them, I would simply set ride height from scratch, especially since the special tool to place the suspension arm at the correct position is so easy to make.
More important is not to mix left and right torsion bars - there are small punch marks at the end of the bars that should still be visible.
Don't forget to coat the splines at both ends with graphite grease when reassembling.
petak
Enthusiast
- Messages
- 1,920
- Location
- Vodice, Croatia
Congratulations on dismantling such a rusty rear axle without having to cut or break a single part!
The markings are there to aid reassembly, I suppose the sticker had been placed at the factory to line up with the mark on the inner mounting.
I would not bother with aligning them, I would simply set ride height from scratch, especially since the special tool to place the suspension arm at the correct position is so easy to make.
More important is not to mix left and right torsion bars - there are small punch marks at the end of the bars that should still be visible.
Don't forget to coat the splines at both ends with graphite grease when reassembling.
Thank you! It was not easy!
Markings are from factory. I had same thinking about them but wanted to check with someone.
I have marked left and right bar, that is done. Also have marked position of splined inner bracket in relationship to arm.
Tx for the tip. Graphite grease is ready. Have used it before on front torsion bars. I am aware of it advantage . Now i can pull front torsion bars with hands. No need for hammering

petak
Enthusiast
- Messages
- 1,920
- Location
- Vodice, Croatia
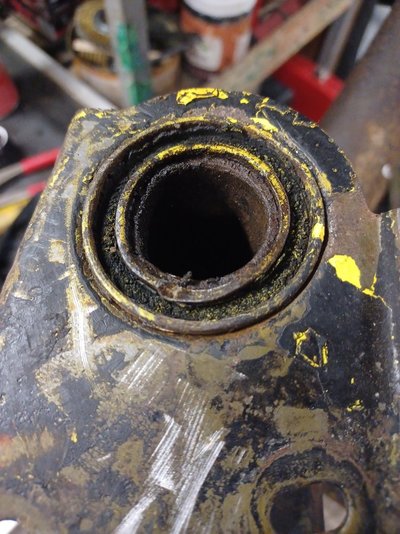
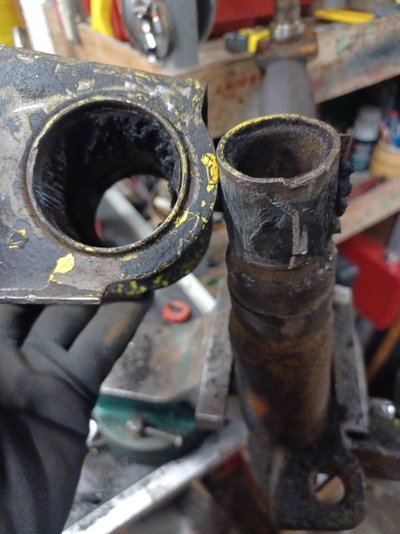
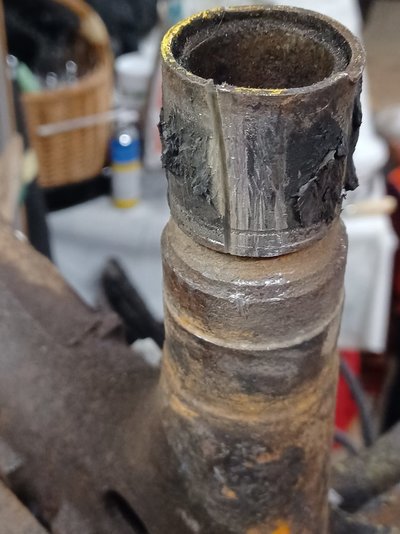
It is pain in the ass but doable......must be carefull not to brake any microdrill inside rubber........then it gets harder..... ........ask me how i know

I bought only bushes for outher mounting bracket. Thinking was not to throw away something that is usable.
 ........ask me how i know

I bought only bushes for outher mounting bracket. Thinking was not to throw away something that is usable.
petak
Enthusiast
- Messages
- 1,920
- Location
- Vodice, Croatia
Pulled out my sandblasting box yesterday
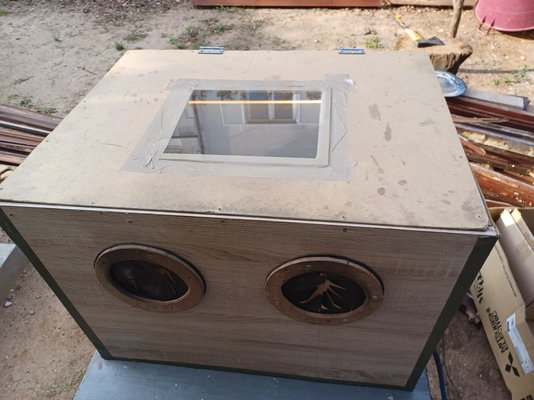
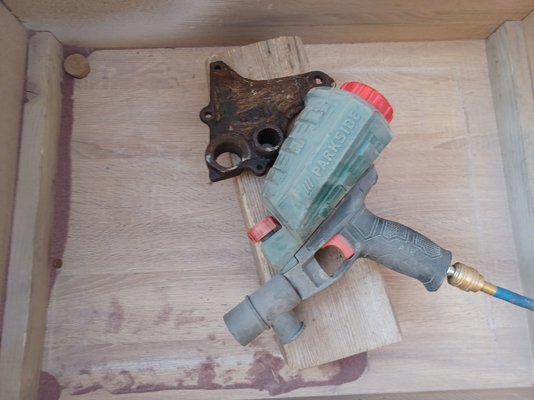
to try to sandblast inner torsion bar brackets.
After soaking few days in alcohol vinegar
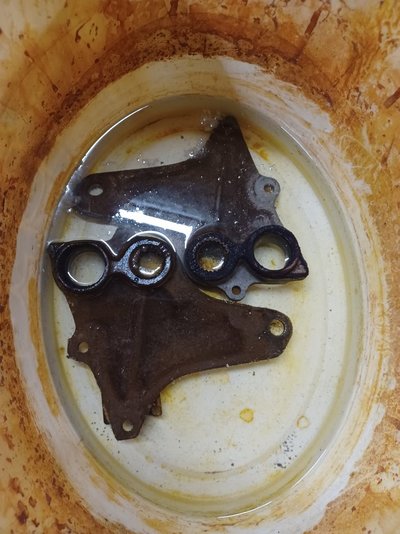
And brushing wuth steel brush they look pretty decent
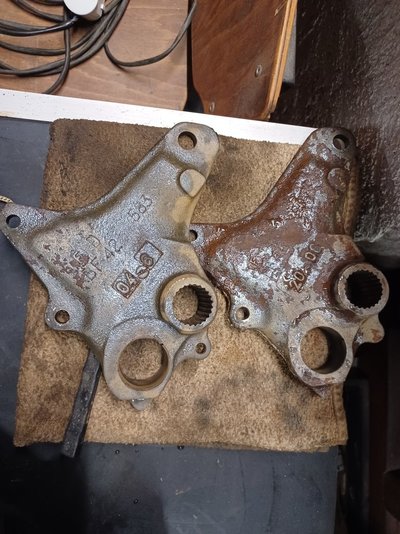
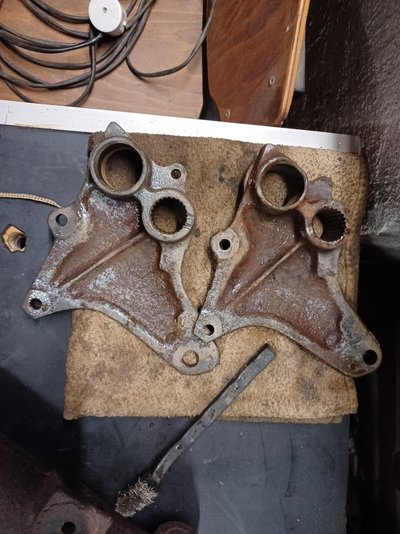
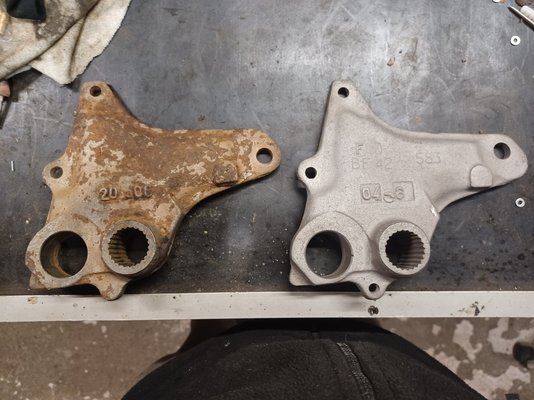
After an half an hour of sandblasting with my "homemade" box, compressor and sandblasting gun i managed to do one
Guess which one
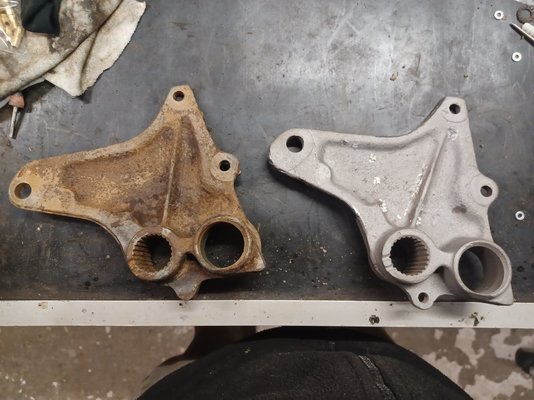
Meanwhile rain and storm started. Not so good time to work outside
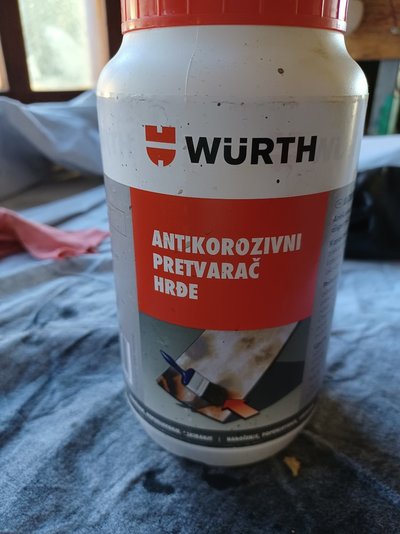
After sandblasting one that is clean i cover with wuerth rust converter to prevent humidity from air to start rust process again.
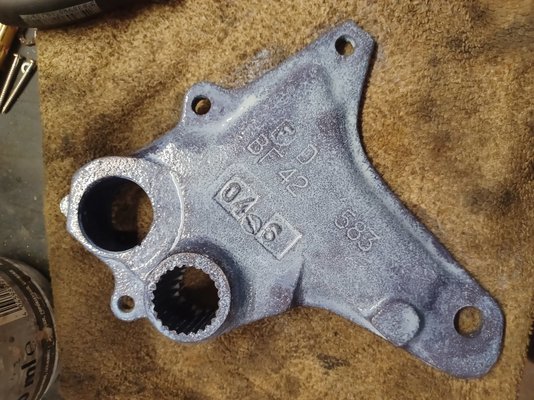
At first it looks like you poor milk over it, but soon after few hours it turns to black.
This way it can stay unpainted for some period of time before other things are finished and ready for painting.
But with arms i might have some issue as i do not have big enough box to put them soak in vinegar, and rust is so hard that it might be big challenge for my sandblasting tool to do the job.
But challenge is there to challenge it.
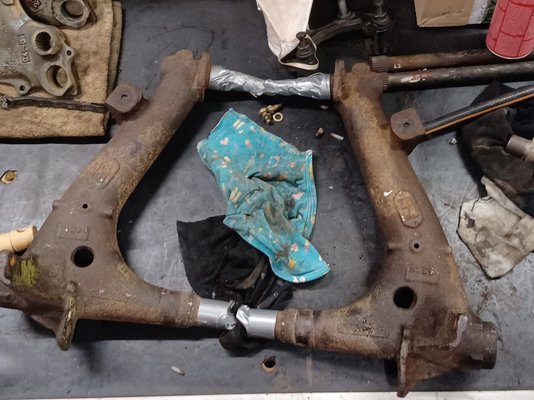


to try to sandblast inner torsion bar brackets.
After soaking few days in alcohol vinegar

And brushing wuth steel brush they look pretty decent


After an half an hour of sandblasting with my "homemade" box, compressor and sandblasting gun i managed to do one

Guess which one


Meanwhile rain and storm started. Not so good time to work outside
After sandblasting one that is clean i cover with wuerth rust converter to prevent humidity from air to start rust process again.

At first it looks like you poor milk over it, but soon after few hours it turns to black.
This way it can stay unpainted for some period of time before other things are finished and ready for painting.
But with arms i might have some issue as i do not have big enough box to put them soak in vinegar, and rust is so hard that it might be big challenge for my sandblasting tool to do the job.
But challenge is there to challenge it.


petak
Enthusiast
- Messages
- 1,920
- Location
- Vodice, Croatia
Rob you got all info you needed.
YOu are lucky as i wasn't on this forum for some time now.
While i am here just to let you know that no much of work is going on here.
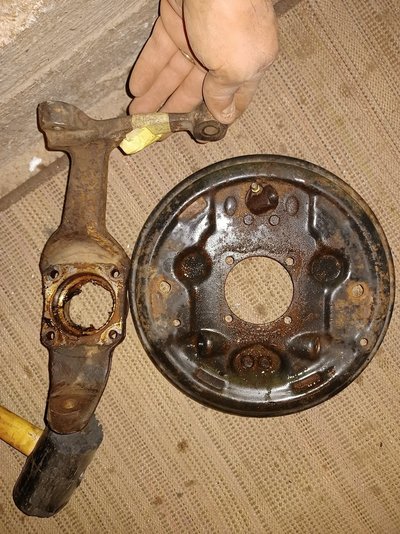
Just put rear "legs" to soak little bit in vinegar. Similar to old granpa's feet when they (feet) get old and tired and need decent manicure.
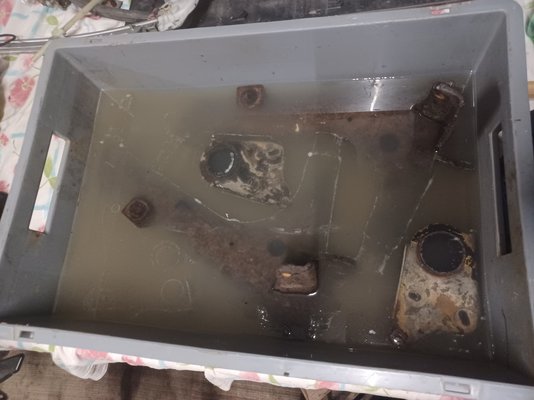
YOu are lucky as i wasn't on this forum for some time now.
While i am here just to let you know that no much of work is going on here.
Just put rear "legs" to soak little bit in vinegar. Similar to old granpa's feet when they (feet) get old and tired and need decent manicure.

petak
Enthusiast
- Messages
- 1,920
- Location
- Vodice, Croatia
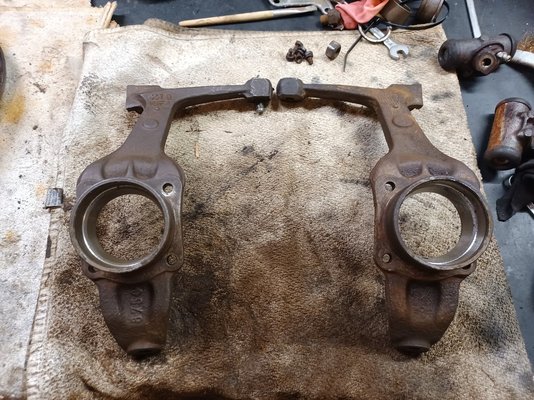
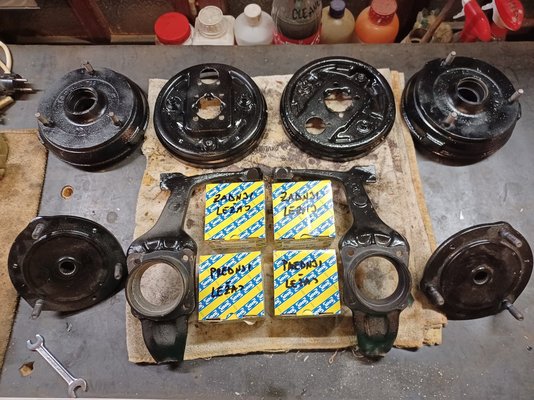
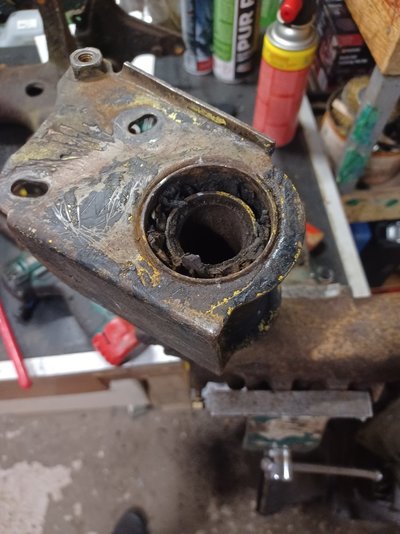
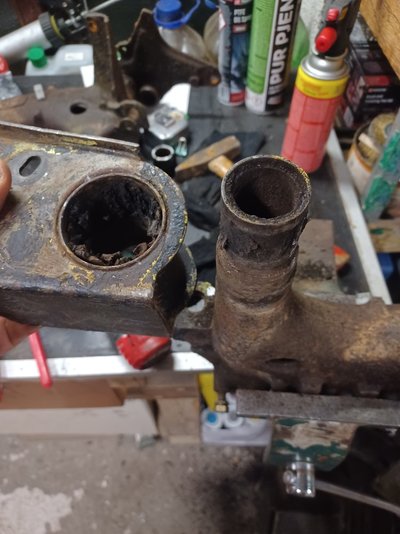
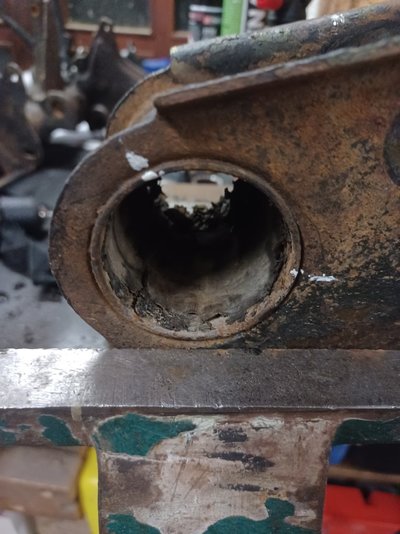
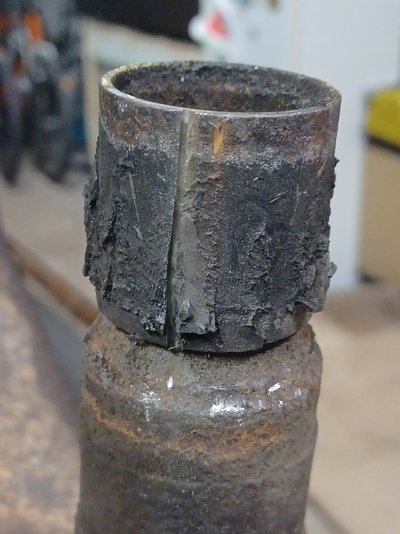
Nothing much happened here also since last time. But project is not abounded. It is still much alive in my head and heart.
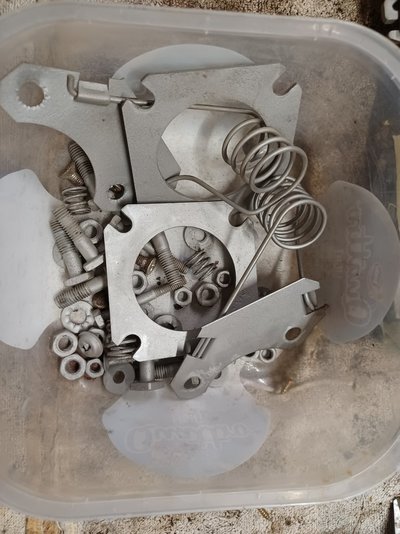
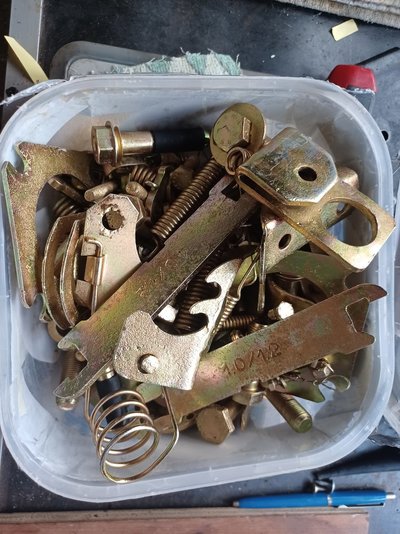
Rear legs are cleaned from rust and coated with wurth rust converter from inside and outside waiting to be painted.
Postponing puting rear axle back in one piece as i have lost information how inner bracket is positioned in comparison to arm.
I can not find that information nowhere in manuals or DIY projects.
There is option to dismantle another rear axle and take measurements so i can put this axle back together.
Will post progress here when it happens.
Stay beautiful and cheerful
Cheers


