Renault 5 Mk1 - Building a Stainless Exhaust
Exhausts are a bit tricky to find for the TX, and in any case I've added some wheelarch liners so the original exhaust will no longer fit. Something else needs to be done. In stainless steel so I don't have to do it ever again. And at low cost because I'm tight.
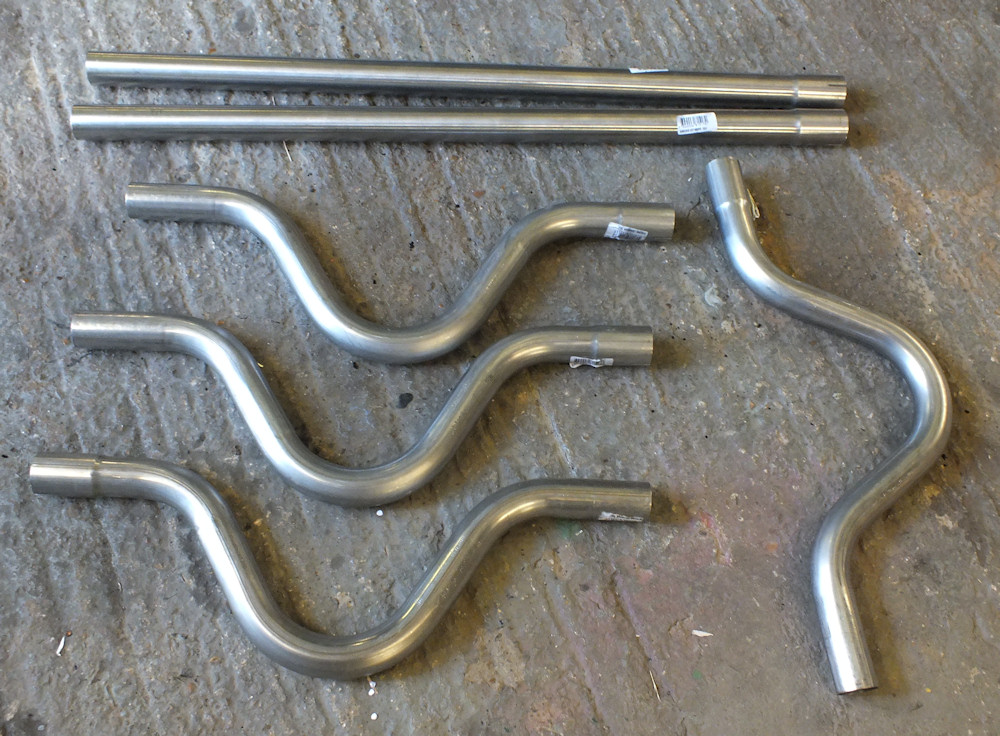
I'm planning to make a full exhaust system all of the way from the exhaust manifold to the tailpipe. Exhaust pipes are really thin wall tubes so a DIY pipe bender would make a real mess of them. Exhaust pipe manufacturers have fancy benders so I've bought pre-bent tube from one of them.
This tube is made by Jetex in 1.75 inch (outside diameter). The bends are intended for passing over a rear axle, and I'm using them because they offer more bends per buck than the other bends they offer. The tubes in the photo cost about £165 in 2012.
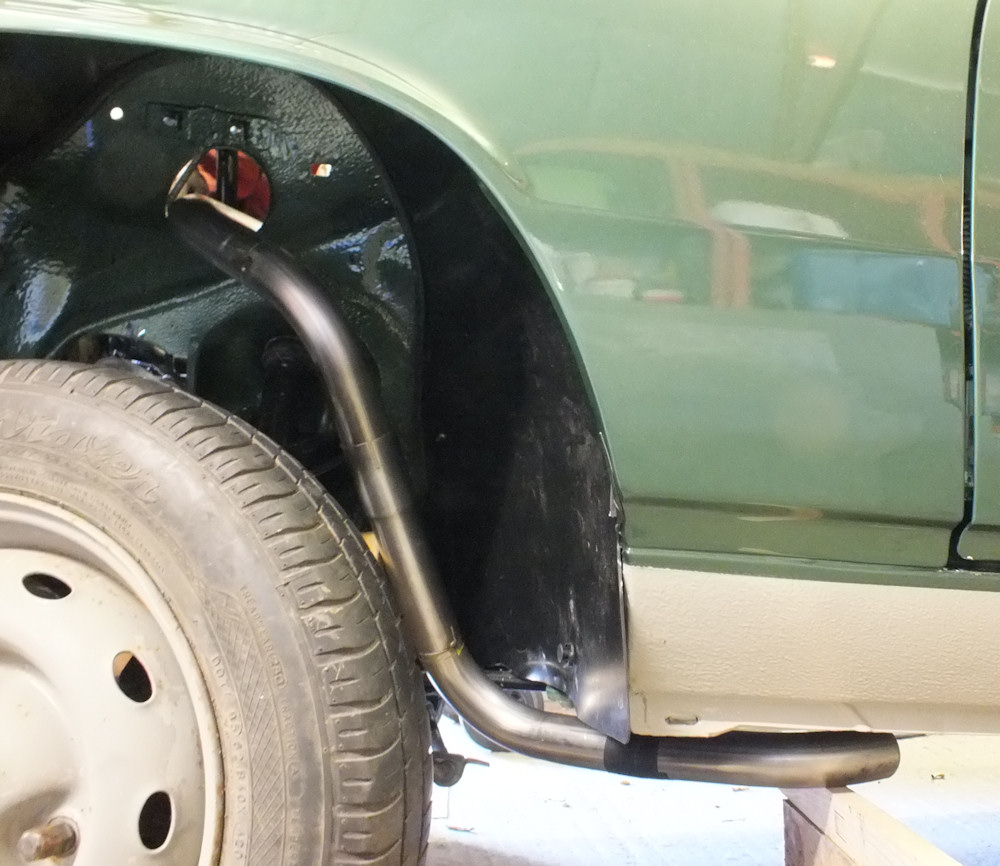
It takes a bit of daring to start cutting bits of pipe. I only have enough bends to get to the silencer so don't want to get too many wrong. To get from the exhaust manifold to the front of the sill I've already used two of the bent pieces.
The routing through the wheelarch is a bit fiddly. There isn't a lot of space to steer the exhaust pipe past the upper suspension arm and still have it clear the wheel on full lock.
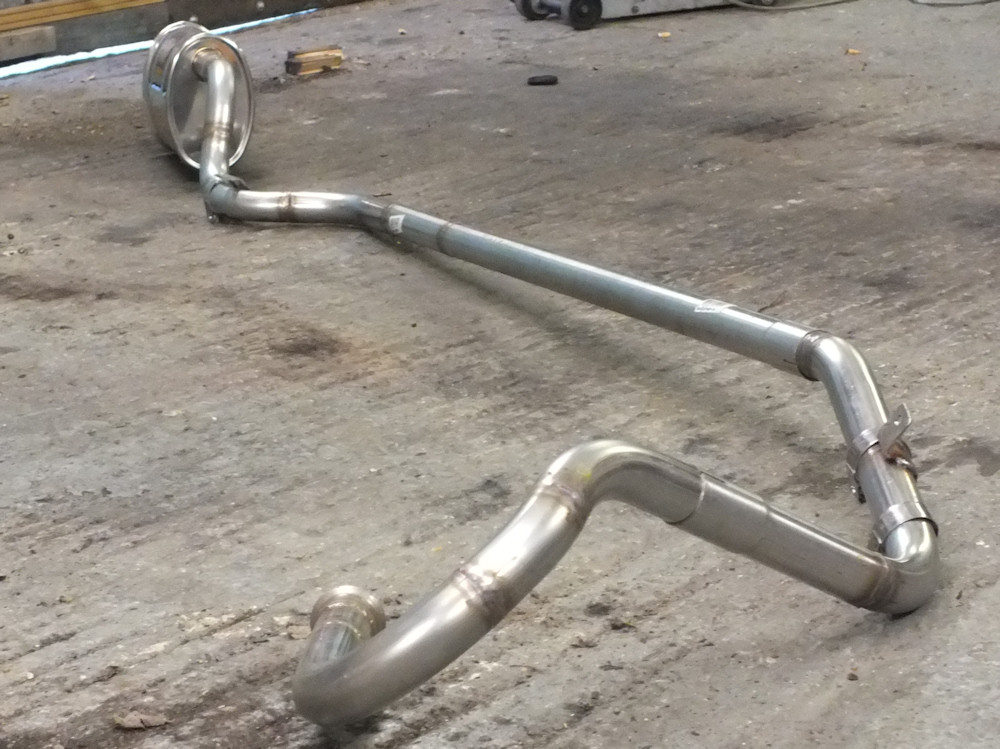
The parts are just tacked together at the moment and aren't positioned correctly in the photo. I had planned to show off and use TIG to weld everything together, but my TIG is a bit flaky at the moment so I'm using MIG.
Despite the car being only a week or two away from completion I had another 3 month break.
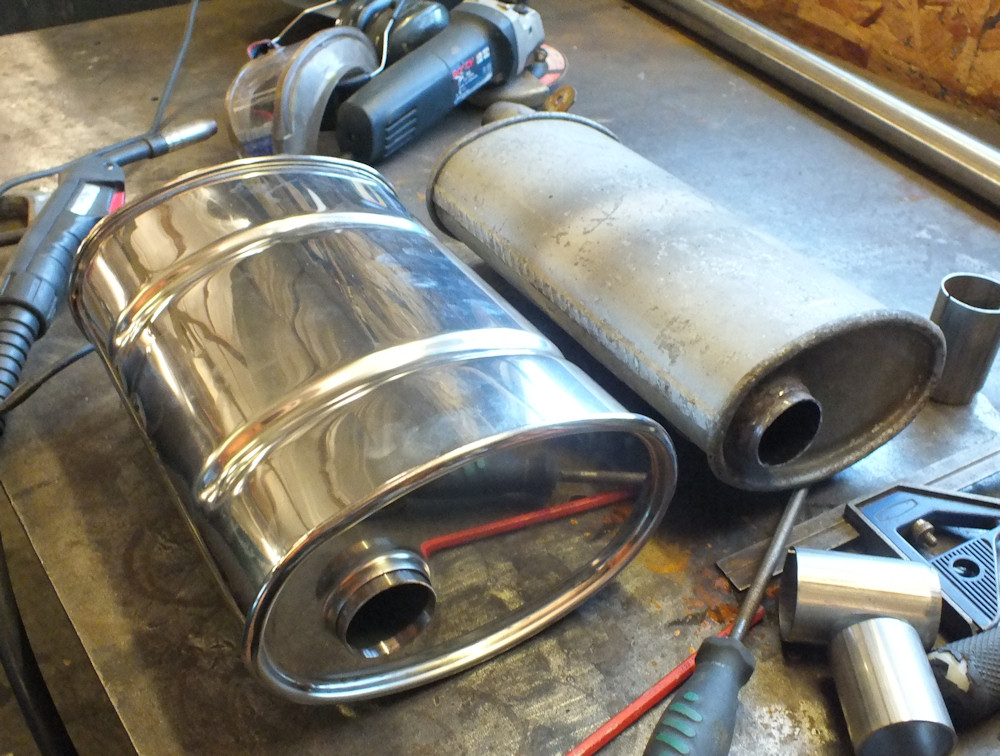
I've removed the front silencer so have gone for a slightly bigger rear silencer to keep noise levels down. It was made by Birchills Automotive who did a fabulous job. It was custom made to my own design, arrived the next day, and cost less than a standard silencer.
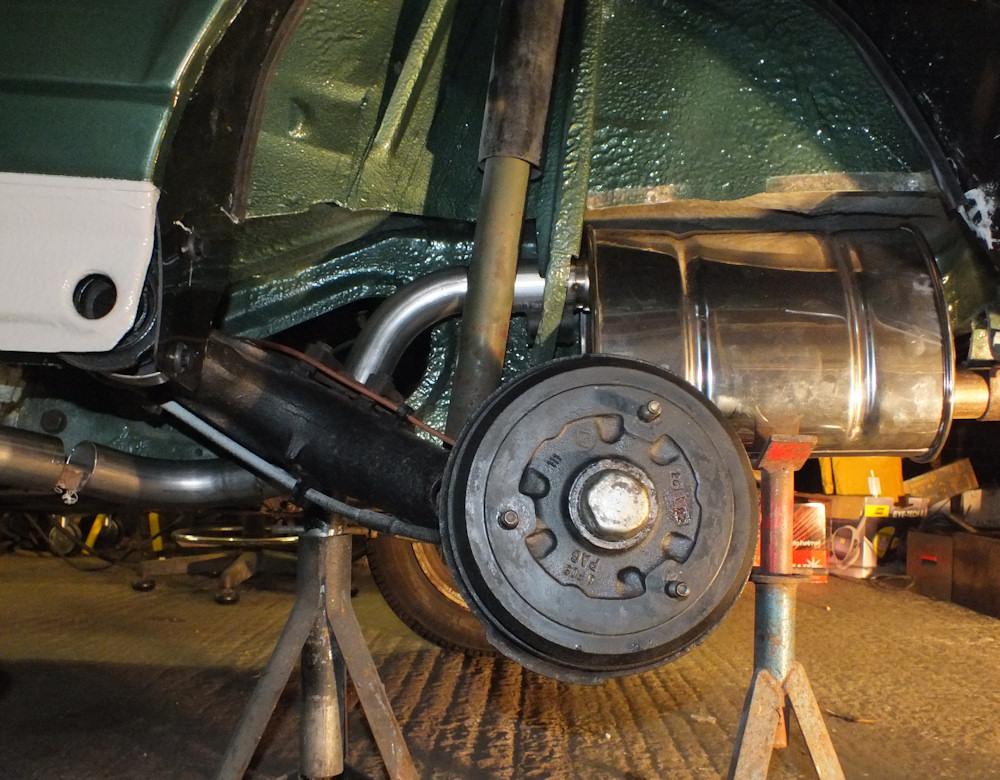
The fit of the rear silencer is devious. The pipe winds it's way inside the rear suspension arm and then up through a little hole in the damper tower to the silencer. The clamp for the silencer will sit behind the damper.
I've removed the heatshield to accommodate the larger silencer.
Previously I have used MIG welding for exhausts, but I've recently been on a TIG training course and I thought I'd try that this time.
I needed to do 17 welds to join all the bent bits of pipe together and my welding became much better as I went along. I'm getting useful results but still have some way to go. It's cool to get the coloured welds on stainless rather than an oxidised mess.

And finally the completed exhaust. The joints will be held together with stainless band clamps to help with clearance. Clearance is a nightmare everythere with this exhaust and it took all day to position the mounting brackets.
It's fitted to the car and I've heated it up to seal the joints. It might be a little loud. I still need to finish the brakes before I can try it outside.
Last update 16th December 2012. More soon.
Back to: Renault 5 Restoration