Renault 4 Restoration - Painting
Preparation for painting, and then the paint process itself is the most time consuming part of a restoration, but is the key to a good and long lasting paint finish.
The painting process I will follow is a time consuming cellulose painting technique that can give a mirror finish almost regardless of expertise.
I don't want a mirror finish on this car as Renault 4 body panels are prone to dents and a mirror finish would show up those dents, so I will modify the colour coat technique. I'll make a note where I deviate from the technique.
Trial Fitting the Panels
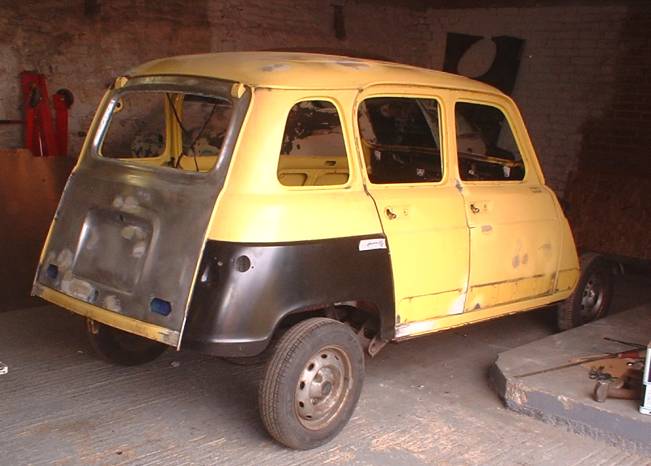
Ermintrude the Renault 4 is to be fitted with new front and rear outer wings. These are very cheap to buy - reproduction front wings are £19 each. Rear wings are £14.
A trial fit is essential before the car is prepared for painting as damage to paint could result from the necessary modifications required to line up the panels. Ermintrude's front wings fitted well, but the mounting holes in the rear wings had to be re-drilled in the right place, and the bottom of the C Pillar required a little attention with a large hammer to line up with the rear doors.
The bottom flange on Ermintrude's boot lid had rotten, so I replaced the boot lid with one from another car.
Preparing for Paint
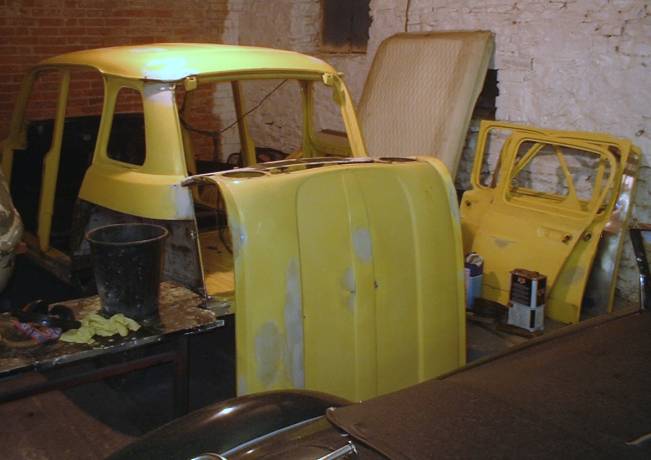
The Renault factory painted the 4 with the body panels fitted to the car which led to rust in the seams where the paint didn't reach. I removed the panels from the car for painting.
Ermintrude had a number of dents especially in the roof where a roof rack must have been fitted in the past, and the welding repairs needed to be smoothed in prior to painting. I applied body filler on top of the original paint. Strictly speaking the paint should really be removed prior to applying filler or else a ring can appear in the finished paint due to paint sinkage.
Prior to applying primer the whole car was keyed with 250 grit sand paper.
The advantage of stripping the car down to a bare shell is there is very little masking to do before painting. A secondary advantage is that rust under the windscreen and side window trims can be treated and painted.
To save paint I started off only by painting the parts that would be likely to need a couple of coats of primer. By the time I applied a coat of paint to the rest of the car, these parts would have been painted twice.
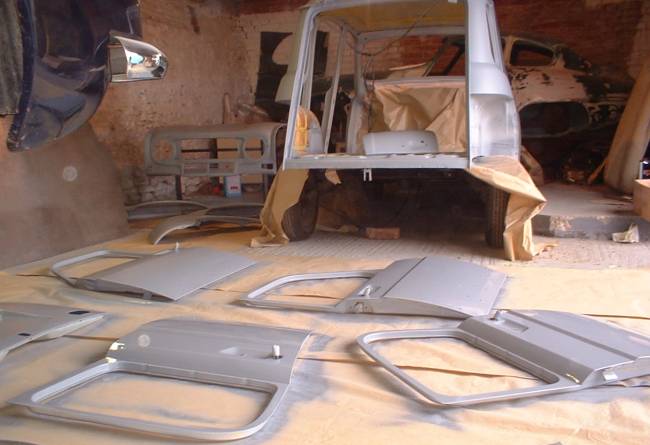
The disadvantage of painting Renault 4 panels off the car is that there are 12 of them - a lot of panels to scatter across your garage floor. The floor itself has been covered in masking paper - very thin brown paper available from paint shops in huge quantities at a low price - this protects the floor from overspray, and the panels from dust.
Each panel was painted with 2 coats of high build primer (mixed 50:50 with thinners). The thickness of this primer is useful as it will hide minor panel imperfections when flattened, however a coat of etching primer should first be applied to any bare metal as the high build primer will only key to existing paint.
Preparing for Colour
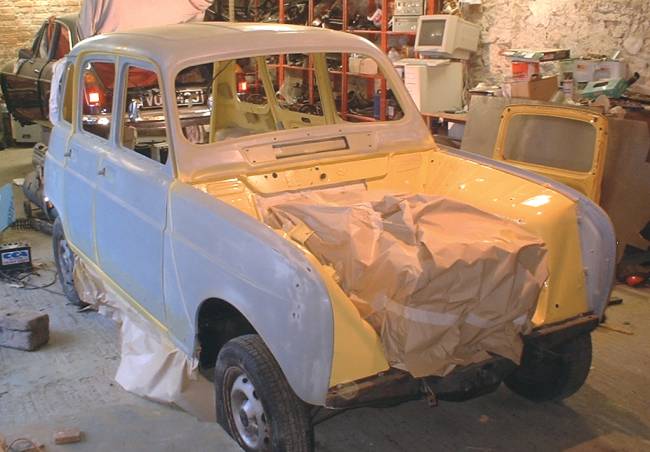
The body panels will be re-fitted to the car prior to applying colour coat as there is too much scope for paint damage when moving 12 panels around the garage. Before fitting the panels I painted the hinge panels and wing seams in attempt to reduce the chance of rusting.
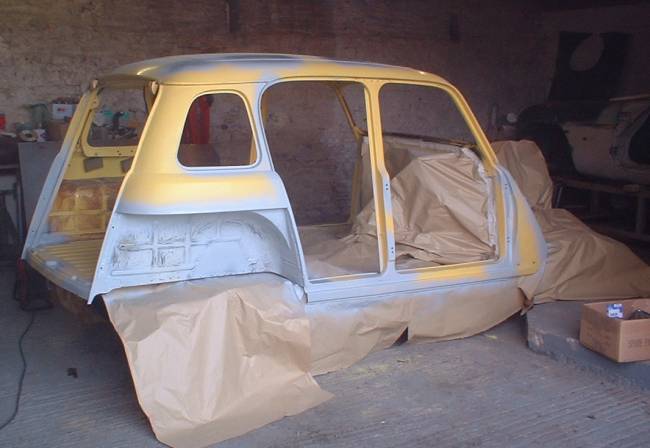
The green/brown paint on the rest of the car is a very thin guide coat of primer mixed with yellow colour. The guide coat will be removed using a sanding block with 600 grade sandpaper. This will ensure the primer coats are completely flat prior to applying the colour coats.
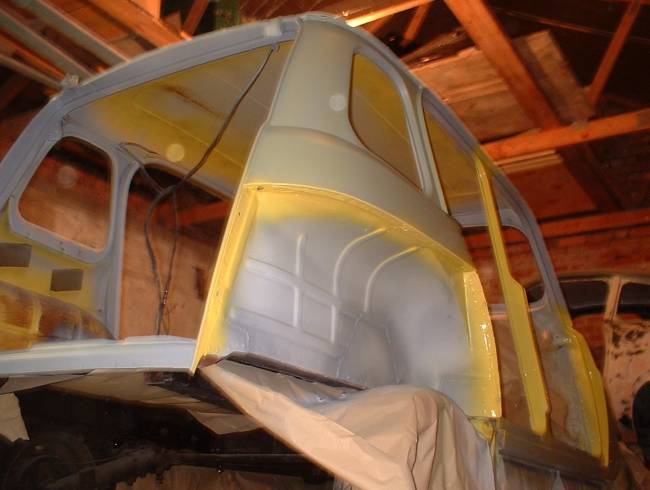
The panels were refitted and the guide coat flattened. The problem with flatting primer is you are never quite sure how much primer you have left before reaching metal. I use the trick of using different colour primers for the first and second primer coats. You can just make out the lighter colour of the first coat in places.
I painted the insides of all of the panels before starting on the exterior.
![]() "I'm working myself up into an absolute frenzy" - Ermintrude,
Magic Roundabout
"I'm working myself up into an absolute frenzy" - Ermintrude,
Magic Roundabout ![]()
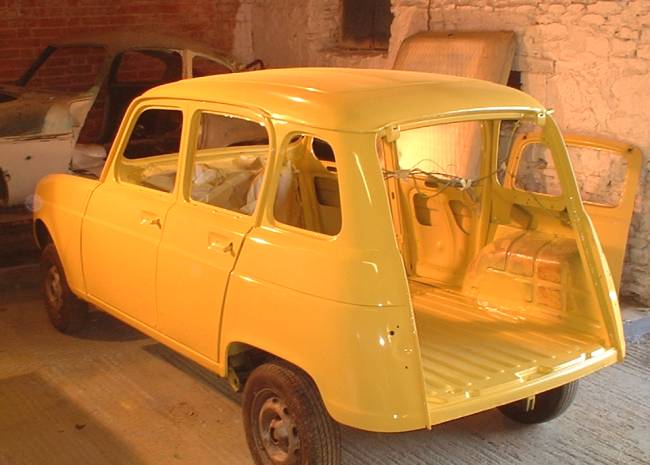
At last - a yellow Renault!
Ermintrude was photographed after the second colour coat. The first coat didn't go quite to plan - the coverage is poor with yellow paint and I was tempted to put on too much paint resulting in a couple of drips that needed to be flattened after the paint had dried. There were also a few problems with my cheap spray gun, so I bought a new gun for the second coat - the results are wonderful.
Normally the first 2 coats can be applied on the same day. Flies are attracted to the yellow colour and embed themselves in the paint as soon as it is sprayed, so these need to be sanded off between the coats, but otherwise no preparation is required between coats.
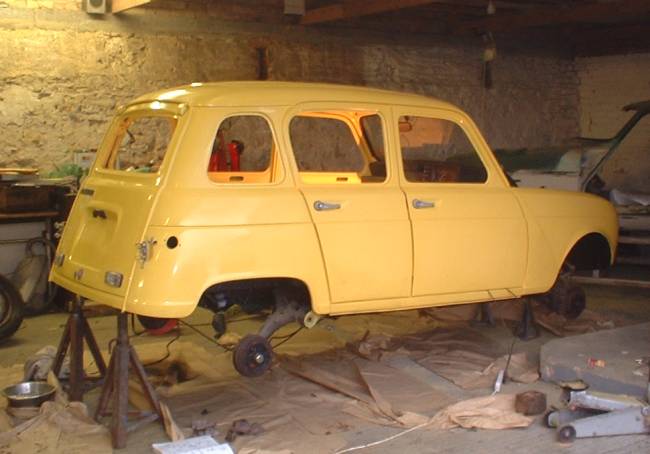
The paintwork was flattened with 800 grade wet and dry paper and then the final coat applied (thinned with about 60% thinners). The results are very pleasing. I will leave the paint to harden before giving the car a final polish. It is possible to achieve a mirror finish by flatting the final coat with 1200 grade wet and dry paper then polishing with T-Cut, but this is time consuming and would show up imperfections in the panel work.
The sealant has yet to be applied to the top of the rear wing and the rear of the front wing. Renault originally applied this sealant after painting and I will follow suit.
I sealed the seams inside the wheelarch with a bitumen sealant and then undersealed the wheelarches. This should hopefully prevent mud becoming trapped and rusting away my nice new panels.
Next: Restoration Completed


