Clementine's Garage
Clementine the Cat
 
Image of flower
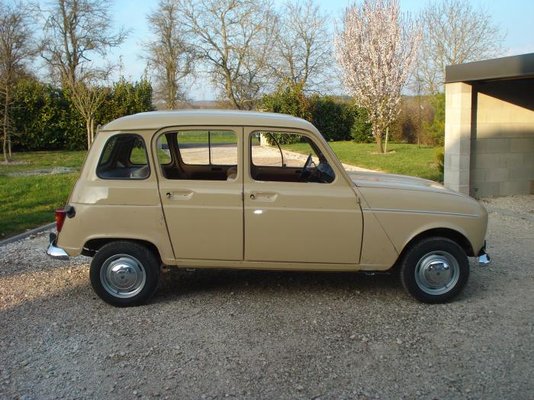
Yellow R4
 
Réparateur d'automobiles

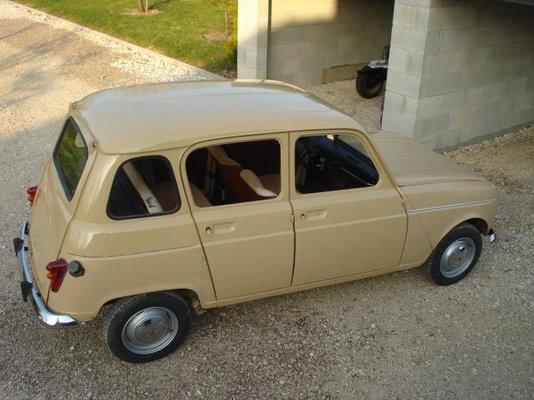
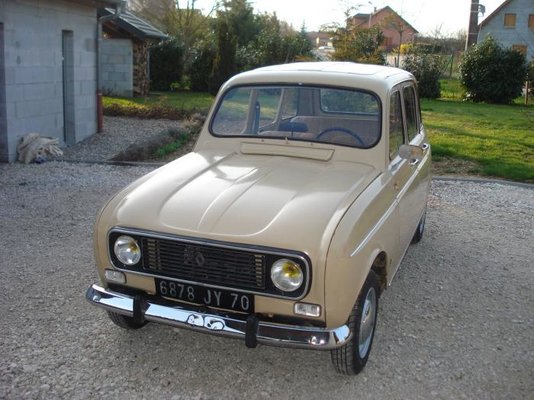
1977 R4 TL restoration made in France

Hello,

what do you mean with "hat rack" ???

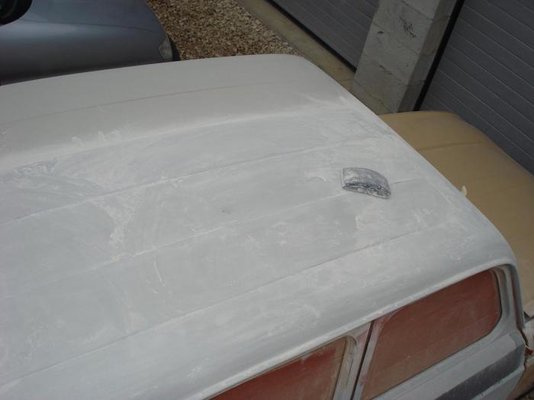
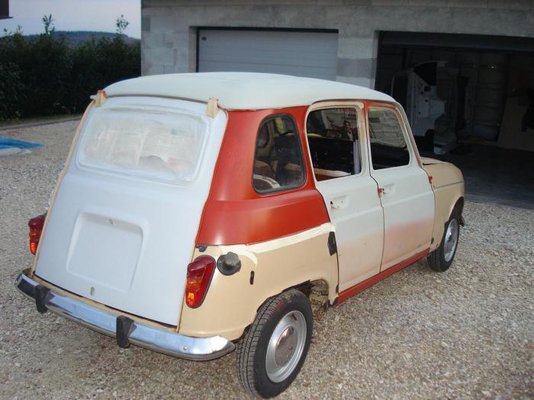
Compare these 2 pictures of the car, when I bought it, and few days ago...
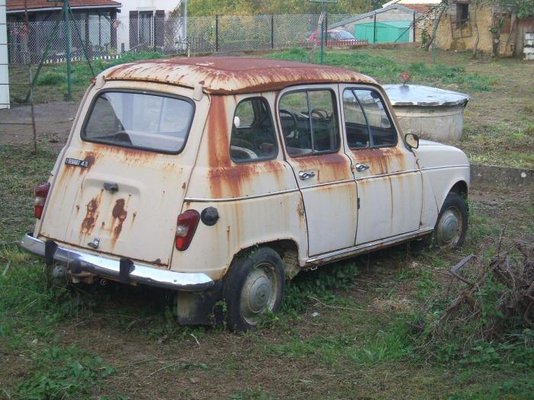
003 Vue arrière.jpg
193 Trois quart arrière.jpg
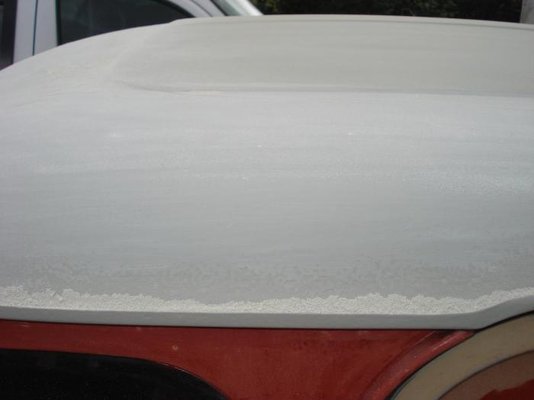
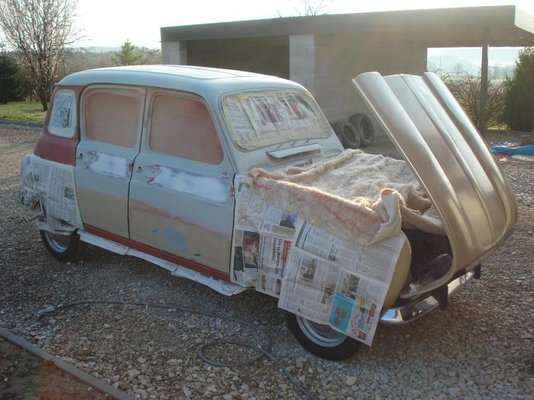
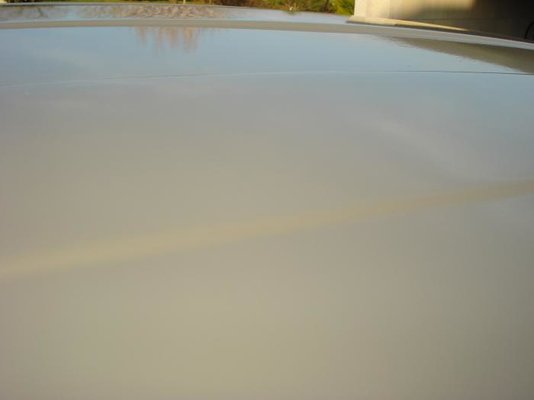
Last week-end I continued to sand the filler primer, as you can see the "pitting" tend to disappear with the help of this primer, at the top of the second photo, it has been sanded and the surface is about perfect:
199 Ponçage toit.jpg
200 Correction défauts rouille.jpg
Then I resigned myself to make a job I hate, because I think I'm absolutly useless idiot in this kind of job: body filler :eek: :eek:
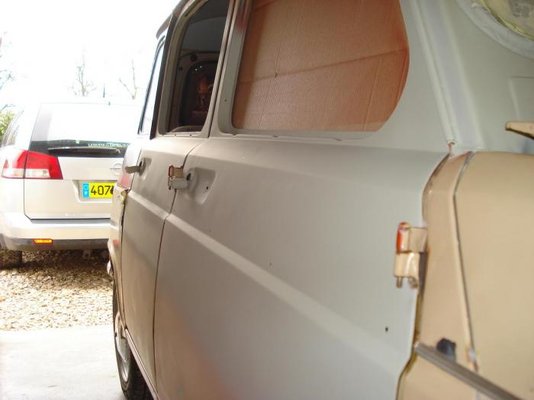
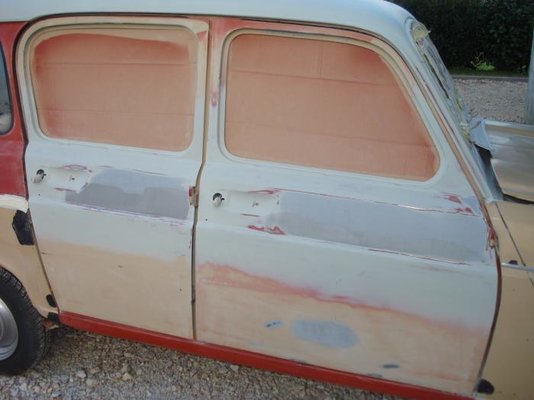
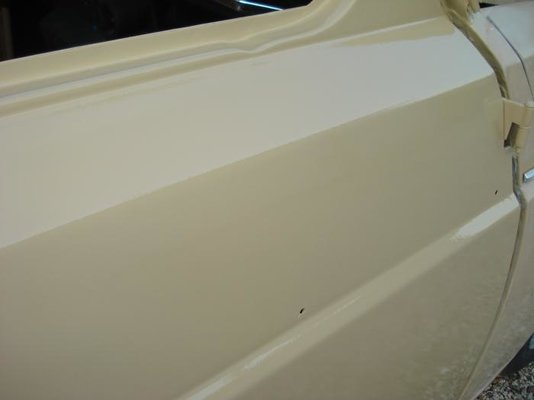
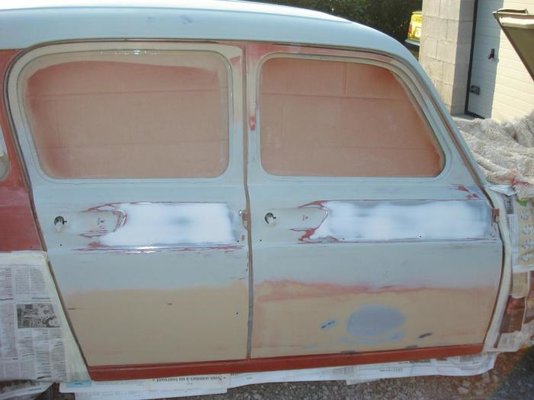
The top of the door has been damaged with the grinder I used to remove the rust, too hot, too fast, the steel has now "waves" as you can see on the rear door on the picture above:
194 Zoom défauts portes.jpg
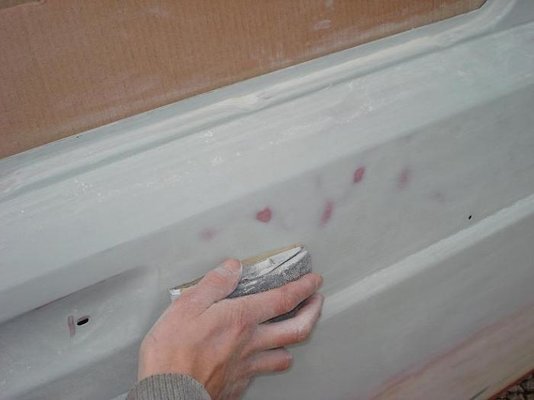
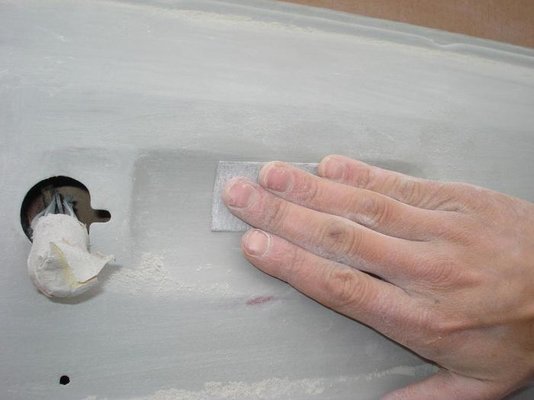
I started to sand the doors, by hand for the little areas, and with a sanding block with the right panels, I used 120 dry paper:
195 Ponçage à la cale.jpg
196 Ponçage détails.jpg
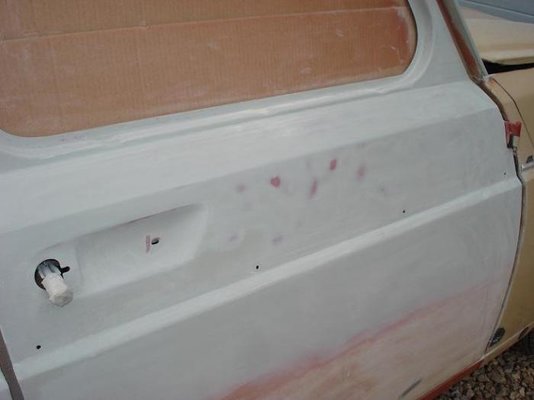
After sanding the primer we can notice that the surface is out of shape: at some places Rustol re-appears, at some others, where there are hollows, the primer is not sanded:
197 Défauts visibles.jpg
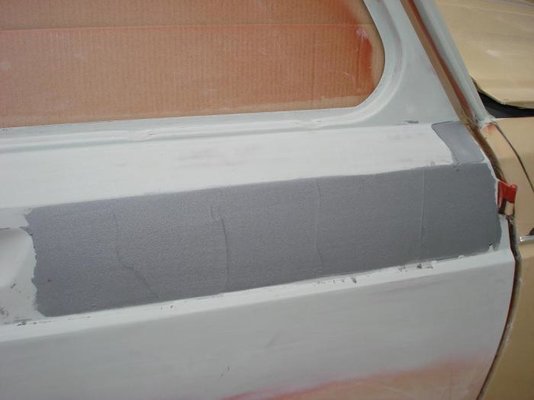
I applyed a first coat of aluminium filler, why "aluminium" filler ??? Simply because it's the only one I had when I made the job, and also I was heard that it was stronger than "classic" filler...
198 Mastic aluminium.jpg
After drying and sanding with 80 and 120 paper, I put a second thin coat of the same filler, It is better already a lot :p
DSC05937.jpg

Tomorrow I hope to finish this stage of this awful job, and apply the final primer before painting ;)
 
sanding &hat rack

Hello,

what do you mean with "hat rack" ???

Compare these 2 pictures of the car, when I bought it, and few days ago...
Snoopy, i am just rigth now doing exactly the same as you...sanding..sanding....goes on.
I am using plastic metal filler and wurth overal use fillers.It is still the same pain.Hood and roof are pain, because those have some small dents and it is most difficult to get even surface which is curving to all directions ..

I hope(?) to finish next week and then to paint shop(only if snow and ice has melted down in front of my garage door:mad:

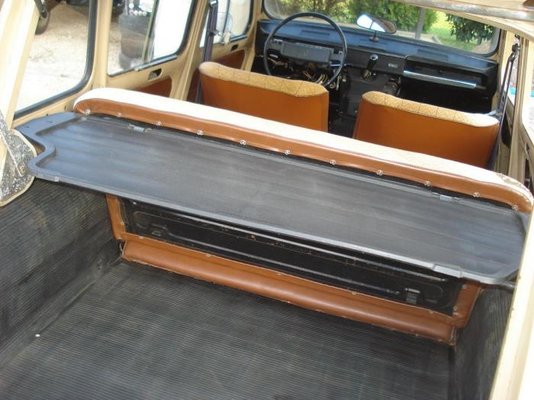
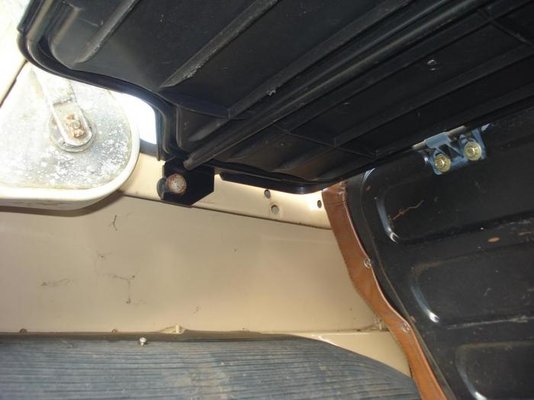
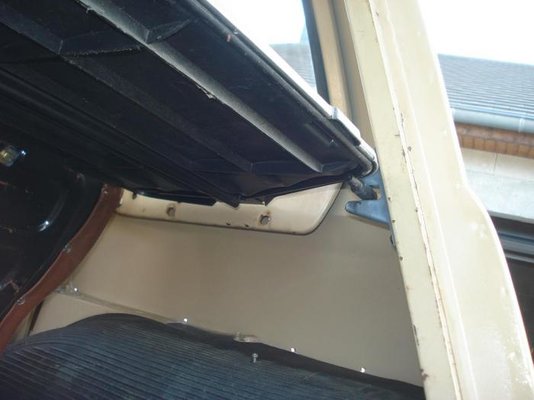
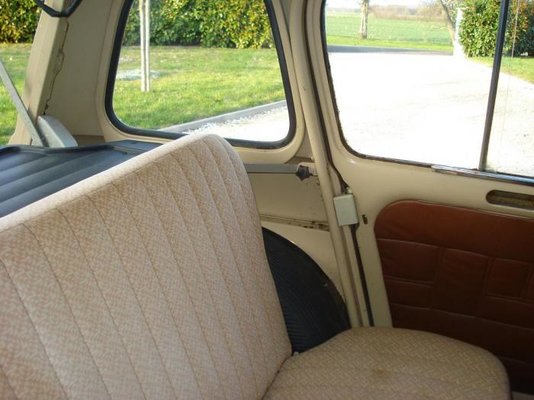
hat rack i mean= :rolleyes:feutre/melon etagere?, the loose boot cover suported by the bolts just below rear side windows?
 
Alexandre - 2 Thumbs Up, Good Work !!!

And with the fantastic weather right now I am sure you will make great progress this week-end.

Cheers,

David
 
Thanks David ;)

this morning the weather was still absolutly fine, this is the reason why I got up at 6.30, after a quick breakfast, I was ready to apply the final primer before the sun warms too hot. I started to finish the filler job sanding the last coat of finishing-filler which is white:
202 Mastic de finition.jpg
203 Prête à apprêter.jpg
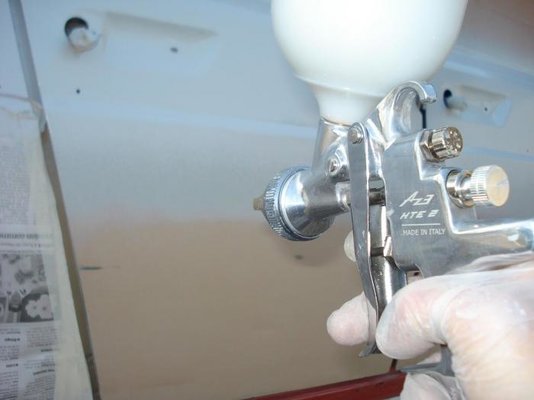
204 Pulvérisation apprêt.jpg

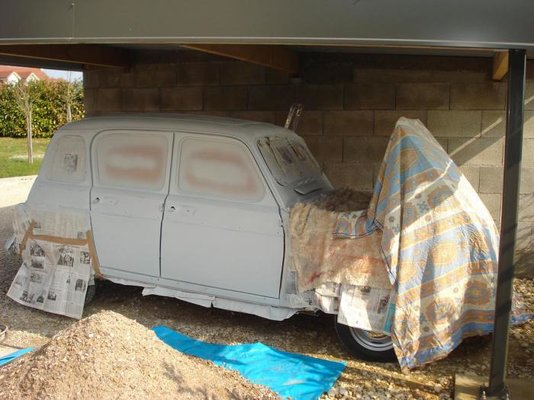
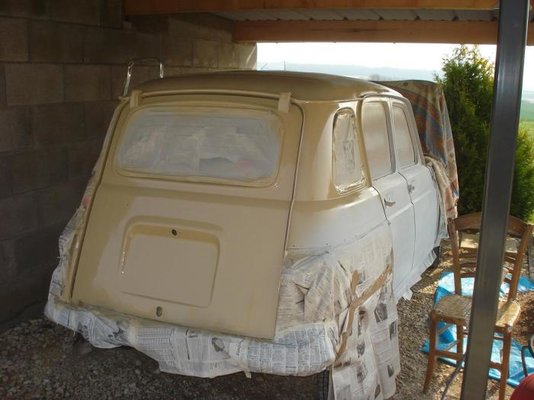
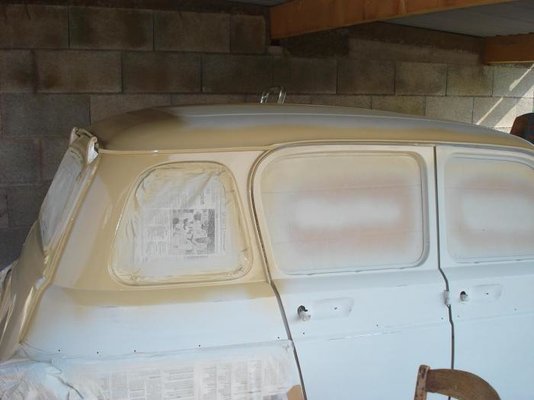
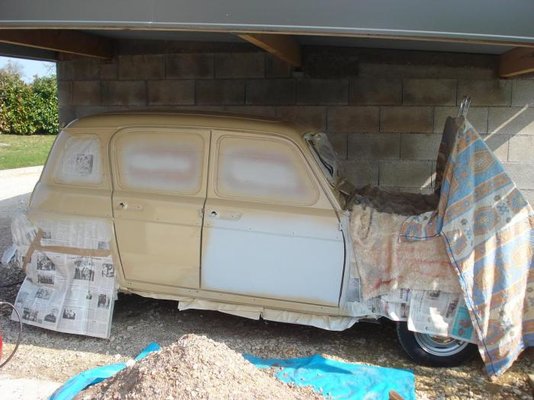
At about 9.30 the job was done :D Now I just have to wait for tomorrow morning to paint the car (the pain has been ordered yesterday, I should have it this afternoon...)...
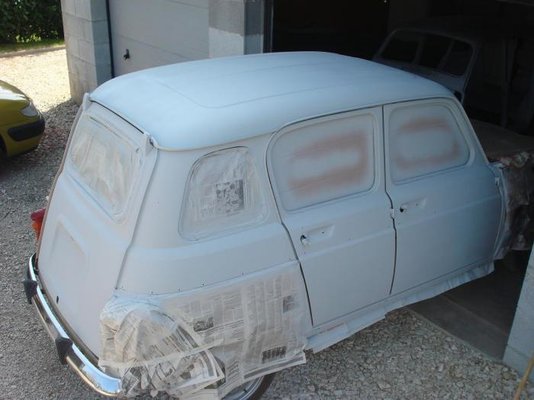
205 Caisse apprêtée.jpg
 
Looks perfect!
I can very well remember when I did my restoration. What a big difference it makes when after hours and hours of sanding and applying body filler you finally put the car in it's first coat of primer! It looks so good then ...

BTW - Thanks for your help on R4L ! :hug:
 
:D Good evening,

usually after 5 days working in my boring job, when saturday is as beautiful as today, I ride bycicle, go for a walk, etc... BUT today was special, the day I'm going to paint my car :cool: :cool: Yesterday I went to my favorite coachbuilder to see him preparing and painting an old Simca Ariane, I wanted to see all the good movements, to improve what I know already to do...
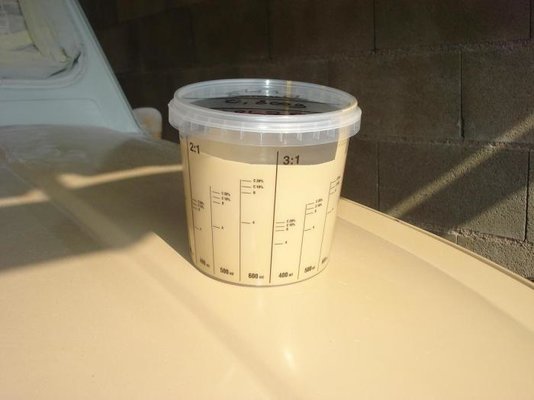
This morning after a last sanding of the primer with 320 and 500 dry paper I fetched the paint at my suppplier, I was afraid that the "Daim 111" was very different to mine (after 15 years outside...) but surprisingly the color seems to be the same as that of the car :D
206 Daim 111.jpg
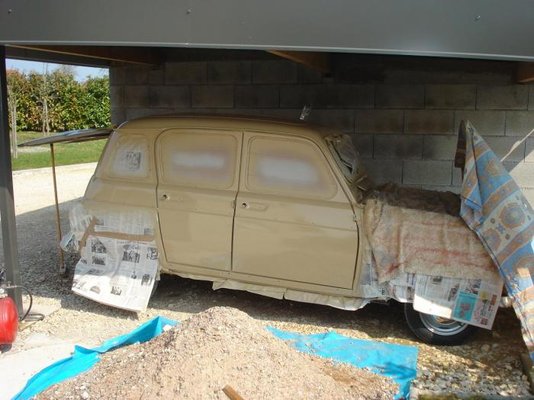
I decided to work outside, under my little garage, I wet the wall and the ground to avoid dust in the air, even i know it won't be perfect...209 Installation peinture.jpg
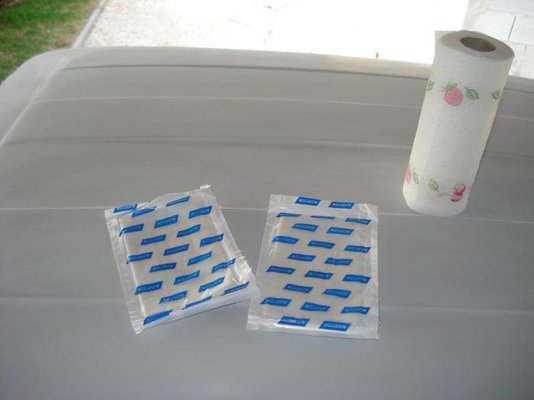
Before painting I removed the dust with these special wipes:
210 Lingettes dépoussièrantes.jpg
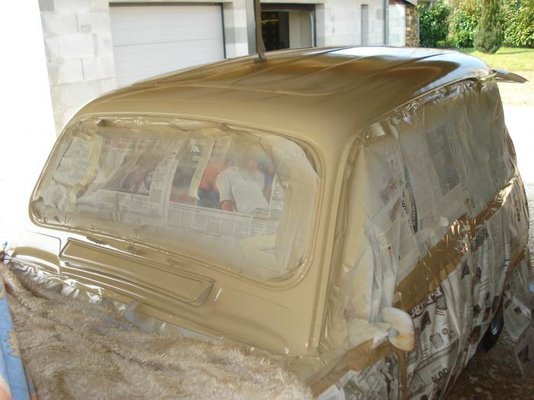
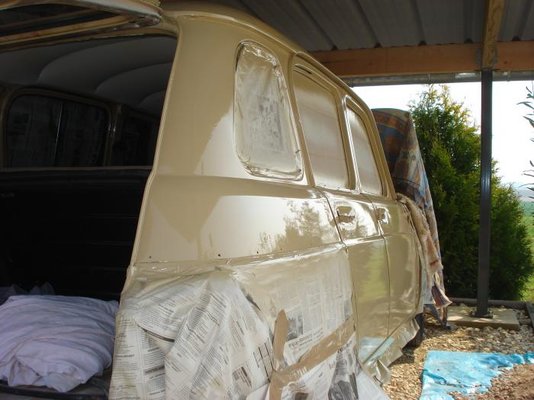
Then I began to paint... starting with the left side of the roof, then the rear door, the right side of the roof, the rear panel, the doors and finally the top of the bulkhead under the windscreen:
212 Peinture hayon.jpg
213 Peinture custode.jpg
214 Peinture côté droit.jpg
215 Terminée.jpg
DSC05962.jpg
DSC05961.jpg
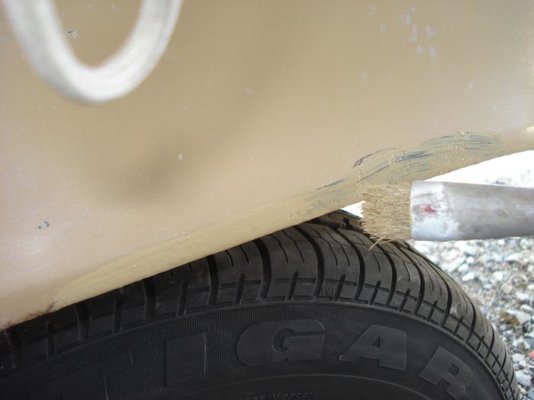
Not to throw the rest of paint I decided to use a little brush to cover all the places where I had made little retouches with black anti-rust, it will be more dicret :rolleyes: :rolleyes:
DSC05967.jpg

And the result is...
 
If people don't look at my car too closely, it can be considered as a good job :rolleyes: Maybe I don't speakl about it, but my compressor is really too little to make this kind of job, and I had to stop very often to have a sufficient pressure...

But finally I did the best I could, here are some pictures of the result:
DSC05975.jpg
DSC05973.jpg
DSC05977.jpg
DSC05978.jpg
I'm happy to notice that there isn't too much difference between the old and the new paint :)
DSC05976.jpg

orsome, is it that which you need ?
DSC05968.jpg
DSC05969.jpg
DSC05970.jpg
DSC05971.jpg
 
Hey Alexandre,

besides that colour don't match my personal taste ;) the car looks pretty good!
Very well done!
You could use a more abrasive polish to get the old parts match the new paint even better.

A very successful weekend that was for you!

Cheers,

David
 
But let it all harden for a few weeks before you try compounding the new paint.
 
parcel shelf

Hi, straigth looking door y have

orsome, is it that which you need ?
- yes, may thanks for the photos
 
If people don't look at my car too closely, it can be considered as a good job :rolleyes: Maybe I don't speakl about it, but my compressor is really too little to make this kind of job, and I had to stop very often to have a sufficient pressure...

What kind of compressor do you have?
How did you get rid of water in the air?
 
Unfortunatly I only have a poor 50 L compressor given by my grand father, it's simple and even if I never looked at it, I'm sure there is no system to avoid water in the air... :( :(
 
There are seperate water seperators for sale, that will really improve your painting. I thought Malcolm even used a particles-seperator for dust.
 
Hi Alexandre, wow what a transformation from the way the car was, it looks so good. I've always used a small DIY compressor for any spraying and have found that as long as the tank is drained after use and the drain tap is left open for a couple of minutes on initial start up water isn't a problem. Perhaps I've just been lucky though. Anyway, you are doing a great job and I guess you will soon be on the road, bet you can't wait. Regards Brian.
 
Back
Top