harbourseal
Renault R4 Lunatic
- Messages
- 1,049
- Location
- Breda The Netherlands
Hi all,
9 months ago I started a new project.
The basis for this car is a French Airforce 1992 GTL Sinpar.
The car came from France and was in a horrible state after spending some years in a field in the French country side. With a beaten in roof and a seized engine it was sold as scrap.
Originally bought to salvage the Sinpar running gear, the remains of the body and chassis were discarded as scrap until I found them.
And made it my own project.
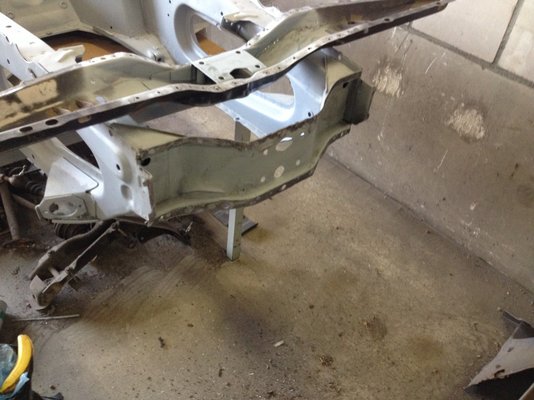
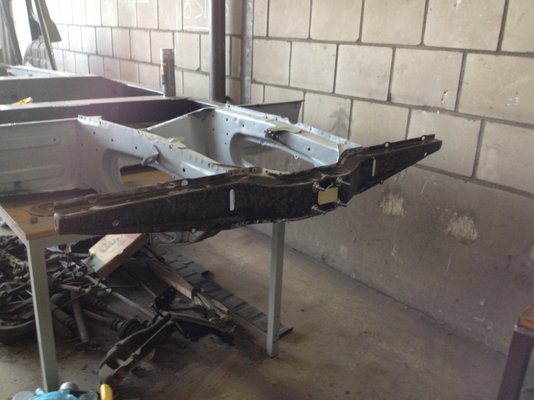
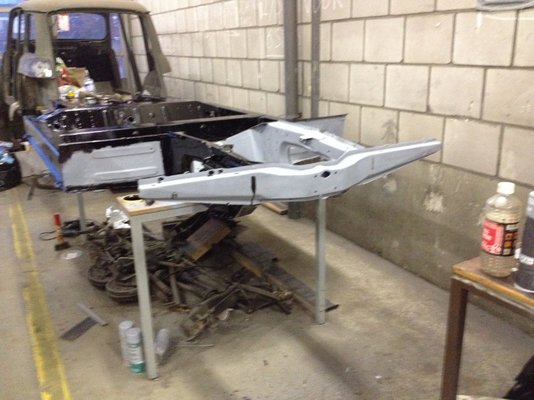
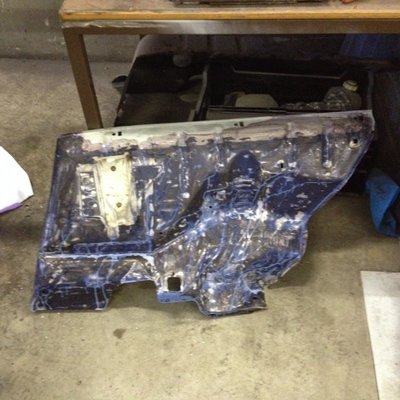
Since most of the floor and sidebeams were completely eaten away by rust, I separated the chassis and body.
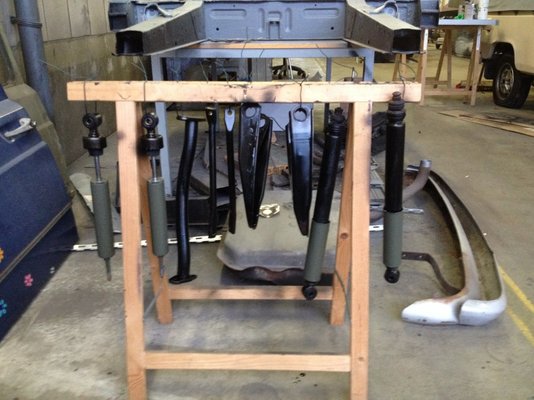
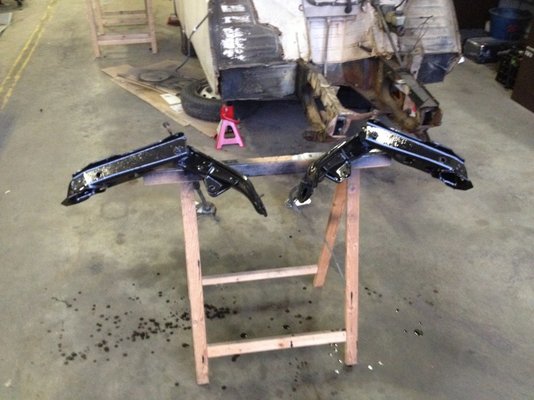
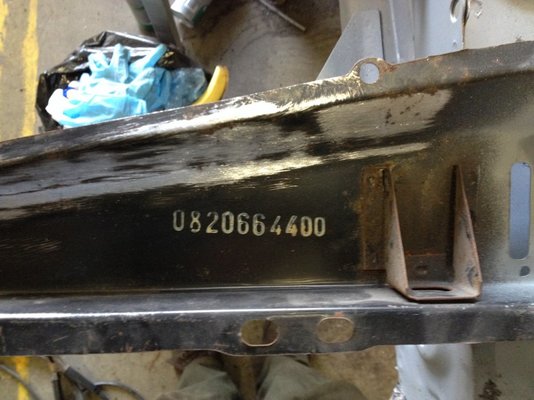
I found the forward and aft subframe more or less intact.
Probably because they are strengthened for the 4x4 running gear.
Having no papers on this car was no problem, we have plenty scrappers standing around and I selected a 1984 TL with no engine as a donor to get this car back on the road.
Since this summer I have stripped down the TL, found two 845cc engines with gearboxes and stripped those.
The body of the Sinpar was in an almost perfect rustfree state, except for the roof and a hole where the left back seatbelt was attached.
A good basis for restoration.
In Octobor I took my trusted angle grinder to the chassis and welded in 2 new sidebeams and a new old stock floor.
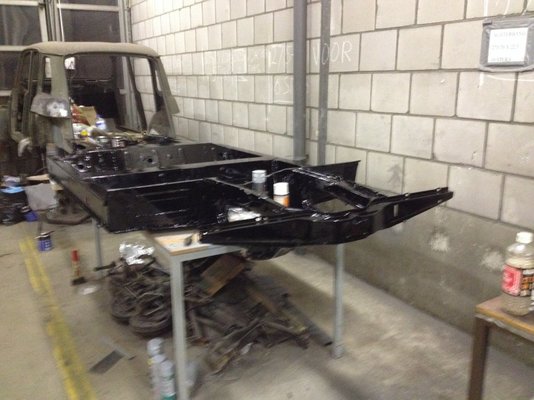
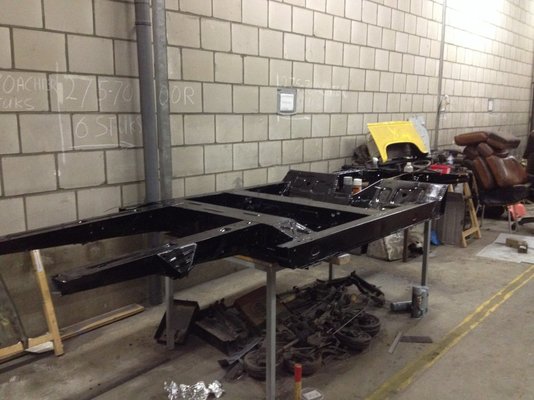
The chassis is almost finished as I write this.
You can also view the progress on. https://www.facebook.com/Renault4armeedleair
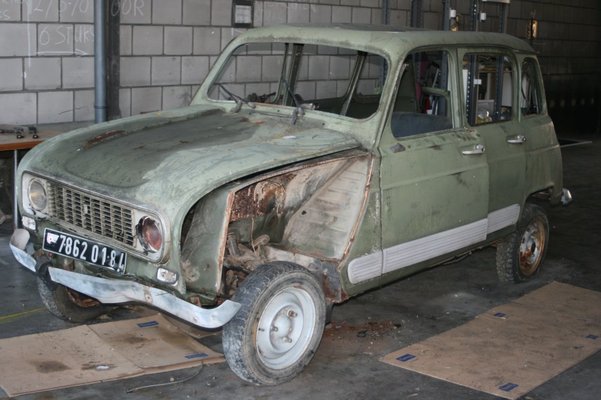
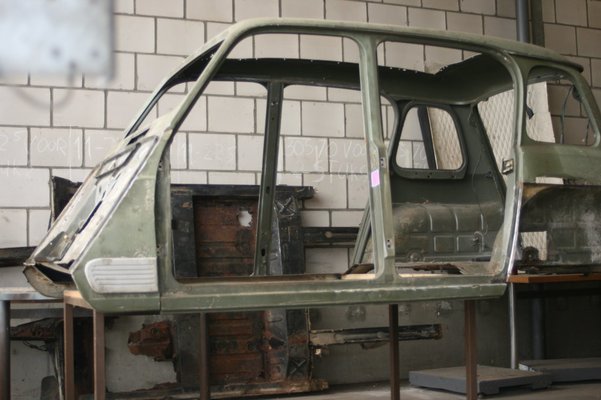
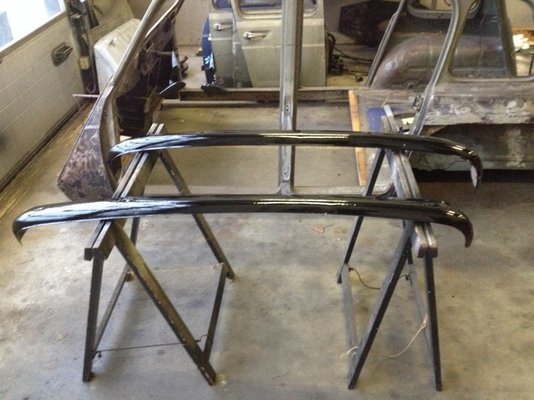
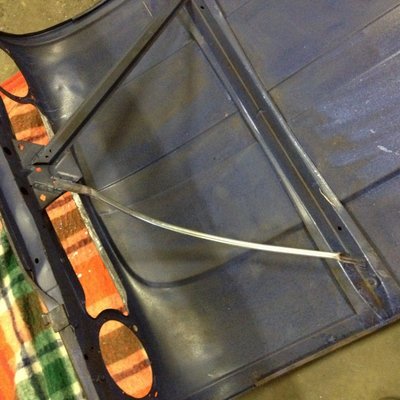
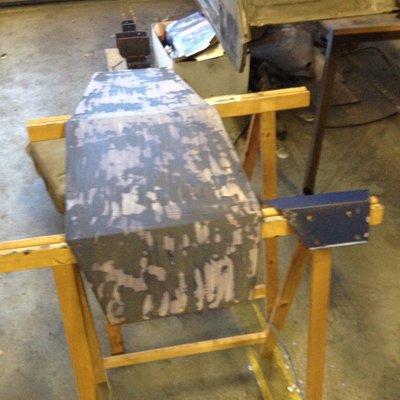
In the background the chassis. The caved in roof I have taken out and will be replaced with a Twingo cabrioroof.
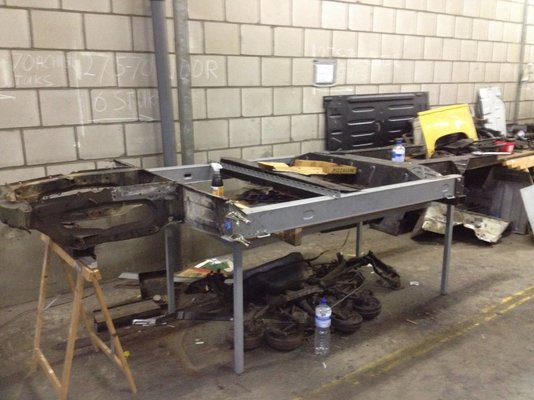
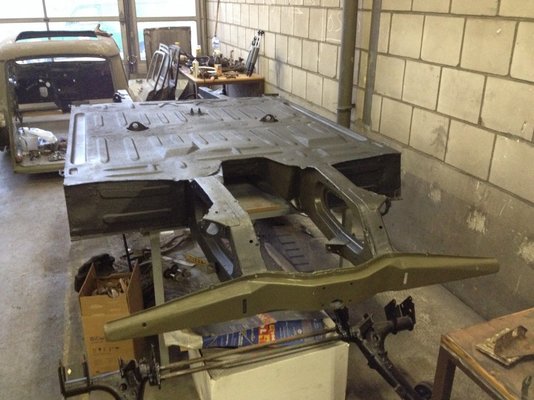
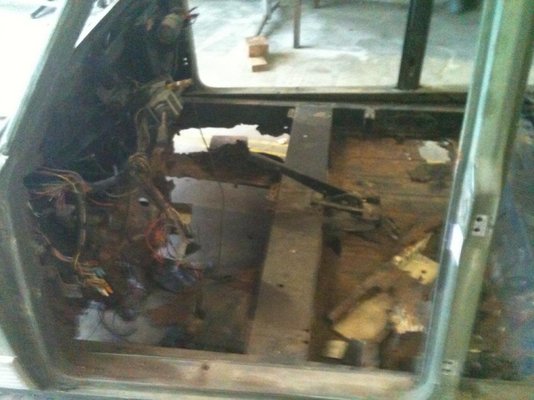
Replacing the sidebeams In the backgrond the new old stock floor.
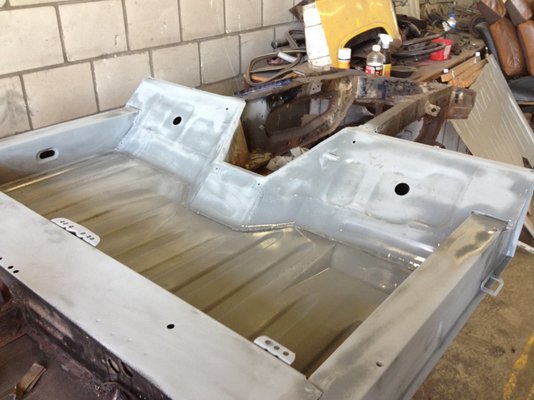
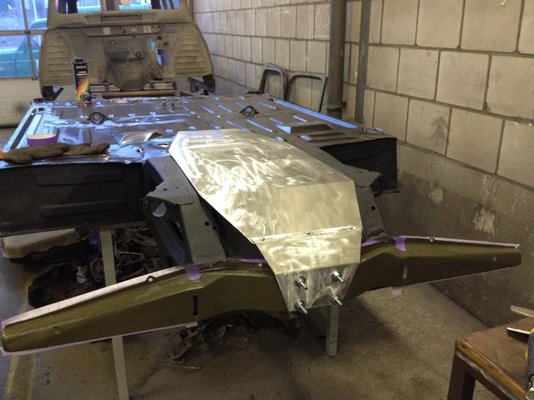
Forward footwell done
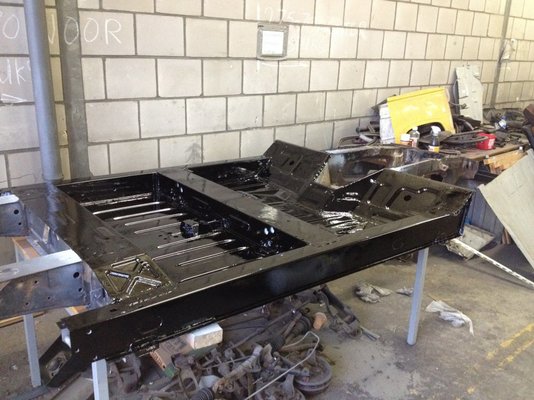
First layer of boat bottom coat on both the footwells.
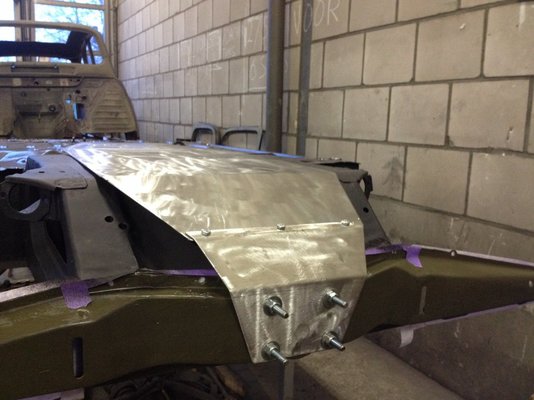
Notice the Fourgounette aft subframe that was used for the Sinpar GTL
9 months ago I started a new project.
The basis for this car is a French Airforce 1992 GTL Sinpar.
The car came from France and was in a horrible state after spending some years in a field in the French country side. With a beaten in roof and a seized engine it was sold as scrap.
Originally bought to salvage the Sinpar running gear, the remains of the body and chassis were discarded as scrap until I found them.
And made it my own project.
Since most of the floor and sidebeams were completely eaten away by rust, I separated the chassis and body.
I found the forward and aft subframe more or less intact.
Probably because they are strengthened for the 4x4 running gear.
Having no papers on this car was no problem, we have plenty scrappers standing around and I selected a 1984 TL with no engine as a donor to get this car back on the road.
Since this summer I have stripped down the TL, found two 845cc engines with gearboxes and stripped those.
The body of the Sinpar was in an almost perfect rustfree state, except for the roof and a hole where the left back seatbelt was attached.
A good basis for restoration.
In Octobor I took my trusted angle grinder to the chassis and welded in 2 new sidebeams and a new old stock floor.
The chassis is almost finished as I write this.
You can also view the progress on. https://www.facebook.com/Renault4armeedleair


In the background the chassis. The caved in roof I have taken out and will be replaced with a Twingo cabrioroof.

Replacing the sidebeams In the backgrond the new old stock floor.

Forward footwell done

First layer of boat bottom coat on both the footwells.
Notice the Fourgounette aft subframe that was used for the Sinpar GTL
Last edited:


 .
.