Clementine's Garage
Clementine the Cat
 
Image of flower
Yellow R4
 
Réparateur d'automobiles

What I am doing!

20150314_112039_resize_20150314_195334.jpg 20150314_112139_resize_20150314_195332.jpg 20150314_112214_resize_20150314_195332.jpg 20150314_113009_resize_20150314_195331.jpg 
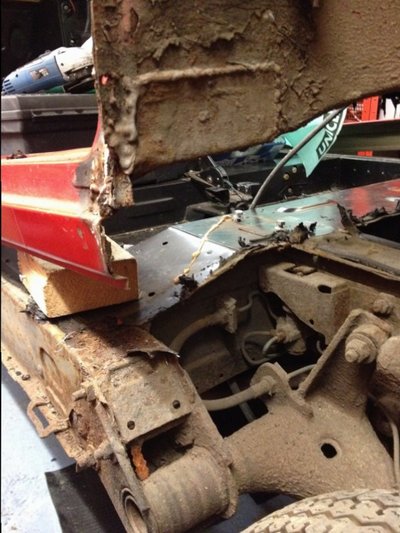
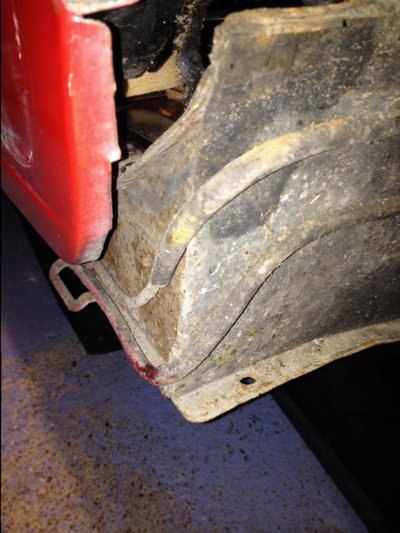
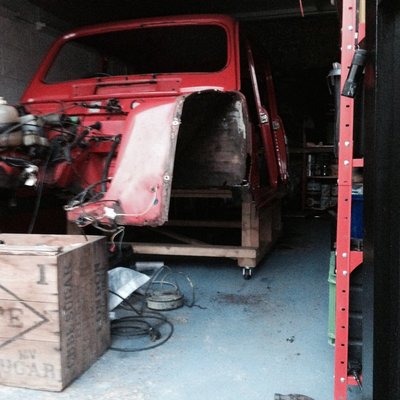
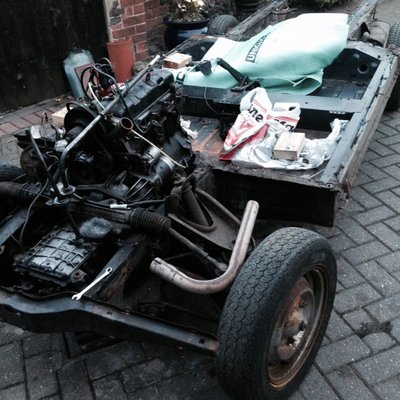
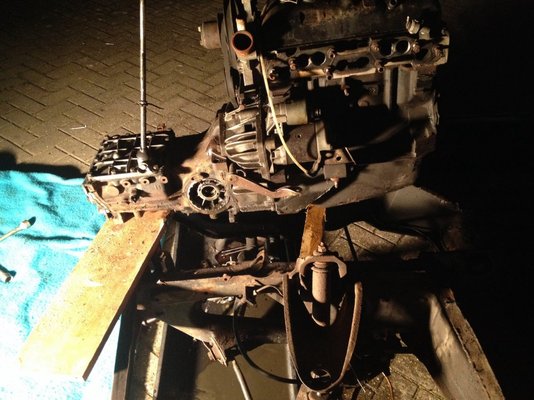
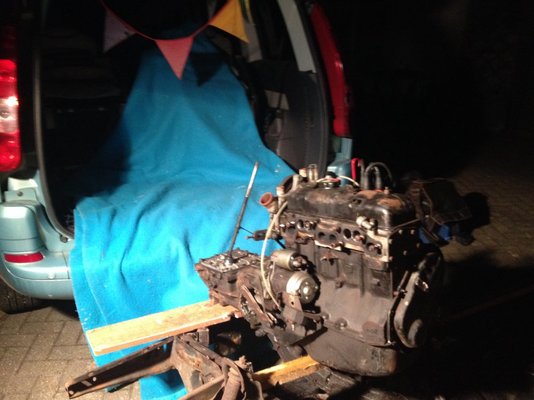
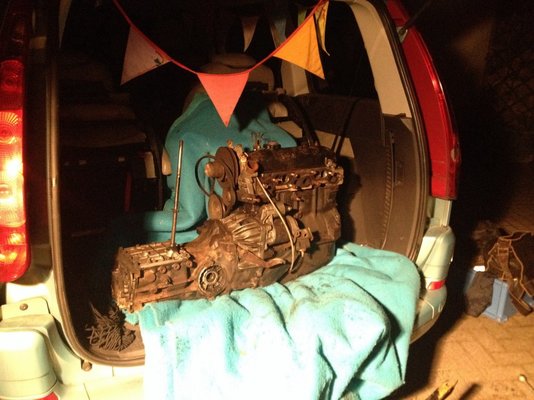
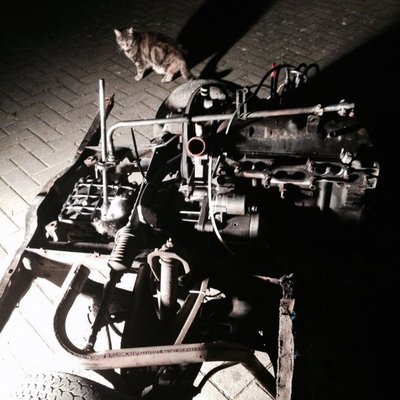
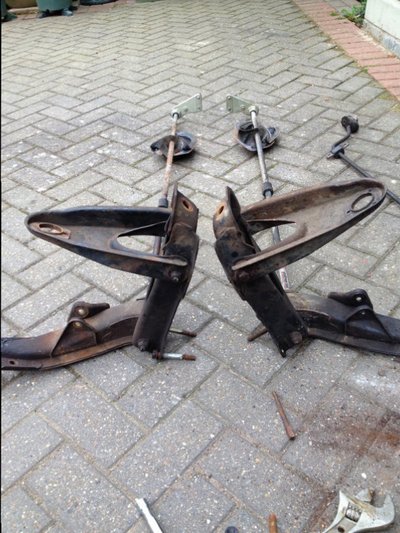
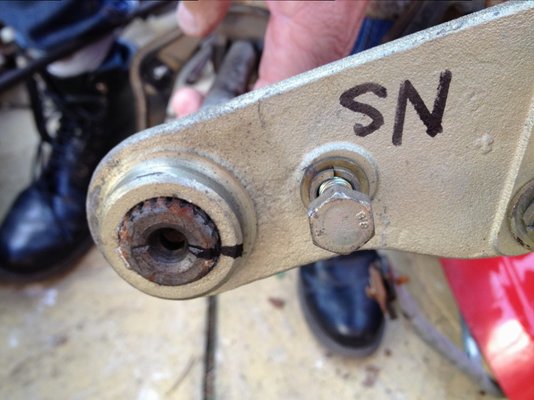
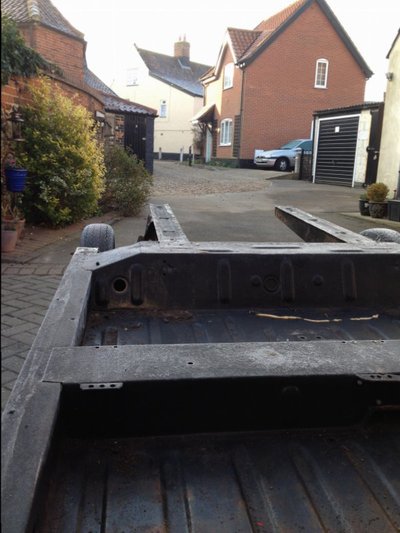
Well was quite successful in heating up mastic sealer using hot air gun until it started sparking and cut out borrowed another and carried on
I took a few pics as well for my rodeo thread but these can go on here ☺
 
Lessons learned on Saturday have paid off! Body removal 2 accomplished this evening in short order. A jack was placed on the rear edge of the boot with a lump of wood to spread the load. Rear wheels off the floor and hot air gun applied to the join. Soon after the chassis began to separate. The mastic junction between the chassis and body is very sticky and can easily re stick itself . So a block of wood was placed in each corner to keep it separate. Hopefully tomorrow evening with my sons help the body will be lifted off altogether and placed on the dolly. The chassis has had some repair but generally pretty dam good
Oh dear no turning back now
I think I'm getting to some very difficult junctions . What to chop and what not.
So a moment out to gloat over my latest acquisition a set of four original unused chrome hub caps complete with chrome bolts and copper washers.....lovely!
 
  • image.jpg
    image.jpg
    102.9 KB · Views: 5
  • image.jpg
    image.jpg
    147.8 KB · Views: 5
  • image.jpg
    image.jpg
    89.1 KB · Views: 4
  • image.jpg
    image.jpg
    76.1 KB · Views: 3
My cunning plan paid off! Oliver (my son) and I manged to easily get the body off backwards and onto the dolly. We did forget the speedo cable which impeded progress. Then the front section of the wiring loom got caught on the handbrake. But apart from that an easy transition. Womble's chassis and engine are noe
 
  • image.jpg
    image.jpg
    126.4 KB · Views: 10
  • image.jpg
    image.jpg
    121.2 KB · Views: 8
  • image.jpg
    image.jpg
    147.4 KB · Views: 9
Ok so this evenings challenge in the style of a 1970's scouts initiative test....remove the engine and get into the boot of another car. Your equipment comprises :
2 pieces of wood
A ball of string
A mug of tea
A socket set
A blanket
And all ably assisted by a glamorous cat.
 
  • image.jpg
    image.jpg
    152.5 KB · Views: 2
  • image.jpg
    image.jpg
    155.8 KB · Views: 2
  • image.jpg
    image.jpg
    112.3 KB · Views: 2
  • image.jpg
    image.jpg
    138.1 KB · Views: 2
  • image.jpg
    image.jpg
    116 KB · Views: 2
As a Scout in the early 1970's I LOVE the initiative test analogy! Shouldn't your equipment also include a pencil and an old sixpenny piece? Did you qualify for an arm badge afterwards?

Glad to see the moggie is offering feline assistance!
 
As a Scout in the early 1970's I LOVE the initiative test analogy! Shouldn't your equipment also include a pencil and an old sixpenny piece? Did you qualify for an arm badge afterwards?

Glad to see the moggie is offering feline assistance![/QUOTE


Ha ha we are of the same vintage!! So glad it struck home. Yes I got my badge but as a Scout we had to stitch them on our
shirts and not ask mum. This time I managed it but when it came to put my shirt on I couldn't get my arm all the way through as I'd stitched both halves of the arm together


Ha ha we are of the same vintage!! So glad it struck home. Yes I got my badge but as a Scout we had to stitch them on our
shirts and not ask mum. This time I managed it but when it came to put my shirt on I couldn't get my arm all the way through as I'd stitched both halves of the arm together
 
........and today a cold and dirty job. Stripped the front suspension and all the brake lines off the chassis. Tomorrow the handbrake all in readiness for Simon of Renault Reborn. Managed to get the front suspension off whole without upsetting the torsion setting. Actually I discovered with the wishbones laid flat on the floor the edge of the torsion bar end plate in the middle of the car is vertical. I did mark the positions too, but I'm sure this will be useful knowledge to someone
 
  • image.jpg
    image.jpg
    127.3 KB · Views: 7
  • image.jpg
    image.jpg
    136.8 KB · Views: 9
  • image.jpg
    image.jpg
    103.3 KB · Views: 7
Well jonathan after I carefully explained how to remove suspension without releasing tension safely you are keeping it quiet and no pics to show everybody else
Seriously well done
 
My nightmare...setting front torsion bars to correct hight.
Marks that i have done when stripping are gone long,long time ago.

Would really like to see someone doing it correctly....once.

JonathanT, You have big help from members....
Guys, really nice "team" work
 
Well jonathan after I carefully explained how to remove suspension without releasing tension safely you are keeping it quiet and no pics to show everybody else
Seriously well done

It would be a nice info to have...
 
Ok guys the sequence I followed .... Crumbs I hope I got it right! Apologies to Paul if not... Mind you all a lot easier working on a bare chassis with no wings and no weight on the Chassis

You will need :
Usual tools
A blow torch for tough nuts would be helpful
Some strong string or wire
A good felt tip pen
Masking tape
plastic bag

Tie the bottom wishbone to the top of the carriage where the top wish bone joins. This will stop the bottom wishbone flying down hard when 1/ is released.

1/release the top of the shock absorber

2/ release the outer end of the tie rod

3/ release the anti roll bar - and the bottom of the shock absorber tapping the pin out

4/ cut the string/wire


5/ release the complete wishbone assembly ...that's the whole carriage the upper and lower arm but prop it all up at approximately the same level so the other end is not trying to twist out of the fitting

6/ undo the tortoise shell shaped cover at the other end of the torsion bar being careful not to tear the rubber sealing gasket.

7/ undo the three golden bolts behind the seat in the transverse tunnel- carefully let down the end so the bracket you have just undone doesn't move off the splines and you lose the torsion setting

Put it down carefully not allowing the bracket to slide either way on the torsion bar. Carefully mark in at least two places. Slide out from under the car and photograph end on so you can see the relationship of one end to the other or make a drawing to remind you.

8/ bind up with masking tape and bag so nothing is lost.

Ta dah!

Daughters arrive home with a look of total consternation that your cute little car is now a collection of odd shaped bits! Son arrives home and thinks it's well cool !
 
  • image.jpg
    image.jpg
    127.1 KB · Views: 3
  • image.jpg
    image.jpg
    117.7 KB · Views: 2
Great progress thus far, are you 'unfacelifting' this one then?

Hello Vulgalour - yes I suppose so.
I'm taking away the later additions and making it look similar to a 1968 model. So no plastic barge boards down the sides. Nice chrome here and there and the aluminium binocular grille.inside the colours will be a bit funky too . Got lots in my head on that one being a designer and will include that journey on here too. The reason for all this is to make it mine so to speak. Make it fun (it's a fun car already ) and to make it compliment my Eriba Puck caravan (Sweet Pea)
 
  • image.jpg
    image.jpg
    168.2 KB · Views: 0
At last a day off work! Well at least till the boss rings to say where the hell are you!

LOTS to do today....it's the day of distribution at last. Various lumps are going off to specialists and I'm collecting parts too.

It's a lovely bright morning... The chassis awaits on the Tarmac like a Spitfire at dawn. A dusting of frost sparkles in the morning light. A great day of Renault 4ing lies ahead....
 
  • image.jpg
    image.jpg
    82.9 KB · Views: 1
Back
Top