Rear Damper Tower Repair and Other Rear Wheelarch Bits
I was surprised to find large flakes of rust under the boot floor carpet and rear seat while removing the interior. It was only after removing the wheelarch trim that I figured out where they came from.
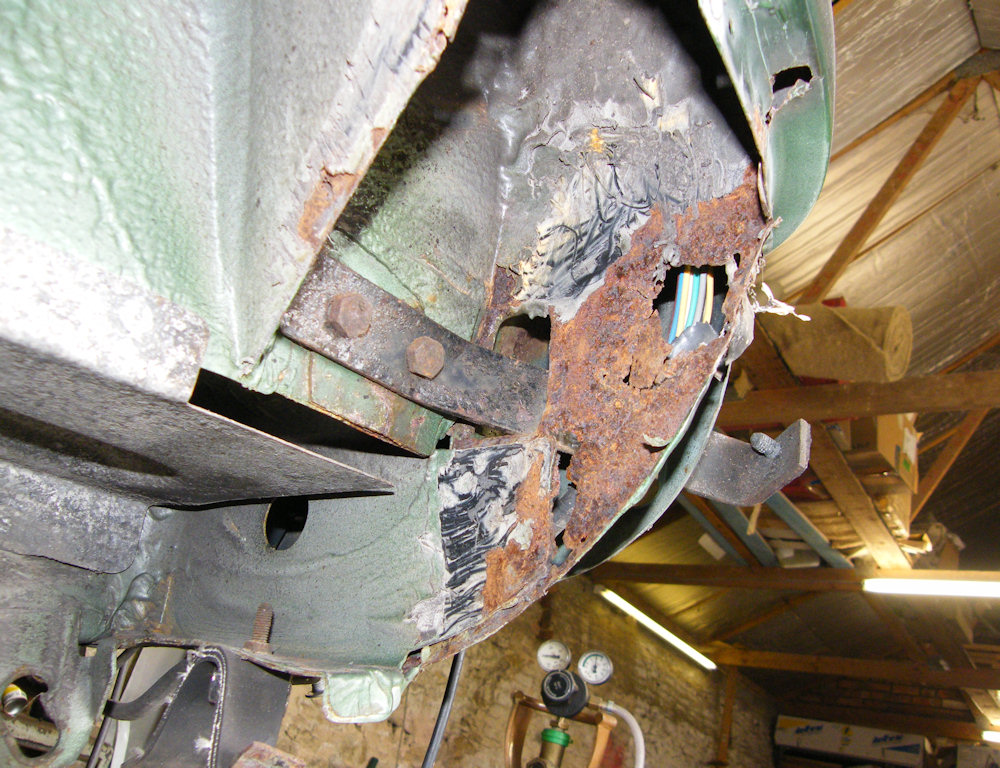
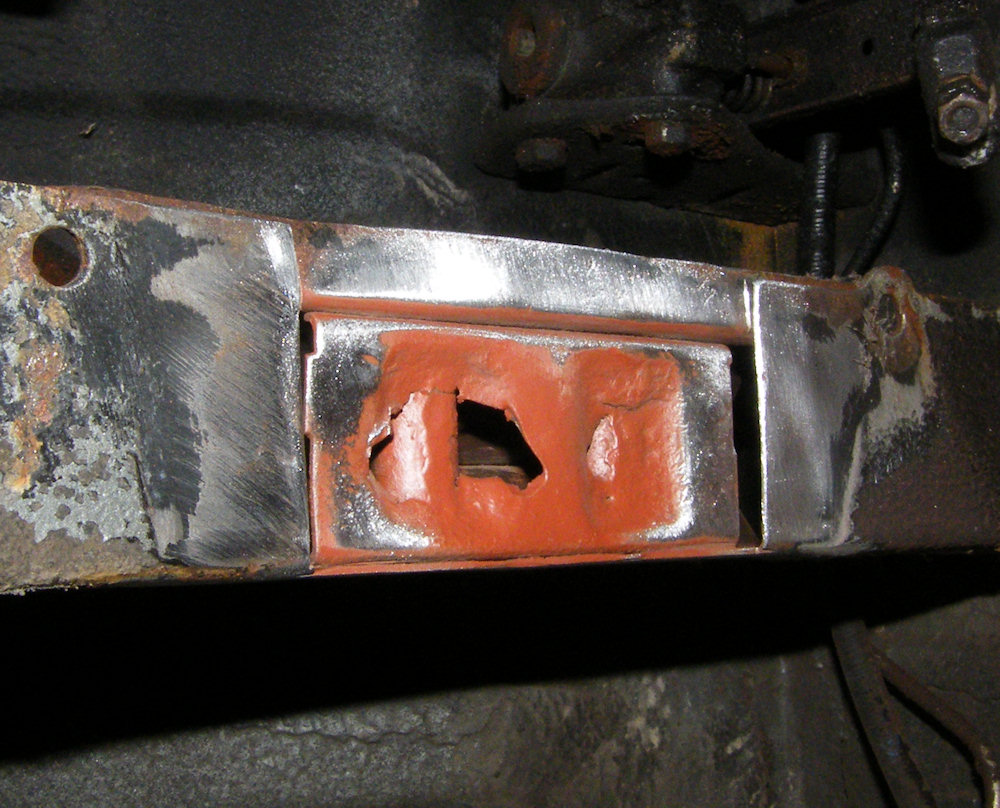
There's a big hole on the inside of the rear wheelarch. Ugly looking isn't it.
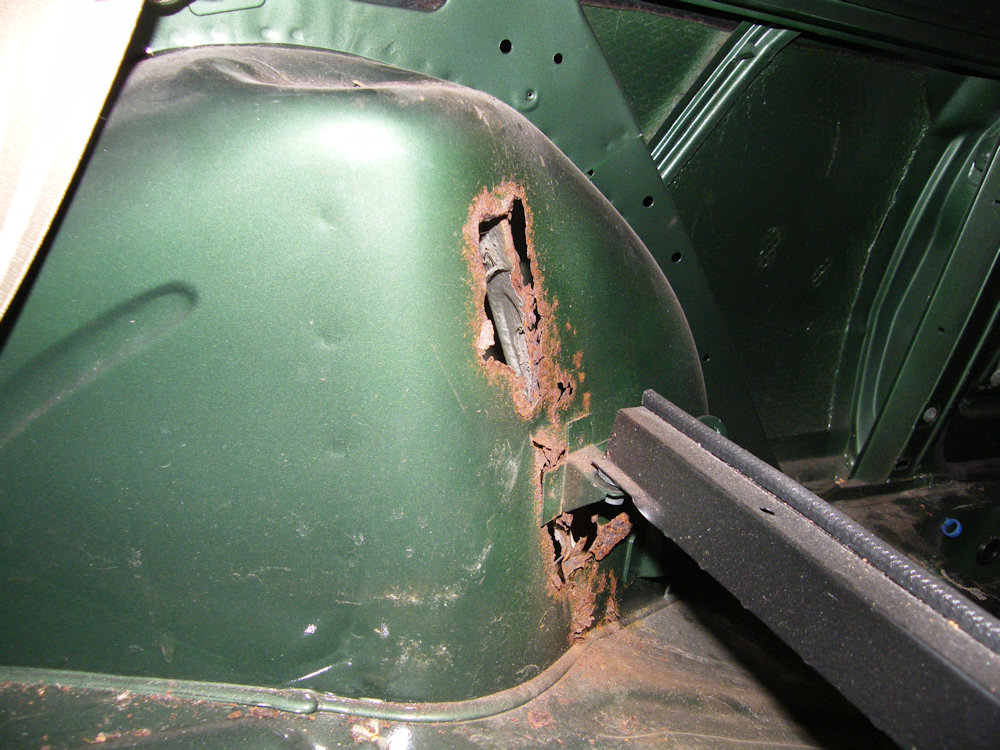
The rust wasn't all that obvious from the wheelarch side especially before the mud was removed - the car would have been in this state during the last MOT.
The problem is seam sealing - the area that needed seam sealing was hidden by a flange, and the positioning inside the wheelarch would be fiddly for a right handed person to get to. Perhaps that's why this side of the car has gone badly but the other side is nearly OK.

You could tell what was going to happen!
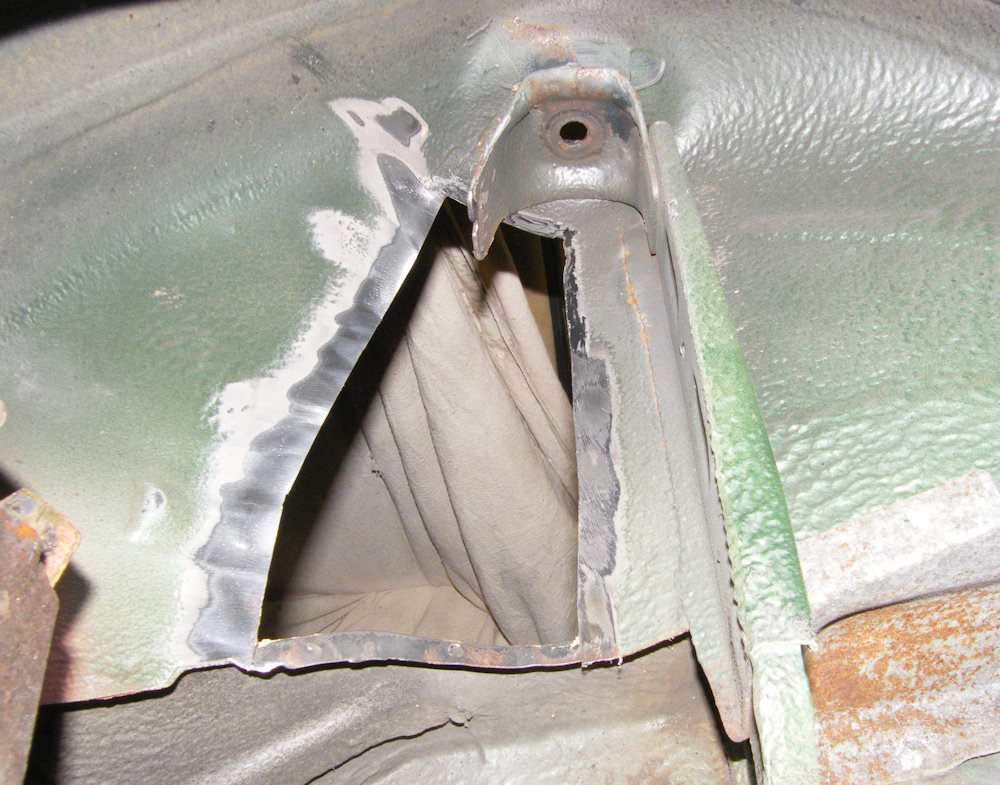
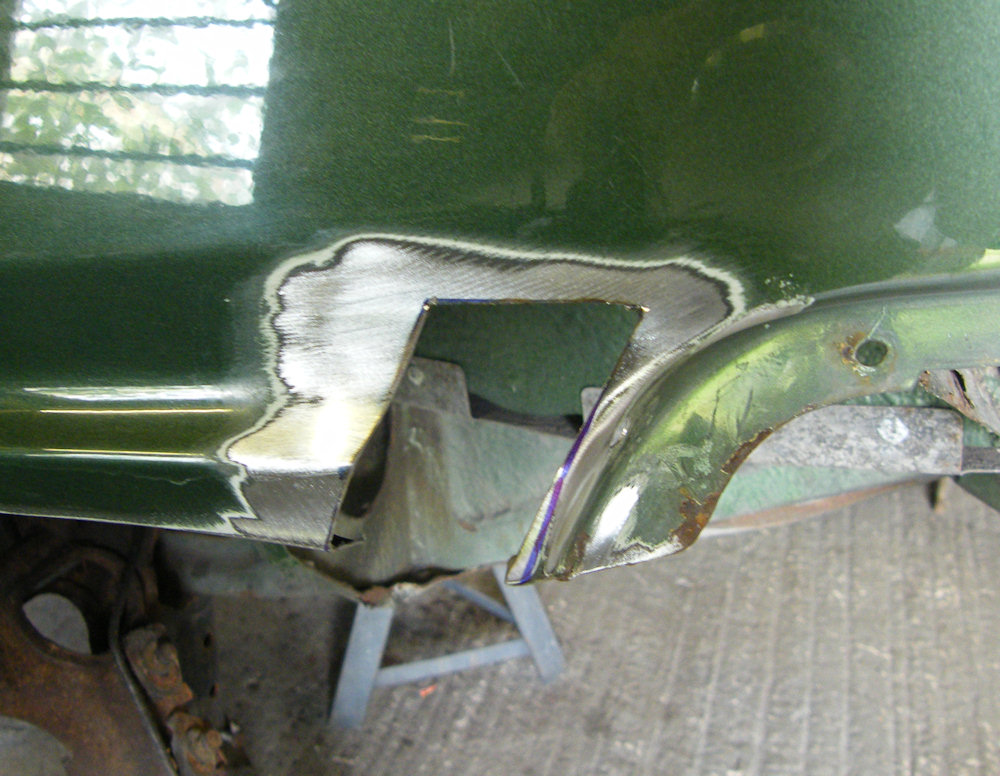
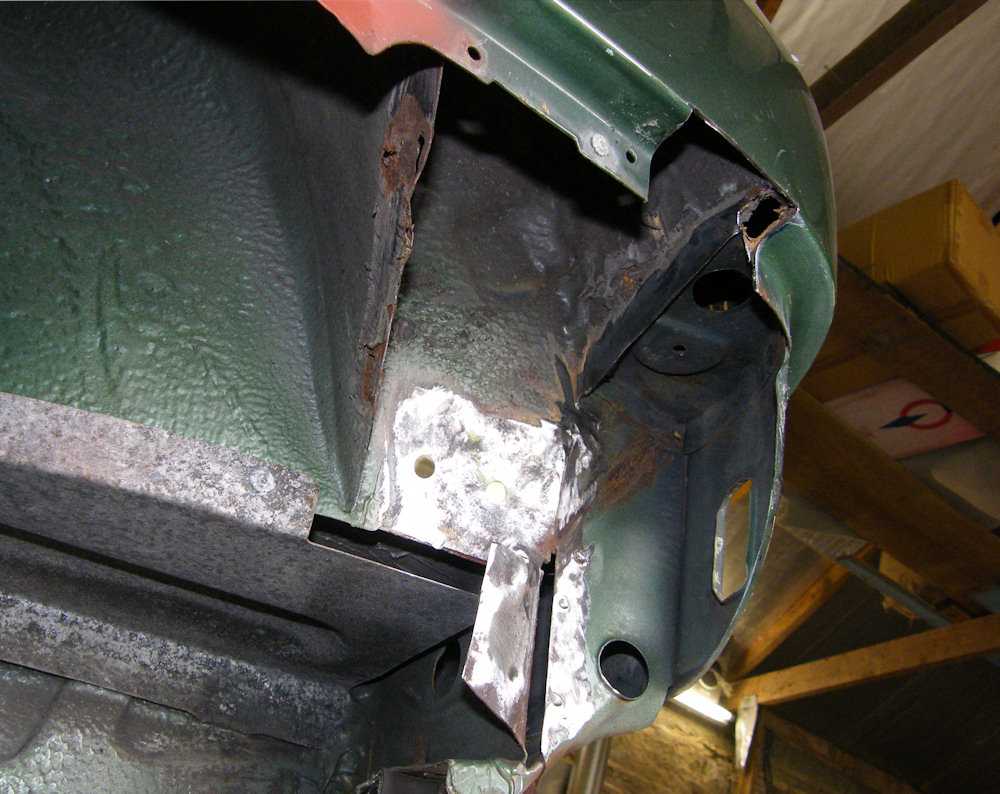
Most of the hole was cut from the inside of the car, the sheet being there to protect the windows and headlining from the occasional stray grinding spark. The vertical reinforcement mostly fell off but remained stubbornly attached to the top of the damper tower.
Easy way to get it off was to cut the vertical reinforcement off just under the top reinforcement, then knock the reinforcement to the right a bit to allow access to grind out the spot welds from below. The photo shows it knocked back into it's normal position.
The resulting big hole gave an excellent view of the rear of the wheelarch which was next on the list of bits to fix. Seemed sensible to tackle that while it was visible as the view from underneath is not so good.
There's a badly fitting plastic cover inside the rear of the wheelarch, and once mud has negotiated it's way past that it can sit on top of this joint and merrily rust the panel. None of the rust spots on this page are uncommon.
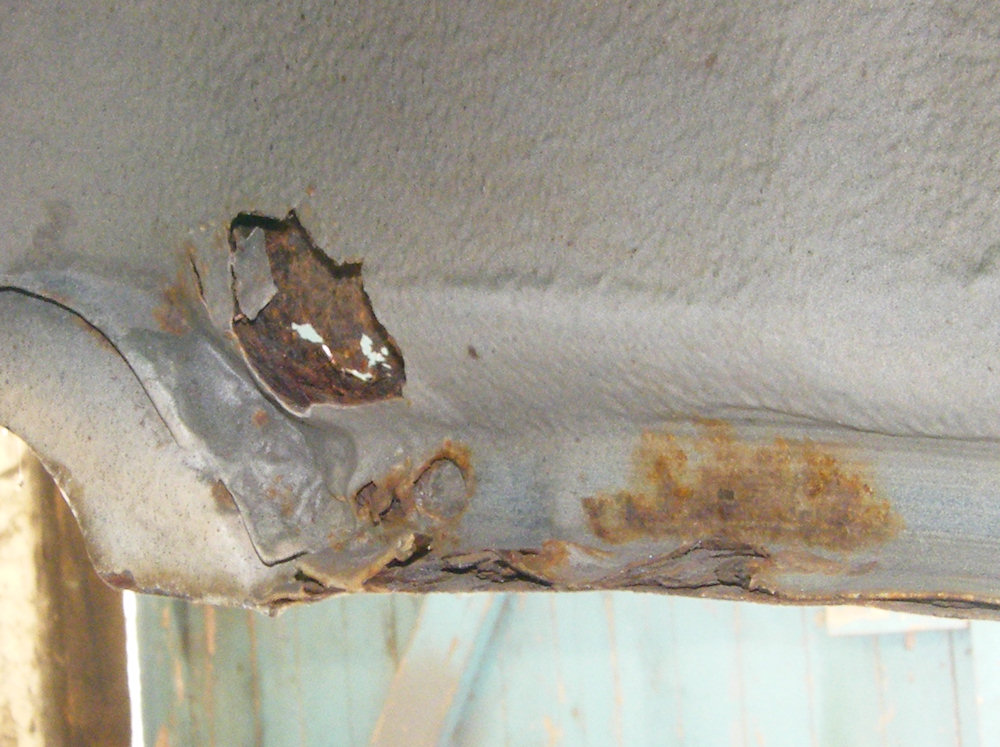
Access is horrible from underneath. A car roller or 2 post ramp would help a lot. Cutting out was bad enough from underneath as evidenced by the stray angle grinder cuts, but I suspect welding will be even more horrid.
The seam to the outer wheelarch had opened up a bit for a few inches forward of the obvious hole. Rust trapped in seams is a bad thing so I drilled out the spot welds until rust stopped coming out of the drill holes.
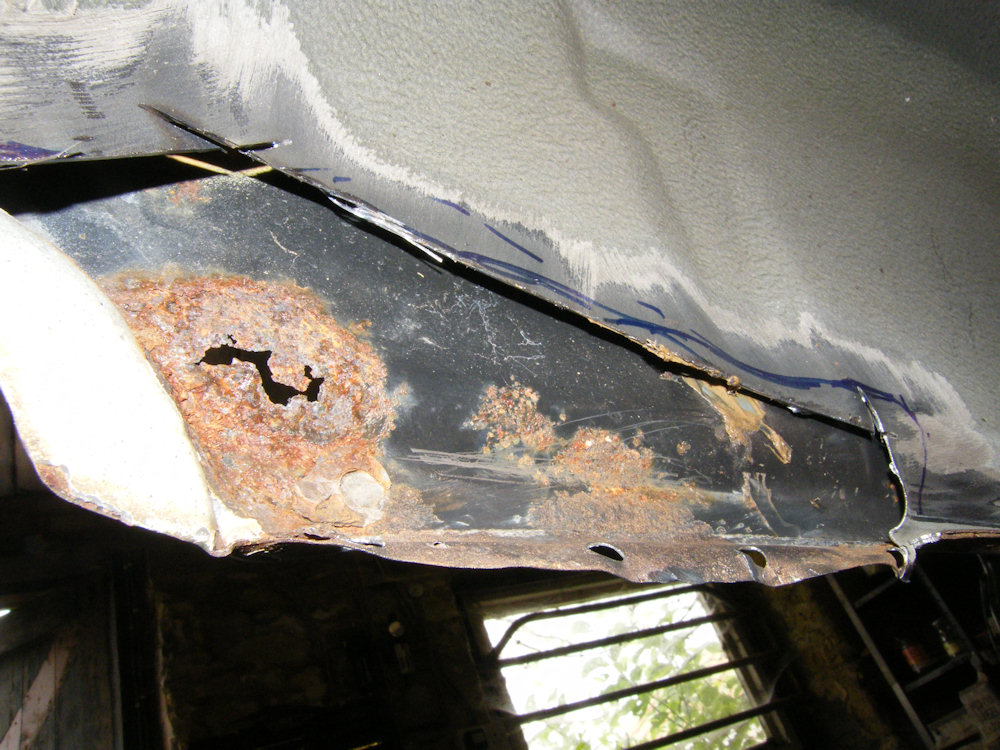
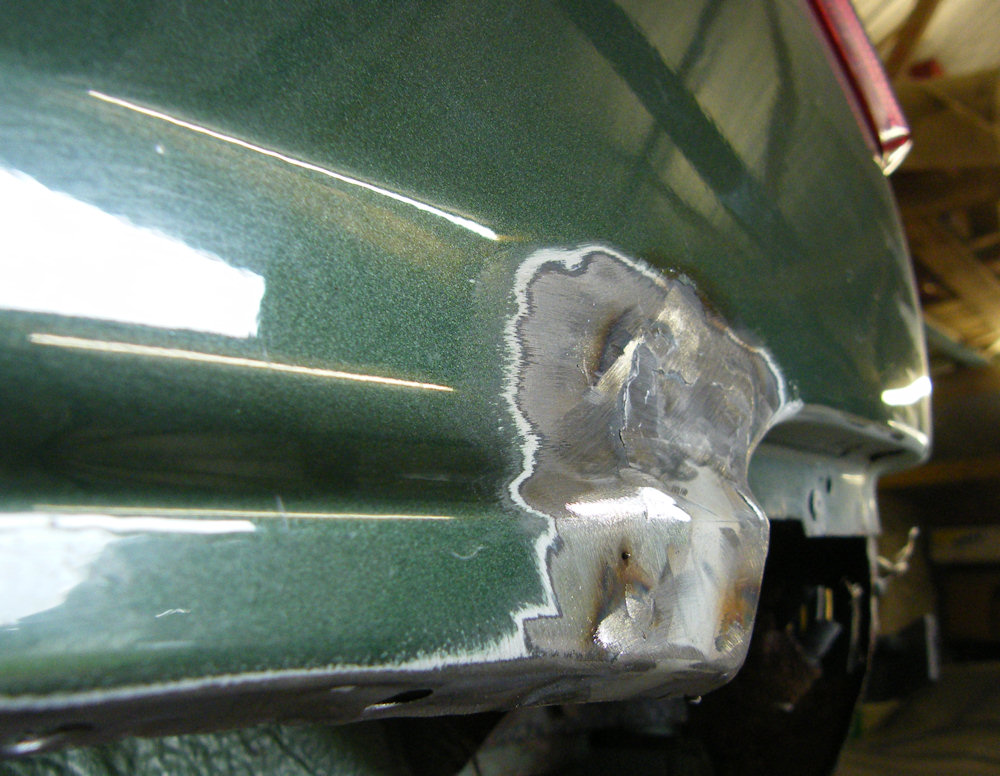
The paintwork was in really nice condition. Seemed a shame to spoil it.
The rear panel on this car only had a couple of small holes to fix, but it's still awfully tempting to cut it off and replace the whole lot with a new panel. That way it would be possible to repair the inner panels without all of this awkward access and would make the whole job more fun, if more of the complete restoration I'm trying to avoid.
The little repair went in quite well. The problem with welding a little bit into a big flat panel is distortion. Welds contract when they cool, and however slowly you go about it they will tend to pull a bend into a flat panel unless there is a greater force (such as a temporary great big reinforcing bar welded across the repair) to restrict the movement.
This one distorted a little across the top so I might need to fill and repaint a little more than planned. The only alternative would be putting up with a tiny little dent that nobody will ever notice.
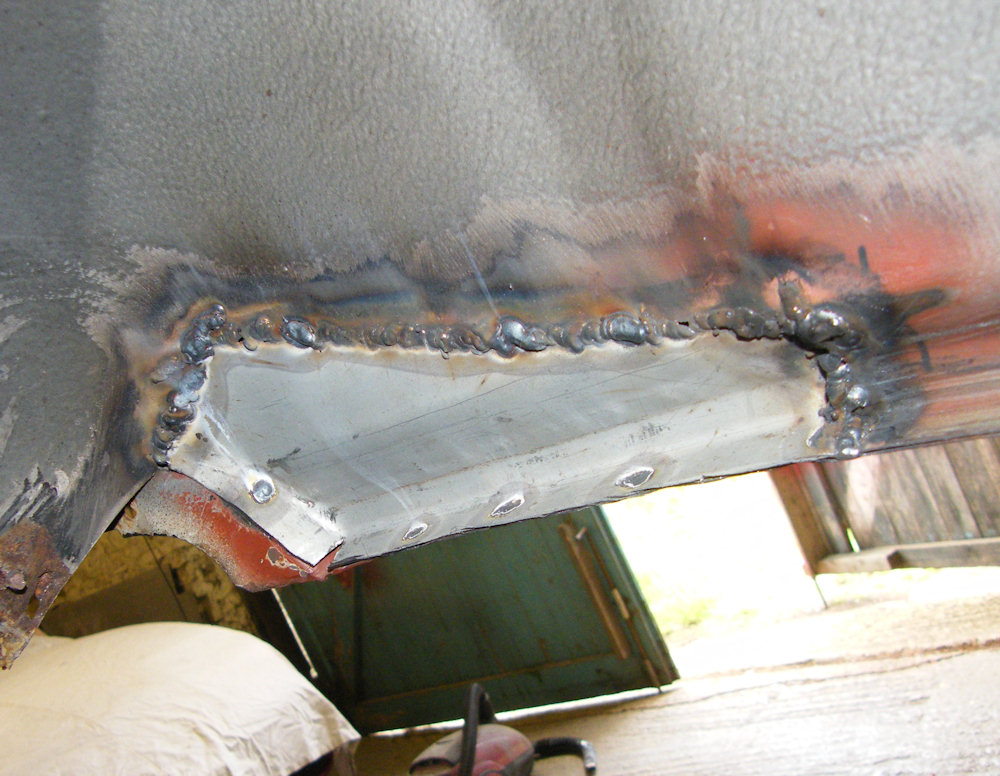
Unsurprisingly the patch on the inner arch at the back turned out a bit ugly. It's a butt weld in 0.8mm sheet done overhead in an uncomfortable position with poor access and visibility. The fit could have been better too.
I've no idea how to rustproof behind this weld. Waxoyl is probably the answer as there's no access to clean off the area for paint and there's already goo behind the front edge of the patch.
The access hole in the wheelarch turned out to be handy for welding the front edge which wasn't visible from underneath but was a bit of a stretch. Would have really struggled if I'd not make sure everything was shiny clean where I was attempting to weld.
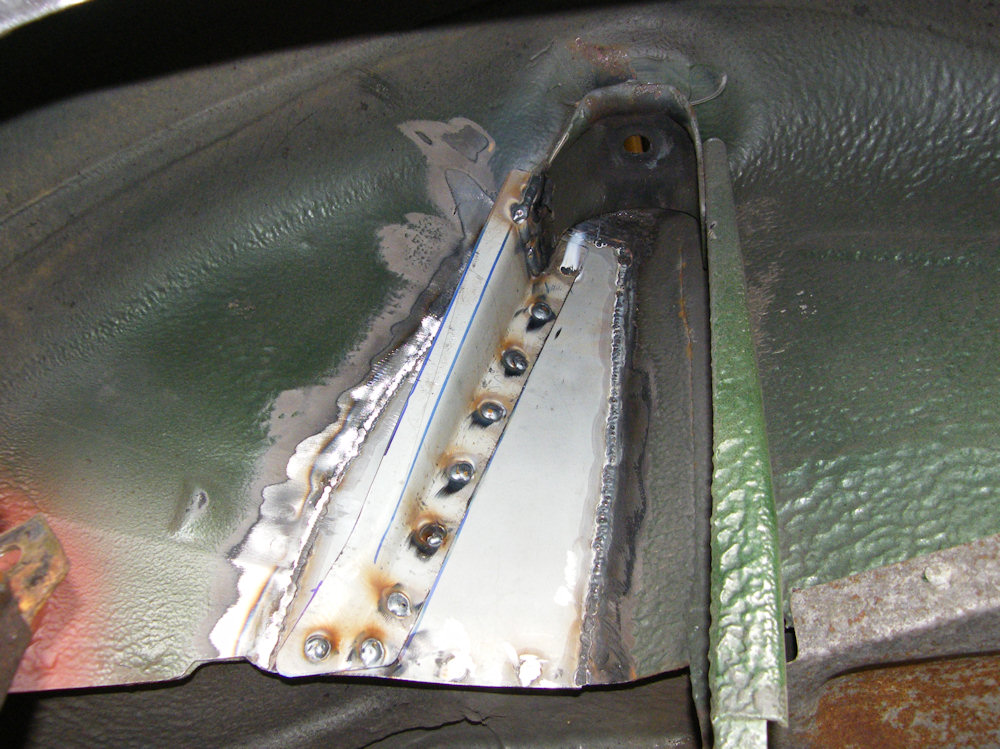
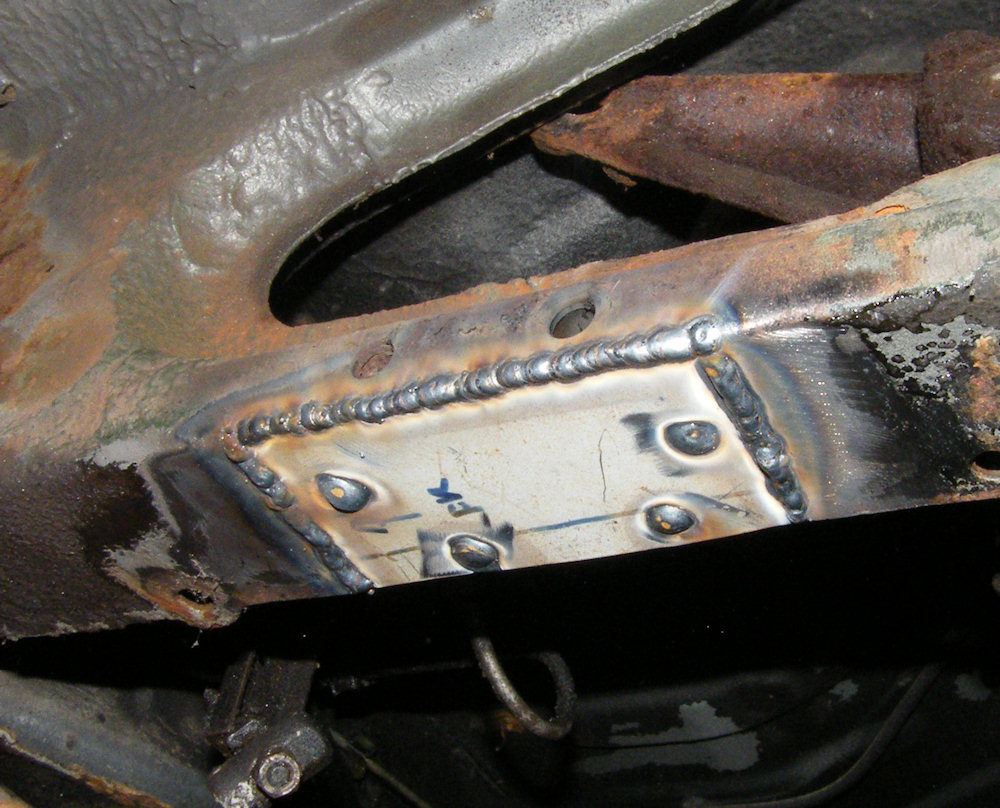
The damper tower was quite pleasant to do. The panel is curved so where there was a gap it could be straightened a bit to fit and then hammered back later. I reckon the wheelarch is 0.8mm. Most of the welding was from the inside of the car - only the bottom bits were done from the outside. Oddly from the outside the welds done from the inside are a lot neater than those done from the outside. That's what you'd hope for from a butt weld (click the photos on here for bigger versions).
I forgot to drill holes at the bottom so had to drill halfway through the panel in situ before plug welding.
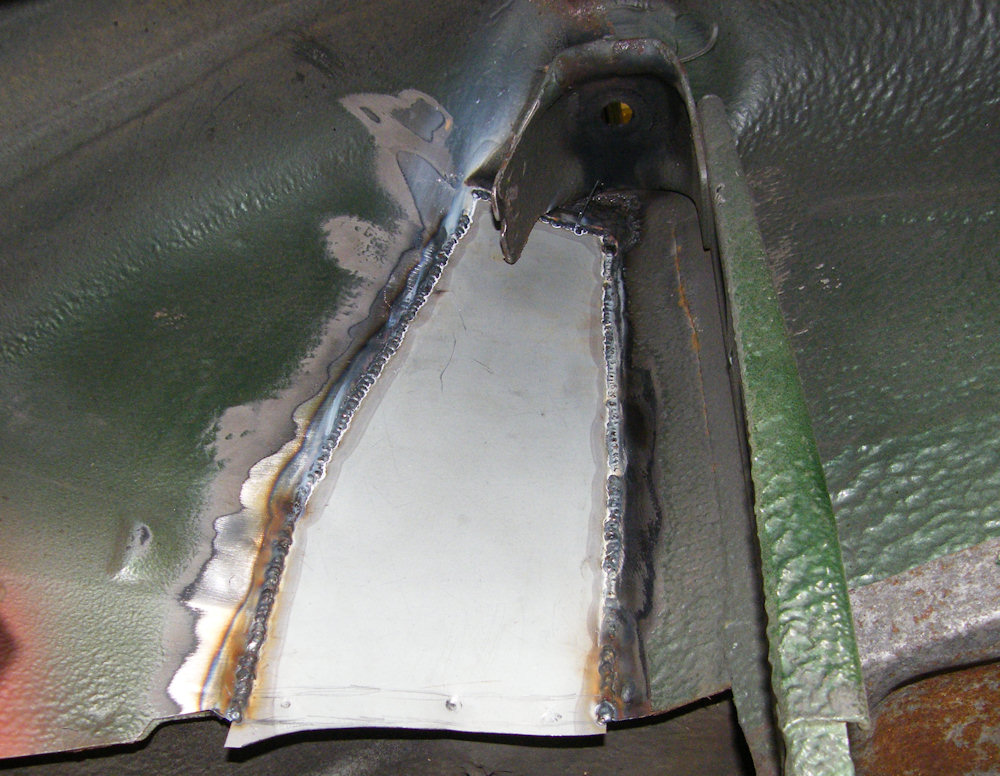
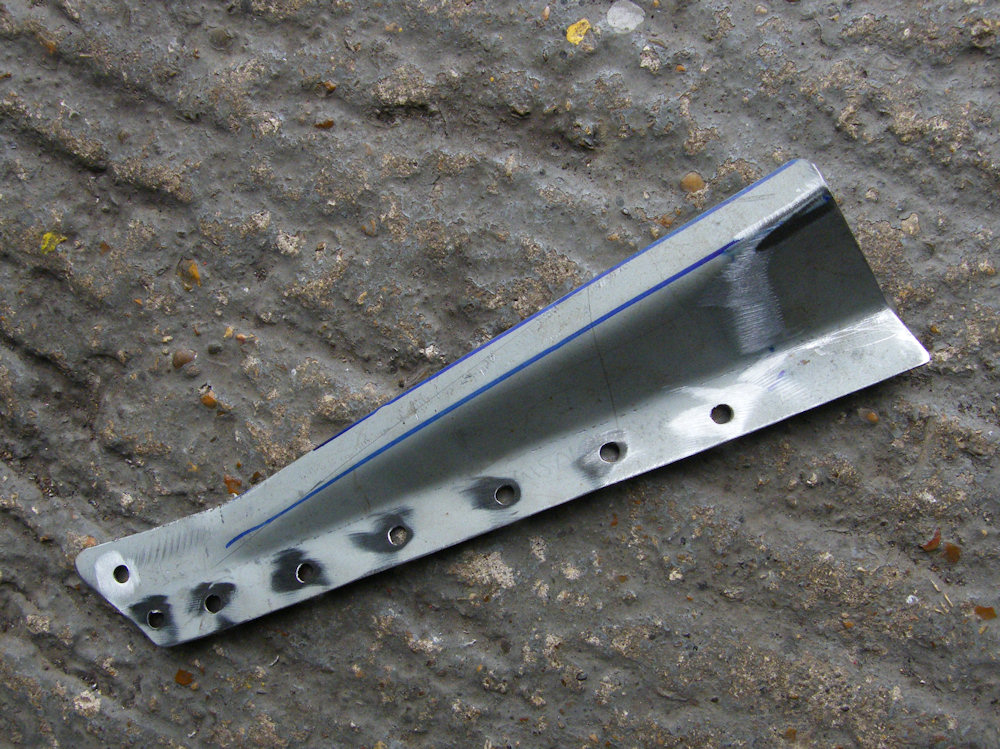
The damper tower reinforcement was another nice part to make. It only attaches at one side so could be a few millimeters out at the other side without causing trouble. The reinforcement is 1.2mm.
I copied the shape from the other side of the car as the original on this side was too far gone to use as reference. I've not drilled the hole for the top plug weld - it's more convenient to do that from inside the car.
The reinforcement was plug welded to the wheelarch to finish the job. There was no access to plug weld to the top reinforcement so it was seam welded around the edges.
I still need to reattach the mounting for the rear seat on the inside of the car. I'd forgotten about that bit.
There's a bit more rust to sort out at the rear of the wheelarch. The rear cover is very thin, presumably due to stones thrown up by the wheels breaking through the sealant and rotting the panel. The rust has spread into the bottom of the rear quarter panel.
The wiring for the boot lid passes runs around the rear of the car and passes through just behind the rusty panel before making it's way up the rear pillar. That was a pain to remove.
With the wiring out the rear panel could be cut out. There was also a hole in the outer wing. Also the rear bumper mounting reinforcement had some rust behind it so that came off too. I'm leaving the rust in the rear of the wheelarch (left of the photo) until later.
Making the repair section was fun - it's a fiddly shape when your preferred method of putting flanges in is hammering the panel around the edge of a straight bench. All the curved flanges were put in with a hammer and dolly.

By now the rear wheelarch area was just about finished. All that remained was a hole under the inner rear suspension mounting.
It has a double skin with the crush tube holder touching the bottom of the longeron and rust had expanded in layer after layer. With the rust knocked out with a hammer and screwdriver there were a couple of holes in the inner part, but as they aren't strictly structural they were just cleaned up and painted.
Oddly Renault forgot to put the spot welds along the bottom edge of this section. I've added a couple of plug welds and will put a few more in.
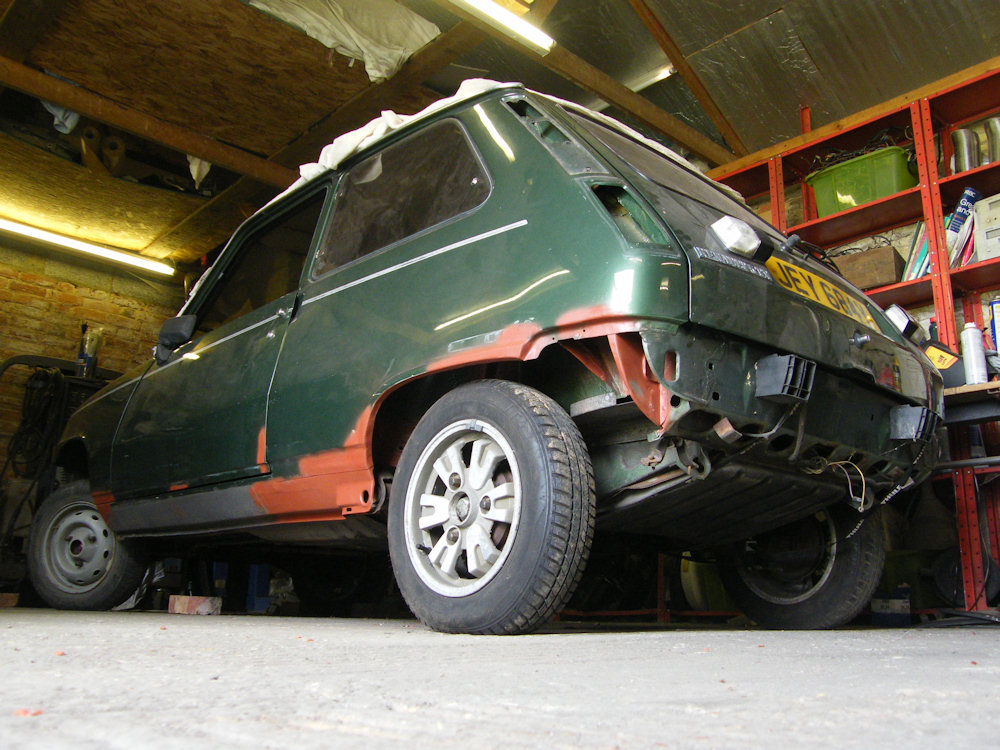
And that's it - the welding on the left side of the car is finished. There are a lot of dents to fix so it's likely that painting will end up being a complete respray.
The other side of the car has gone in all the same places but not as badly. I turned the car around as there's only light on this side of the garage and it's strange to see the car outside. It's tiny!
Last update June 25th 2011
Next: Front sill repairs
Back to: Renault 5 Restoration