Renault 5 Mk1 RHS Welding
The right side isn't as bad as the left side. On the plus side I know what to expect so the repairs should be quicker. On the minus side I know what to expect so there will likely be a few repairs on bits that don't look all that bad yet.
The inner wheelarch was originally painted after the wing had been fitted. The paint didn't get above the inaccessible bulge in the right hand side of the wheelarch which often rusts as a result.
On this car is has survived with the fine dusting of black primer that goes on to stop the panels rusting in storage. It must have been looked after extremely well in the past.
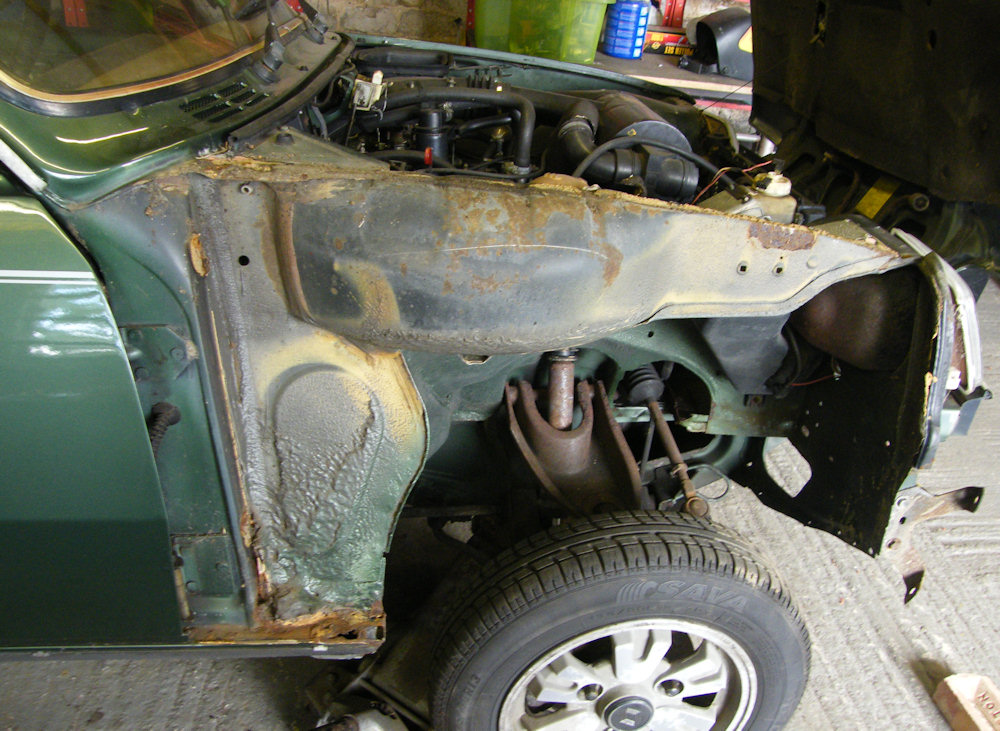
The mud trap at the back of the wing wasn't too bad though the front edge of the sill had rusted a little more than on the other side so a new front edge went on. The rest of the sill looks perfect inside.
The photo was taken before the front of the A pillar was repaired. There was enough of the sill left on this side to guess the shape at the top, but I forgot to put in the wing fixing yet again!
I know you can buy new front wings. This one is a lot worse than the one on the other side - it's gone on the inside too, and it would be sensible to replace it.
But there's something nice about keeping the original panels so I'm going to try to save it.
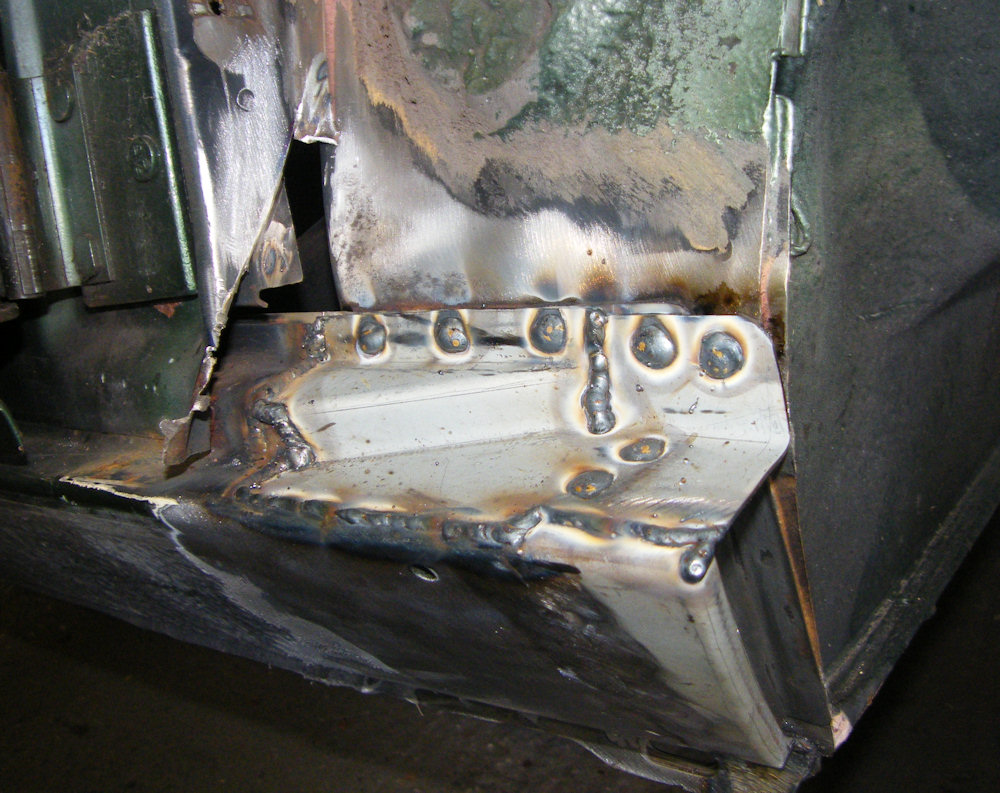
On no! The outer suspension mount looked OK on this side, just a few tatty bits around the edge of the wing and the front of the wheelarch. 5 minute job.
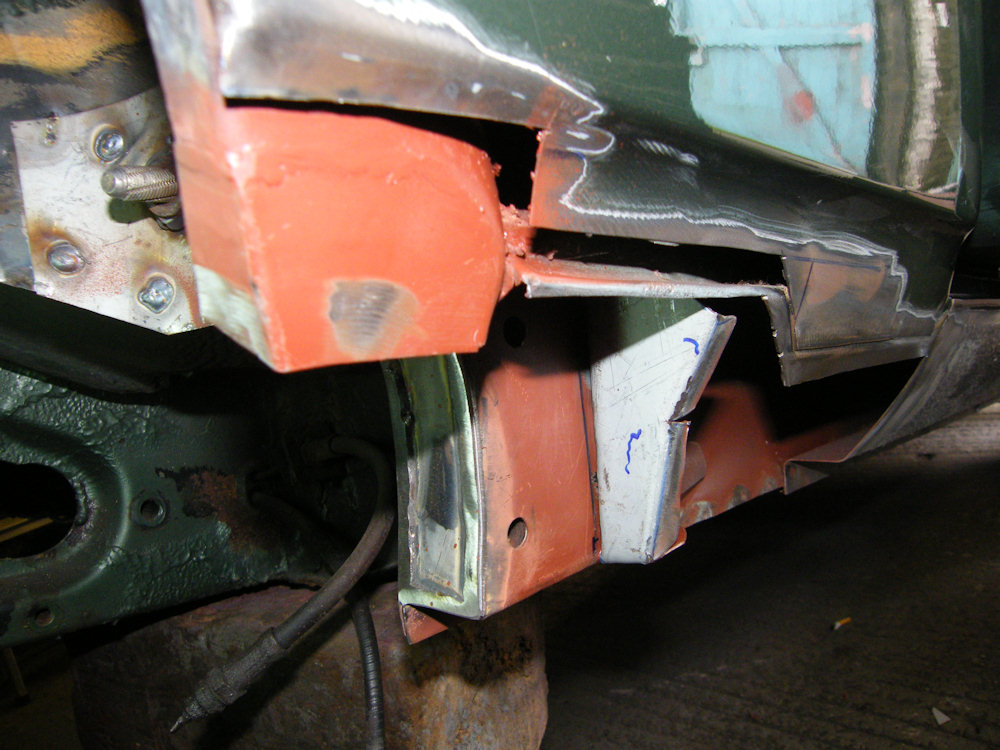
But see how the sill blanking plate seal has a curve on it. That's caused by the side of the suspension mounting rusting away and expanding. There'll be a big hole in the side once the rust is removed. Accessing the area is a bit of a pain.
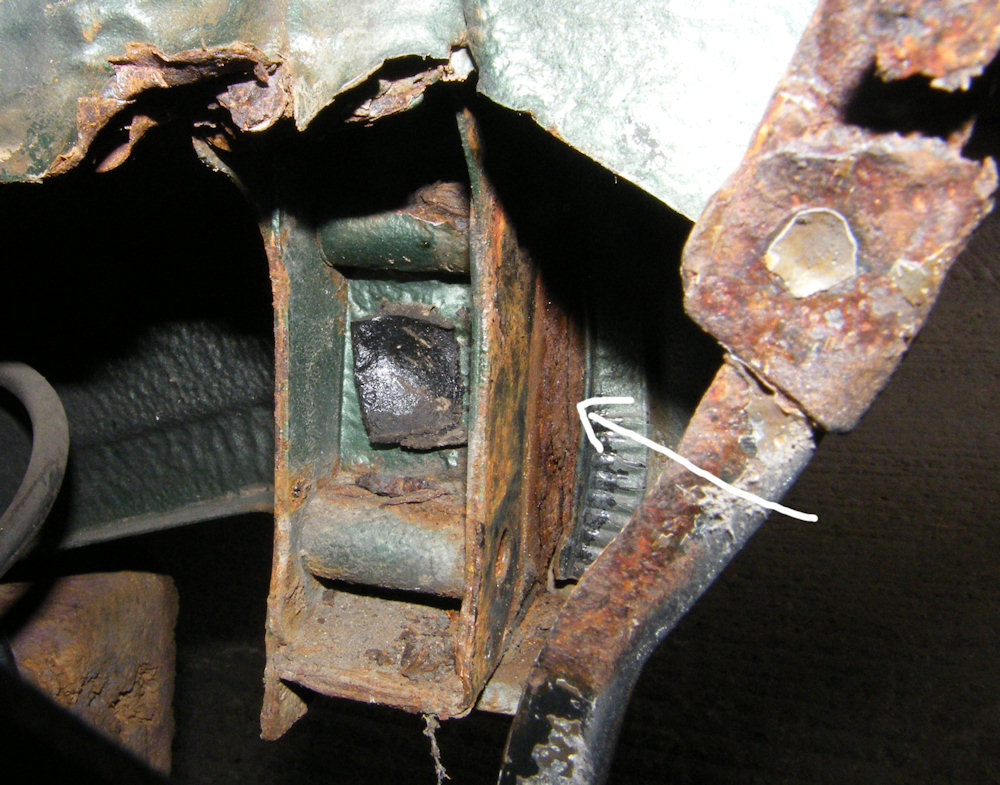
The suspension mounting on the RHS is another bit that looked better but turned out to be worse than the LHS. There was rust all around and above the blanking plate and also some on the other side of the suspension mounting. All of it in tricky to access places. It's lucky I went in as it looked OK at first glance and I had been tempted to leave it until later.
Red bits are new, the end of the suspension mounting has been closed off to keep mud out, and the blanking plate fully welded in place so it can be properly seam sealed.
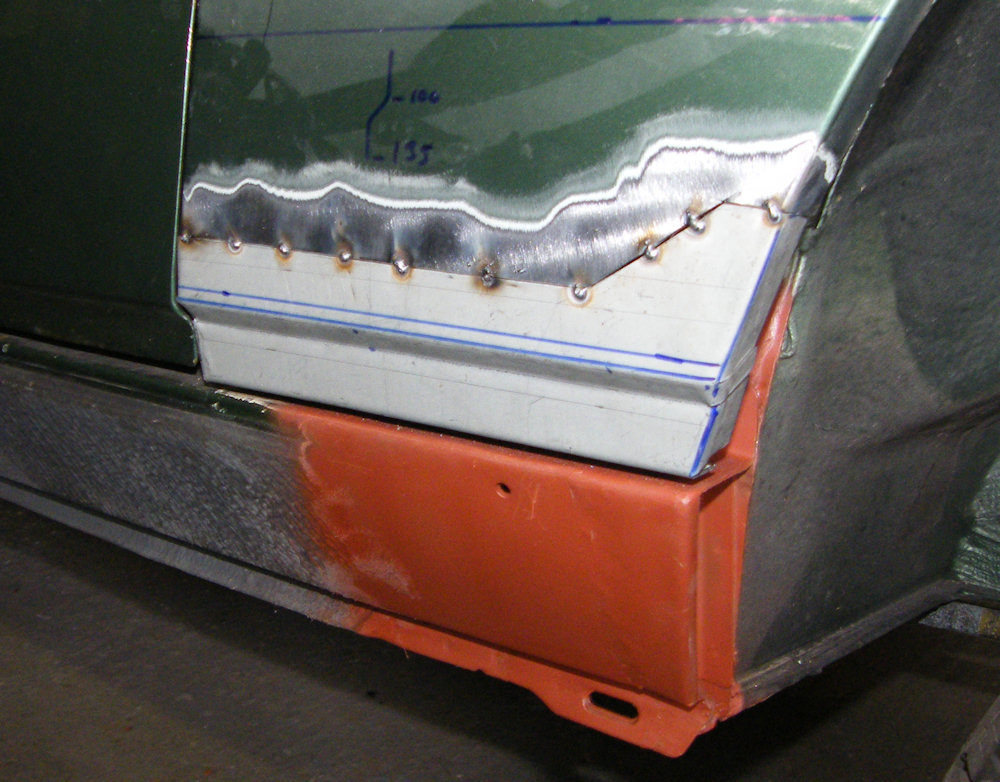
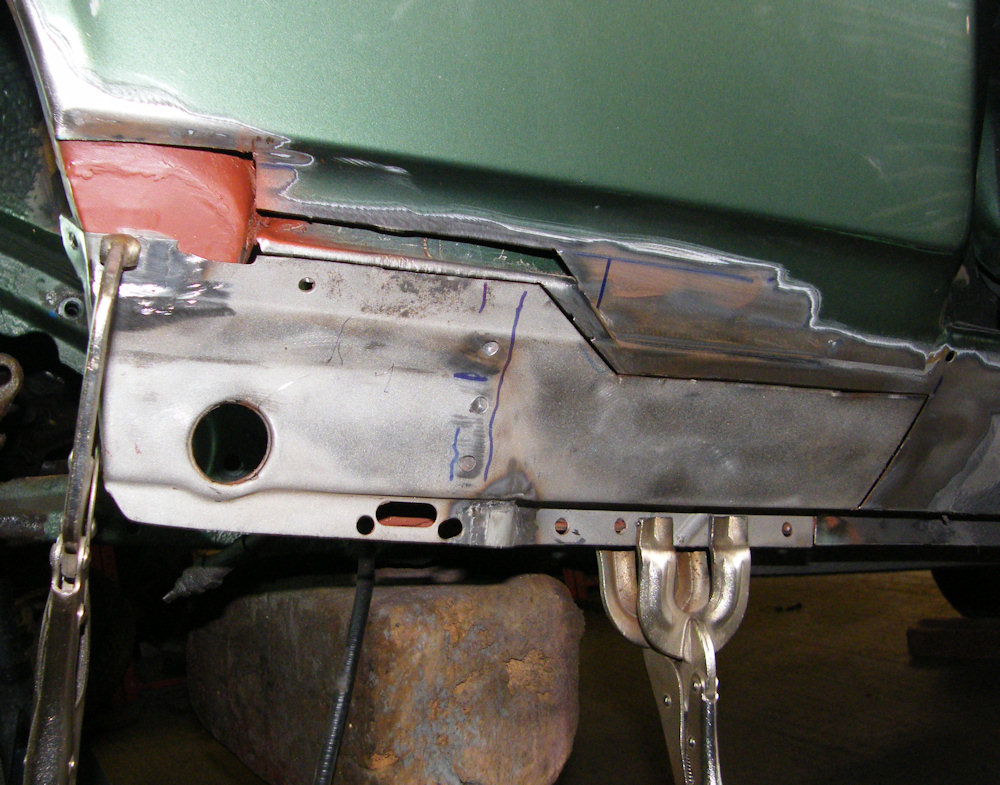
Oddly the outer sill and the bottom flange were in much better condition on this side than the other. I've shot blasted the panel, painted it on the inside and repaired a couple of holes. It will go back on.
The rear wing is much better than the other side too - it was possible to cut the rust out just below the complex fold so it should be an easy repair to finish off the rear sill area.
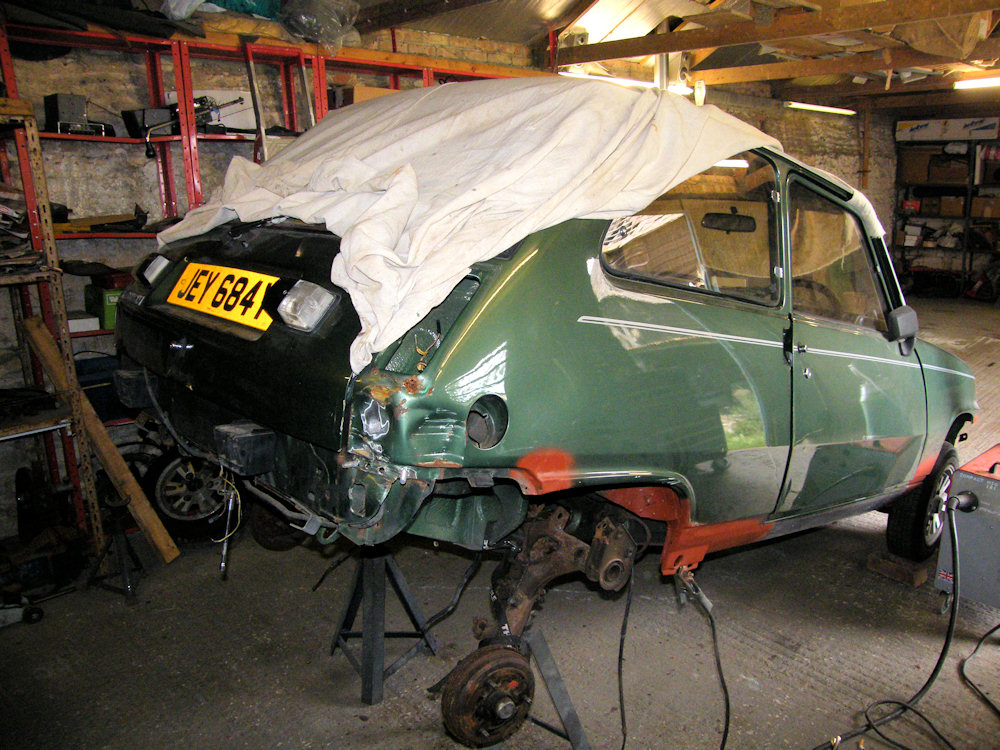
The RHS of the car went fairly quickly. I had set myself the target to do all of the welding on this side during a week off. The rest of it was very much like the other side just not as bad. That's not all the welding on the car though - still the middle to look at - but nearly there.
There is a big dent in the rear corner which I had a go at straightening one evening when I was in a bad mood. Wants a proper effort, but the area is inaccessible so will take some thought.
There are actually 2 dents - one in the back and one in the side. The one in the back had pushed the rear wing in a little so it didn't line up properly with the boot lid.
The holes at the bottom of the panel are an attempt to pull the panel back out a little. A dent puller was attached to bolts sticking through the holes which pulled the panel roughly back into alignment.
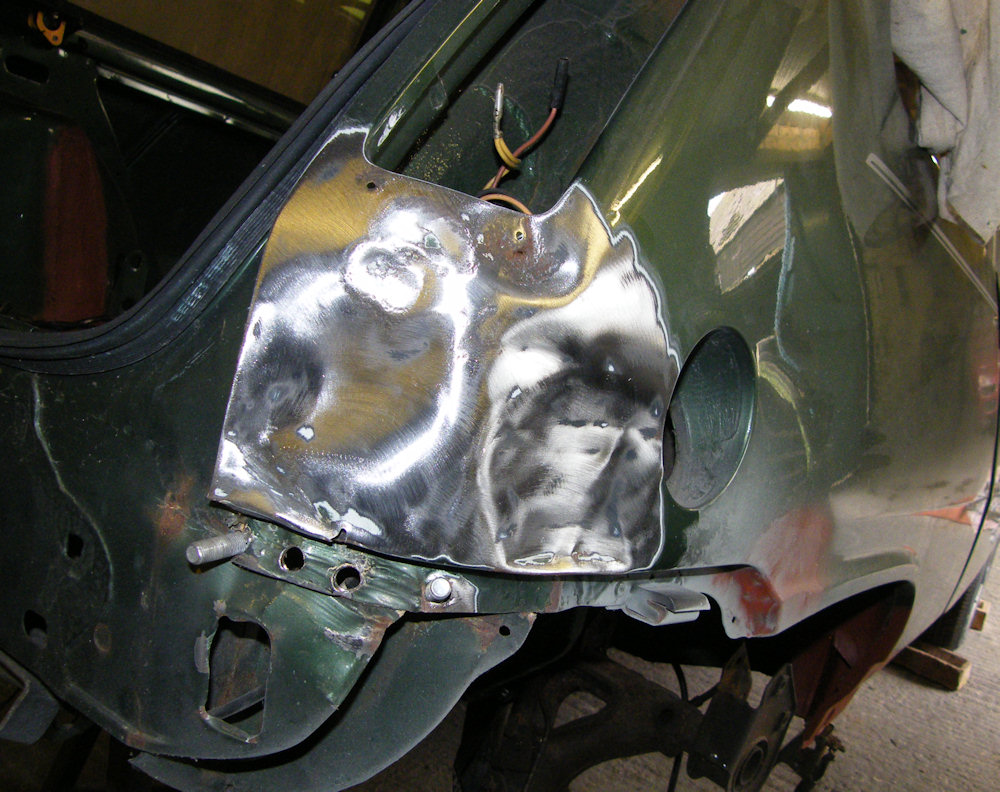
The inside of the panel was accessible but not accessible enough to get a good swing with a hammer to knock the dent out.
Instead I welded a few nails to the outside of the panel and used the dent puller to bring the panel roughly back to shape.

The nails need to be cut and then ground off - wiggling them off leaves a hole in the panel. The panel also needed a small repair just at the corner of the light where the paint had come off and it had rusted.
I didn't get the panel much straighter than the photo - it'll need some body filler to finish, but the edges are in about the right place so it won't need a lot.

A bit of body filler finishes off the rear corner and makes it look almost Renault 5 like.
It's nearing September and I'll need to get a move on if I'm going to paint the car this year.

Last update 29th August 2011
Next: Paint
Back to: Renault 5 Restoration