Clementine's Garage
Clementine the Cat
 
Image of flower
Yellow R4
 
Réparateur d'automobiles

R4 GTL 1985 Restoration

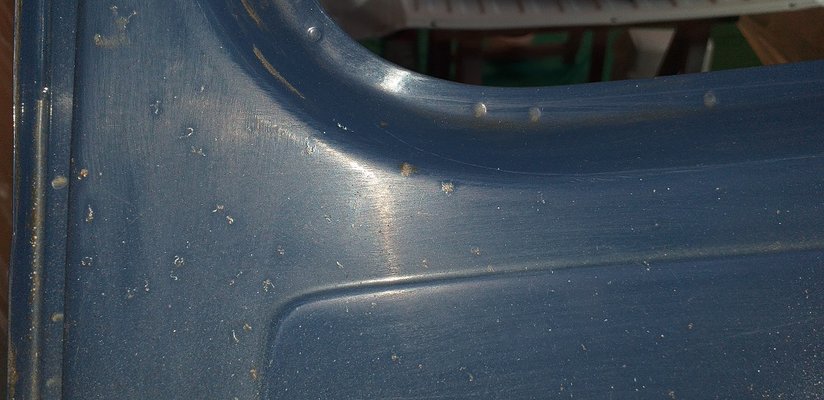
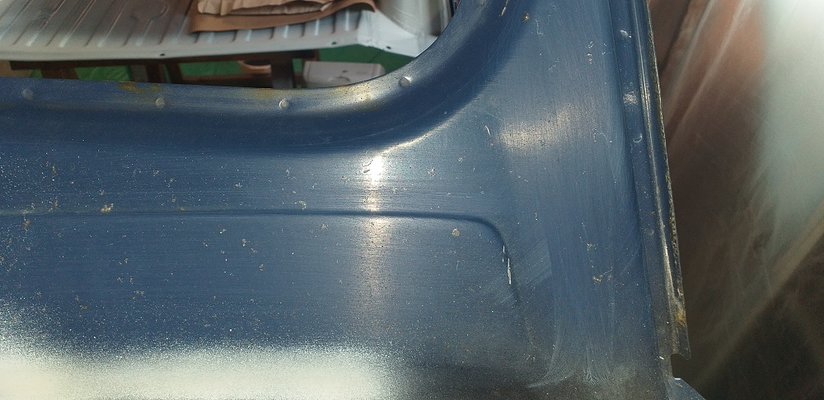
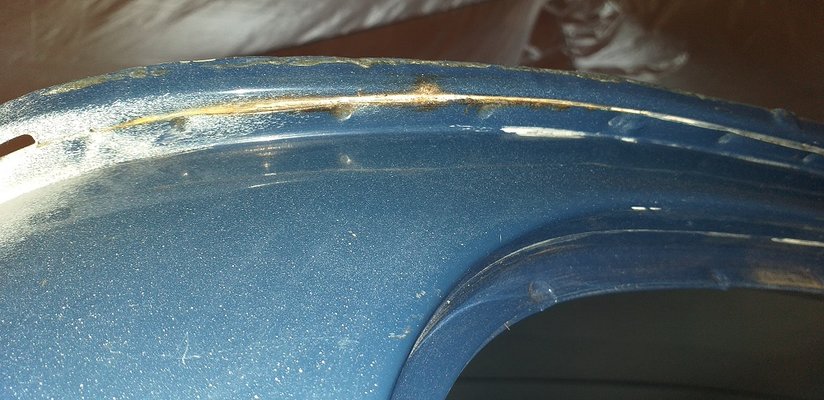
Further with preparation of the cars body in the "cleanroom".
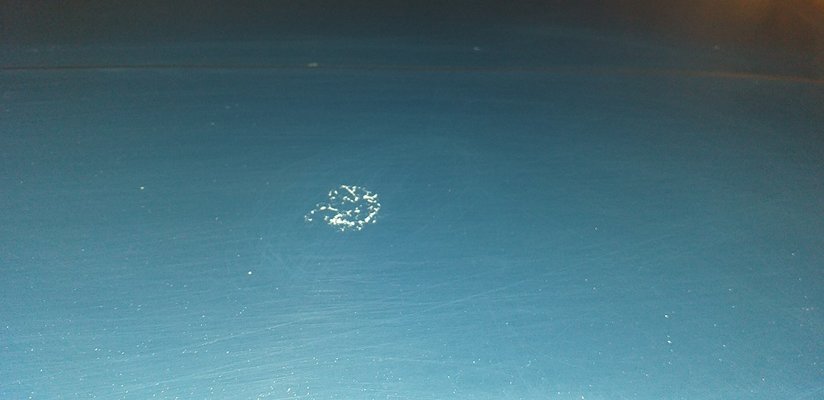
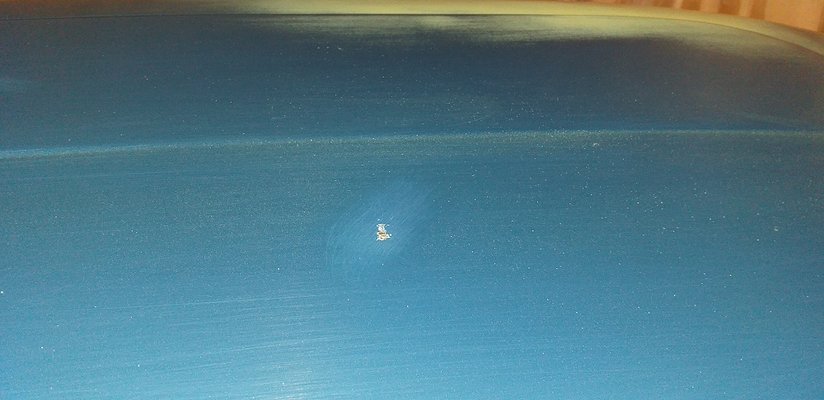
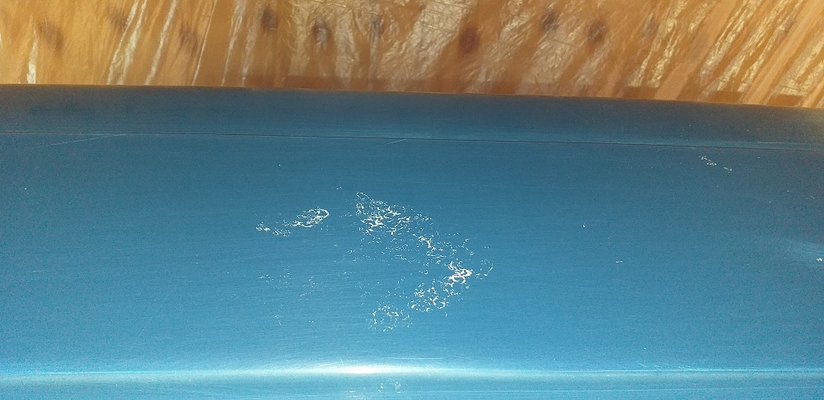
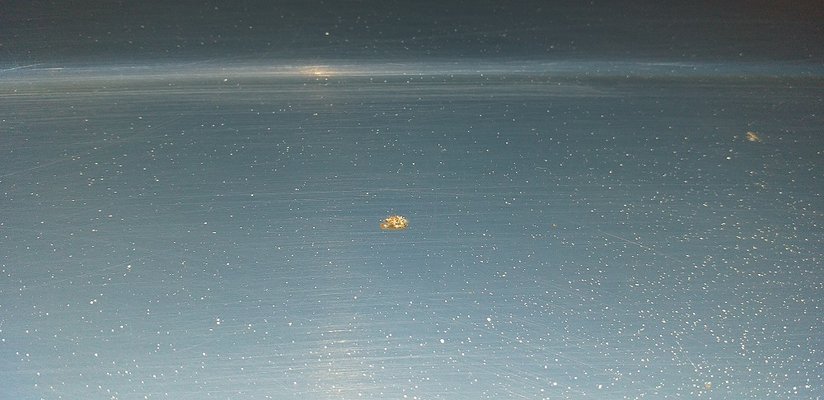
It's amazing to see how many small scratches, paint wrinkles and pits caused by stone chips you encounter when you put your nose into it with preparatory sanding.
805.jpg

806.jpg

807.jpg

808.jpg

809.jpg

810.jpg

811.jpg

812.jpg

Still no rush with the paintjob as the weather still has to improve and time is not on our side.
Our anniversary party is next week, holidays are starting in a forthnight and I had to do a minor repair on our Honda CR-V as the wife drove backwards into a pole causing a dent in the plastic bumper cover corner.


Cheers :waving:
 
Last edited:
Just a small update.

Vacation weeks were very fine but sadly all good things come to an end and work has already started, likewise the restoration hobby.

Continuing the preparatory very fine sanding of the body, as well as cleaning and decreasing the lot with various solvents so painting will start after the weekend.

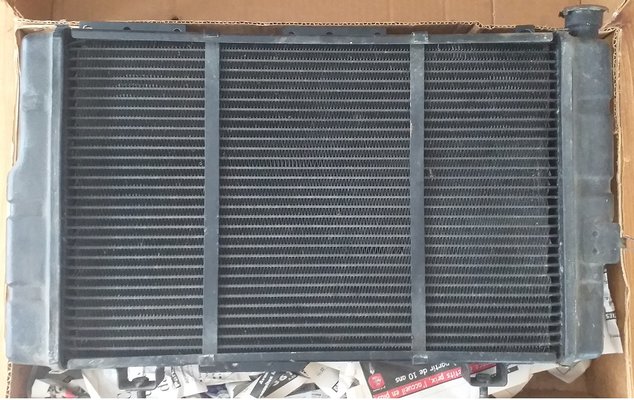
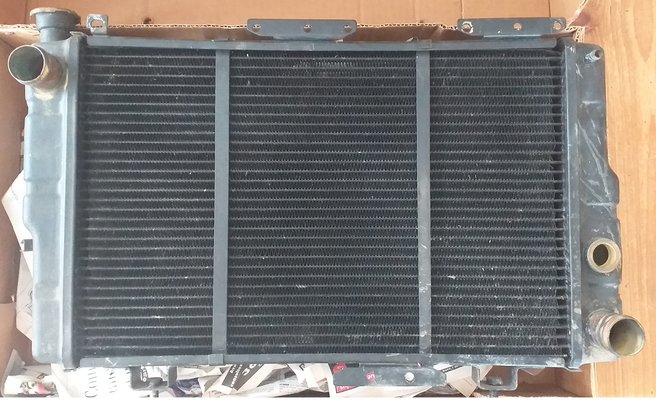
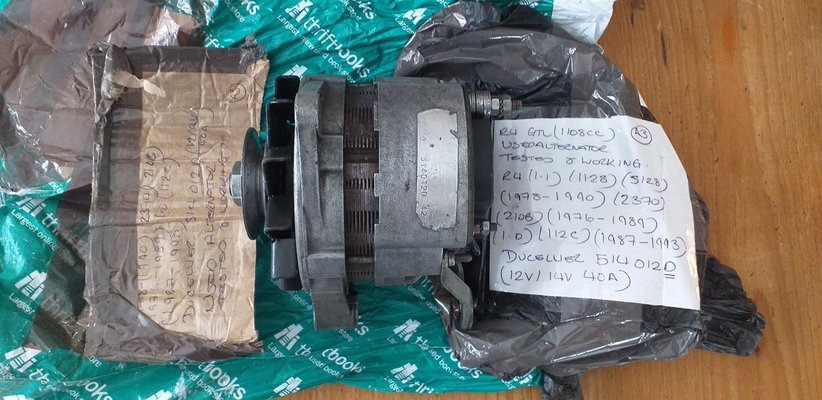
Meanwhile I was looking for more original and better parts for the rebuild, I'm in contact with a forum member about a part and just a package arrived with a very nice copper radiator which I bought from Leboncoin.
In my first GTL I also had a copper one when the original weak and cheaply produced factory one (aluminum with plastic pans) failed.
20240727_120352.jpg

20240727_120425.jpg

Cheers.
 
Last edited:
Here's an update.

Since september last year a lot has happened and work on my GTL came to a halt.
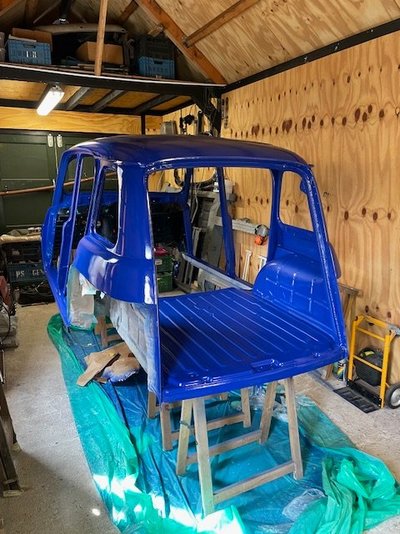
But since a month I picked it up and started with spraypainting. Two base coats and 2 clear coats were applied.

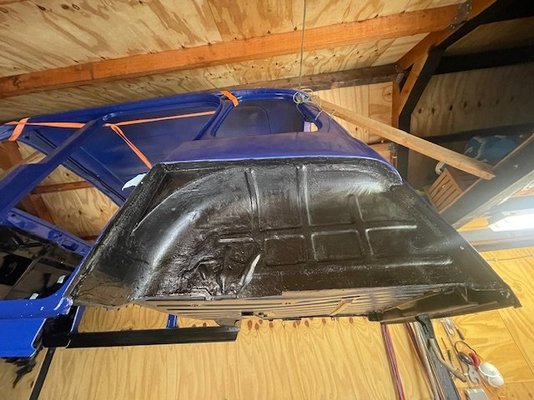
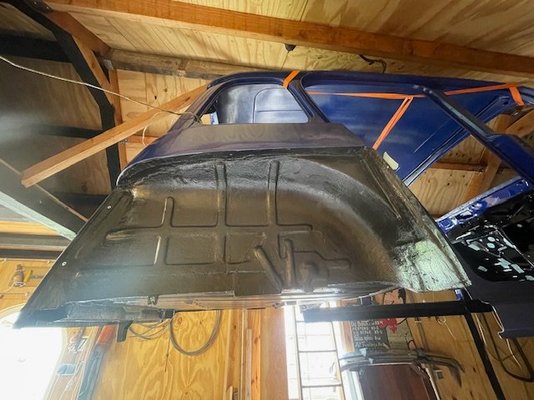
The improvised spraybooth has been torn down and here she is in the very nice purple/blue colour "Renault 417 Bleu Versailles".
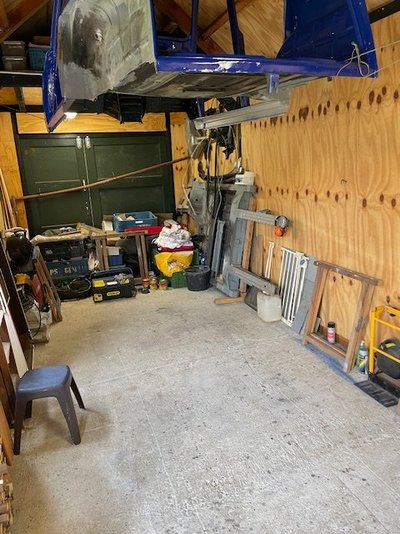
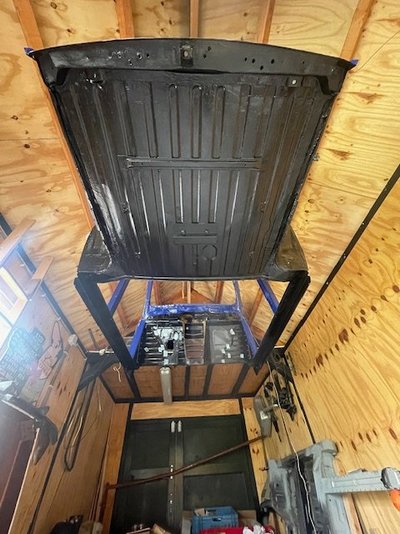
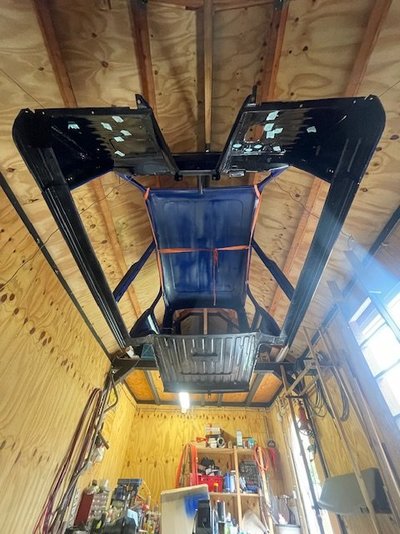
The body again hoisted back into the ridge and started to paint the underside as well as the wheel arches.
IMG_6025.jpg IMG_6028.jpg

IMG_6053.jpg IMG_6054.jpg IMG_6055.jpg IMG_6056.jpg

Now there's room to continue working on the chassis but that's revealed next time.

Cheers.
 
As you all have been able to read over the past 8 years, the complete restoration sometimes came to a standstill and then a short restart.
But now we are going full steam ahead again, albeit occasionally interrupted by vacation (Athens here we come), the wedding of daughter 1 and the renovation of daughter 2's house.
I notice that the older I get, the busier I get, but that keeps you young :D.

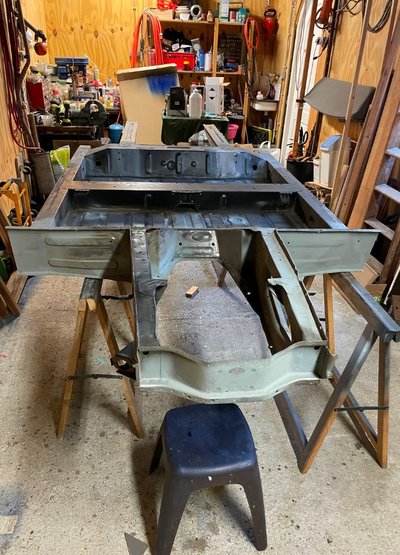
The chassis lifted onto the trestles en first some small welding on the floor lips from both the rear beams.
816.JPG 818.jpg

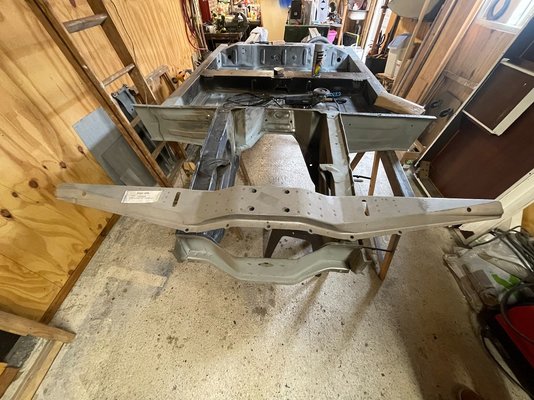
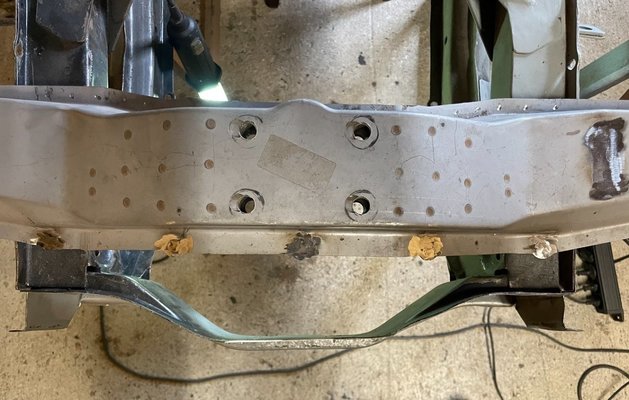
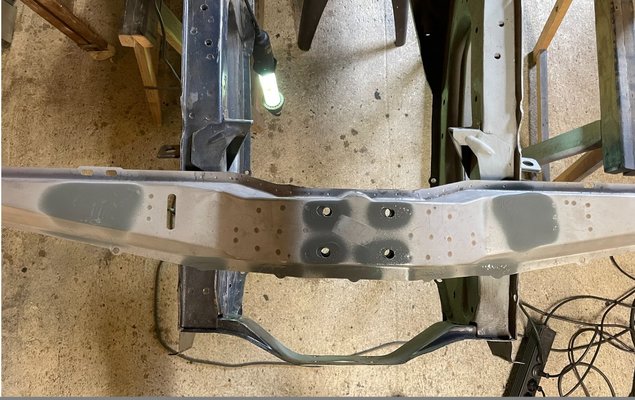
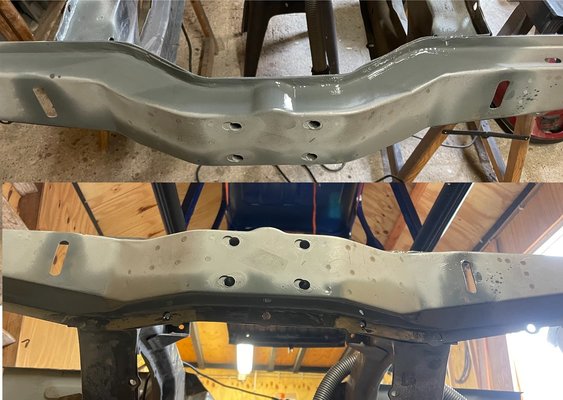
Next is the front beam which was collecting dust after all those years.
819.jpg

As expected with an aftermarket product it doesn't line up at several points.
On the right it lines up beautiful with the bumper support.
820.jpg

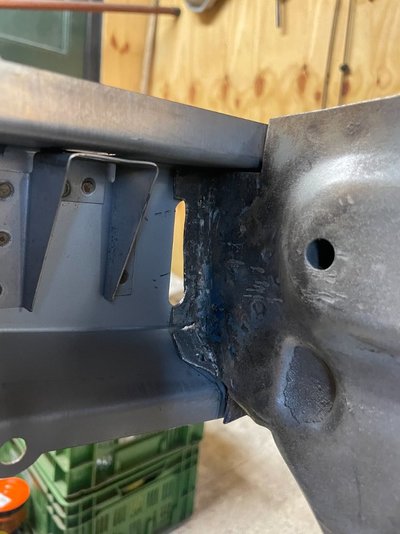
But on the left... well you can see.

821.jpg 822.jpg

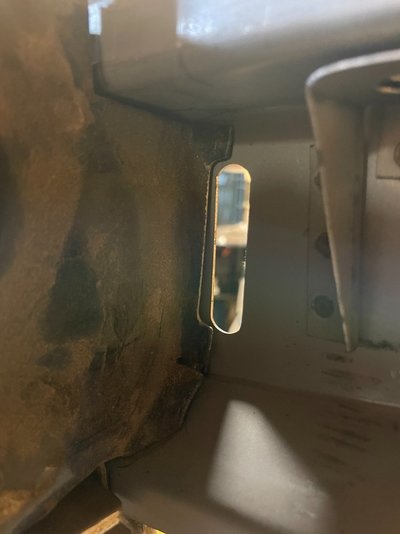
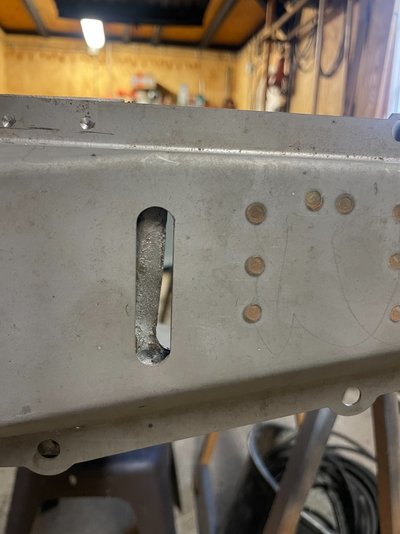
Time to cut an oval piece of steel and weld it in and make a new slot at a later moment.
823.jpg

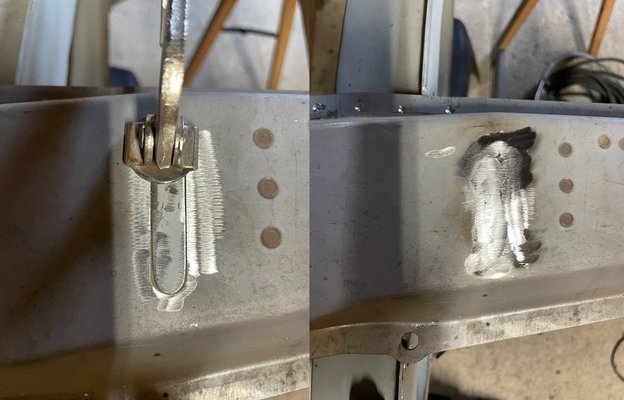
Holes at the bottom didn't line up as well so again I'll close it and drill them out at a later moment.
825.jpg

826.jpg 827.jpg

More next time.
 
As you all have been able to read over the past 8 years, the complete restoration sometimes came to a standstill and then a short restart.
But now we are going full steam ahead again, albeit occasionally interrupted by vacation (Athens here we come), the wedding of daughter 1 and the renovation of daughter 2's house.
I notice that the older I get, the busier I get, but that keeps you young :D.

The chassis lifted onto the trestles en first some small welding on the floor lips from both the rear beams.
View attachment 35395 View attachment 35408

Next is the front beam which was collecting dust after all those years.
View attachment 35398

As expected with an aftermarket product it doesn't line up at several points.
On the right it lines up beautiful with the bumper support.
View attachment 35399

But on the left... well you can see.

View attachment 35400 View attachment 35401

Time to cut an oval piece of steel and weld it in and make a new slot at a later moment.
View attachment 35402

Holes at the bottom didn't line up as well so again I'll close it and drill them out at a later moment.
View attachment 35404

View attachment 35407 View attachment 35406

More next time.
Nice job...nothing ever fits properly on Renault 4's ! And you need a lot of patience working on these cars.
 
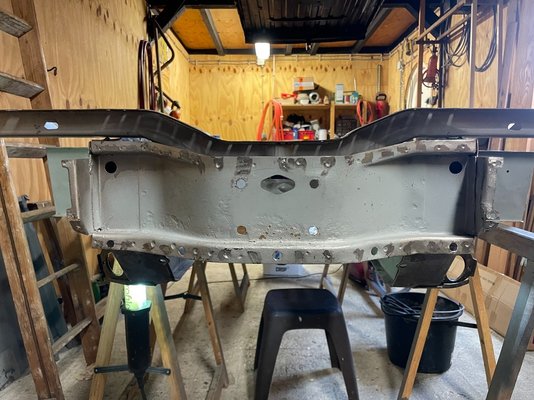
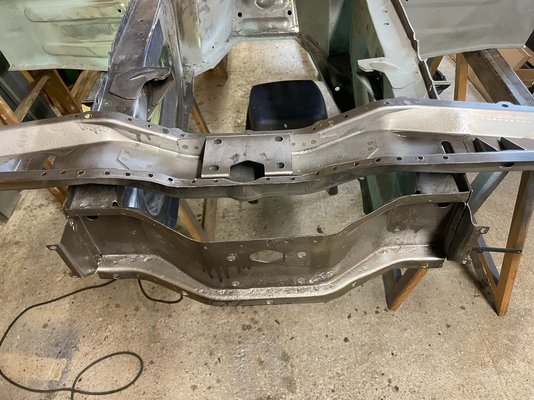
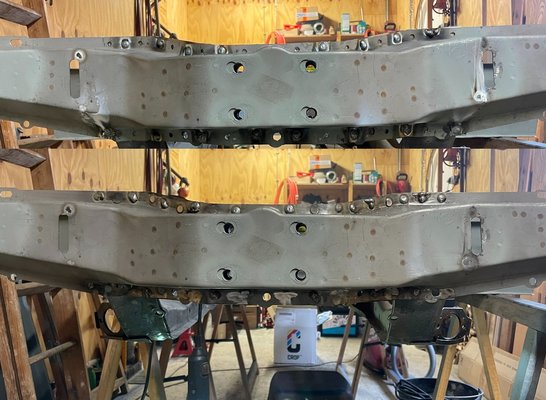
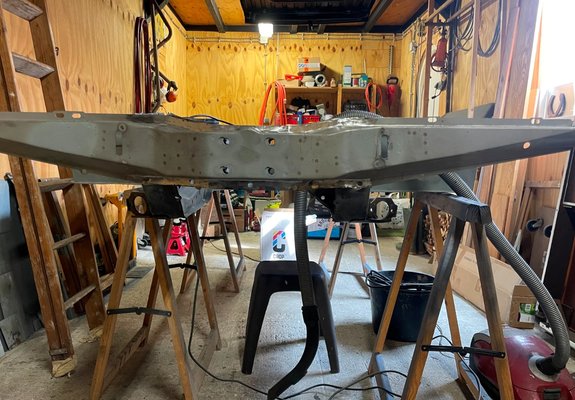
Continuing the work on the front beam.

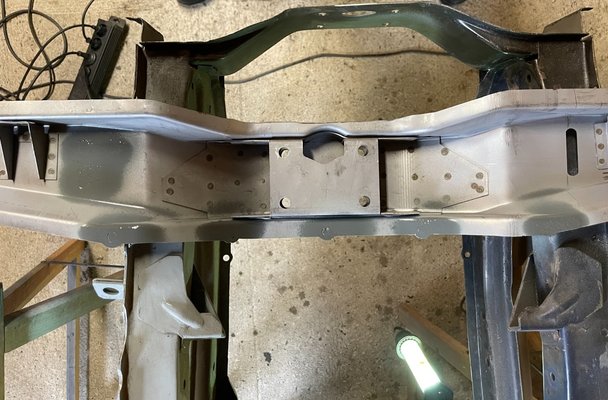
Lining up the beam, maintain the symmetry with the chassis and drilling the holes at the bottom.
830.jpg

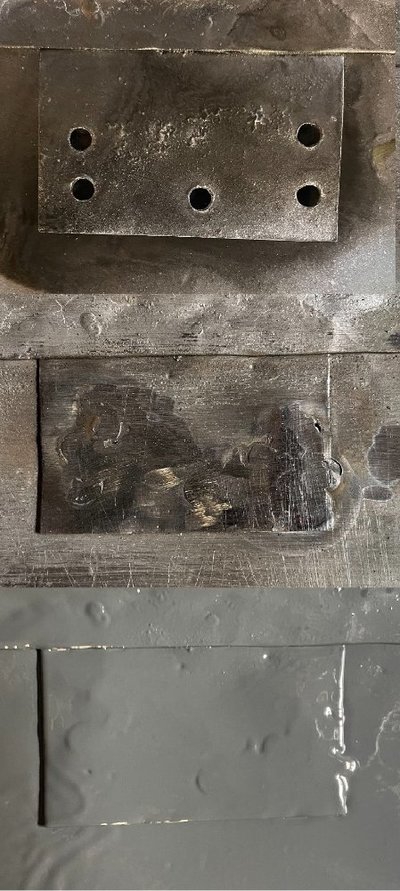
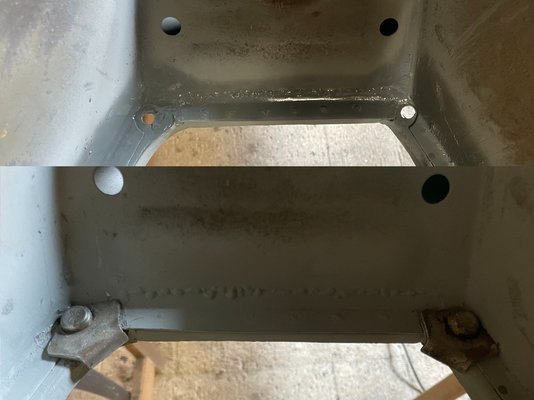
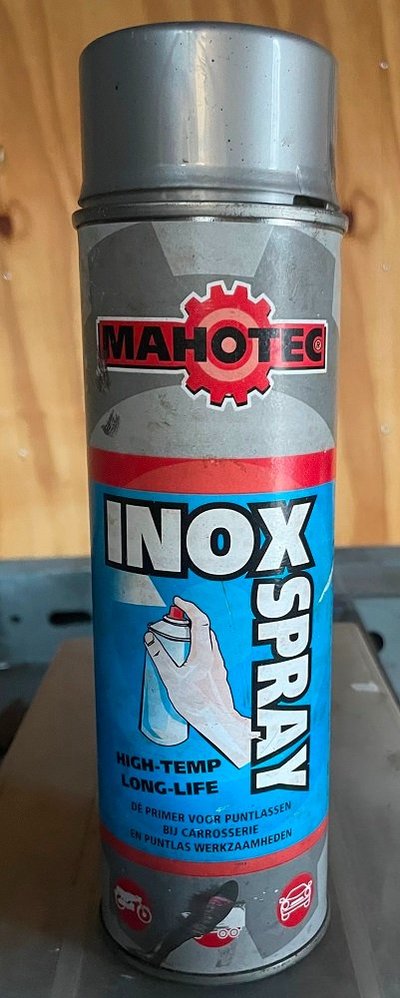
And next all the well known preparation steps for plug welding as there are drilling the holes, sanding away the zinc and applying the weld thru primer.
831.jpg 832.jpg
833.jpg

Plug welding starts, then grinding, the zinc protection and another job's done.

834.jpg 835.jpg 836.jpg

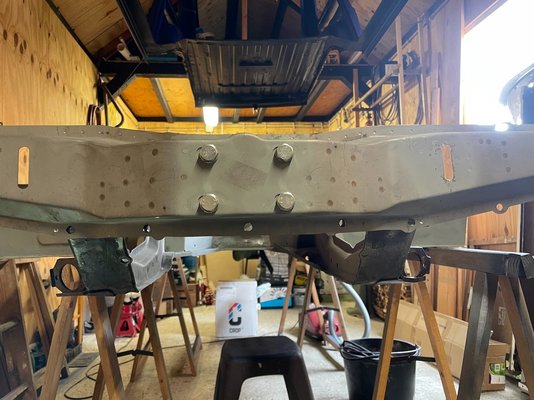
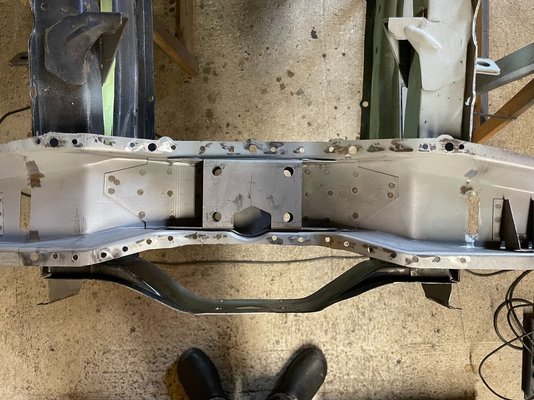
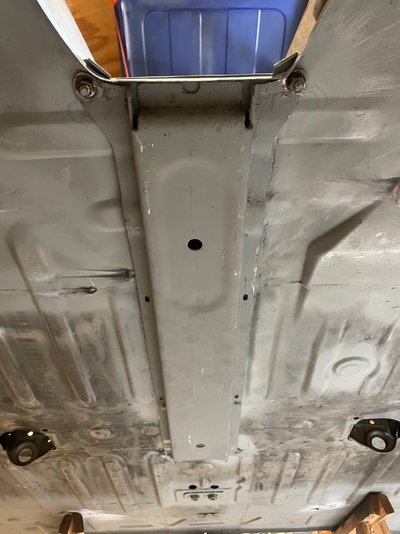
Next the floor protection beam is put back.
So I start to drill the holes and bolted it in and after that the plug welds.
837.jpg 838.jpg

That's it for today on Easter monday, next is to take a shower, start up the BBQ, invite the friends and get a well deserved beer(s).

Cheers.
 
Back
Top