Clementine's Garage
Clementine the Cat
 
Image of flower
Yellow R4
 
Réparateur d'automobiles

R4 restoration made in France

Since these pictures the ride height changed... you want to know something ? I started the engine today :hug: :hug:
 
After having stuck the weatherstrips the doors are ready to be fitted, please notice that I made this job on the bed, the only place I was sure the paint would be not crossed off scratched.
The fuel tank filler pipe was also very hard to adjust, but at the end it's also as beautiful outside as inside :D

This will be one of the best 4Ls in the world, so much nicer even than when it was new. The silver paint is la classe :)
 
Hi, and... thanks you for correcting my faults, I don't know if it's the best R4 in the world, but I know that it is doubtless much better than it was in july of 1986... Concerning my fault, sorry, when I have a doubt I use this link:
http://www.reverso.net/text_translation.aspx?lang=FR
And for the technical terms this one...
http://www.the-burgund.com/trad_cadre.htm
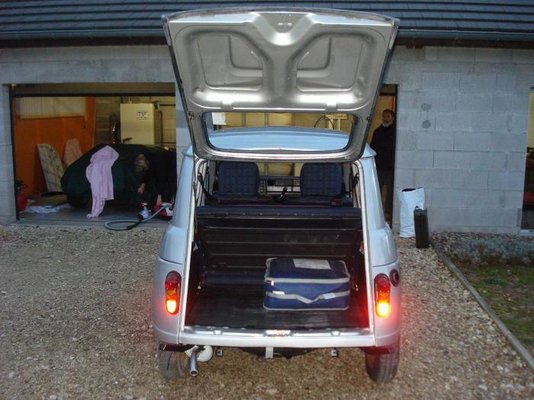
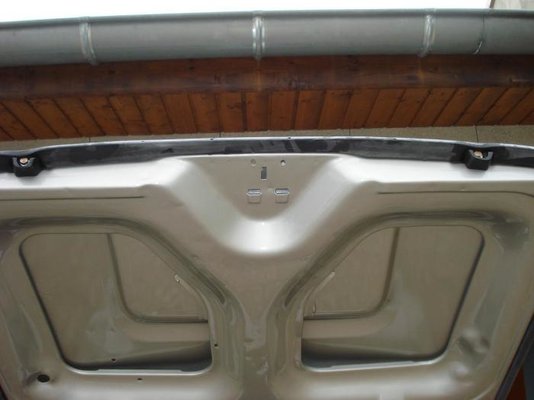
After that I reinstalled the hatch, I introduce you my parents who came to help me :p I have to admit that I took a very long time to reisntall the system to hold it opened, I didnt' remember the working of it
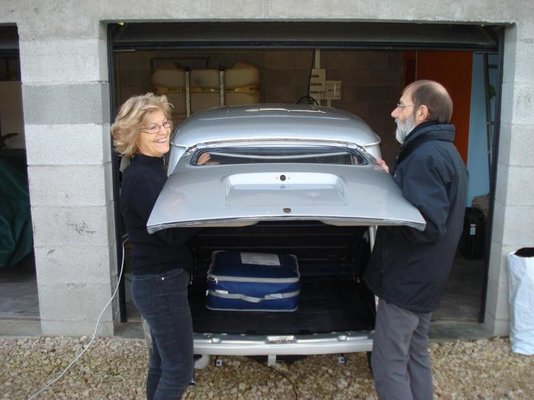
871 Aide pour repose hayon.jpg
873 Vue arrière coffre ouvert.jpg
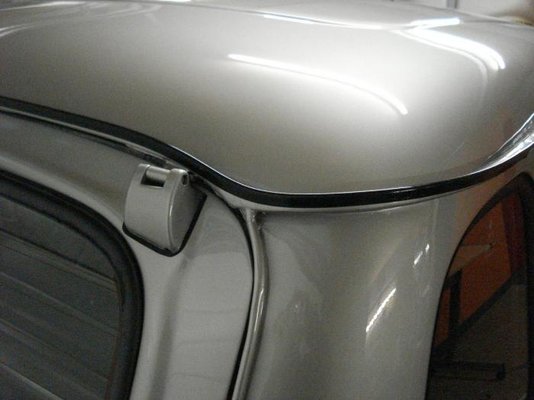
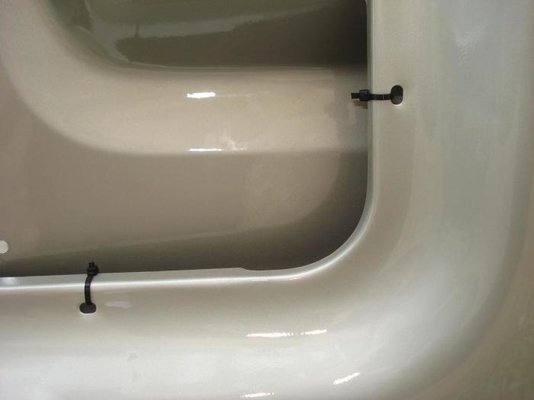
I was lucky to find the black cover of the drip mouldong at my local Renault suppliers, very easy to adjust in only one piece, even at the rear corners where the bend is stressed:
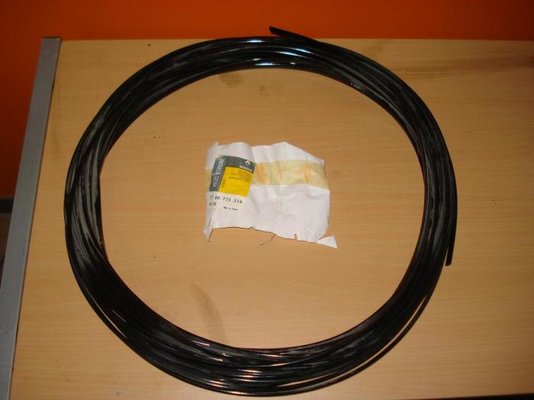
876 Enjoliveur de gouttière.jpg
878 Virage coin arrière.jpg
Then I wanted to bleed the brakes, I started naturally with the right rear wheel, but impossible... I was so angry and disappointed not to be able to do that by myself, so I (re)called another time my friend Sylvain, he decided to open the drum:
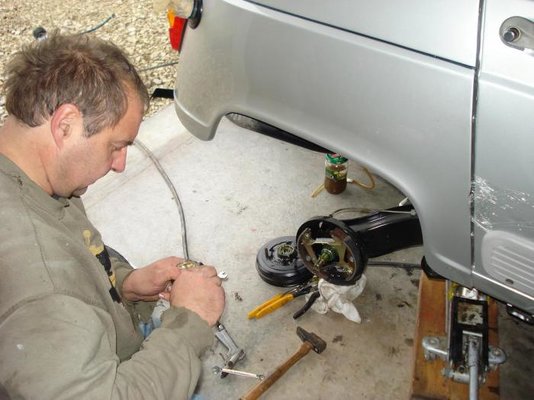
881 Démontage roue arrière D.jpg
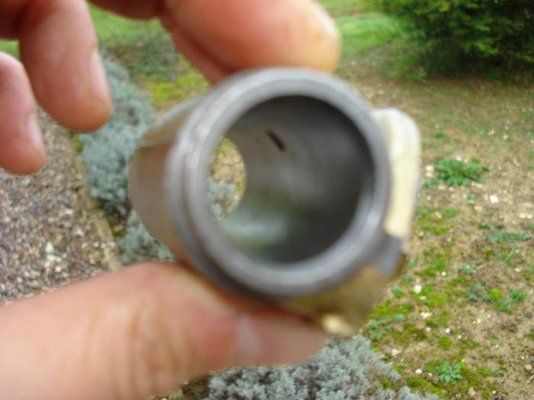
And here is the most surprised thing since the beginning of the restoration, look at this picture of the inside of the cylinder: there is the hole for the bleed, but NOT the second one of the pipe :mad: :mad: :mad:
882 Problème cylindre.jpg
Sylvain decided to solvethe problem simply by drilling the cylinder at the correct diameter:
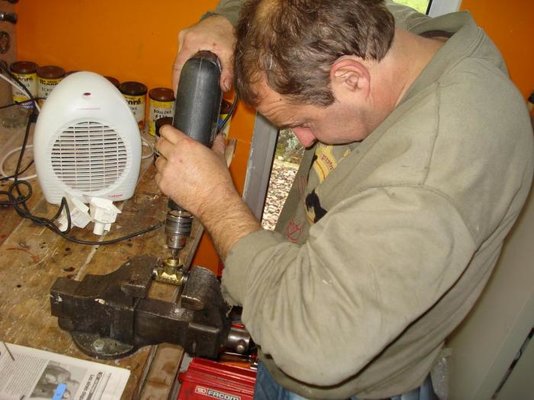
883 Perçage cylindre.jpg
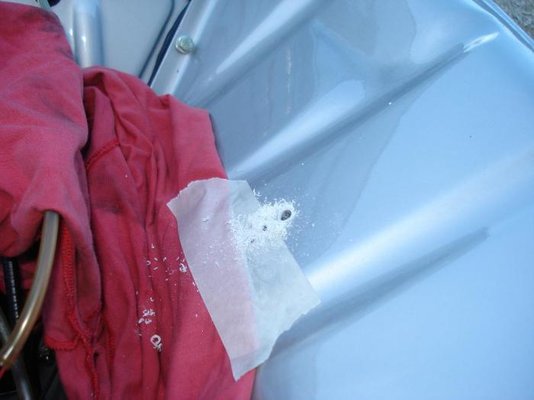
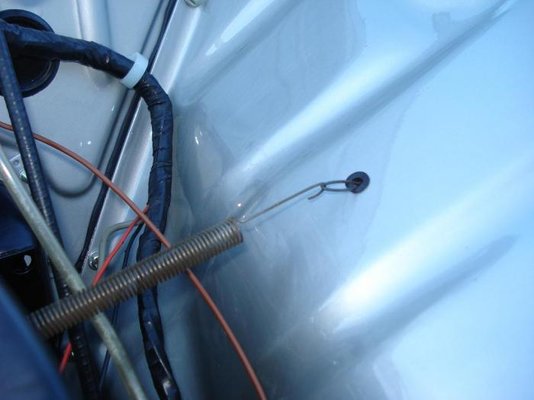
After having ended to bleed the brakes, which now work correctly, I installed the accelerator cable, but Inoticed that I forget to drill the inner wing for the accelerator cable return spring ! I carefully do thet before installing a rubber grommet not to damagedthe paint and for a better finishing :rolleyes:
890 Perçage fixation ressort.jpg
891 Ressort fixé.jpg
 
I like very much your attention to detail. Top marks for this restoration.
 
great job all round....but will you ever drive it...i wouldnt even take it out my garage...
 
Hi,

yes, I love the details, even I am the only one to know some part of us, this is the kind of thing which makes the difference between a restoration and a "nice" restoration :cool: :cool: I continued to clean and restore some different plastic parts, the mirrors seemed to be like a new ones after washing and threatment:
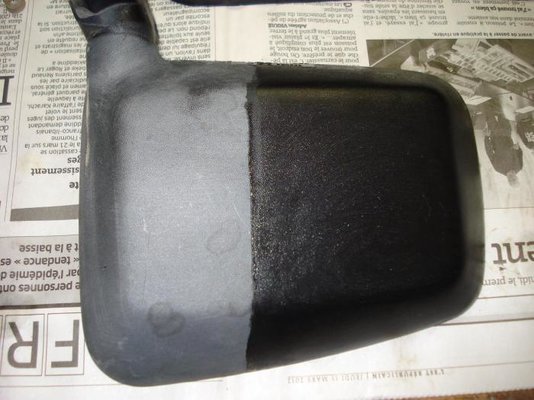
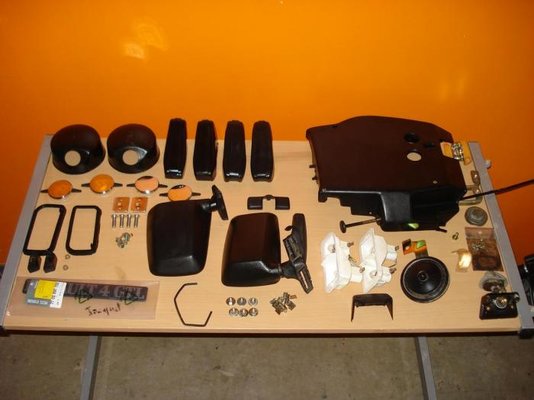
886 Rénovation rétroviseur.jpg
889 Pièces prêtes à poser.jpg

Last saturday, the 24th, all the mechanic was in position I decided to try to start the engine... and like a dream, just after restriking the fuel pomp the engine started just after exactly 3 seconds :hug: :hug: :hug:

http://www.youtube.com/watch?v=HlkvXZkpwnw

Just after this inforgettable moment, I bleeded the cooling system and made a first (short) ride in my new Renault 4 :D
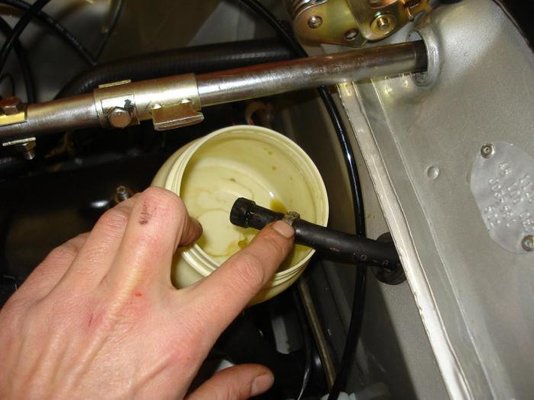
893 Purge circuit.jpg

http://www.youtube.com/watch?v=cWBwtsi6_Ac

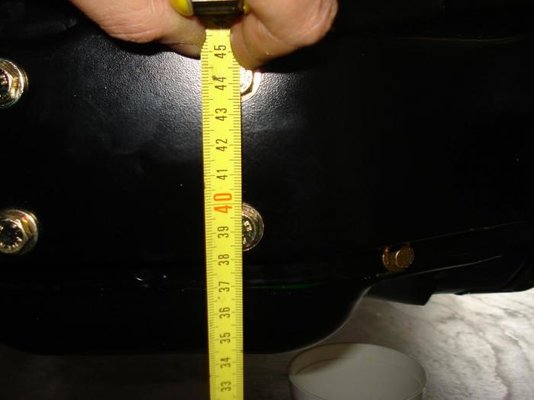
Concerning the height of the car, and the torsions bars... before getting ou the garage the distance between the ground and the center of the first bolt of the gearbox mounting was 39 cm...
895 Hauteur avant sortie.jpg

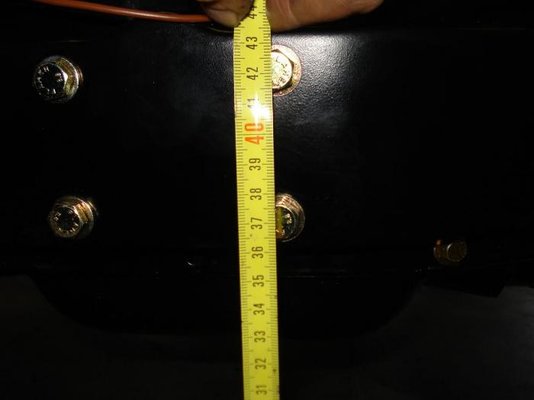
I drove the car just for 500 m, after this big travel, the height had fallen with 2 cm: 37 cm at the same point...
911 Hauteur après sortie - 2 cm.jpg
 
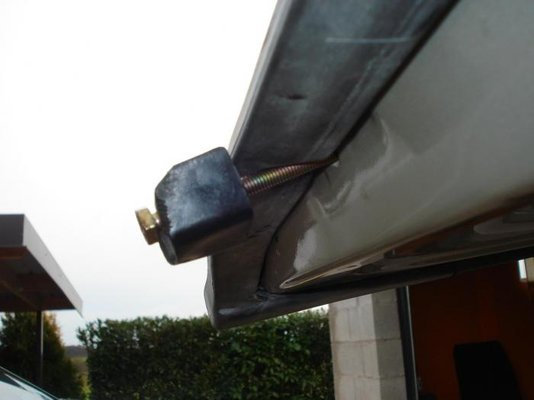
Hi everybody, after this short trip in my "new" R4, I finished to install the hatch, with the new rubber it was extremely hard to screw these rubber blocks, I use longer bolts than they were in 1987 to fit them correctly and without difficulty:
897 Pose taquet hayon.jpg
898 Taquets hayon posés.jpg
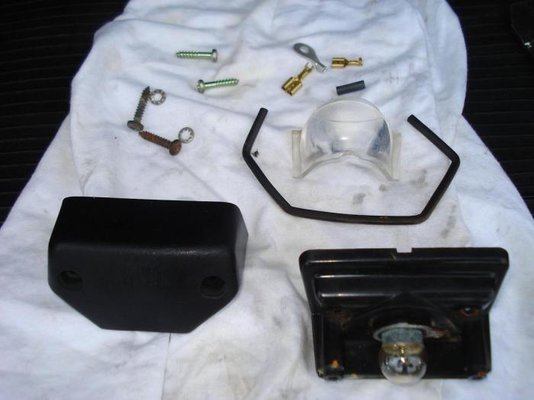
I also fit the rear plate light with 2 "riselans" (hum...) as the orignal ones:
901 Pièces éclairage plaque.jpg
900 Riselans côté gauche.jpg
It was a real surprise to be able to find that at my local Renault supplier, it really do the "final touch" :cool:
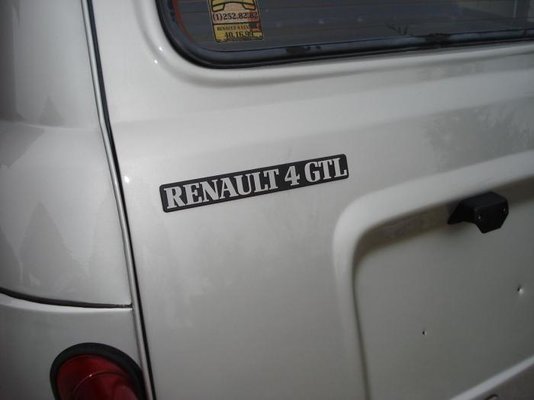
905 Monogramme reposé.jpg
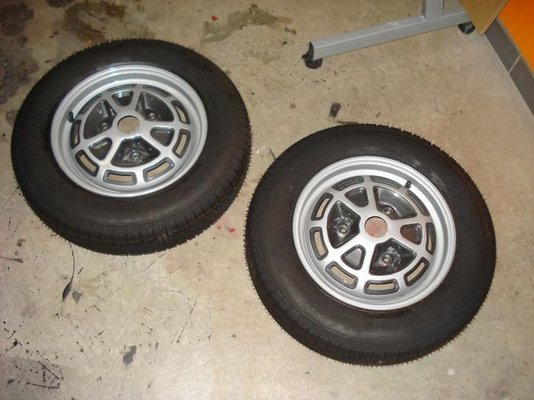
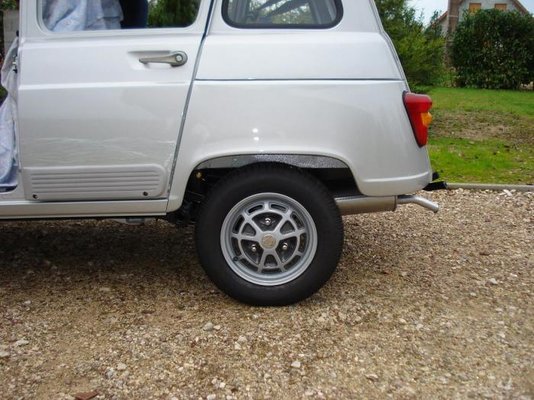
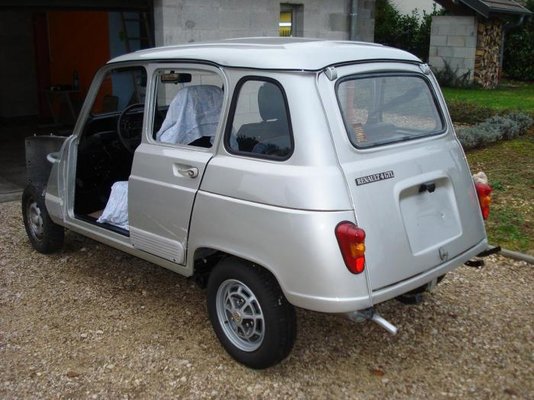
And to conclue this marvellous day I couldn't wait so long !... I took two of my beautiful Fergat wheels to fit them on the rear axle:
906 Deux Fergat sorties.jpg
907 Roues arrière reposées.jpg
909 Trois-quart arrière.jpg
 
Very very nice, but why do you wait so long with completing the front (wings & bonnet).
It's a 2 hour job max and will be a massive progress! :confused:
 
Hi David,

I wanted to check up all the mechanical, the starting of the engine, and the tightness of every nuts and bolts of the front axle before fitting the front parts, and anyways I actually wait for an order of specific inox bolts to fit my fiberglass wings...

The bonnet has been adjusted last days, I'm going to show you the pictures as soon as possible ;)
 
Hi everybody,

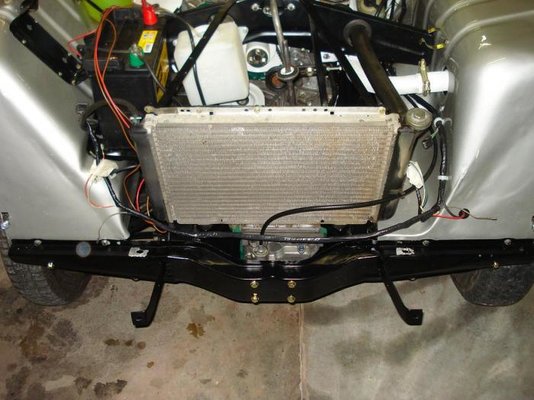
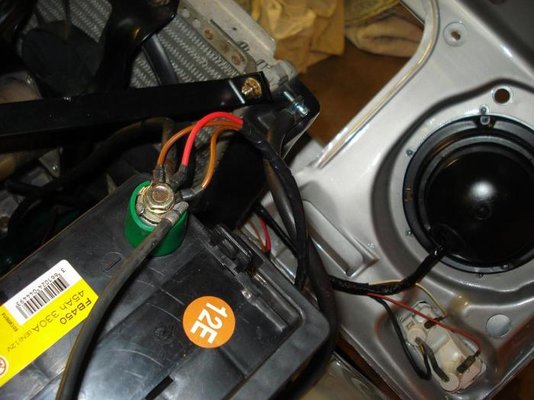
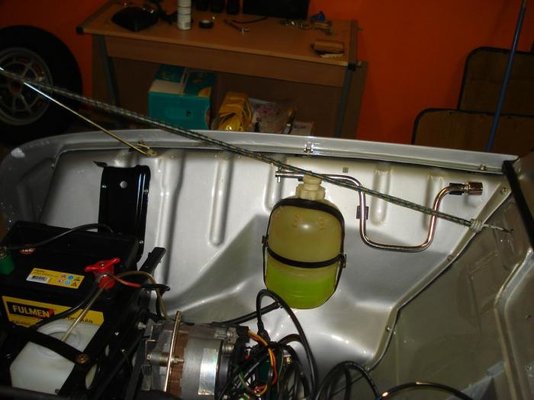
before fitting the bonnet, I had to modify the wiring loom, indeed, the inner wings are made in fiberglass, I have to connect the front negative earths directly to the battery:
914 Faisceau avant terminé.jpg
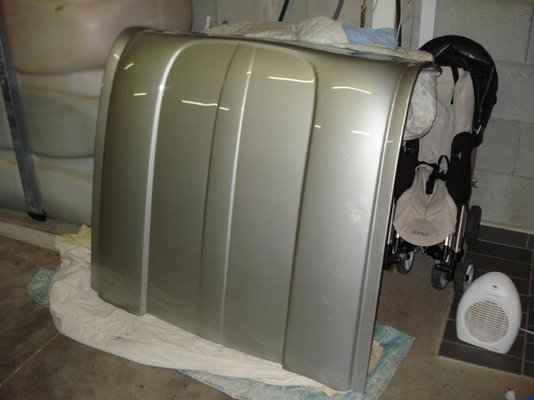
The bonnet is waiting for its accessories:
915 Capot nu.jpg
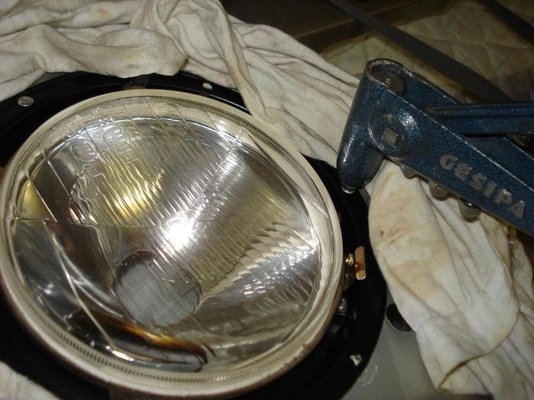
First of all: the headlights:
917 Rivetage cuvelage.jpg
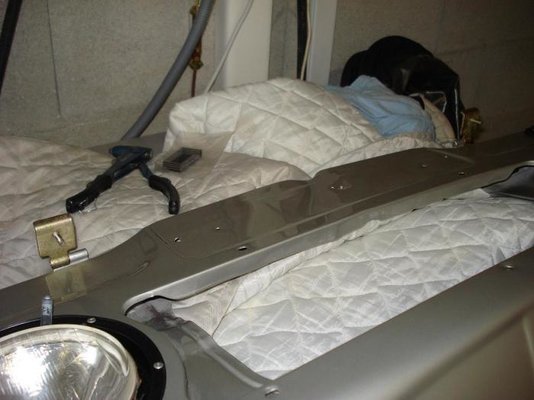
Then the zinc-plated hinges:
918 Charnières zinguées.jpg
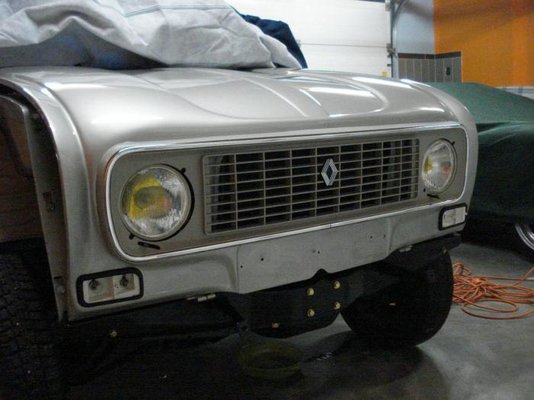
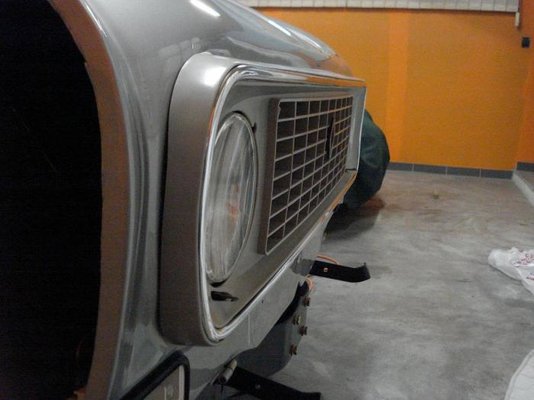
The bonnet is now in place, I'm going to fit the new front grille, bought at Cipere:
921 Juste après repose.jpg
927 Visserie et joints calandre.jpg
928 Calandre montée.jpg
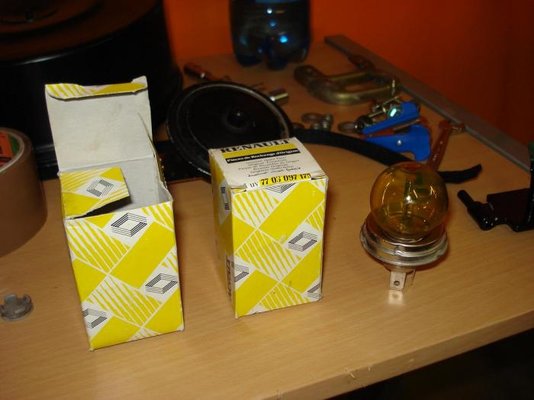
I used yellow bubbles as it was in 1986 in France:
922 Ampules jaunes.jpg
And the wiring loom is finished with the earths on the battery I told you above:
925 Fils de masse.jpg
The adjustment of the grille at the right side is not very good, I don't know if it's due to the bonnet or the grille certainly made in China or other "exotic" countries...
929 Ajustage droit.jpg

Next step: the wings ;)
 
Alexandre, I am following your restoration and it is very impressive. The car will be very original and worthy of a museum almost I think.

Where did you get the yellow bubbles for the headlights? I'd like to get them for my 1987 GTL.
 
I have been really impressed since this resotoration began and marvel at the skills you have shown in acheiving to make this into a really lovely car.
 
:hug: :hug: :hug: Thanks you :hug: :hug: :hug:

This car belonged to my grand father who bought it new in 1986, and then to my father, it is like a member of the familly :D :D

The yellow bubbles are easy to find in France, I can buy it as much as I want it in my favourite scrapyard... If you're really interested maybe I can find a pair of them for you and send them to you ??...
 
Snoopy, you really raised the bar in R4 restoration quality. No compromise at any stage and step. Confirmed what someone said, perfectionism differs in the meticulous attention to details. My admiration and congratulations!!
 
Oh man, and I thought you finally fit the wings. Damn.
Cry.gif


(I bookmarked "le Chaîne de alextwuh" long ago!) ;) :cool:
 
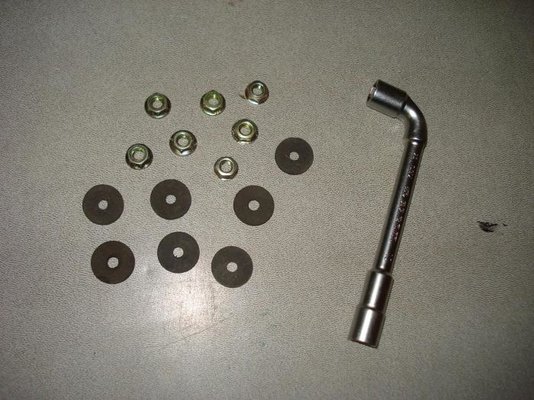
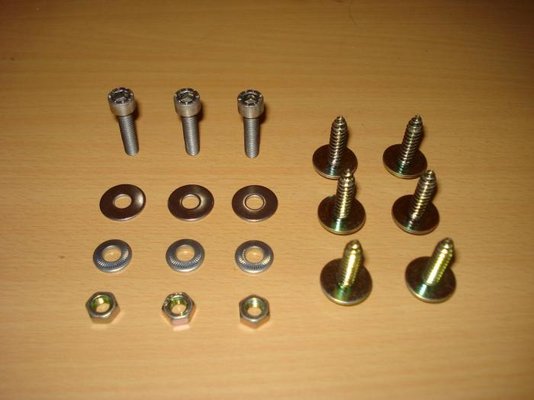
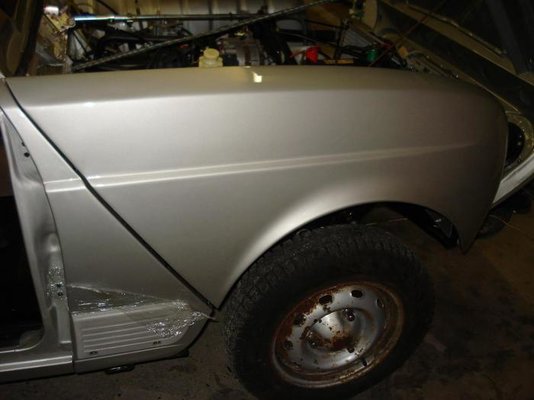
Hi everybody, last friday I decided to fit the right side of the car, I knew that I wouldn't have enough seal (used between body and chassis) to fit the 2 front wings. Firstly I looked for the useful hardware: I bought stainless steel allen bolts to screw the wings on the body. This choice is due to the thickness of the fiberglass which not allows the use of hexagonal head bolts. The bolts at the right of the pictures are also longer than those of Renault because of the thickness of the fiberglass:
931 Visserie aile avant.jpg
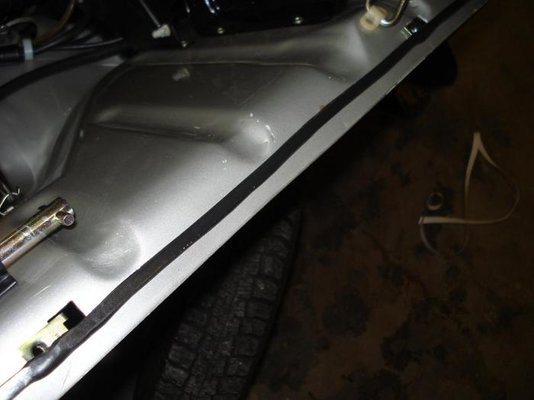
I put the seal on the body and inner wing:
932 Pose joint.jpg
933 Détail joint.jpg
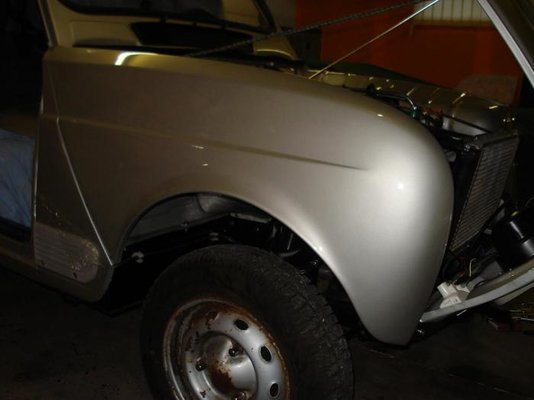
Sorry fot the quality of the photos, but I have to work in the garage, outside the winter is now present with about 10 cm of snow... First feeling: it goes very well...:cool:
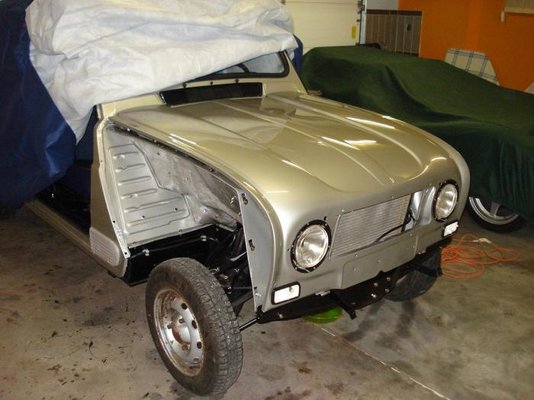
934 Première présentation.jpg
935 Vue avant.jpg
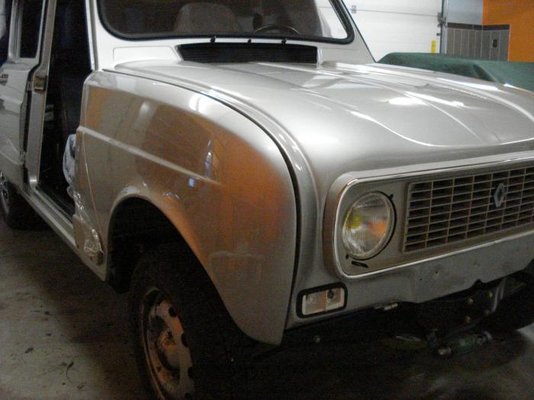
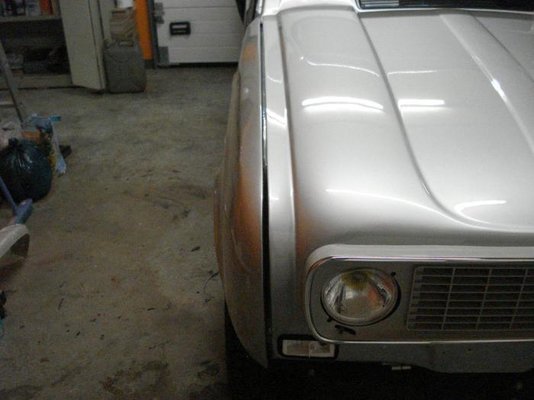
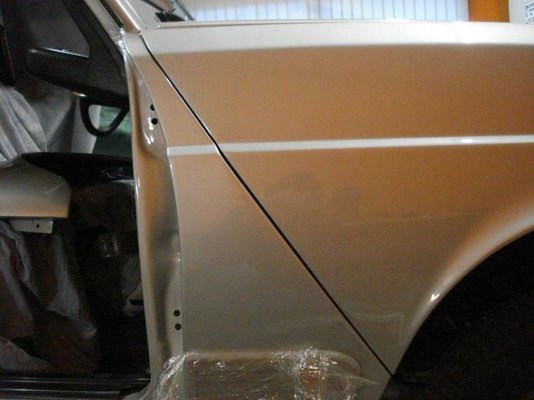
I tightned slowly every bolt, starting with the bolts on the triangle between the wing and the door, then the upper ones and the front ones. The space with the triangle is perfect, and good with the hood, even at the front, it seems to be a little wider. To improve the adjustment between hood and wing, i had to put spacers under the right hinge of the hood:
936 Ajustage avec capot.jpg
937 Vue de face.jpg
938 Interstice avec caisse.jpg
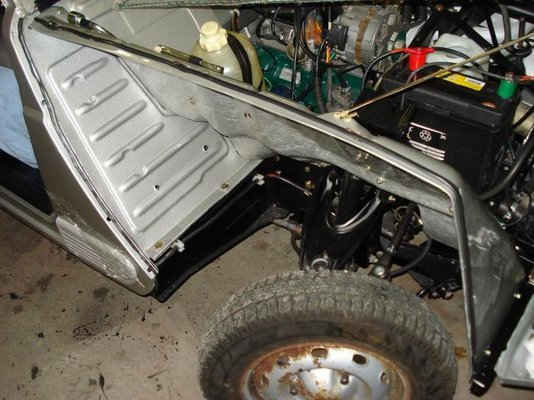
From the inside, nothing lets think the wing is made in fiberglass :cool:
939 Vue de l'intérieur.jpg
 
Back
Top