Clementine's Garage
Clementine the Cat
 
Image of flower
Yellow R4
 
Réparateur d'automobiles

What I am doing!

JonathanT

Not normal for Norfolk
Messages
1,323
Location
Wymondham Norfolk
Hello everyone this will be an attempt to follow in the masterful footsteps of Petak. If I can achieve half
the restoration that Petak has, I will be a happy man!

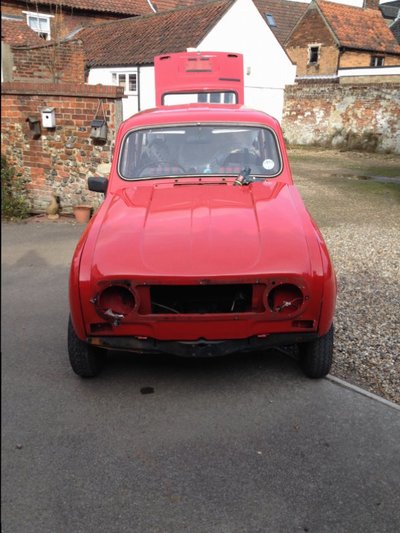
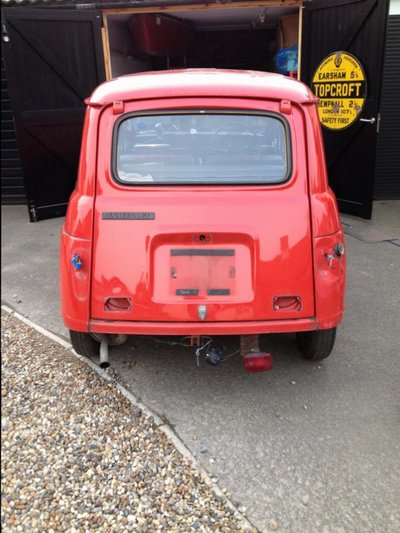
My mission ....The the total restoration of WOMBLE my 1984 R4 GTL by the summer this year...GULP!
Lordy... well the gauntlet is laid...

Two years ago I restored a 1968 Eriba Puck. (SWEET PEA) and I'm delighted to report that WOMBLE pulls Sweet Pea really well, even with four of us groaned ups in the car. We have really enjoyed the combination all last summer and beyond.

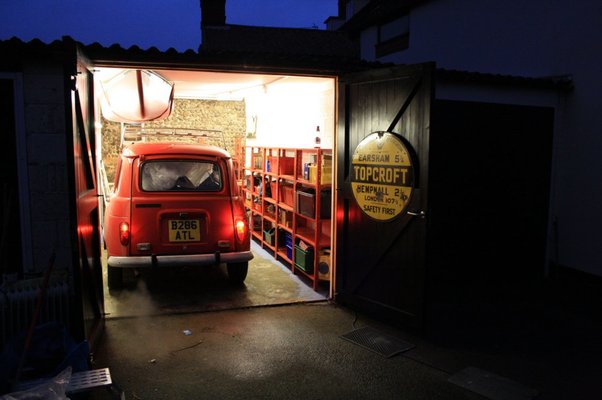
So now its WOMBLE's turn. But the first stage is the tidying (and more) of the garage. The amount of stuff inside was incredible! My Austin seven 1934 with another one inside it. Tons and Tons of semi useful junk. I took three People Carrier Loads to the dump before I could even get in the door properly.....Type classification : 'Hoarder' :-)

So A whole two months late starting on WOMBLE the garage is now useable (though there is still a whole load of junk outside the garage which I'm loathed to put back in)

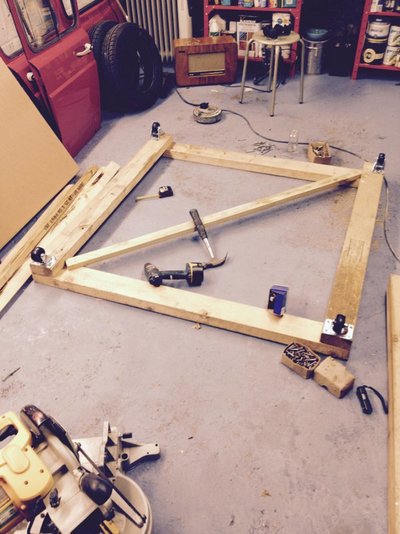
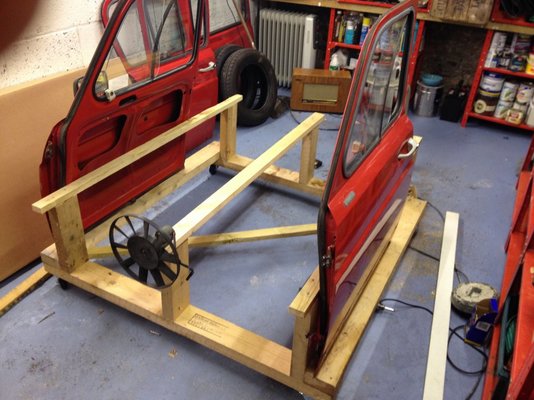
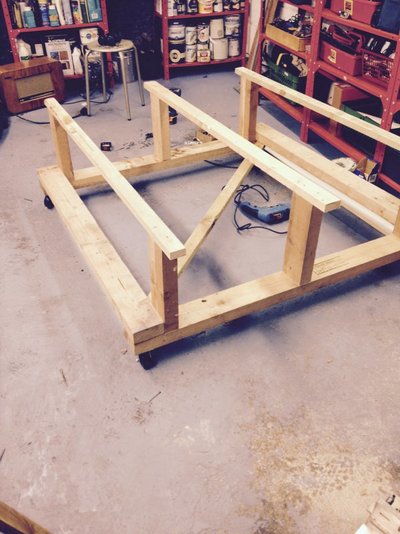
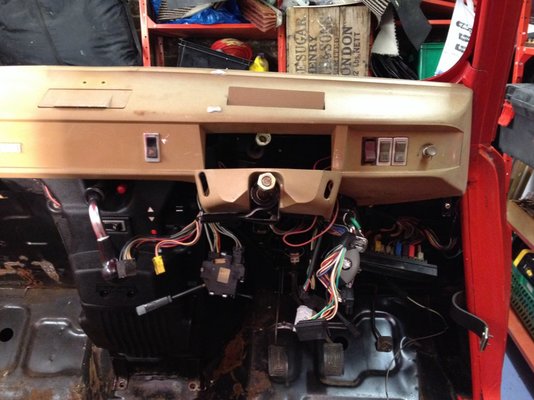
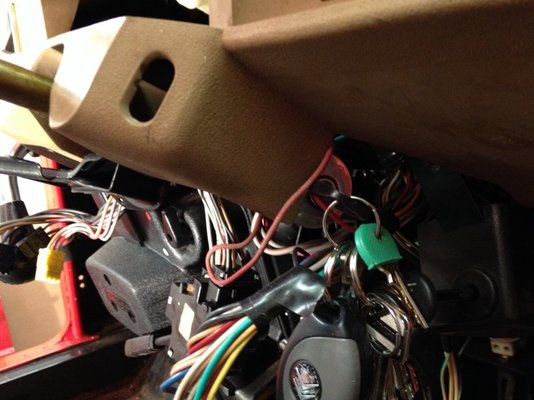
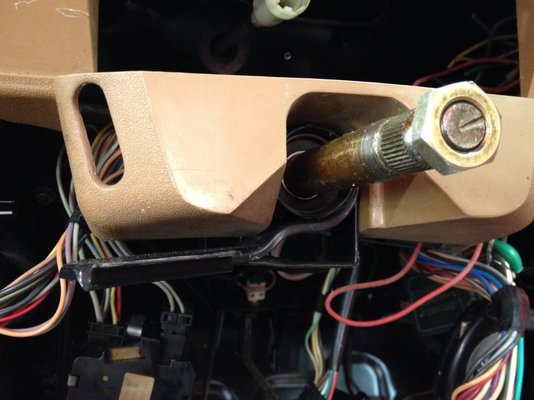
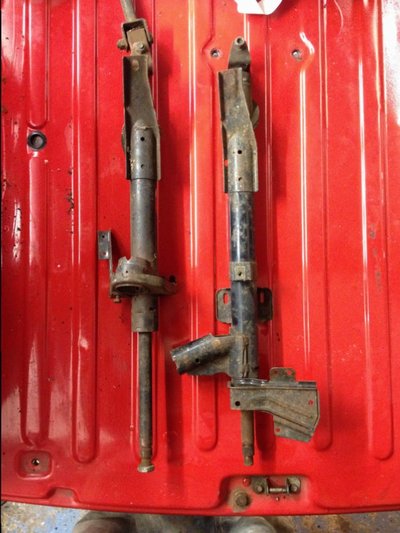
Tomorrow Monday the first bits come off Womble with an aim to have the car in bits and parts distributed to various specialists by the end of the month. (Yes I don't expect to do all the work myself..not this time at least... I have a short target!)IMG_2702.JPG IMG_3384.JPG Jenny.jpg
 
Well the new garage doors are on... what an improvement to up and over and bang your head one previously fitted. Walls are painted white.
Junk (well most of it) is gone (or displaced outside) Floor is becoming blue so I can find dropped items. And a load of skip rescue flourecent lights are fixed up.
Glad to say WOMBLE fits in beneath the canoe even with the roof rack still on.
 
  • IMG_3461.JPG
    IMG_3461.JPG
    91.5 KB · Views: 6
Ok so SIX trips to the dump and still there's more..... Finally the old set of wheels are on. They are the earlier pattern and do not fit on the front wheels without removing the brake callipers on a GTL . I also needed to make up some temporary spacers too As they still rubbed on the hub in places. I used 12mm lengths of 15mm copper plumbing pipe to make up spacer washers. It's all simply so I can push Womble in and out of the garage. Mind you looks pretty racy with no bumpers and spaced wheels At this moment everything for powder coating is being removed. These include of course the wheels that belong. (Destined to become a grey/cream) All the support brackets in the engine bay including the battery tray (destined to be black ) and finally the Rocker box cover in a nice racey red! These will be the first items to be shipped out to a specialist. ( Aerocoat of St olav's on the Norfolk Broads. On the return of these parts the rocker box will be re-fitted and next trip out will be to the engine rebuilders with the complete engine. Currently obtaining quotes for a professional spray job. Maybe including body welding too. image.jpg
 
Good luck friend!
is always a pleasure to look others projects, they give me the motivation to go ahead with mines!
 
Agreed! All the action in this section keeps me going on my 6, helps me see it's not anywhere near as bad as it might be. Edited to add: That's not to say yours is a bad 4! Really should proof-read before posting.
 
Keeping the garage tidy is half the work - label everything and take more photos than you even think are necessary. It took me a while to put everything I took off back on our 4GTL. Even worse with my Traction that is nearly done now - some of the pieces that should have been on him were never fitted. Just catalogue everything. I do love those Pucks.... we keep looking but I can't have another trailer, I have 5 already and running out of space :)
 
The car looks lovely already. Which bits need restoring?
Ha well if you could see closer Malcolm there are some choice dents and nasty bits of rust. But thankfully nothing terrible so it's a great place to start.

Bits are coming off fast! I'm taking notes and drawings as well as photos so I remember how it all goes together. Trouble is the more I take off the more room I need for the bits
So far the parts for powder coating including the wheels are now with Aerocoat. They seem. Good bunch and put me in contact with a polishing company.who hopefully can take on the chrome plating. I'll let you guys know how I get on of course . So here are some update photos. Including one or two of me to add a face to this forum thread
 
  • image.jpg
    image.jpg
    73.7 KB · Views: 10
  • image.jpg
    image.jpg
    90.7 KB · Views: 10
  • image.jpg
    image.jpg
    100.8 KB · Views: 8
  • image.jpg
    image.jpg
    101.9 KB · Views: 8
image.jpg image.jpg image.jpg image.jpg image.jpg image.jpg image.jpg image.jpg Well it's a lot warmer this evening so managed to get on well despite 7pm start in the dark. All the interior apart from the dash is out and begun unbolting the body from the chassis. Interestingly enough the bolt positions on the superbly illustrated Haynes manual are incorrect . Well on my model at least. I have three bolts on top of the side members not four on each side. Two at the front below the heater not six across the front. Have confirmed a botch repair has been carried out and the body welded to the chassis at the top edge of the passenger front footwell.
Along the way I discovered after having bust two door card plastic studs that the best way to remove them was gently with a claw hammer slowly twisting and prising them out.
When I come to spray paint the body I'll need the doors off. Now I've read on here it's a bit of a job to grief the roll pins out of the hinges. But closer inspection reveals all the bolts are accessible so they could all just be unbolted. Or is this not a good idea? Whatever happens I intend to get it all aligned correctly when reAssembling and welding in the replacement quarter panels.
 
  • image.jpg
    image.jpg
    123.3 KB · Views: 5
Looks like i'm not the only one having trouble uploading pics as well
I've managed to post wrong pics b4 as well as too many
 
Just noticed that you have mentioned me at start....I am blush now....Thank you for kind word...really hope that my annoying stuffing pictures is helpful to anyone who is thinking of doing whole process of restoring a car.

Mine R4 had even more bolts than shown on this picture. 23 in total.

Did you looked inside front wheel arches...there are 6 bolt that hold body to chassis?

Will send you PM with locations on mine not to ruin your topic and your photo elaborate!
 
What a brilliant day out in the shed. Well the bonnet, doors tailgate and all the wings are off in short order. There are a couple of tricks I learned along the way that might be useful to others: I have noticed comments about removing doors by greifing the roll pins out then struggling as they come off so they don't bend any metalwork. Well I just unbolted mine and used a quick clamp to hold the door still so I could do the whole process single handed. I also discovered the bolts had been over painted in the factory clogging the threads. A very quick blast with a blowtorch sorted it immediately and nuts came off easily while still warm. Outside paint not even scortched. With the wings off some bodge welding is evident. In three of the wheel arches the body has been welded to the chassis. A quick zizz with a cutting wheel on the angle grinder sorted it . More tomorrow ! image.jpgimage.jpgimage.jpg
 
Ok so today the dashboard, windscreen and rear windows removed. Some very delicate removal of the rubber wheel arch mats which were stuck on really hard. I tried all kinds to avoid tearing them but it was impossible not to sadly. Hopefully the rubber will stick with super glue on the tears. Keith A professional restorer came and had a look today and gave me some valuable advice re a working sequence. I'm going to get some localised blasting done to chase out the rust then make the various repair sections to be welded in by a professional. Then some localised spot priming before passing all over to the paint shop. Next job body off and chassis stripped
 
Ha ha Paul THAT made me laugh

Well for those of you reading this other than Paul I have agreed to buy Paul's scrap bodyshell to act as donor repair. Quite how I go about the next bit may remain shrouded in mystery! Suffice to say Paul has been amazingly helpful so for those of you contemplating his r4 prowess .... Do!!
 
Ah ha....well as it happens the resto is progressing quickly... The new chassis is together with all four wheels on and with a spot of varnish will look a treat and definitely rust proof! WHAT? I
 
  • image.jpg
    image.jpg
    94.9 KB · Views: 2
Ah you see oh ye of little faith....now with the doors on it's really taking shape
 
  • image.jpg
    image.jpg
    141.5 KB · Views: 2
Ok ok it's a 'DOLLY' as we say up here in Norfolk Land. It's to sit the bodyshell on while the chassis is up in Louth with Simon of RENAULT reborn . I can then continue working on the shell and move it around in the shed. So that's what I made tonight along with taking all the brackets off the bumpers. Straightening them and giving them a good fettle before delivery to the chrome plater tomorrow. Let's see what he has to say about them
 
  • image.jpg
    image.jpg
    95.6 KB · Views: 3
Tonight oi mostly bin eatin marshmallows and pickled onions and apart from that I've been experimenting with the earlier dashboard I was lucky to get hold of. It fits on pretty easily as you can see. A bit of jiggery-pokery and it should all work. Paul (Mr Reno ) loaned me a couple of steering columns (one early and one late) as they appear to be different lengths. Closer inspection reveals they are almost identical length but the collar does not extend up the shaft much on the early version and the ignition barrel is on the underside. The bracket holding the stalk switch will have to be ground off the GTL column and the earlier switching used as it fouls the switch housing. The barrel is still accessible though I will need to cut the switch housing away a bit
 
  • image.jpg
    image.jpg
    129.5 KB · Views: 7
  • image.jpg
    image.jpg
    118.7 KB · Views: 6
  • image.jpg
    image.jpg
    111.3 KB · Views: 6
  • image.jpg
    image.jpg
    94.5 KB · Views: 6
What a day... Exhausting but great! Kicked off on Friday evening collecting the car transport trailer from my friends and owners of Vincents Garage.

http://www.vincentsgaragenorfolk.co.uk

This was all so I could set off at the crack of sparrows this morning . And I did! 4am and 5am on the road from Wymondham Norfolk to Worthing Sussex to collect the donor body and bits from Paul (Mr Reno) when I arrived I was pleasantly surprised to be suddenly in the presence of the delightful 'Ornella' and her owner.... But more on that another time. So two punters for Paul this morning. Paul and I set to on the old shell ( no not Ornella! ) removing the dashboard wiring loom. Heater and pipes. Finally separating the body from the chassis. A friend of Pauls turned up to kindly help us lift the body onto the trailer. Soon after everything securely strapped down and the body supported on 4 old tyres to prevent the sills from being distorted ( I need those bits!) so now I'm home tired but excited by the prospect of some really choice lumps of body to go at saving loads of time fabricating new body sections prior to Welding Womble. So a steep learning curve. Finding out the detail of how an R4 goes together, the benefit of Paul's considerable experience had it dismantled in no time. Yes a great day and new friends too
 
  • image.jpg
    image.jpg
    75.3 KB · Views: 5
Back
Top