Gordini Project - Fitting the HA1 5 Speed Gearbox
The HA1 gearbox is a 5 speed gearbox based on the 4 speed design used in the R4 GTL (the HA0). It was fitted to some of the higher spec R5 MK1s including the 1400cc TX, and differs from the later 5 speed box used in the Gordini which was a completely different design and about 6 inches too long.
Converting the R4 style gearbox to 5 speeds involved adding an extra couple of cogs to an extension at the front of the gearbox, and an additional selector shaft on the left side. The width isn't a problem in the R4 but the length is.
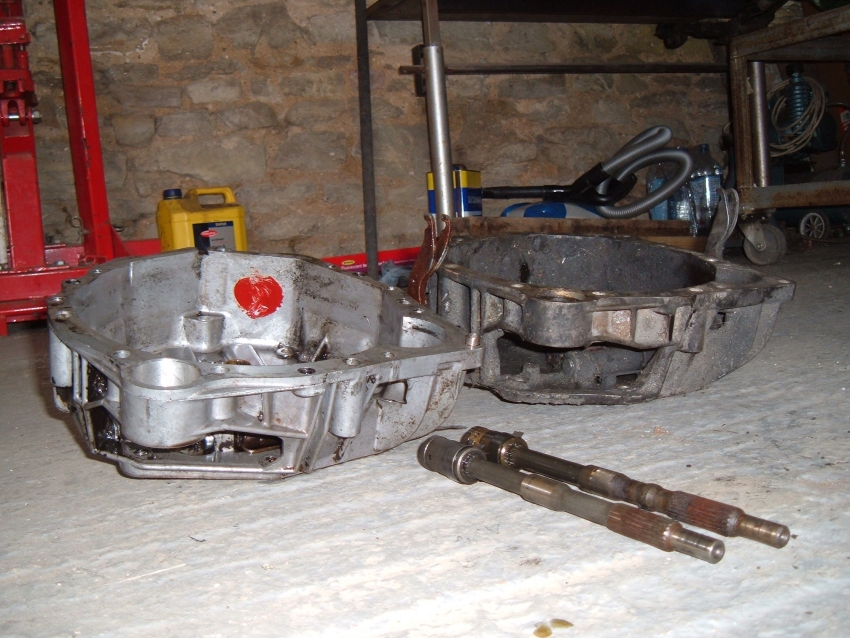
First step is to change the bellhousing and input (clutch) shaft for the R4 parts which are 10mm shorter.
The additional length appears to have been added to the 5 speed gearbox to make it easier to fit the fan belt (see below), rather than to make room for a bigger clutch, so changing the bellhousing shouldn't restrict clutch choice (though fan belts will be as fiddly to swap as they are in the R4).
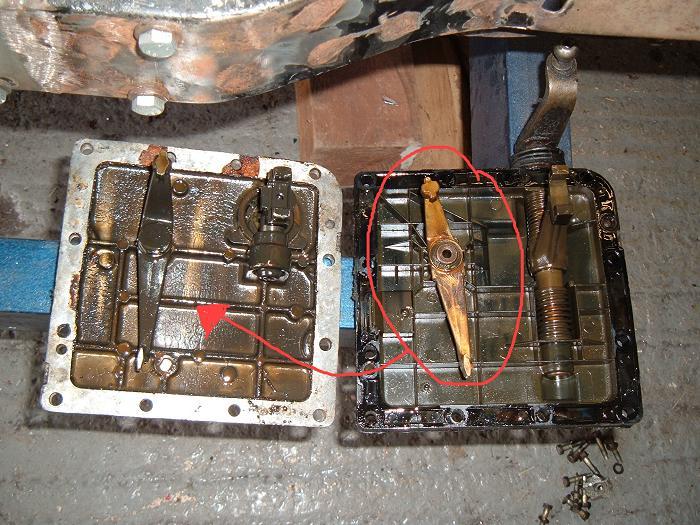
The Renault 4 parts are on the left in the photo.
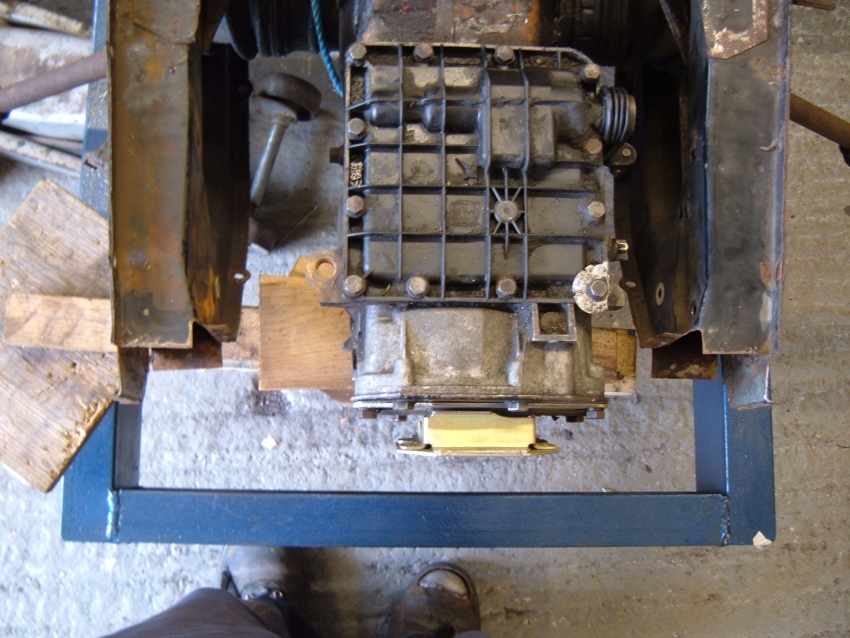
Here the gearbox has been attached to an engine, and positioned so the mountings for the driveshafts are central in the car. (The front crossmember is missing.)
The front of the gearbox sits to the left side of the car, and with the rubber mounting attached (I used the R5 TX mount, and cut the top and bottom off) the gearbox extends about 20mm forwards of the original 4 speed gearbox.
The TX gearbox mount is angled which makes the design of the mounting face a little more fiddly.
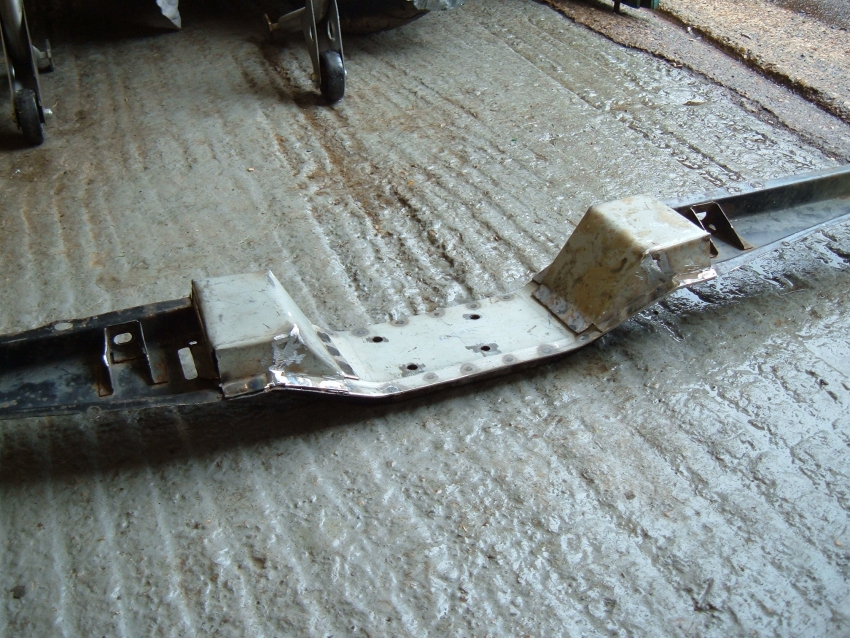
Here's the modified front crossmember compared to an original GTL crossmember. The new one is a lot thinner. I didn't take as many photos as I should during the modifications.
I cut out the front skin of an original crossmember and knocked over the flange in the center to clear the gearbox. With the gearbox being offset to one side this didn't provide enough clearance, so I let in a new 30mm section into the middle of the crossmember. This meant I had to cut and shut the outer parts of the crossmember by 15mm so the outer wing and bonnet mountings would end up in the right place.

From there a 2mm reinforcement was added to the inside of the front skin to regain a little stiffness. After adding some spacers for the mounting bolts that panel was boxed in with a 1.5mm panel which needed a 5mm joggle to allow for the angled mounting (visible if you enlarge the photo by clicking on it).
The mounting holes in the TX mount were in totally the wrong place for the Renault 4, so new ones were drilled in the bottom and sides of the mounting.
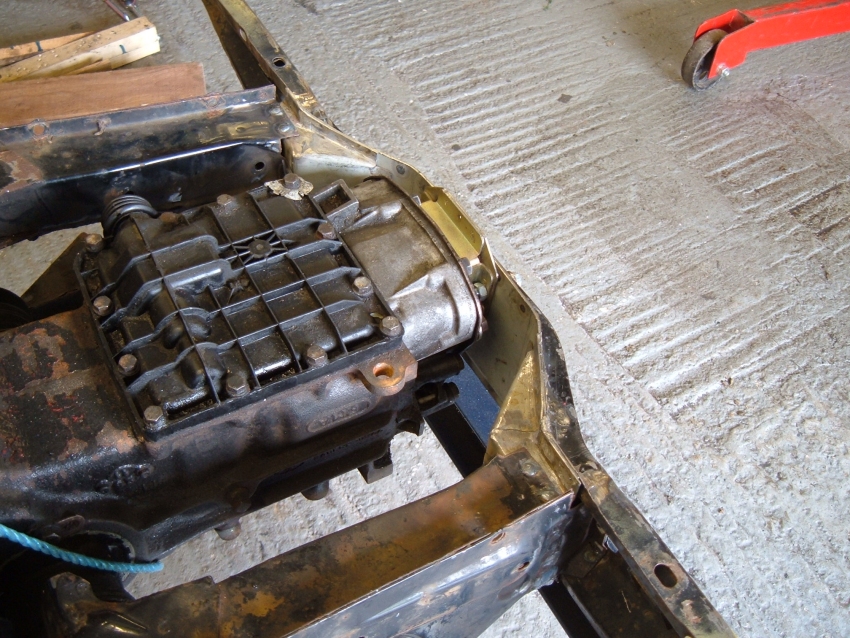
A couple of further box sections (1.2mm) were required to extend the rear face of the crossmember back to the chassis members.
I welded the modified crossmember back in about 5mm forward of where the original crossmember would have been. This shouldn't create a problem for inner or outer wing mountings (the outer parts of the crossmember are bendy) but I will have to modify the lower flange on my GTL style bonnet to fit.
Here's a poor quality photo of everything in place including the spare (seized) Gordini engine I'm using for positioning.
Next step will be to fit the body and steering and then wonder why the steering column fouls the carburettor manifold.

The 5 speed gearbox still needed to be adapted to take the Renault 4 umbrella style gearchange rather than the original floor mounted change. This is easily done by swapping the top covers over and adding some gear selector parts from the 5 speed gearbox to the 4 speed box top cover (the part that needs to be swapped over is circled in the photo. It's shorter than the R4 part).
Reverse gear shares the same plane as 5th, and the inhibitor spring feels too firm for the R4 umbrella gear lever, though it feels no firmer than the R5 spring. Some balance is possible by tuning the spring between the gear lever and the inner wing.
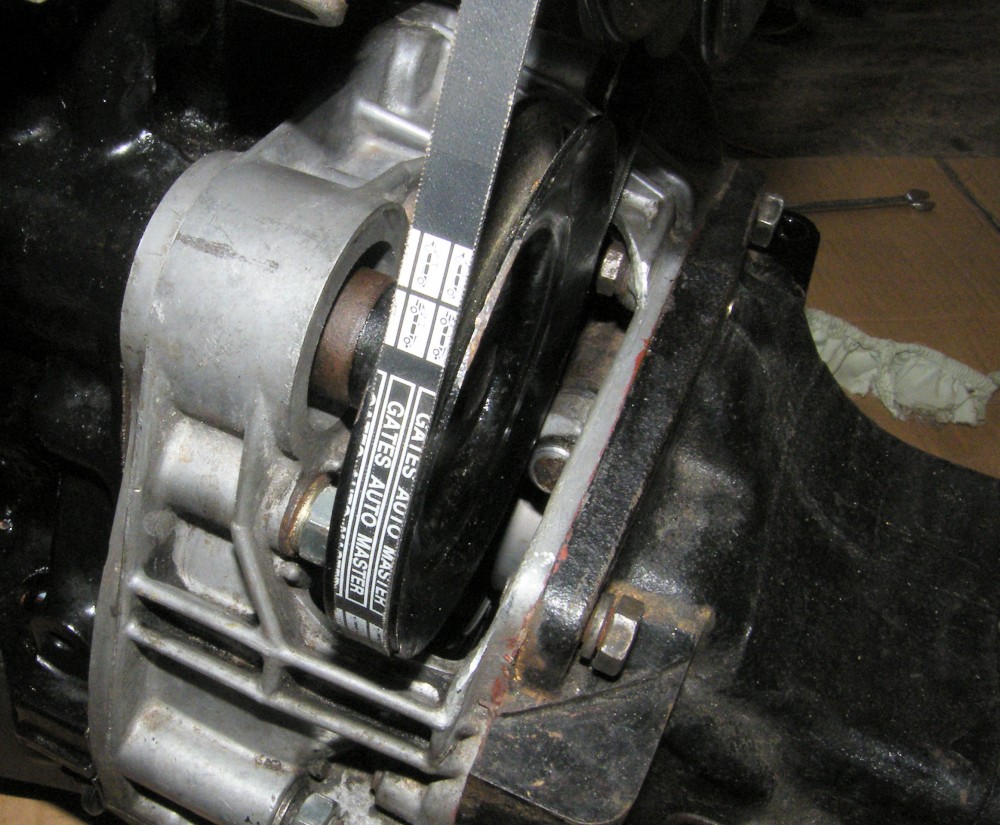
It turns out that when coupled to the R5 Gordini engine (and possibly some other R5 engines) there is not enough clearance from the R4 bellhousing to fit the water pump drive belt. I had to hammer the belt in with a blunt screwdriver, then had to cut it in half to remove it.
To increase the clearance I've modified the bellhousing by cutting about 7mm off so the top is in line with the rear face.
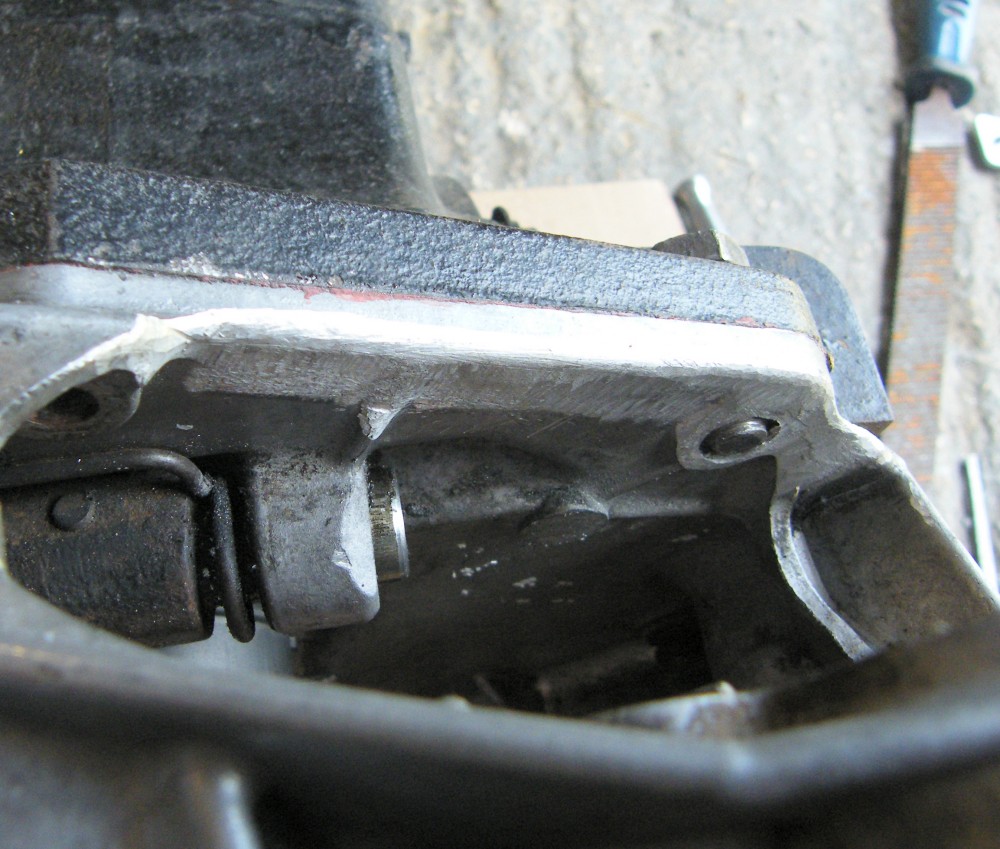
Clearance is much better. The belt still needs a bit of a push to get it around the pulley, but can now be fitted and removed without damage.
The 5 speed gearbox occupies some of the space normally reserved for the bonnet, so that needed some modification too. I de-seamed the lower flange and increased the curve at the front of the bonnet. For some reason the bonnet ended up needing 6mm spacers under the hinges to follow the profile of the outer front wings, and this also helped with clearance to the gearbox.
Next> Re-routing the steering column or back to the Gordini Project


