Rear suspension outer mountings
More metalworking fun.
There's no real message in this repair other than it is possible to pick off bits and pieces of structure and replace them without replacing a larger area.
Also it's possible to redesign parts to avoid mud traps especially if you use plug welding rather than factory spot welding.
The rear suspension outer mountings on my project had started to look a little tatty and had a hole in the bottom (the chassis is upside down in these photos). Rust had found it's way into the inner structure and it was past saving.
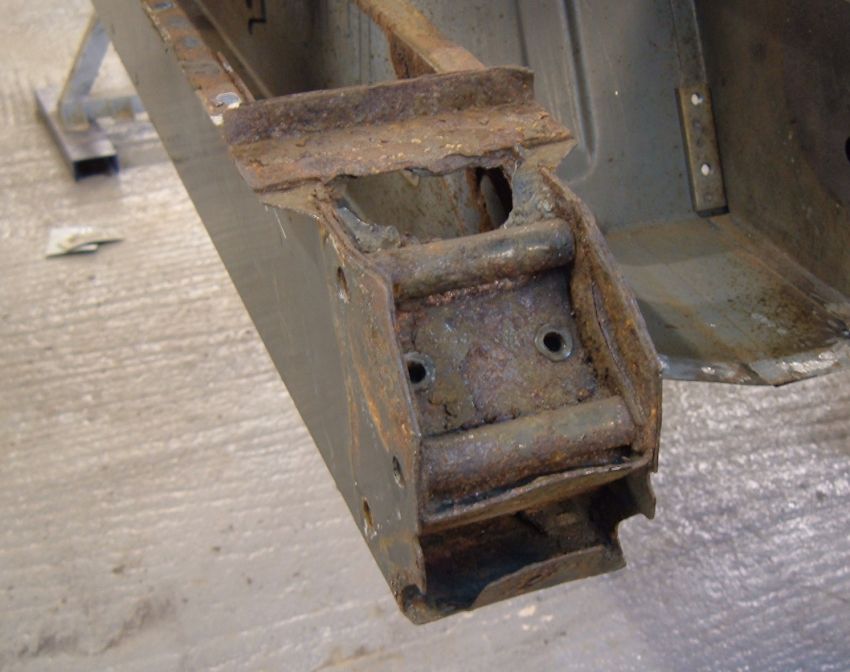
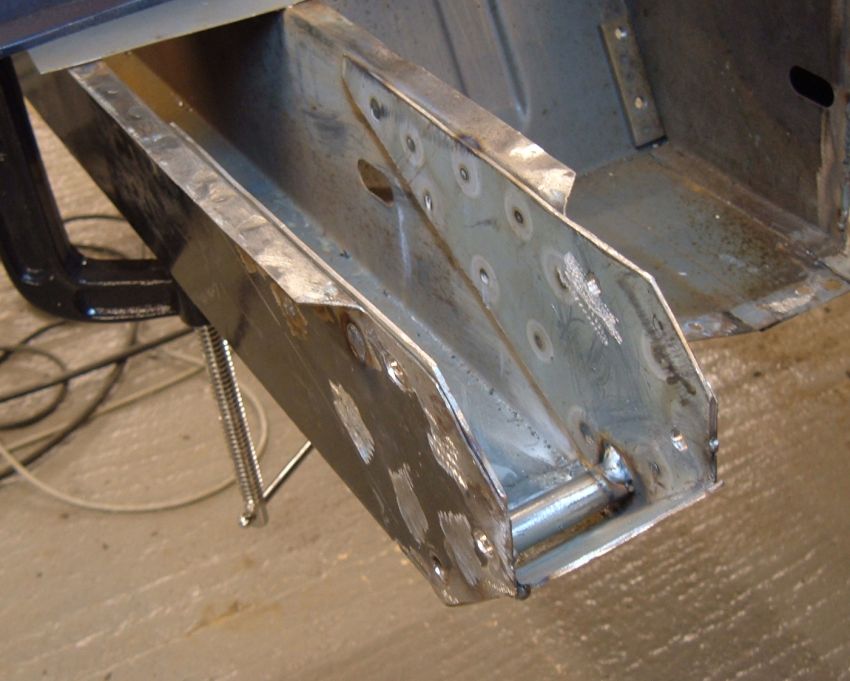
Careful grinding out of various bits of structure inside the mounting revealed that the sides of the chassis member were still in very good condition, though the top of the mounting still needed to be cut back to remove a rotten section.
I've drilled out all the spot welds with a conventionakl drill. The holes left over will be handy for plug welding in a new reinforcement later on. With the spot welds removed the reinforcement came out with a good hammer and a little grinding where it wouldn't budge.
Repair sections are available for this repair, but they replace a whole length of the chassis with something nasty. I've chosen to keep the good bits of chassis and fabricate my own repair sections.
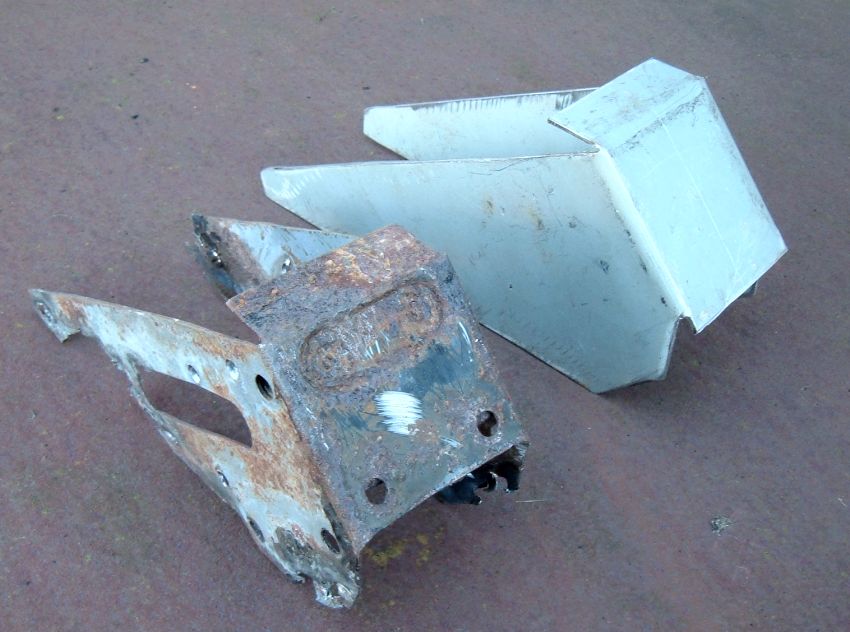
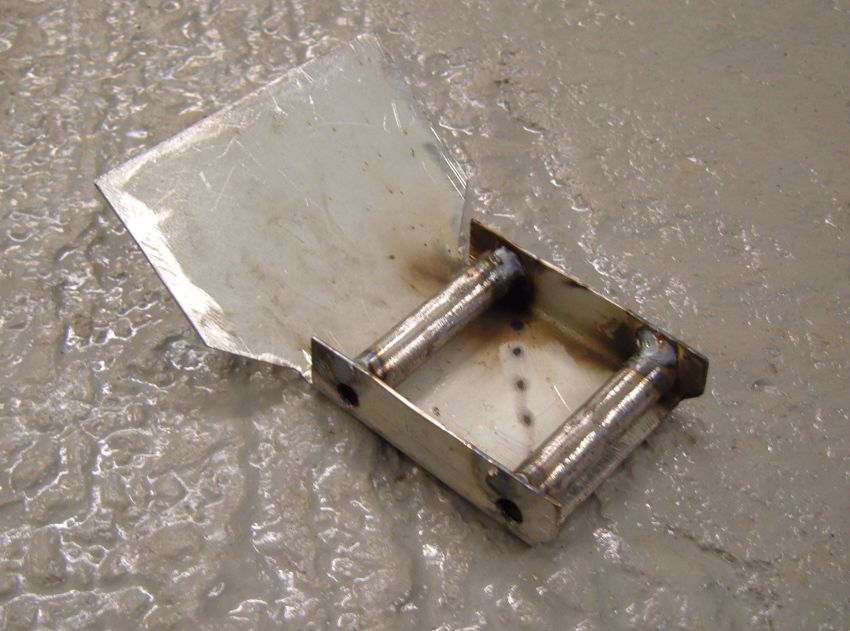
There are two reinforcements inside this rear suspension mounting. The first one acts as a rear closing section and also doubles up on the thickness in the area of the mounting, tapering to reduce sudden stress build up. My home made replacement copies the original part and is photographed beside the original.
You'd struggle to make this repair section by knocking the sheet in a vice. I bent the two sides around the edges of a steel table, then bent the top part by bashing against a piece of thick steel mounted in a vice.
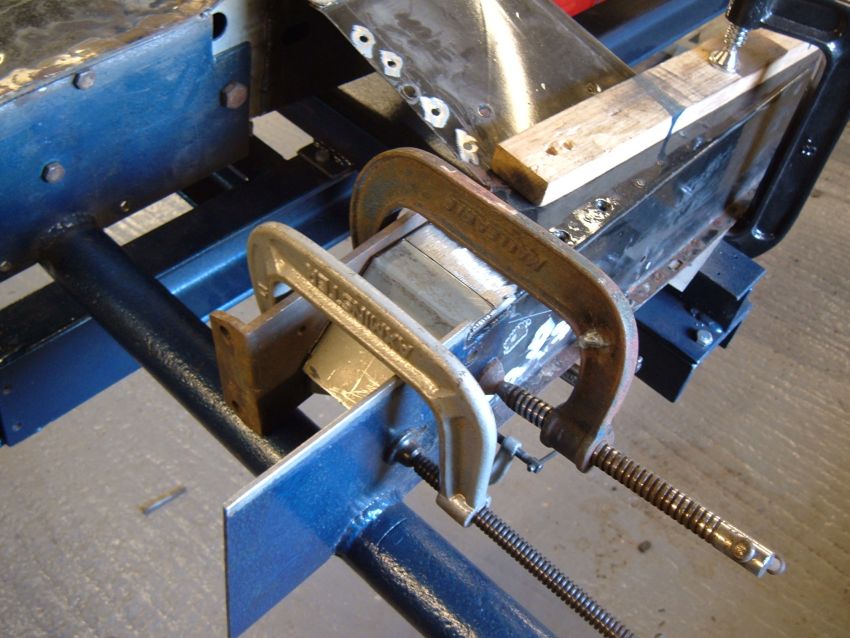
The chassis jig was used to position the reinforcing section and the suspension mounting holes accurately prior to welding. Welding was carried out in short sections allowing plenty of time for the mounting to cool to reduce the chance of distortion.
I've removed the overhang at the top completely - it was only used to mount fuel and brake pipes, but created a great platform for mud to sit so it had to go.
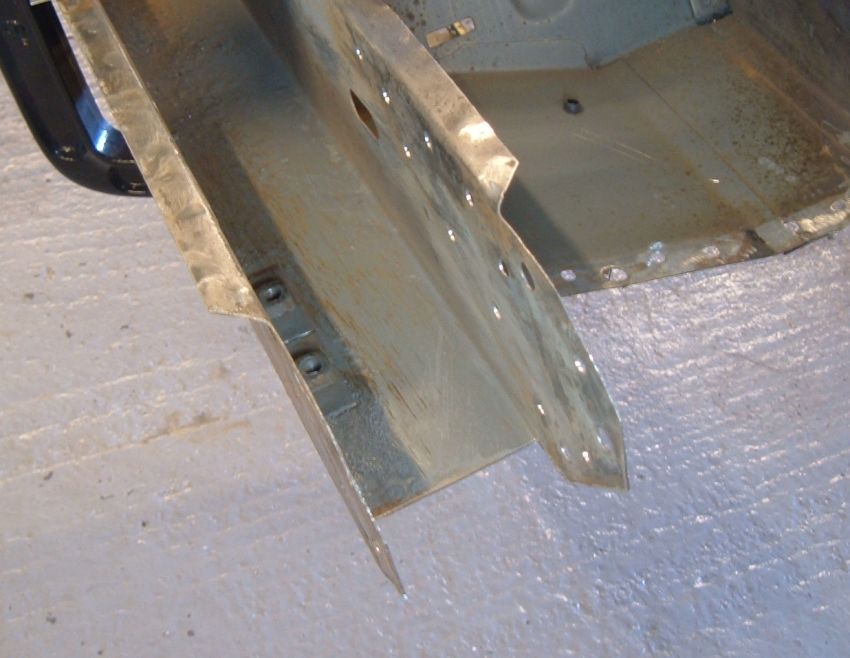
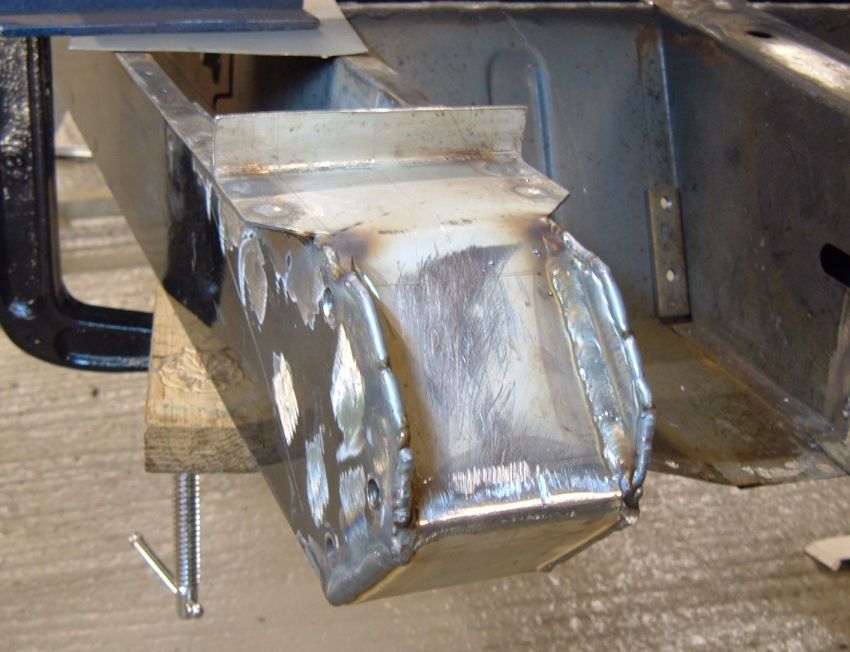
Here the replacement section is in place. The reinforcement carries the upper bolt spacer tube which I've welded in place. The little round dark marks on the inside of the section that look like spot welds are evidence of the plug welds made with a MIG welder from the outside of the panel.
A second reinforcement holds the other two spacer tubes. (there are three bolts through this suspension mounting). Originally these tubes were fitted on the outside face of the reinforcement, and provided handy ledges to collect mud. As far as I can see this was only so the flanges were accessible for spot welding during manufacture. I'm planning to seam weld mine so I've altered the design and fitted the spacers on the inside of the reinforcement.
Thin card (such as pizza packaging rather than cardboard) is excellent for figuring out shapes if you like to redesign sections like I do. Prefect for making templates for cutting steel too.
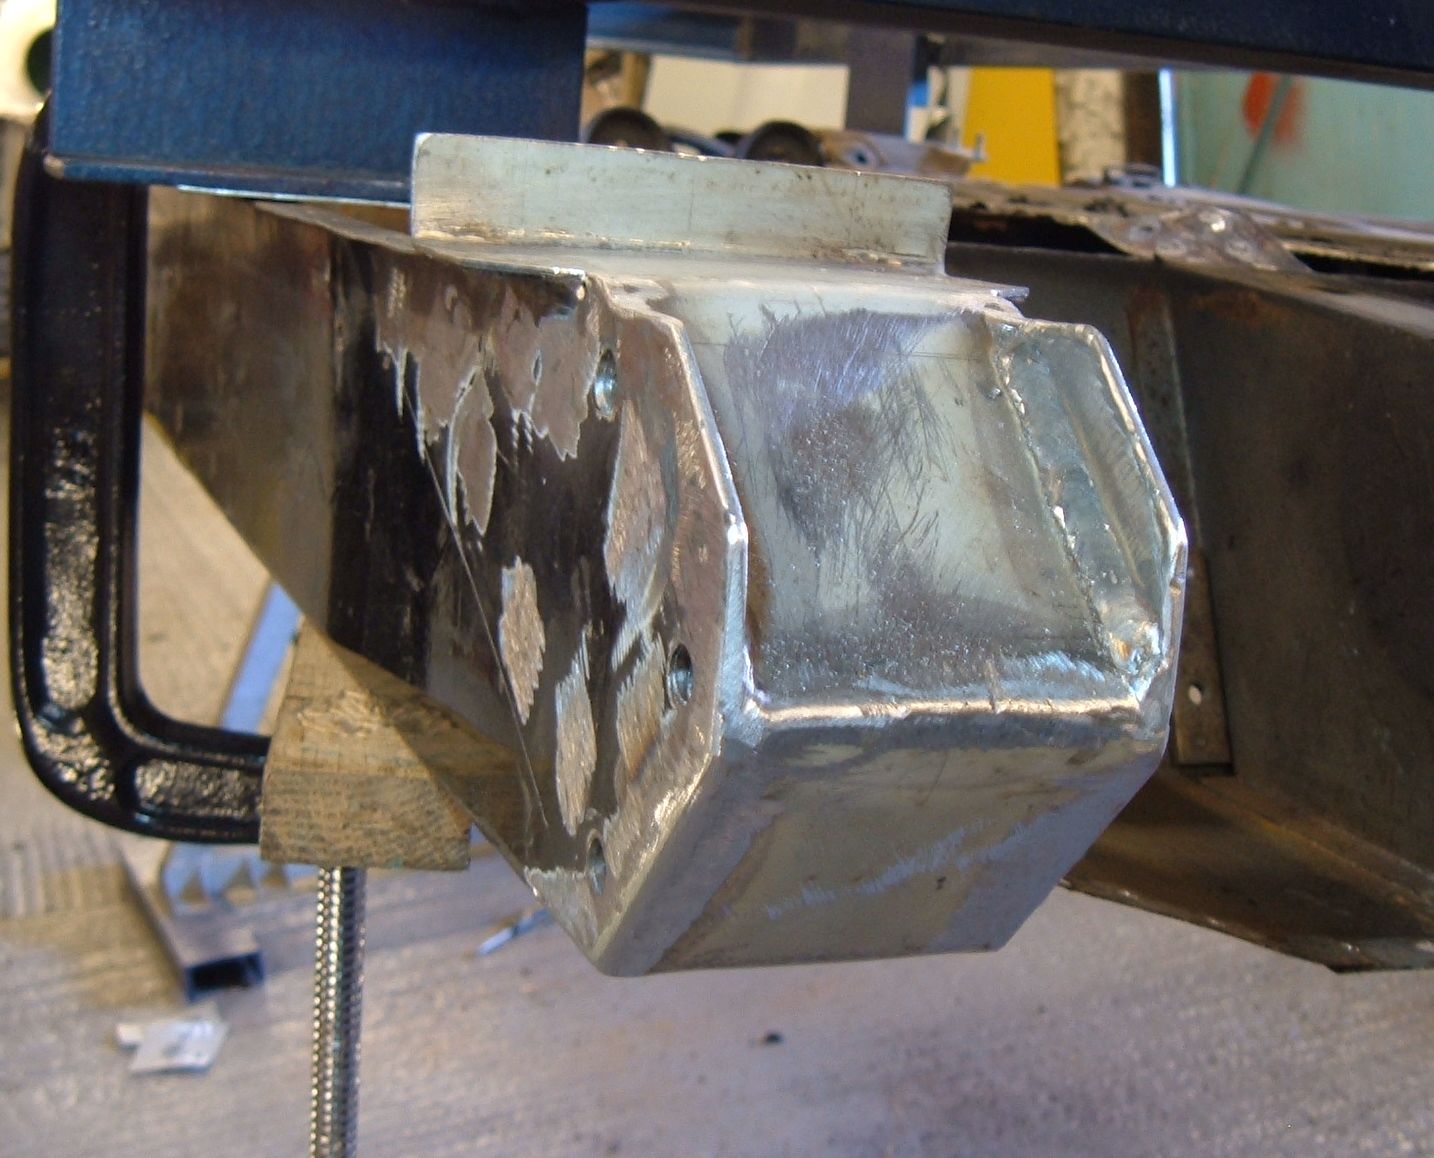
Once again the chassis jig holds the mounting points in the right place for welding in the new section. I've used a slightly thicker section than the original just on the off-chance it'll last a little longer before it rusts through again.

The section was welded in position. with a couple of plug welds and a seam on either side for good measure. I went over every other seam in the area with the welder too just to seal the area from water.
The rear suspension mountings only fail because they tend to be covered in wet mud all the time. Sealing everything up and getting rid of the rust traps will help, though I'm also planning to fit some sort of wheel arch liner in this area.
But all that seam welding did make the mounting look ugly, so I ground off the excess weld. Should be lovely with a little paint and a cover on top to keep the mud out.
Talking a lot about mud here, I should explain I live at the end of a farm track which can fill this area on a standard car with mud after a single trip. Though for normal road cars mud is still an issue (just takes longer for the parts to fill with mud).
Next> Front Chassis rail repairs or back to the Gordini Project


