Rosalie Renault 4 Repairs - The Sensible Version
I thought I'd write a sensible version of this page just in case someone stumbles onto this site who is remotely interested in actually repairing the rear chassis of a Renault 4. Unfortunately this will probably include most Renault 4 owners. To maintain a high level of sensibleness it will be necessary for you to ignore the cat in the photographs.
If you are not bothered about being sensible then you may prefer the Clementine the Cat Repairs a Renault 4 Chassis version of this page.
Wednesday 2nd October
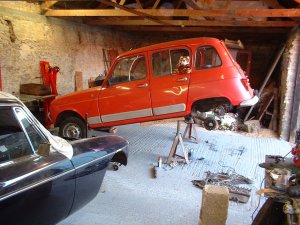
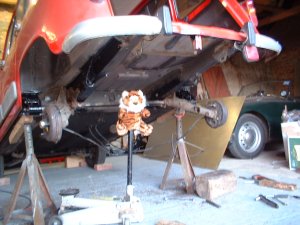
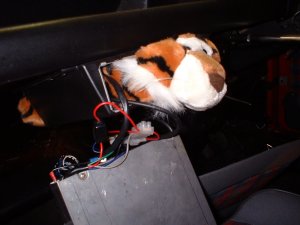
Rosalie is supported at a nice working height on axle stands. It really does make life easier when the car is high enough to sit underneath.
The exhaust, fuel tank, and brake pipes have to be removed before starting on the rear suspension.
Thursday 3rd October
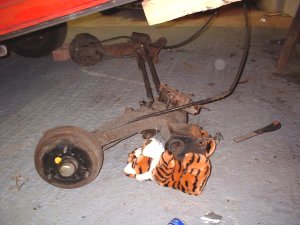
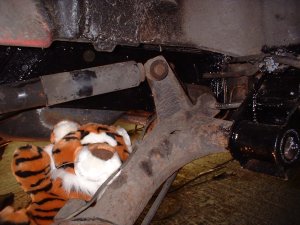
Once the dampers and fuel tank have been removed the rear suspension can be unbolted and removed as a complete unit. (Ignore the fuel tank in the photo - it should have been removed at this point).
It's worth making sure that any bulb type inspection lamps are out of the way when removing the tank. Fuel spills will tend to cause the bulb to explode with predictable results.
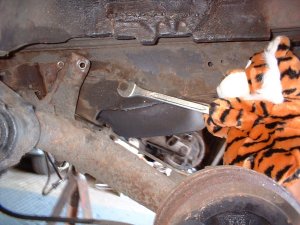
I've left the handbrake cables connected as I remember them being a pain to remove on a previous Renault 4.
I've not found a way to remove the rear torsion bars - The manual suggests using a soft faced hammer. I've tried a mallet with no success. The front torsion bars are easier but you really do need to make a very octagonal spanner to tension them up during re-fitting
Friday 4th October
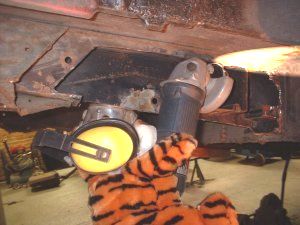
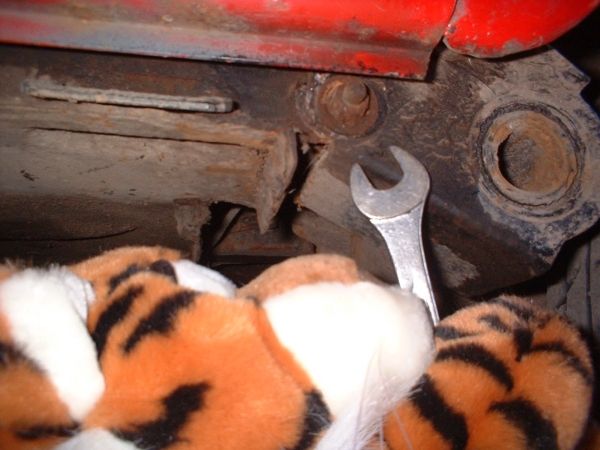
Be prepared for the whole side of the chassis member to be rusty. The chassis is reinforced by a second skin where the suspension is bolted on. Water gets between the suspension mounting plate and the chassis, then between the two chassis skins, then the chassis rusts from within. Unfortunately waxoyling will have little effect on this process as it won't get between these two plates of metal.
This photo shows the side of the chassis after being cleaned up with a screwdriver. No grinding had taken place at this point. Surprising as the rear of the car is in very good condition.
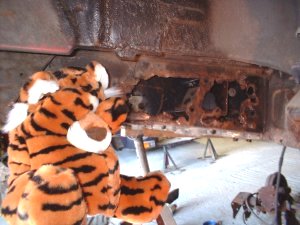
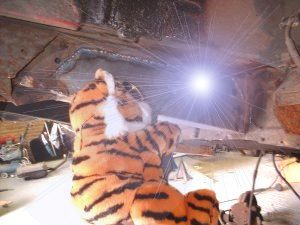
The rusty parts can be identified as the metal expands when it rusts, so the two skins push apart creating a bubbly appearance. Here the chassis is being cut back as far as clean metal.
Care is needed near the large bolt hole as this is reinforced by a third skin on each side. It makes sense to keep this third skin to retain some strength.
Saturday 5th October
Welding in the replacement sections: I've used 16 gauge (2mm steel) which is roughly equivalent in thickness to all of the original pieces of metal added together. I butt welded to parts of the chassis that had a double skin so that the new section would be welded to both skins. I overlapped at the top where the patch is joined to a single skin to make the welding easier.
Sunday 6th October
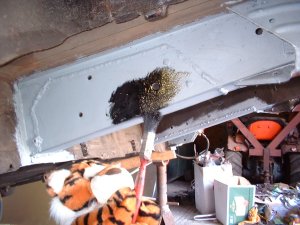
I replaced the rear captive nut for the rear brake proportioning valve with a welded on nut (although I would later strip the thread and regret the decision to weld it on). The two small blobs immediately in front of the patch of paint are plug welds securing the new piece of metal to the reinforcement for the large bolt hole. There are two further plug welds under the paint which have been ground down so they don't obstruct the rear suspension attachment plate.
Re-fitting the rear suspension is a pain. The method I used was to jack up the suspension, line up the big bolt hole on the right side and stick a screwdriver through it. Then do the same to the left side. After this push and pull to line up the outer brackets to the chassis and insert the top bolt (the one with the captive nut). Jacking up the suspension should then enable the rest of the bolts to be inserted one by one.
Monday 7th October
The little brake pipe behind the rear brake proportioning valve is a complete pain to fit. Make sure to fit a copper one when the car goes back together.
Brake unions are funny on the R4 - I remember Florence the R4 being metric on the front and imperial on the back. Rosalie is definitely imperial on the back. Be careful when buying the new pipes.
Tuesday 8th October
Rosalie is now back together. I've cleaned up and painted the brackets that connect the suspension to the sill. These have drain slots that are easily blocked with mud. The slots should be cleared regularly with a hose.
I've carried a safe in the back since the repair and the rear end hasn't fallen off yet so repair seems sound enough.
6 months later....
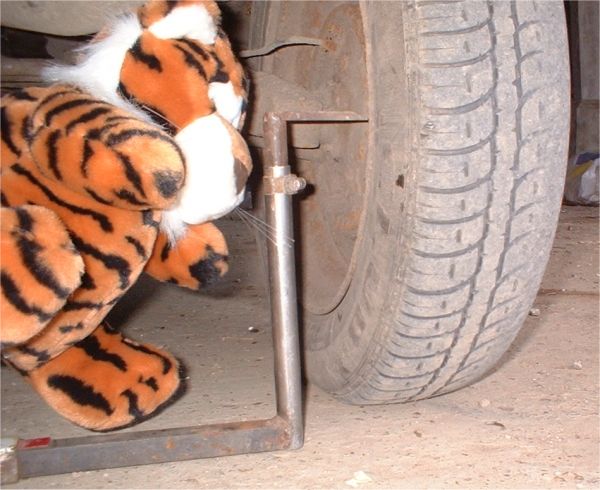
The rear tyres have worn unevenly since the repair. The rear tracking can be adjusted by slackening off the 3 bolts that secure the outer suspension mounting to the chassis, then twisting the road wheel into the correct alignment. You can see witness marks around the lower mounting bolt which show how far I had to adjust the suspension mounting.
This picture shows the home made device used to measure the tracking. It is a telescopic bar which is set to the distance between the wheel rims at the front of the wheel. The bar is then moved to the rear of the wheel and the distance between the end of the bar and the rim measured to determine toe-in or toe-out. I set the alignment between front and rear wheels by eye.
The work detailed above took me approximately 30 hours so a garage could charge £600 for the work. More likely the garage would put a worse than rubbish patch on and charge £300. Complete new Renault 4 chassis are now available from the Renault 4 Garage in the Netherlands for 1400 Euros, and would definitely be worth considering as an alternative particularly if your chassis is rusting in all the other normal areas too.
Next instalment - the front chassis/ floor corner repair. I'll leave this until next year as this repair involves cutting a section out of the front quarter panel for access which means exterior paint. I'll never get a paint match to the faded orangey red so will have to decide whether to fit a couple of new wings and do a full respray. Probably I'll just settle for mismatched paint. I'll also do the much needed waxoyling after the welding repairs to the chassis have been completed.


1965 4L
1984 GTL
Ermintrude goes to Monte Carlo
1986 GTL
Clementine repairs the rear chassis
Sensible version of chassis repair