Fitting new Brake Shoes
Frederick found his Renault was fitted with Bendex brakes on one side and Girling brakes on the other. That's going to make the choice of replacement brake shoes tricky. Not to mention making the brakes potentially dangerous.
He decided to swap the Girling brake for a Bendix brake, providing the opportunity to cover both types of rear brake on a single page.
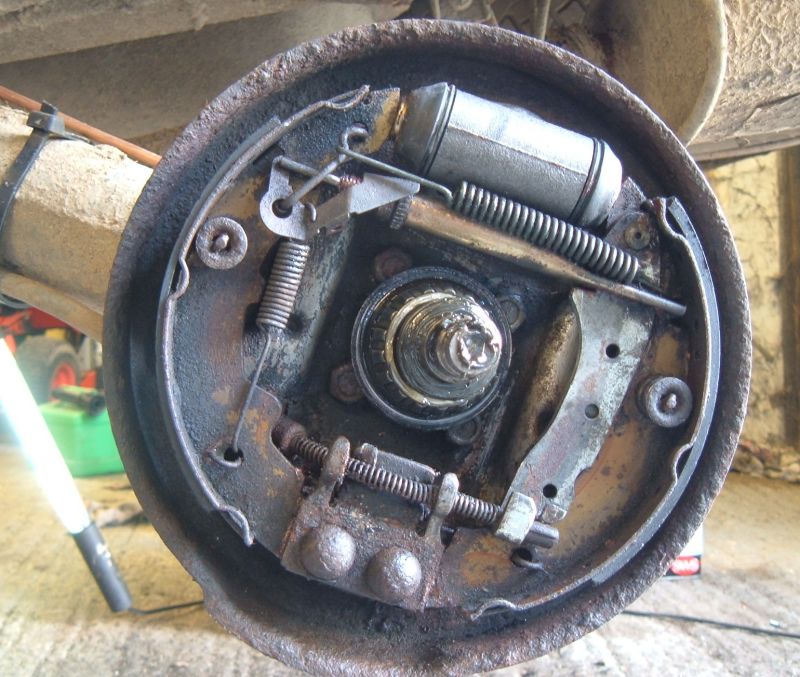
This is the Girling brake. It had been locking up before the Bendix brake on the other side, and before the front wheels. This may well have been due to a leaky slave cylinder which had covered the shoes with brake fluid causing an odd wear pattern.
First step in removing the shoes was using pliers to disconnect the end of the handbrake cable and the springs securing the shoes to the backplate.
Having once chopped the end of my fingers off while trying to fit Renault 4 rear brakes I've developed a safer technique for replacing them. The trick is to remove the shoes from the backplate before removing the springs.
Here Frederick has carefully pulled the top of the brake shoes free from the slave cylinder. They need to be pulled outwards against the springs to avoid damaging the rubber boots.

From there the shoes can be eased upwards from the bottom mounting (with the aid of a screwdriver to persuade the spring past the handbrake guide) and the complete shoe assembly can be removed from the car.
With the shoes removed it's easier to remove the springs.
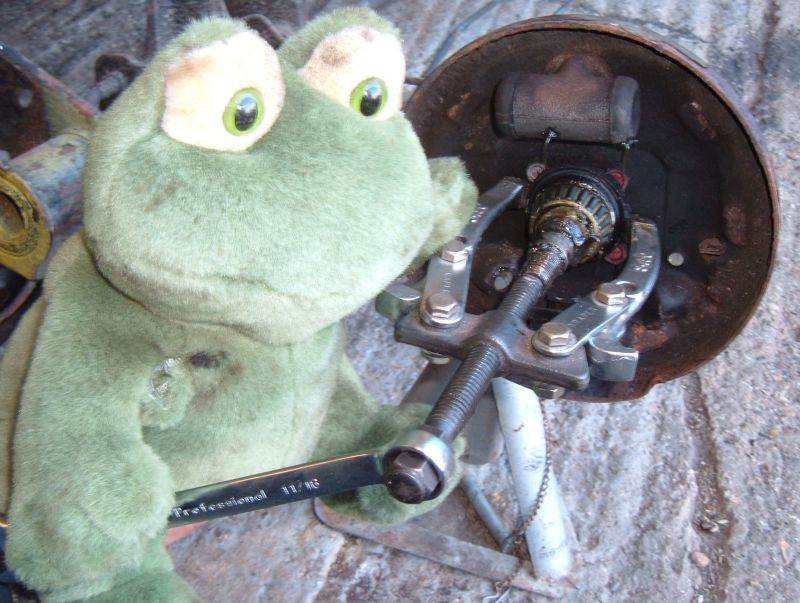
Normally it won't be necessary to remove the inner wheel bearing, but Frederick had to change the backplate from the Girling type to the Bendex type. A hub puller pulling on the bearing destroyed the bearing, but the flimsy looking dust shield behind the bearing turned out to be strong enough for the puller to remove the shield and the bearing.
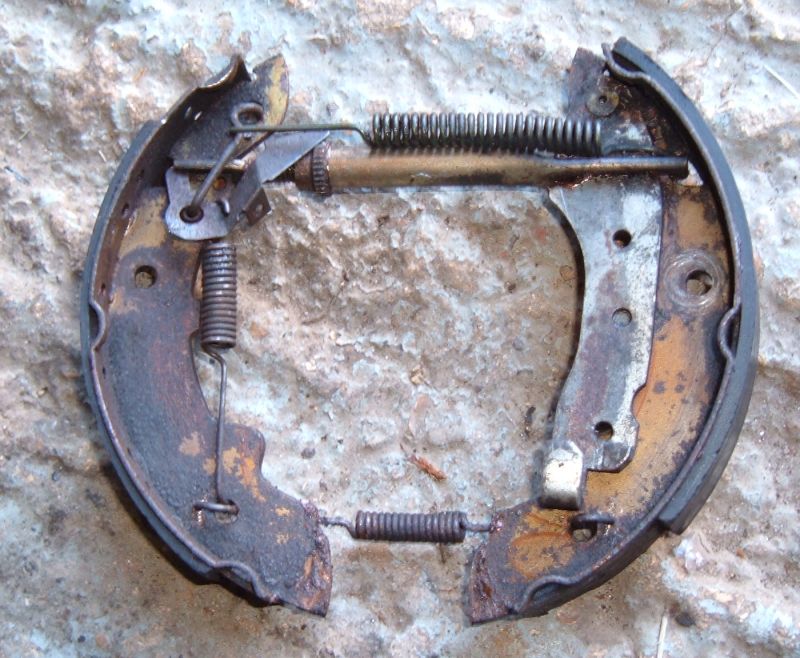
Here's the Bendix rear shoe assemble - again assembled off the car. The shoe kit should come with some spiky washers to hold the various levers onto the shoes. If it's not possible to fit the spiky washers by hand then they're on the wrong way round.

Before assembling the rear brakes every part where steel could rub against steel should be smeared with a little copper grease.

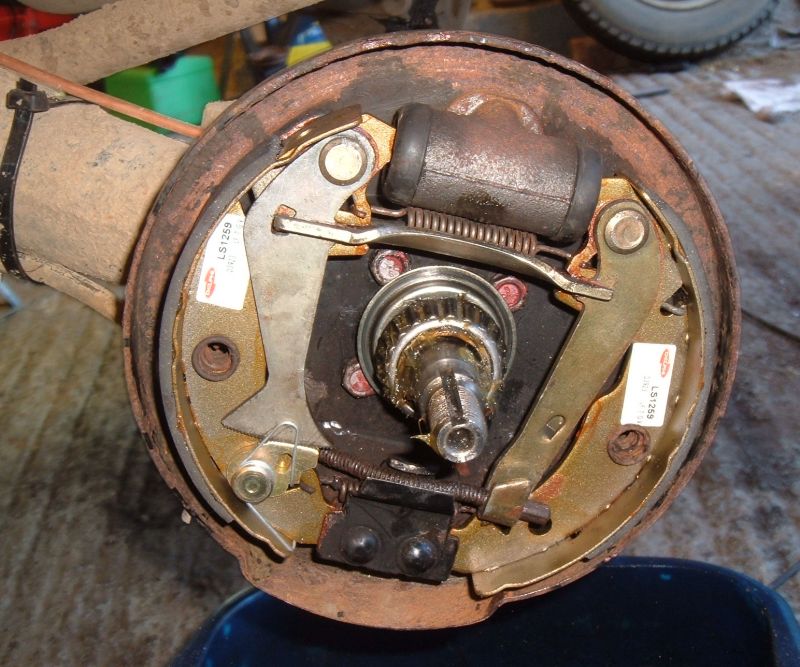
The Bendix brake shoes fitted to the car. Reassembly is much like disassembly in this case. The fiddly bit is the handbrake cable where a pair of long nose pliers can be used to grab the cable while holding the spring backwards, and a screwdriver used to push the lever towards the cable.
The brake drum needs to be cleaned up before it goes back on - there will be rust and muck either side of where the shoes touch that needs to be removed using a scraper (Frederick has a handy table knife for this).
The hub bearings are the tapered type. Frederick's advice for setting them up is to tighten the nut using a socket until the there is some resistance, back off, then tighten the nut using your paws.
Back to Tech Tips