JdeW
Enthusiast
- Messages
- 1,184
- Location
- Laarbeek The Netherlands
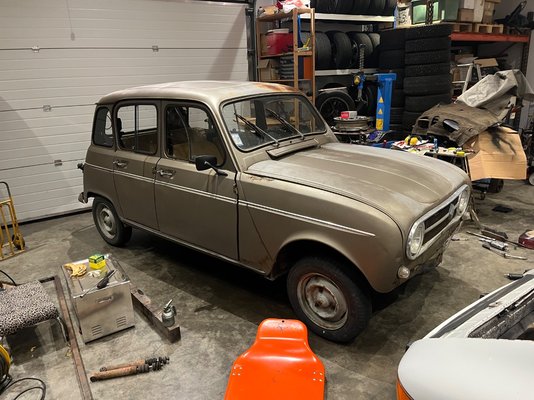
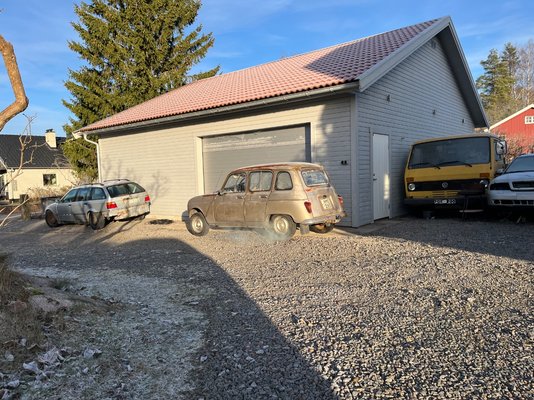
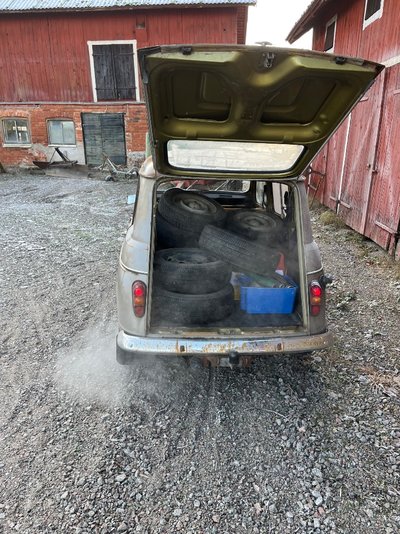
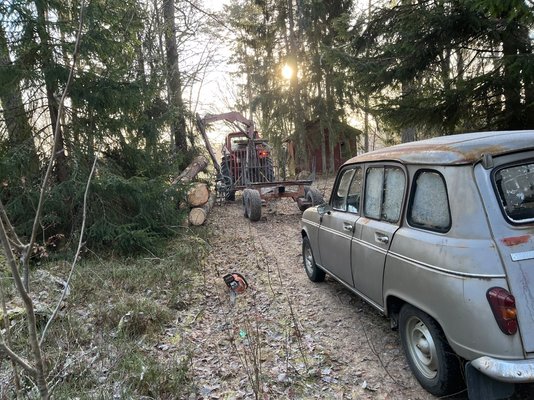
I like seeing these pictures because an R4 is a real workhorse and jack of all trades.
Reminds me of how I drove my first R4, commuting distance was 200 km per day and then all the other kilometers. Parachutes in the back and everywhere through Europe to airports for skydiving and objects for BASE-jumping.
Keep up the good work
Reminds me of how I drove my first R4, commuting distance was 200 km per day and then all the other kilometers. Parachutes in the back and everywhere through Europe to airports for skydiving and objects for BASE-jumping.
Keep up the good work