You are using an out of date browser. It may not display this or other websites correctly.
You should upgrade or use an alternative browser.
You should upgrade or use an alternative browser.
1985 Renault R4 F6 restoration project
- Thread starter DavidN
- Start date
DavidN
Enthusiast
- Messages
- 488
Thanks Malcolm!  ops:
ops:
Sometimes I have to get myself down to earth as I tend to be too pedantic with things.
I always have to keep in mind that the R4 has to be on the street again this summer.
So I simply cannot do everything 100 percent.
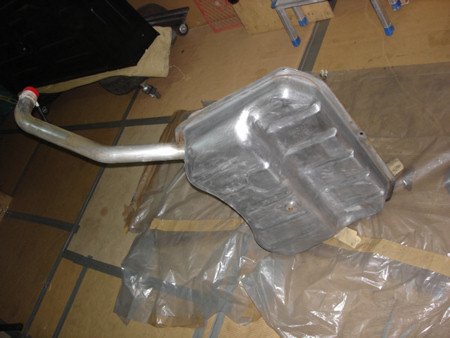
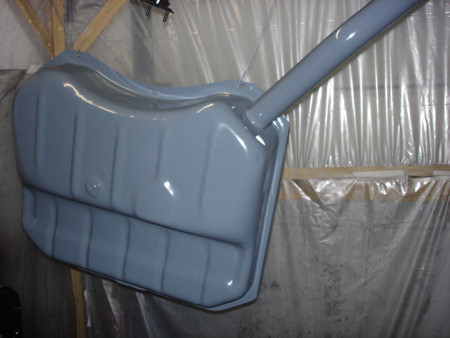
Today I worked on the fuel tank ...
ops:Sometimes I have to get myself down to earth as I tend to be too pedantic with things.
I always have to keep in mind that the R4 has to be on the street again this summer.
So I simply cannot do everything 100 percent.
Today I worked on the fuel tank ...
Last edited by a moderator:
billythefish
Enthusiast
- Messages
- 350
great job
looks like your doing a good job, it won't be too long before your on the road and it will be well worth it!
looks like your doing a good job, it won't be too long before your on the road and it will be well worth it!


malcolm
& Clementine the Cat
- Messages
- 4,646
- Location
- Bedford UK
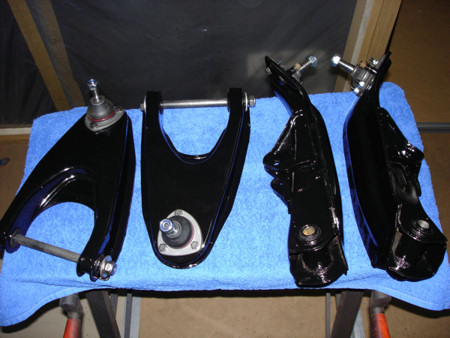
I'm surprised you haven't painted the track rod ends and ball joints. They are normally forged steel with no protection from rust. Myself I prefer to enjoy the rebuild projects over a longer period of time  , and mine are already rusting before the car is finished. I'm thinking about taking a paintbrush to them.
, and mine are already rusting before the car is finished. I'm thinking about taking a paintbrush to them.DavidN
Enthusiast
- Messages
- 488
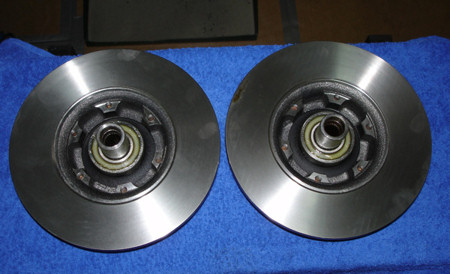
I actually thought about painting all the parts but in the end I decided against it.
")
The R4 is out of use since 1998.
All it's documents are expired and have to be re-issued before I can register the car and get it again on the street.
To obtain a new registration the R has to undergo a thorough technical examination by the officials.
This check-up is way more "in deep" than the bi-annual inspection by the TUV (which is similar to your MOT).
With all the new parts I fitted and will fit, passing the examination should be no problem.
So I leave all new parts as is that the inspector clearly can see what is new and what has just been restored.
The more new parts he will see, the better it is I think.
David
DavidN
Enthusiast
- Messages
- 488
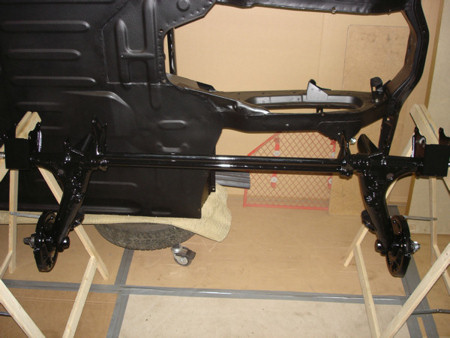
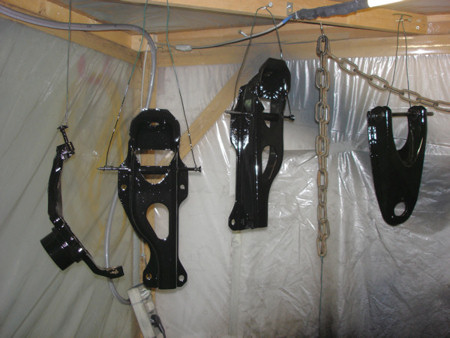
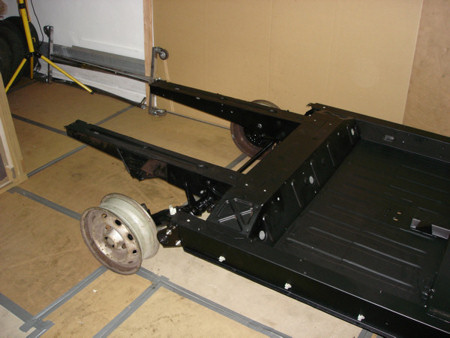
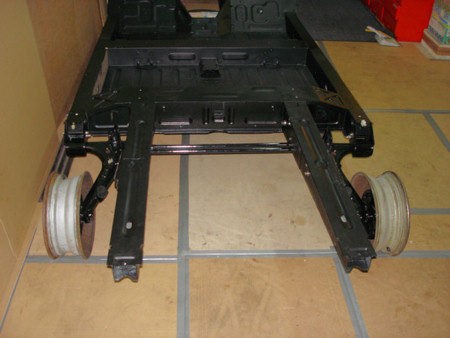
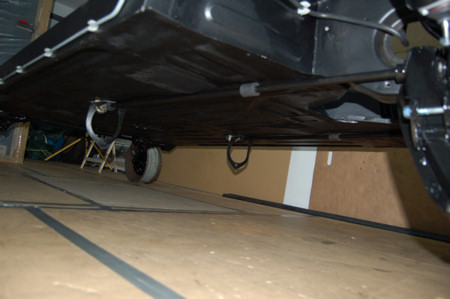
Today I did some rust/cavity protection on my chassis.
I used Mike Sanders, a rust protection grease/fat that melts at 110 degrees Celsius and sprayed it into all hollow parts of the chassis.
For the first coating I turned the chassis upside down.
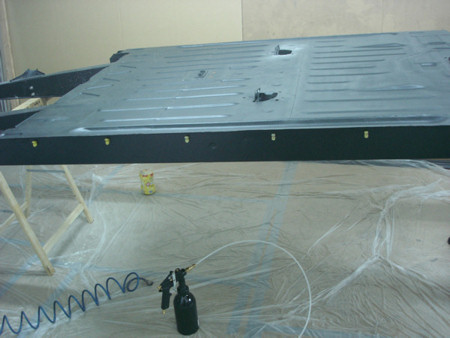
For the second layer I turned the chassis again.
I sputtered the full load of 2 kilogramme melted grease in the chassis.
Just enough to cover every bore and opening of the chassis from the inside out.
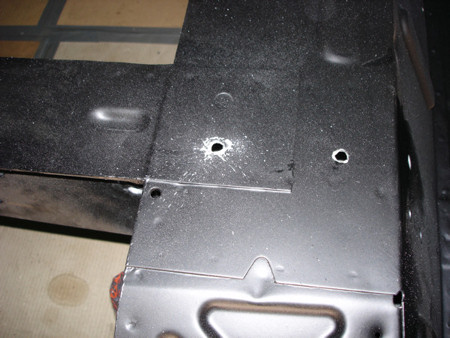
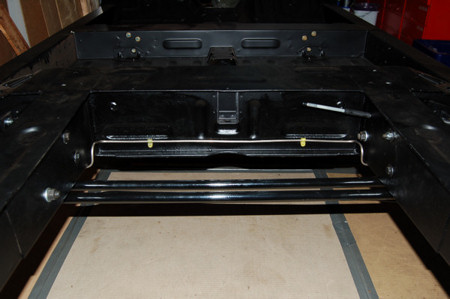
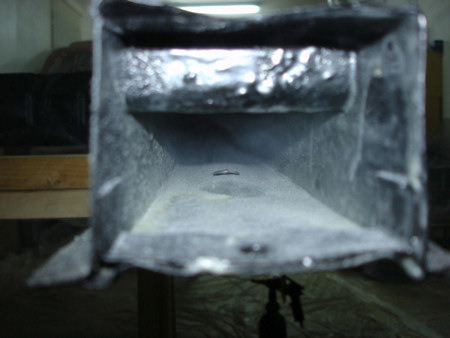
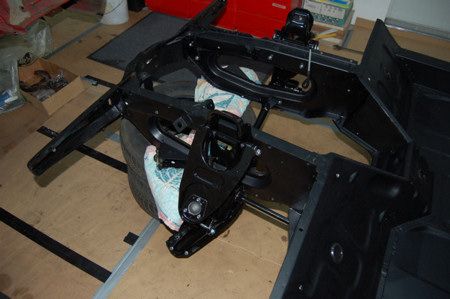
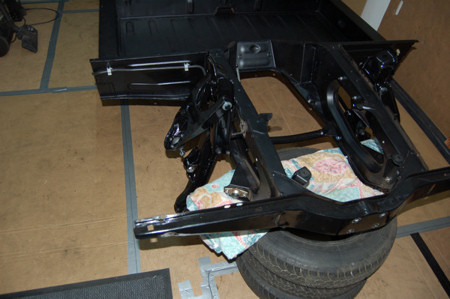
Here's a picture of the inside of the middle part of the frame...
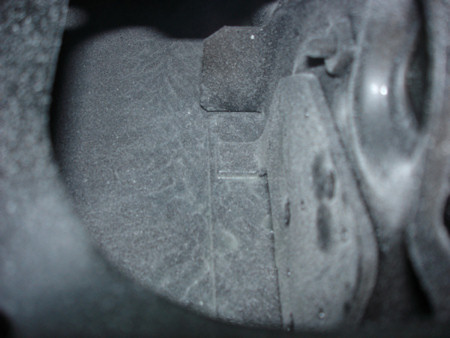
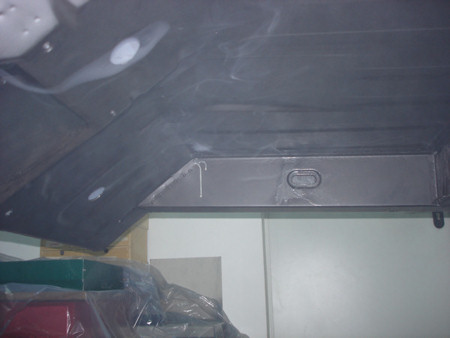
Here's one of the rear frame.
Every Inch nicely covered with grease.
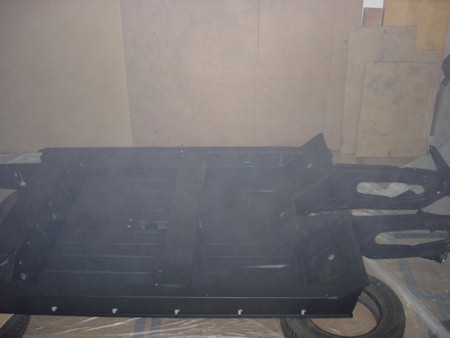
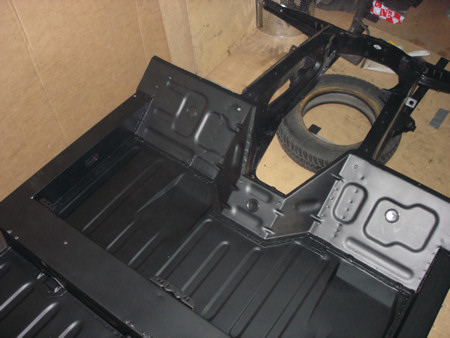
The chassis after some clean-up.
Tomorrow I try to mount the rear axle.
That will be an essential part of the work.
David
I used Mike Sanders, a rust protection grease/fat that melts at 110 degrees Celsius and sprayed it into all hollow parts of the chassis.
For the first coating I turned the chassis upside down.
For the second layer I turned the chassis again.
I sputtered the full load of 2 kilogramme melted grease in the chassis.
Just enough to cover every bore and opening of the chassis from the inside out.
Here's a picture of the inside of the middle part of the frame...
Here's one of the rear frame.
Every Inch nicely covered with grease.
The chassis after some clean-up.
Tomorrow I try to mount the rear axle.
That will be an essential part of the work.
David
Last edited by a moderator:
DavidN
Enthusiast
- Messages
- 488
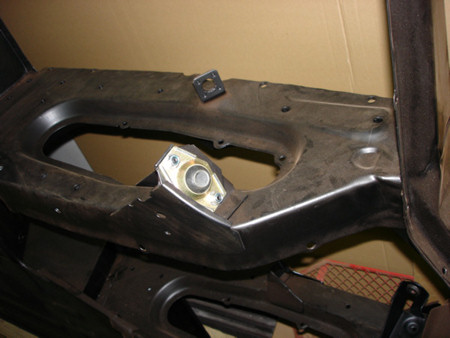
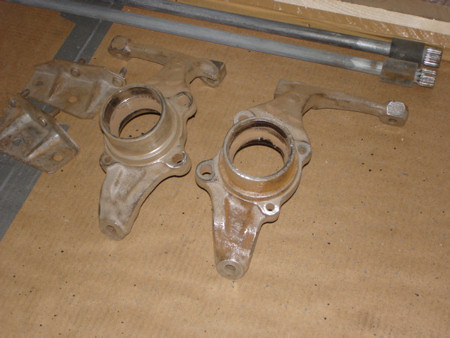
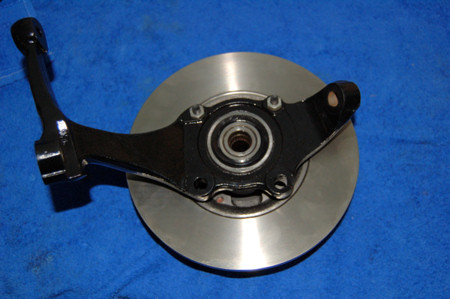
David, how do you clean these parts before being painted, or left just as they are? (e.g. steering rack housing).
Most of the parts have been sandblasted.
I got myself a small blasting cabin to do the work inside the garage and keep the surroundings relatively clean.
Here you can see my son working with the box...
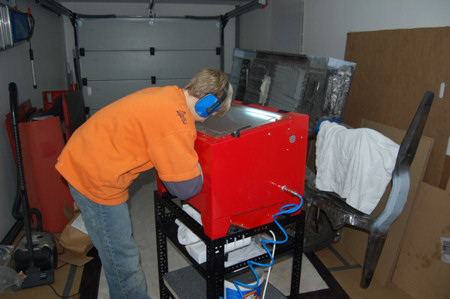
Bigger parts where blasted outside (that was before the winter hit us, of course).
After blasting I cleaned the parts with brake cleaner and painted them.
The parts that didn't get a varnish coating (e.g. the steering rack) have been cleaned with fuel first.
I washed down all the grease and oily leftovers with a paint brush.
Then I used various scratch brushes.
First the steel ones then brass brushes ...
For the finish I used steel wool.
Last edited by a moderator:
Andy McGhee
Enthusiast
- Messages
- 2,044
- Location
- Cheltenham
Hi David
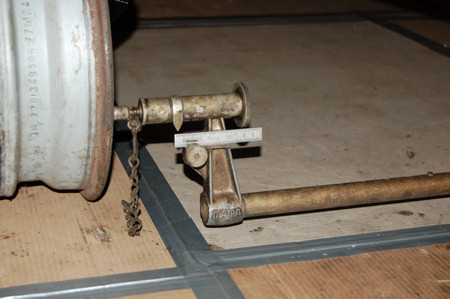
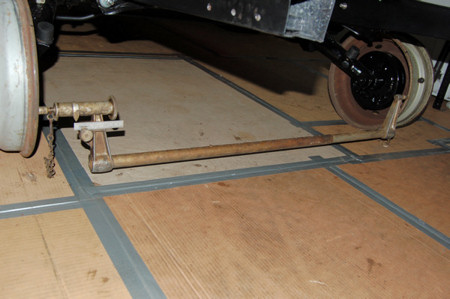
I'm following your restoration with great interest and admiration. Can you give us all some more details about dismantling and refitting the front torsion bars? Did you use the same setting when you refitted them?
Andy
I'm following your restoration with great interest and admiration. Can you give us all some more details about dismantling and refitting the front torsion bars? Did you use the same setting when you refitted them?
Andy
DavidN
Enthusiast
- Messages
- 488
Hi David
I'm following your restoration with great interest and admiration. Can you give us all some more details about dismantling and refitting the front torsion bars? Did you use the same setting when you refitted them?
Andy
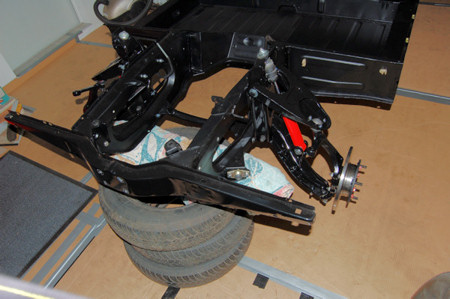
Hi Andy,
here you can see how I removed the front suspension
http://www.renault4.co.uk/forum/showthread.php?t=3190
For refitting I pretty much did all the steps in reverse order.
Actually I planned to use the same setting to get the correct height after everything is finished.
I have to admire though that I was not able to compress the torsion bars enough to mount the wishbone/axle leg with the old (original) settings.
So I decided to turn the torsion bar 1 teeth which will lower the front of the car about 3 Centimeter (so I read it somewhere).
With that I could live, otherwise I have to adjust it afterwards with an adequate tool.
David
DavidN
Enthusiast
- Messages
- 488
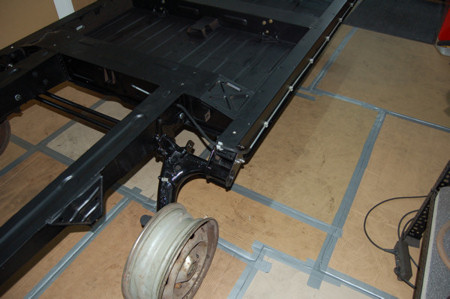
The past week I was pretty occupied by work, not much time left for the R4. 
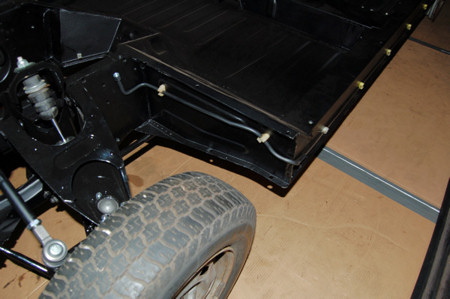
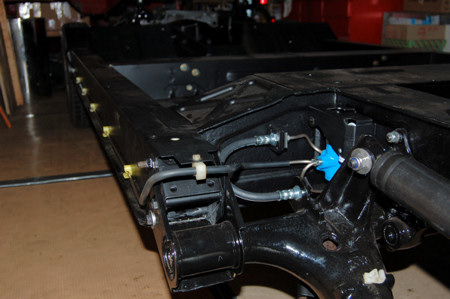
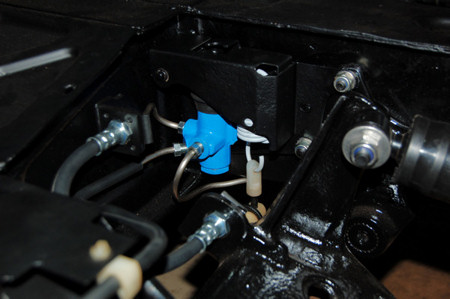
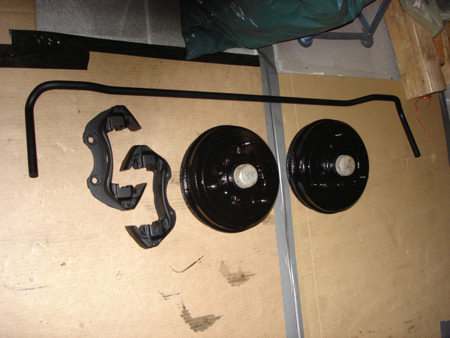
I received the rear dampers.
Delphi DeCarbon gas pressurised - as recommended by this forum.
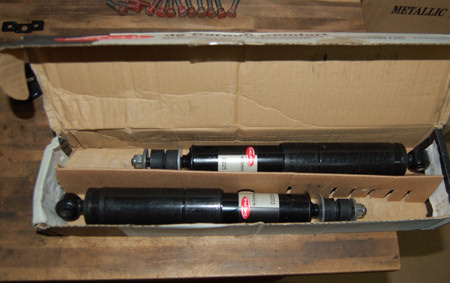
Installation was easy as can be...
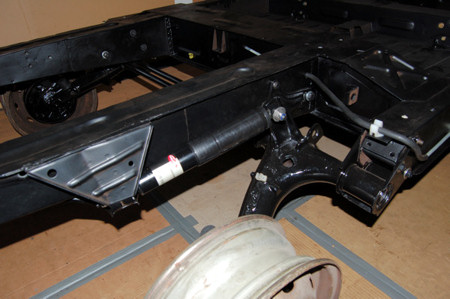
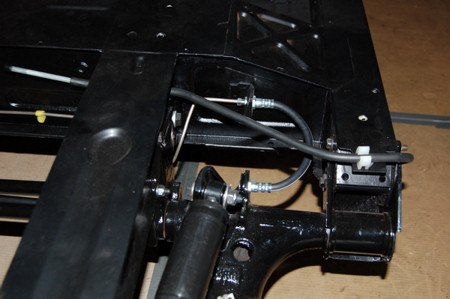
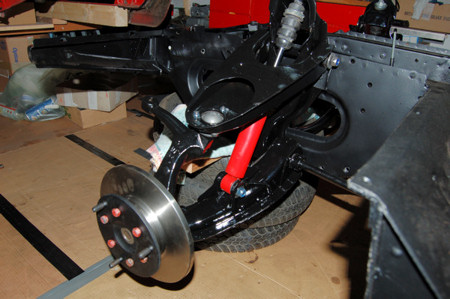
And I finished assembling the front suspension with it's steering rack.
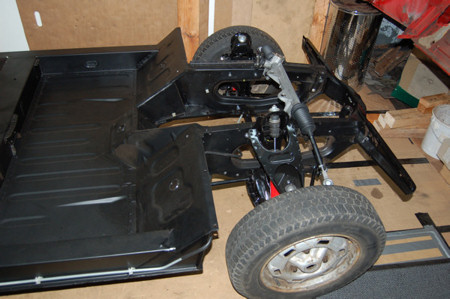
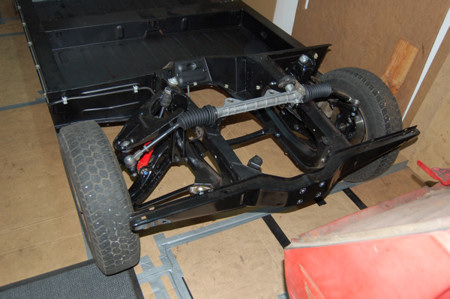
I received the rear dampers.
Delphi DeCarbon gas pressurised - as recommended by this forum.
Installation was easy as can be...
And I finished assembling the front suspension with it's steering rack.
Last edited by a moderator: