Hi,
Ive been at a stand still for some time. Could not get the back differential to work.
Tried a clutch cable but it was to weak to turn the diff. on and off.
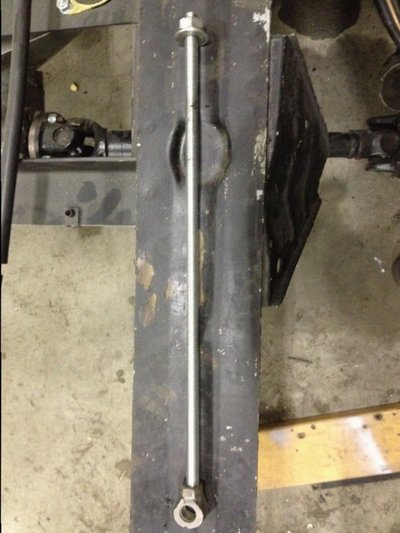
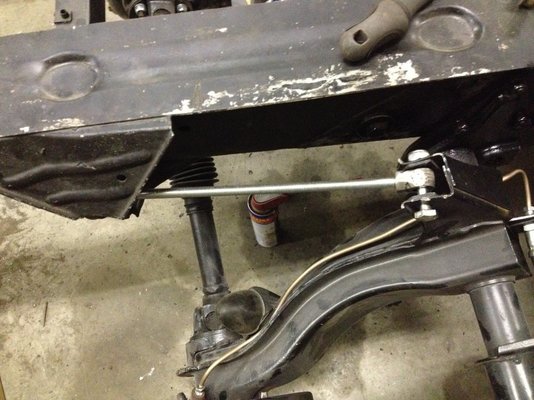
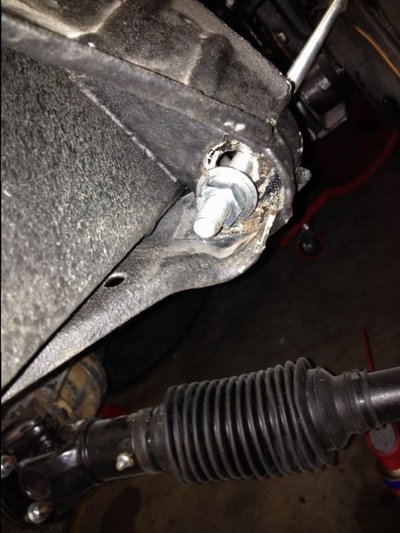
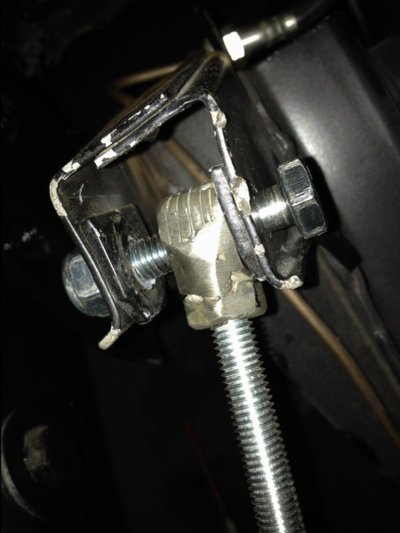
All this time I have been searching for a piece of spring wire 3mm thick.
I finally found a spring factory in Rotterdam that was willing to sell me a piece of 1,5 Mt instead of a whole role of 25 Mts.
Then the head breakers started. How to attach something to a piece of spring steel wire that is really though, hard and slippery.
Today I fixed the problem and my diff. can be put on and off.
unfortunately I can't upload the video I made.
And I made some progress with the fuel line.
And bought this for the all important vintage look
Today some more progress.
I finally got the engine running. A friend had to push me to start it.
I primed the carb with petrol after putting a + and -wire to the battery and a + wire to the coil.
And after turning over some rotations it sprang to live.
What a joy to hear my first rebuild roaring.
And I spray painted the inside of the body and inner wings.
Did Some more work on the sinpar. Placed the brackets for the 4x4 umbrella on the firewall.
And some modifications on the radiator.
I found a slightly bigger radiator so I had to make some modifications to the fantunnel.
And I had to place a bracket on the right side for the 4x4 umbrella.
The old an the new radiator
Fan tunnel was to narrow. Needed some work and the bracket for the umbrella on the right side and the top.
The coming month I won't be here very much.
This is my last update.
In October I'll be there again. And working like hell to finish before we have to move to another workspace.
The radiator looks like it is for early 845 cc R5
Handbrake is on floor so is slightly larger did the brackets bolt straight to rack or did you have to mod slightly
Today I had some time again to do some work on my project. Slowly but surely i'm getting there.
The Frenshman I bought the Sinpar set from, had the height set rather high.
So today I started with making the special tool to undo the rear tension bars.
Its a 35cm tread bar with six steel rings welded together on a M10 nut. It goes into the slot of the shock absorber.
It takes the tension of the torsionbar so you kan hammer it out of the spline.
After that you set the distance of the wheelarm to 30cm and hammer the torsionbar back in place.
I did the left side today and thursday I will hopefullly do the right side. because the torsionbar is stuck. I hope some WD40 will unstick it somewhat.
I don't think I'll ever understand the complexities of torsion bars, but that looks like a clever tool.
In July you said that you had made a video of your back differential but couldn't upload it. What was the problem? It would be interesting to see!
Yesterday I took of the right hand back wheel assembly to take the torsion bar out. It was quite stuck in the wheel assembly because of a rodent that had decided to built it's nest in the hole that houses the torsion bar.
After taking a bank hammer is came lose without any trouble including the remains of the rodents nest.
With the bar out I could take the damaged rubber sleeve of and replace it with a tight fitting inner tire from my bicycle.
After cleaning all the splines and putting on a good amount of copper grease I set my special tool in place to replace the torsion bars.
With my trusted bank hammer and a steel rod I hammered the torsion bars home in the reaction arms on both sides and set the height to 38 cm ground clearance at the back.
With the height adjusters
With two almost new looking torsion bars back in place.
@mr-reno-139
On the bigger radiator the top umbrella bracket bolted on without modification.
The one on the right side needed some drilling of holes.
And bolted on with some modification.
Yeserday I picked up al my bodyparts from the paintbooth.
The paint wasnt realy hard yet so Today I put everything in a save place.
Next week I hope to spend some time in building up again.
I did put the hood in its right place an all of a sudden the chassis looked like an R4 again
I know you have some really nice tyres stashed away somewhere. i can't wait to see them on the car, it's going to make a huge difference. Your car looks nearly finished so you'll have to start looking in the fields for another project
The move of all our parts and cars is completed. Yesterday we tried to make some sence of all we have and put it off the floor on shelves. Still lots of work to do, and I hope the Volvo moves soon so I can get back to work on my project.
I'm finally making some progress again
Also working on the details makes it all worthwhile
Today I got my Alpine Turbo chairs back from the upholsterer really glad with the result


")


