


You are using an out of date browser. It may not display this or other websites correctly.
You should upgrade or use an alternative browser.
You should upgrade or use an alternative browser.
What I am doing!
- Thread starter JonathanT
- Start date
André4Renaults
Enthusiast
- Messages
- 845
- Location
- Barnet, Hertfordshire.
Johnathan,
Not yet. I sent Paul a message as a "conversation," which I take it is the equivalent of a P.M. on this forum.
Not yet. I sent Paul a message as a "conversation," which I take it is the equivalent of a P.M. on this forum.
JonathanT
Not normal for Norfolk
- Messages
- 1,335
- Location
- Wymondham Norfolk
Yes sorry I realised my mistake 
Johnathan,
Not yet. I sent Paul a message as a "conversation," which I take it is the equivalent of a P.M. on this forum.
JonathanT
Not normal for Norfolk
- Messages
- 1,335
- Location
- Wymondham Norfolk
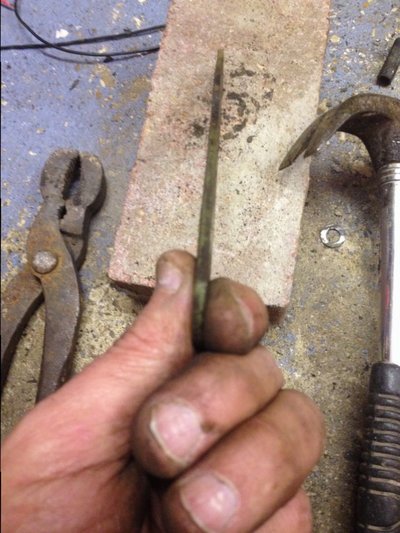
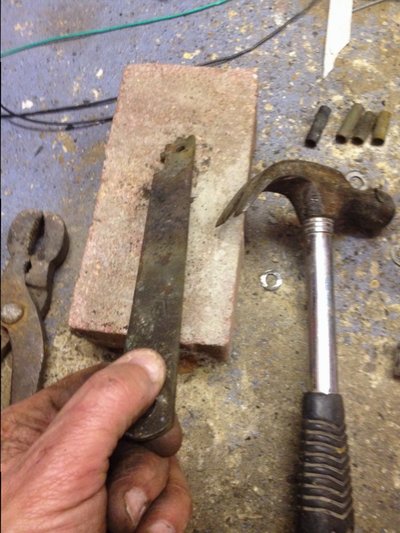
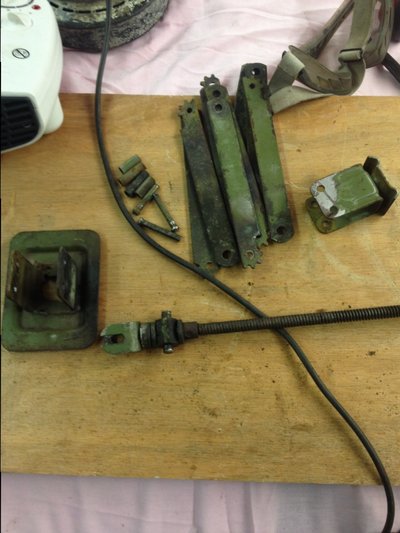
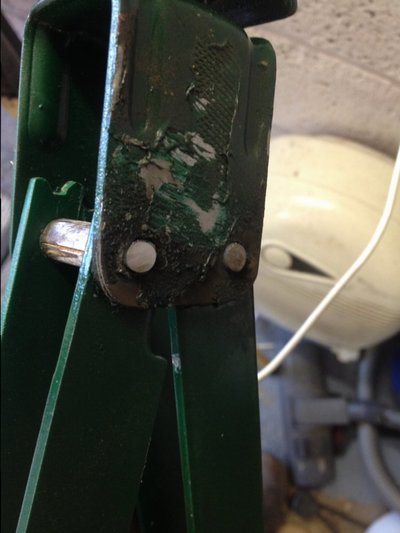
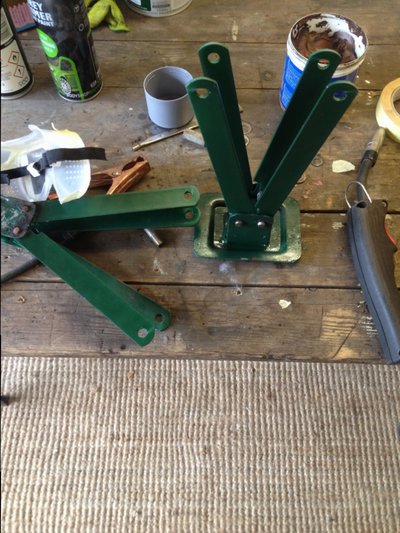
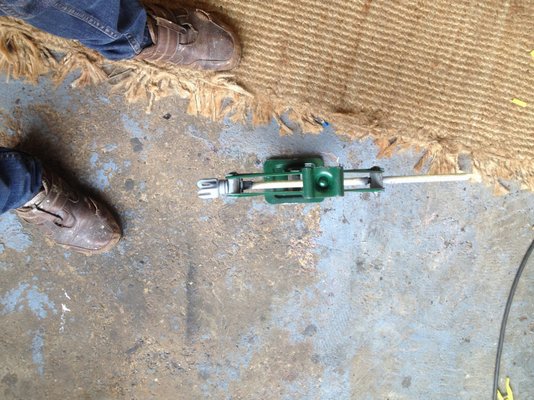
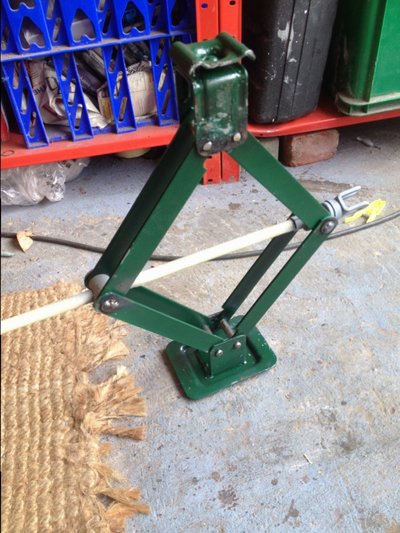
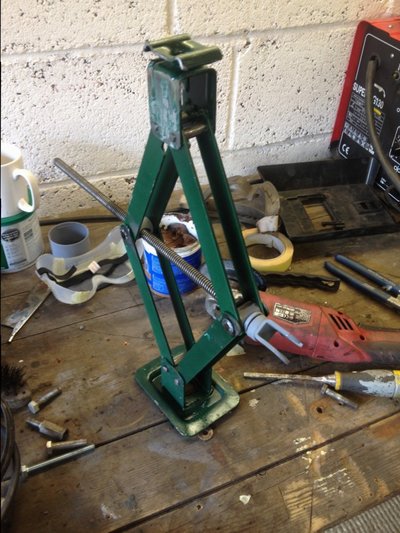
Well I've pulled it off....  Wasn't sure I would be able to repair my jack. Building the 'Rivets' up again with weld and binding to washers did the trick and it doesn't bind.
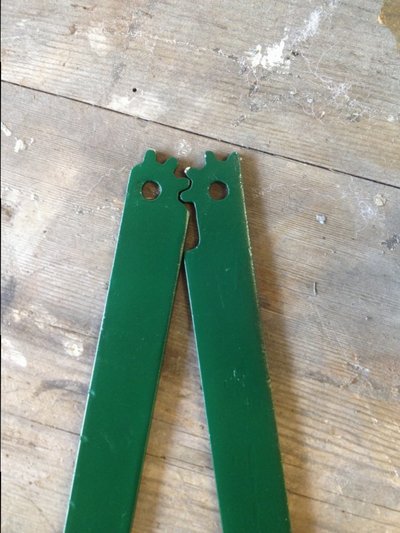
Nearly assembled it incorrectly till I noticed the notch on half of the arms
Wasn't sure I would be able to repair my jack. Building the 'Rivets' up again with weld and binding to washers did the trick and it doesn't bind.Nearly assembled it incorrectly till I noticed the notch on half of the arms
Last edited:
")


JonathanT
Not normal for Norfolk
- Messages
- 1,335
- Location
- Wymondham Norfolk
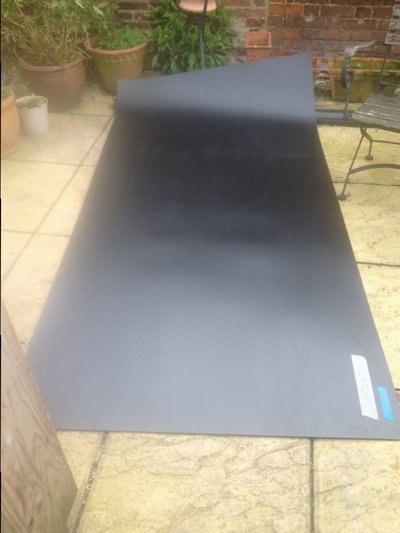
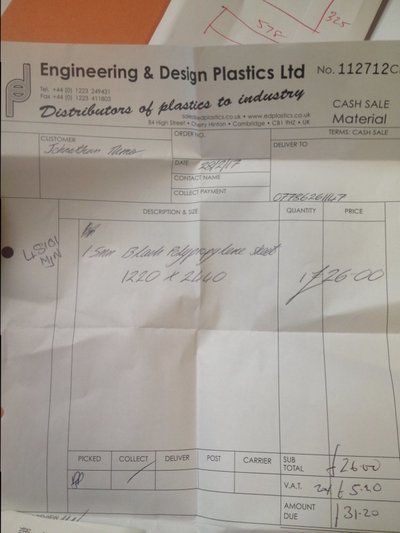
Next task. The designing and making and fitting of wheel arch liners. After ages trying to find a plastics company I finally tracked one down in Cherry Hinton Cambridge. I had a shock when I asked for the price of ABS. So the helpful guy behind the counter suggested I use polypropylene. I was able to buy an 8' x 4' sheet for just £26. ABS was nearly 3 times this price! It has a polished side and a satin side. I think I would use the satin side on the visible side


Paul Narramore
pre-moderated
- Messages
- 840
- Location
- Aylesford, Kent
To make the fitting neat and to hide the wires and the blue side of the guage I found a black spray can lid fitted perfectly so made a hole so wires would exit at the top side
Jonathan, I have bought the same water temperature gauge as yours and have found and adapted the top of a paint can for a pod. I've more or less decided to mount it on the near vertical face of the plastic dashboard over the right hand pocket. The instructions that came with the gauge recommending using '18 gauge' wire, and whilst I am familiar with standard wire gauge when referring to steel wire, we here don't use 'gauge' for our auto wires, nor can I find anything on Google about it. What size of wire have you used? The dashboard light wires coming from the gauge are hairlike so what did you use there?
Demon Tweaks sell a variety of brass adaptors (about £5.36 + VAT) and I shall tap into the existing plug in the water pump. I believe the thread is M18x1 but I'll have to check this. The thread on the sensor must be a BSP tapered thread but again I'll need to check this too.
JonathanT
Not normal for Norfolk
- Messages
- 1,335
- Location
- Wymondham Norfolk
Hi Paul my engineering friend across the way at work told me what the thread was in the pump itself something BSP I took a photo of it and included it on our earlier chat. The wire are used was any old wire taken from an old Renault 4 wiring loom. You will find the little LED light inside powered by those little fine wires is very bright so you might want to consider a lower position for the dial? Until you get your adapter it might be worth while trying the wire on the existing Jaeger temperature sender located on the rear nearside of the head. I have a strong suspicion this will actually give you a reading as opposed to an on off switch . On my car I've connected this to a warning light. So I have both the dial and the red light to tell me of high-temperature

Paul Narramore
pre-moderated
- Messages
- 840
- Location
- Aylesford, Kent
Hi Paul my engineering friend across the way at work told me what the thread was in the pump itself something BSP I took a photo of it and included it on our earlier chat. The wire are used was any old wire taken from an old Renault 4 wiring loom. You will find the little LED light inside powered by those little fine wires is very bright so you might want to consider a lower position for the dial? Until you get your adapter it might be worth
while trying the wire on the existing Jaeger temperature sender located on the rear nearside of the head. I have a strong suspicion this will actually give you a reading as opposed to an on off switch . On my car I've connected this to a warning light. So I have both the dial and the red light to tell me of high-temperature
Jonathon, The thread in the water pump is definitely a Metric thread possibly M18x1 or M18x1.5 but I won't know until I whip it out (After all it is French). The thread on the brass sensor which came with the Water temperature gauge is certainly 1/8in BSP. Demon Tweeks sell a number of varying adaptors with all sorts of male/female threads, so I shall go to them.
JonathanT
Not normal for Norfolk
- Messages
- 1,335
- Location
- Wymondham Norfolk
Hi Petak yes mot for full year is the only option. I still have some MOT left at the moment from last yearYou have to take her to walk from time to time or she will get out of practice.
It is possible to get MOT for half year in UK?
In Croatia it is not possible. Full year or nothing.
Paul sounds like you're onto it. My temp guage works a treat very discreet too. I also have the red warning light that's hooked up to the cylinder head so I have belt and braces temp monitoring