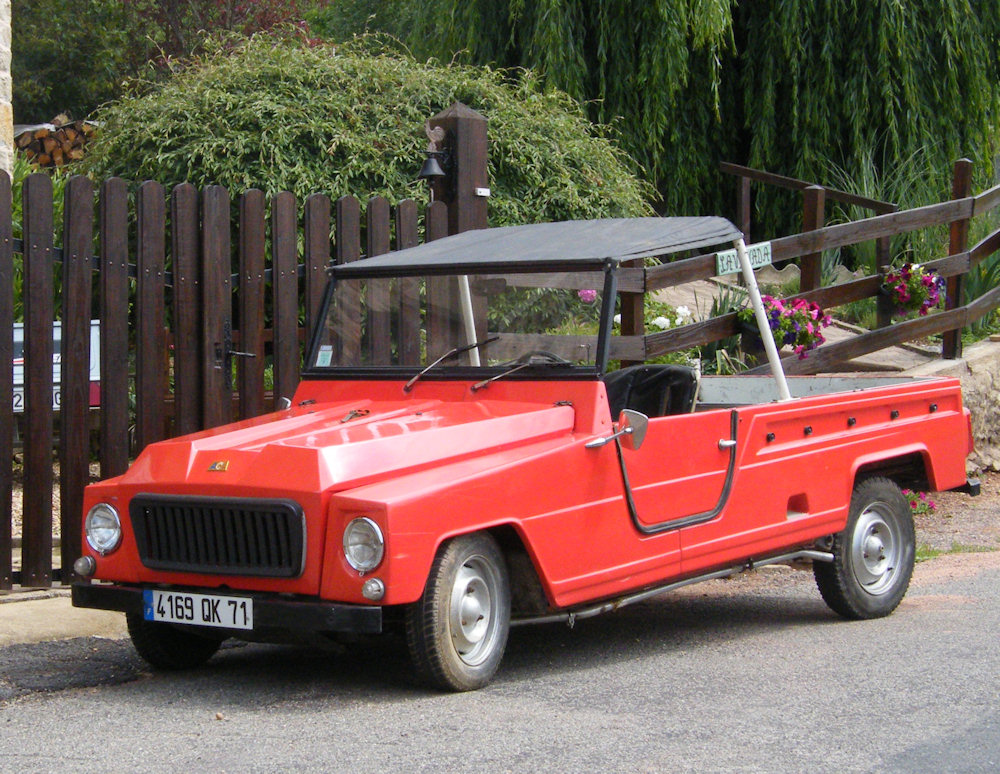
Getting the Rodeo through an MOT
The Rodeo was built in an unfortunate year - before the French required front seatbelts (for commercial vehicles) but after 3 point seatbelts became compulsary in the UK.
Fitting seatbelts is going to be a complete pain as the chassis is completely hidden by fibreglass panels. Also the Rodeo has been the subject of French mechanicing which is never a good thing. It has been sitting in a barn for 2 years.
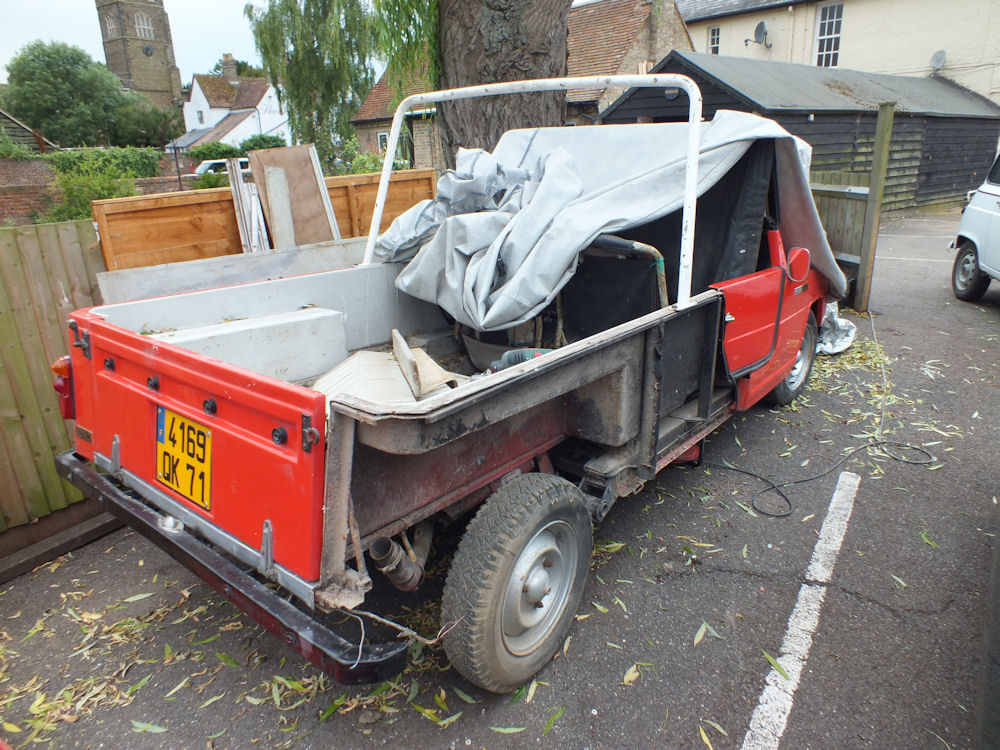
2 years later I have moved out of the barn and the Rodeo is outside my house under a cover. I can't resist getting it going.
Removing the rear body side by drilling out pop rivets should give enough access to the seatbelt mounting points on the chassis.
Nothing much happened initially apart from a lot of thinking. It looked difficult and I put the job off for a few more months.
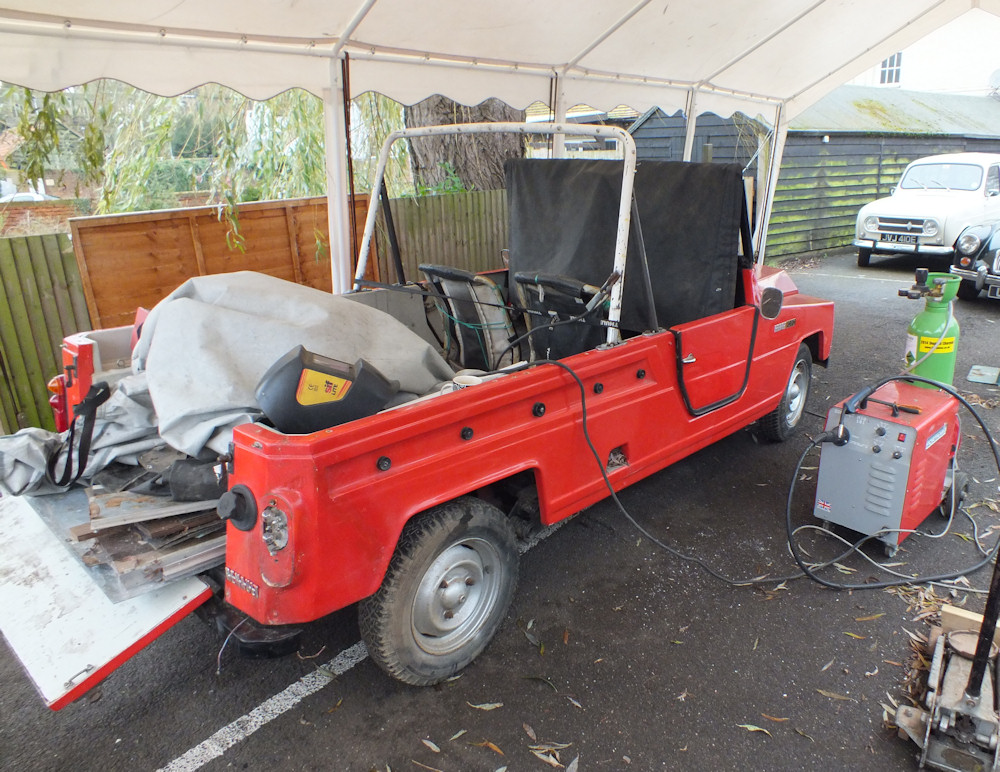
Finally in the winter holiday 2014-2015 the Rodeo is the only car I have that doesn't work and I've decided to fix it.
I've got a plan so the welder is out (or about 4 hours a day when it's not too cold or dark).
The lower seatbelt mountings should be reasonably straightforward as the chassis already has mounting points. The upper mounting points are the problem.
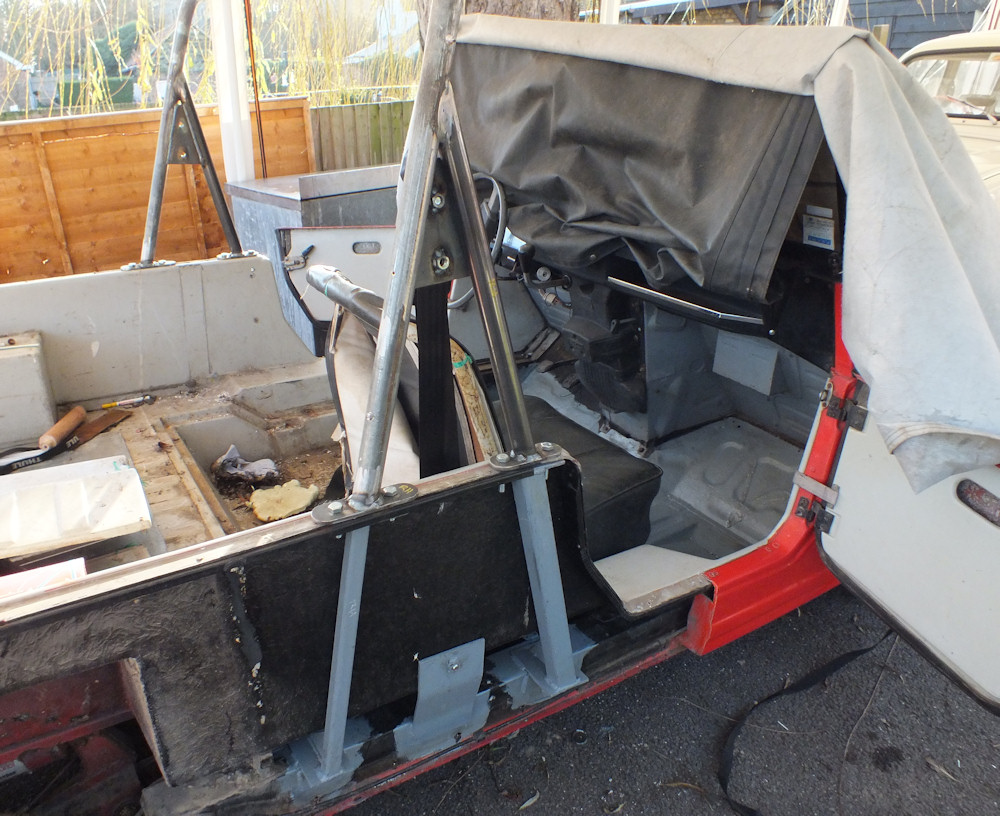
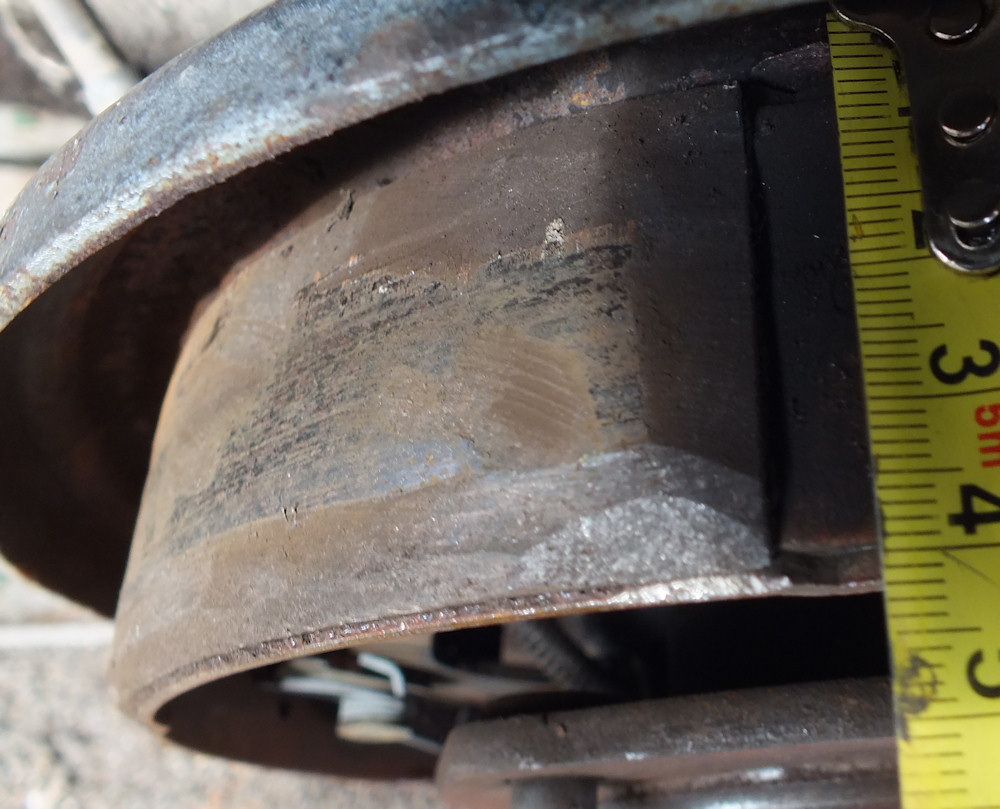
For the upper mounting point I'm going to incoprorate the original hood frame. It's quite substantial - 40mm tube about 3mm thick, but not really secured to anything sensible.
For a start I've added some more tube of the same size to triangulate the hood frame back to the top of the rear wing. This should stop the frame from bending forwards in a crash.
The tubes are welded to 6mm plate bolted to a similar nut plate below the side panel.
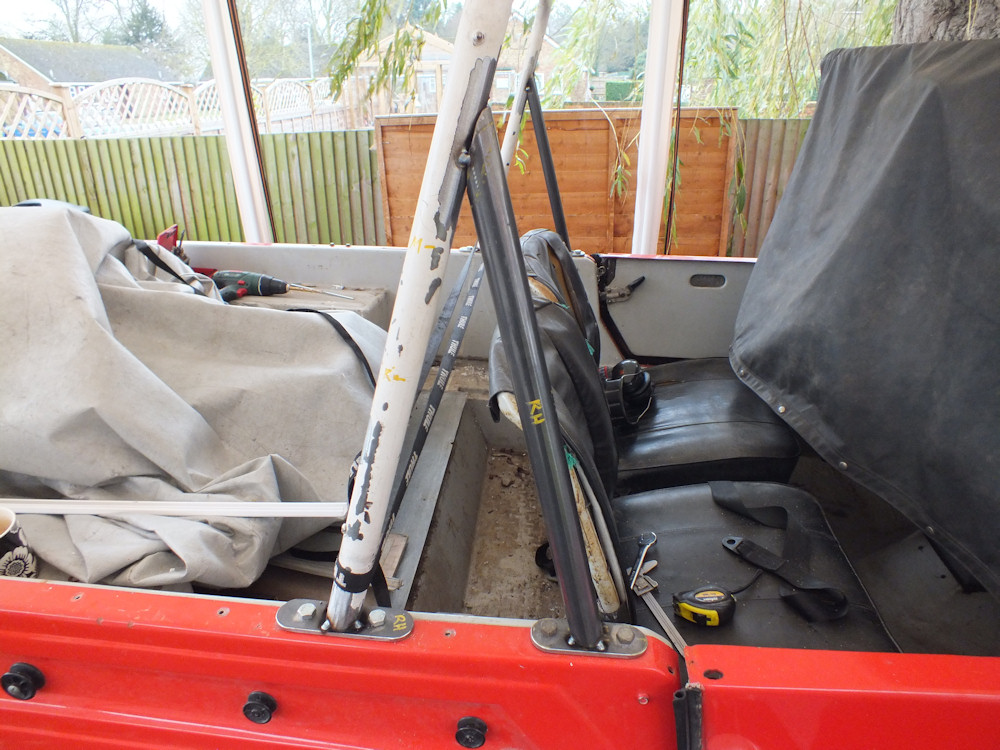
The top of the rear wing doesn't have any suitable structure inside so I need to continue the triangulation back to the chassis.
There is less space for the rear reinforcement than the front one so I've used a smaller section. It only just clears the step in the body side.
The rear reinforcement is angled forwards slightly to allow a little space in front of the rear frame for welding the bracket to the chassis.
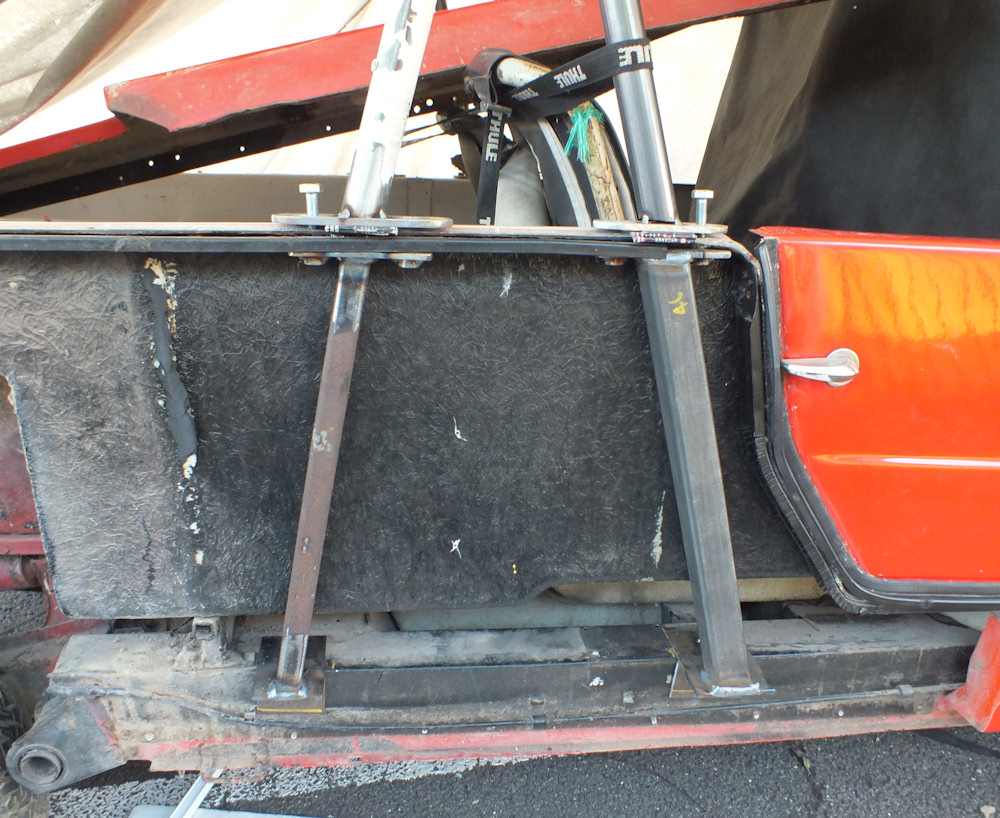
The Rodeo body is quite a lot wider than the chassis so the reinforcements need to be cantilevered from the side of the chassis.
I've welded in buttresses to prevent the brackets from bending. The brackets will eventually be welded to the chassis.
Now the structure is in place I've ordered some seatbelts. I can use them to figure out the exact mounting hole positions.
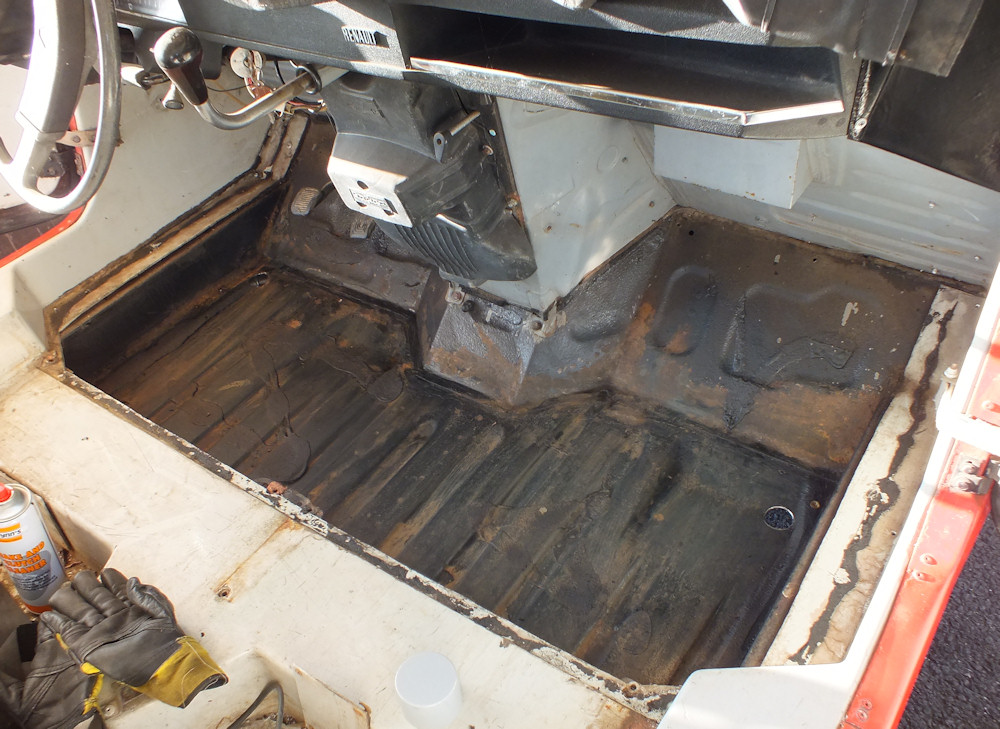
Rodeos are prone to rust between the fibreglass tub and the chassis. I removed the front floor access panel to see what state this one was in.
It needs a good clean up and paint but there is no perforation.
The rear floor is only accessible by removing the tub, but looking from the rear body side it seems OK. I'll spray waxoyl in there to preserve it.
A new chassis has been fitted at some point and the drain holes for the tub hadn't been added to the new chassis.
I've cut some new 50mm holes in the floor. The fibreglass tub can be seen in the middle of the photo with a drip moulding to direct water through the hole in the floor rather than tracking underneath the fibreglass.

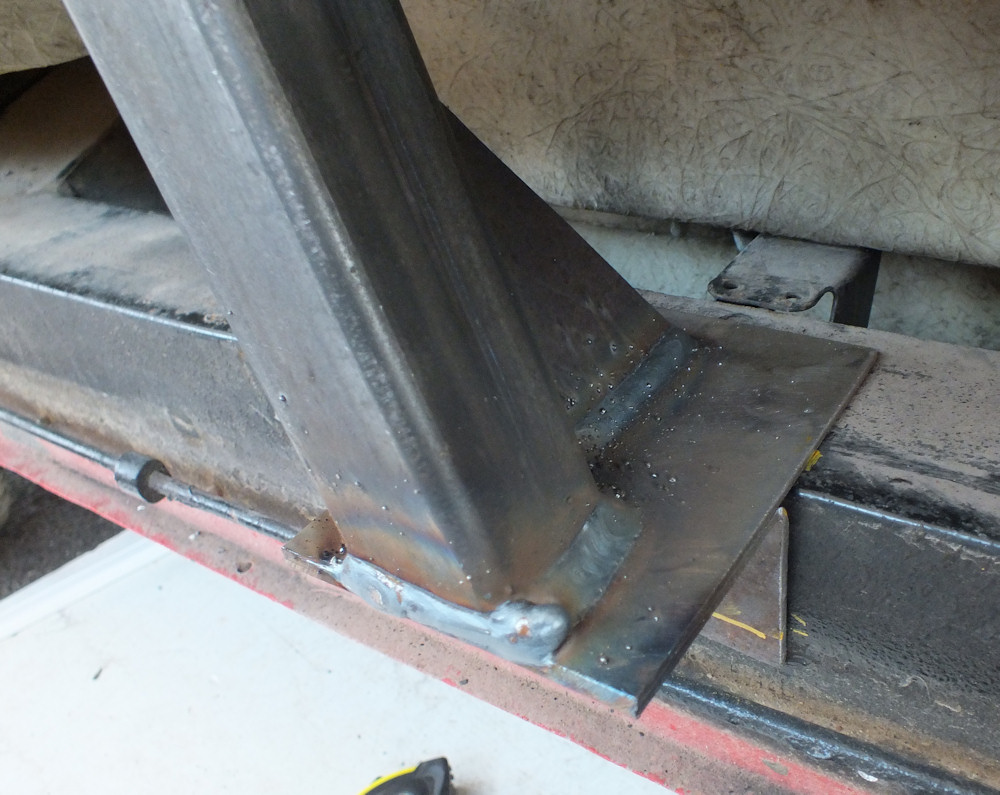
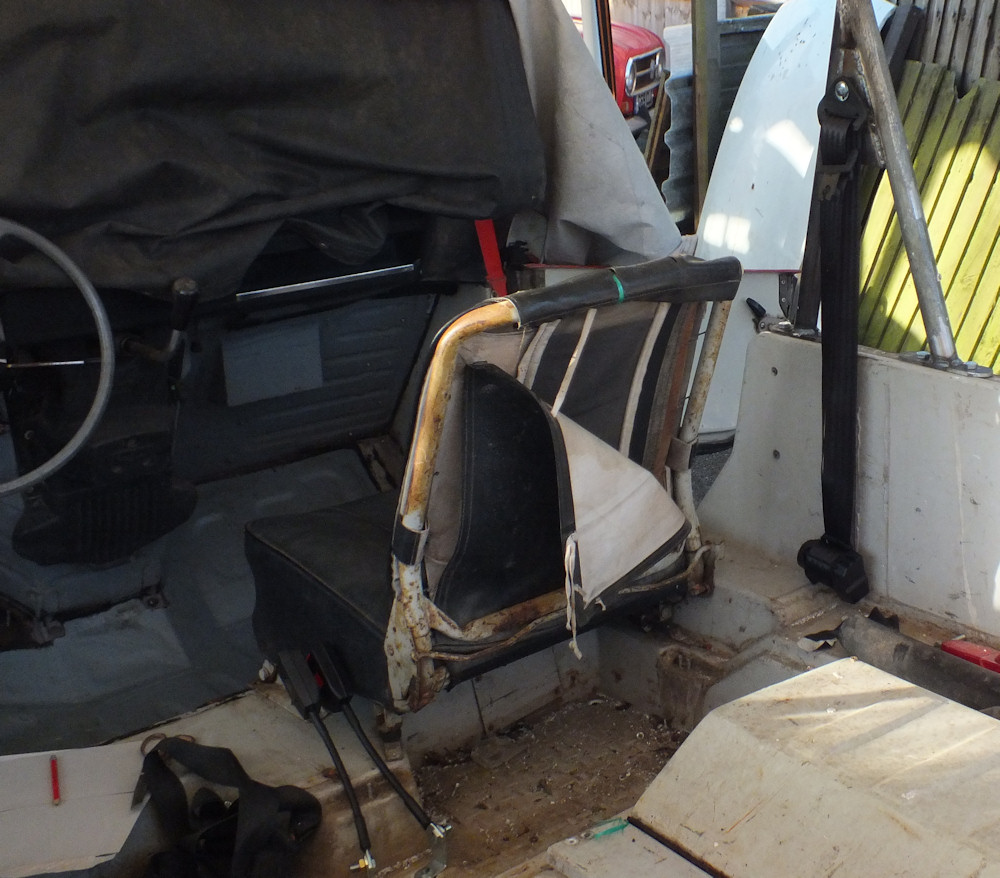
After another weekend the seatbelt mountings are finished and welded to the chassis.
The upper mounting is bolted to a 6mm thick gusset welded between the original and new parts of the hood frame.
The lower mounting is a 6mm plate welded to the chassis.
I used a Securon 500/30 inertia reel seatbelt kit. It is loosely fitted in the photo. The stalk mountings to the mounting point in the middle of the floor will probably be altered later on to allow the storage locker behind the seats to be fixed back in..
It might be worth doing something with the seat before it is bolted back in.
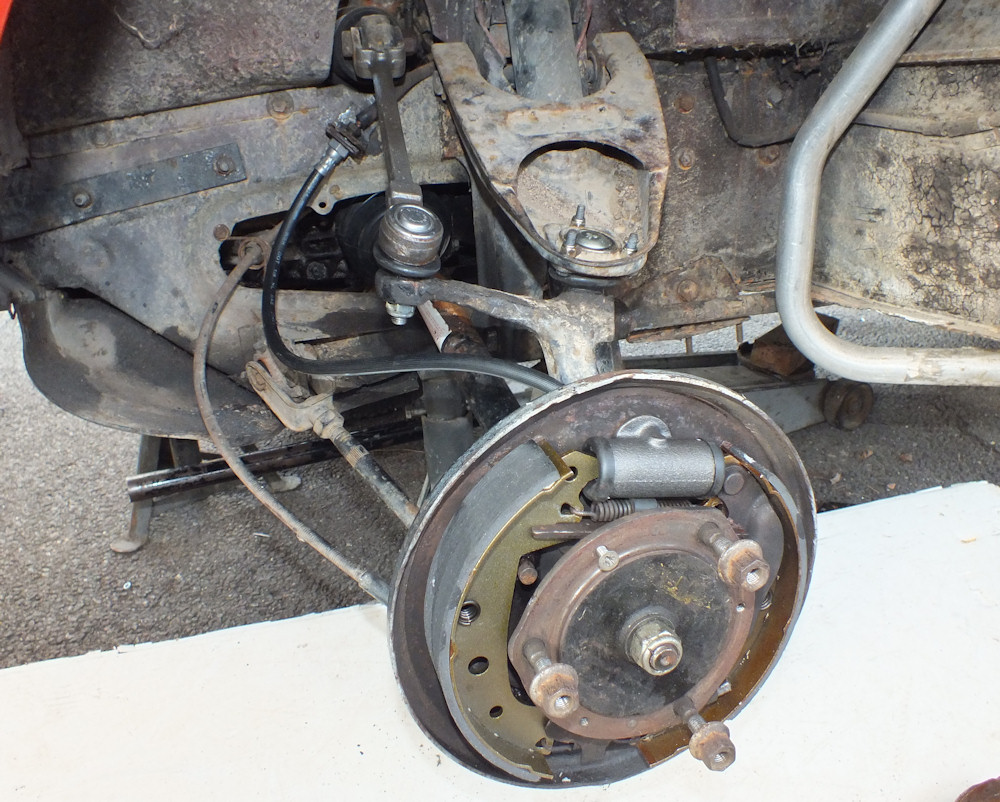
I know I can be a little critical about the standard of French mechanicing, but there is little on the suspension or braking system that would satisfy a UK MOT tester.
I was surprised to find some of the ball joints were only hand tight and that new brake shoes had been roughly scalloped with an angle grinder to fit because the brake adjusters were seized.
To be fair the car is also 43 years old. It needs ball joints, driveshafts, and a complete new braking system. The exhaust is new but touches the chassis.
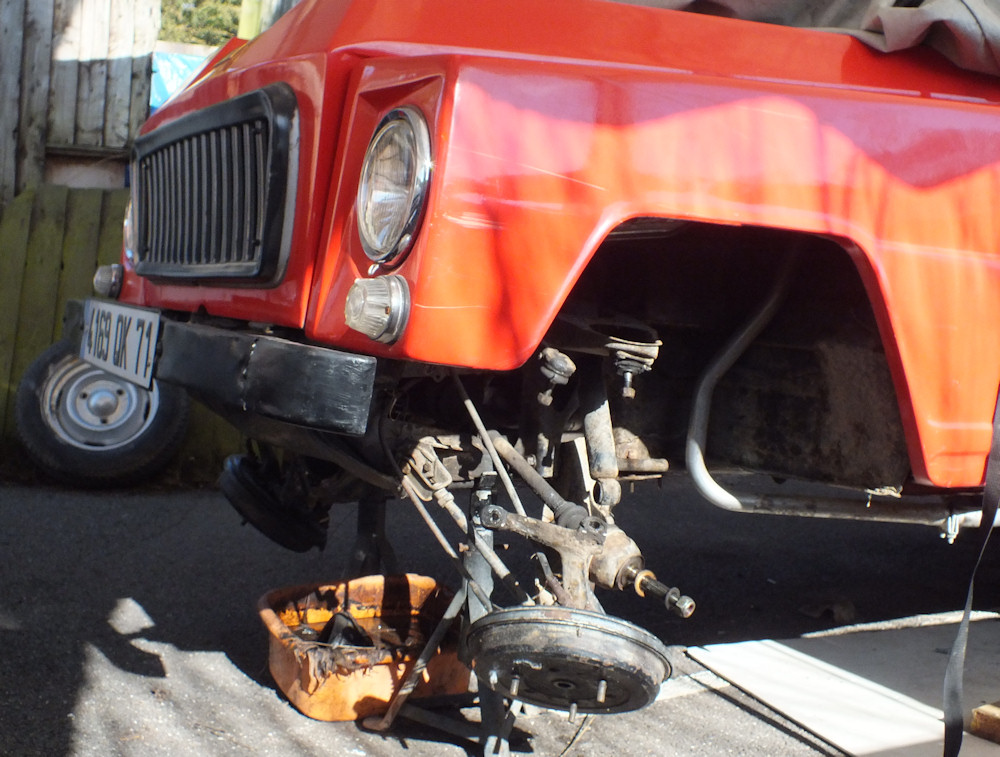
But first I wanted to adjust the ride height. Taking ride height information from the early van the Rodeo was about right at the rear but 50mm too low at the front.
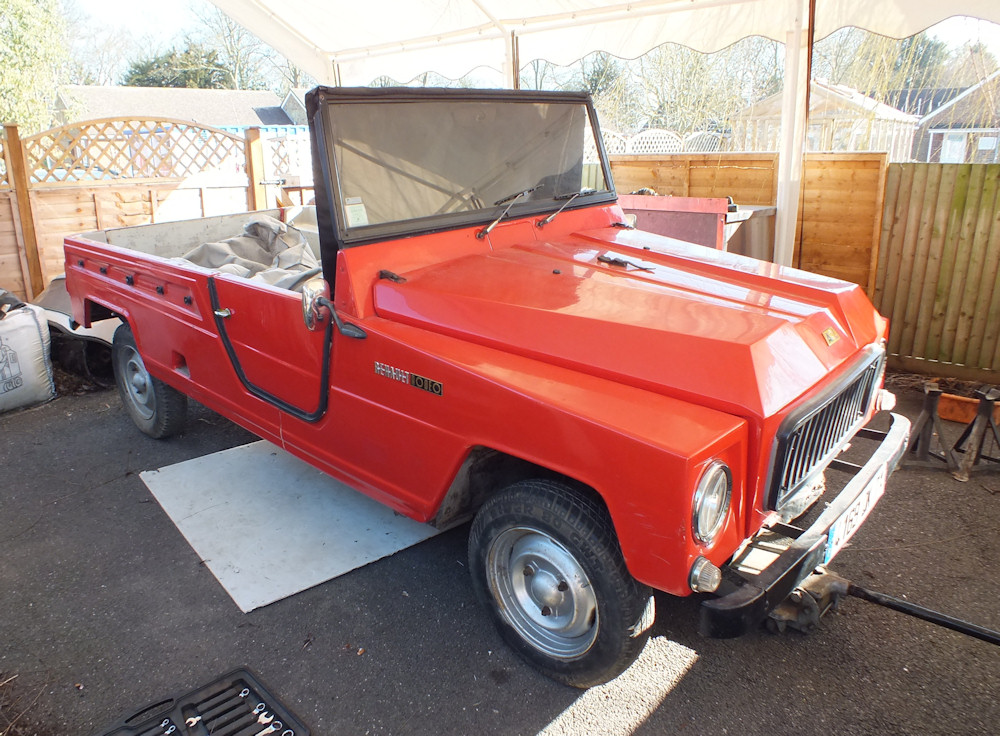
With the front ride height raised the car looks much better. The front even looks a little imposing with it's tall bonnet.
The front brake shoes had been replaced recently but rather than free off the brake adjusters the mechanic had scalloped chunks off the brake shoes so the drums would fit back on.
Much of the rest of the braking system needs changing too as the car has been unused for a few years, and the rubber hoses are starting to crack.
The front brakes needed new cylinders, hoses, and shoes. Most of the parts came from Der Franzose who managed to deliver to an old address which complicated things a little.
All of the rubber boots on the ball joints had perished so I've fitted new ones throughout.
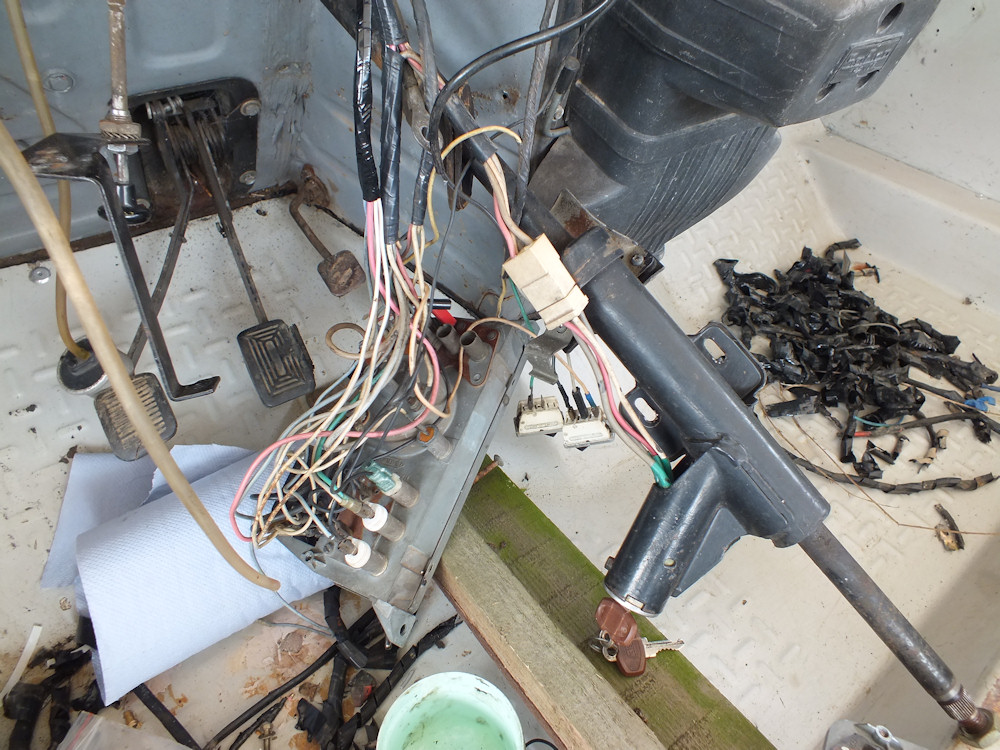
The wiring is not behaving and it has taken a few days to fix. It all started when I was trying to trace why one of the sidelights had only 1.5V. Turns out the rest of the volts were shorting to the chassis and a couple of wires needed to be replaced.
I've fitted new headlamps with the sidelight bulb modification so I can have seperate orange flashing indicators (the original indicator light was shared with the sidelight and flashed white).
Extra earthing is needed because of the fibreglass panels. I've made up a new earth loom for the front and the rear earth look is still in progress.
There are a couple of warnig lights missing from the instrument panel which will be needed for an MOT. I've found a good wiring diagram in the MR176 manual so ought to be able to figure out how to fit them.
The story continues on the forum.