Body Paint
For how to paint - I've written a spray painting tutorial complete with video on the MIG welding website.
Though this paint job didn't go very well due to silicone contamination. A clean workshop not shared by anyone else is a must for painting.
Finally onto primer. Currently the whole shell is painted with 90% zinc paint apart from the outer panels which are painted in self etch primer. I'm planning to coat the underneath with anti-stonechip primer, and the inside and outside of the car with 2 pack high build primer.
First the anti-stonechip primer. I roughly masked the body to stop the stonechip primer from spraying onto the outer panels . I used to use newspapers for masking, but these days buy huge rolls of brown masking paper from the paint shop.
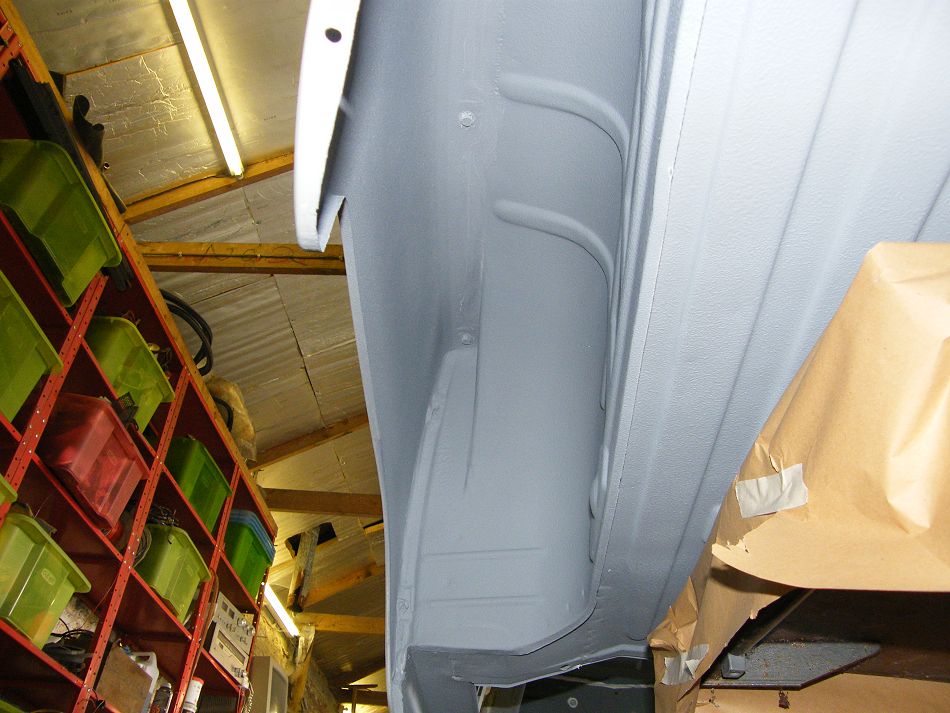
Here's the underneath of a rear wing after anti-stonechip paint. The stonechip went on the body very well - none of the paint disasters that had occurred on the chassis which had been ruined by out of date tins (supplied by the paint shop as new).
I checked the contents of the first couple of tins hadn't settled by pouring them into a spare paint tin to check for residue at the bottom before pouring back into the spray tin.
With a coat of body colour the underbody would be quite well protected. Though I'm tempted to also fit wheelarch liners to keep the mud from the fiddly places.
I've decided stonechip primer can be thinned with cellulose thinners and have sprayed it through a spraygun onto the front of the front wings, the front of the bonnet, the edges of the wheelarches, and the bottom of the sills. All areas where Ermintrude the Renault 4 is suffering from chips.
Oddly enough the front of the roof is another area with lots of stone chips. I'm planning to finish the roof with conventional 2 pack paint.
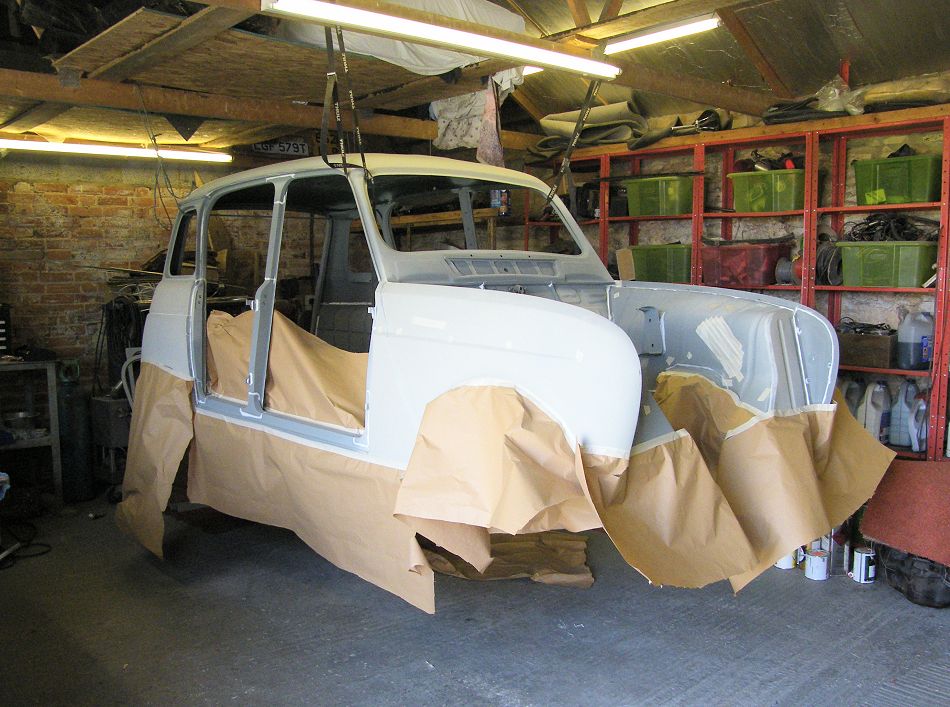
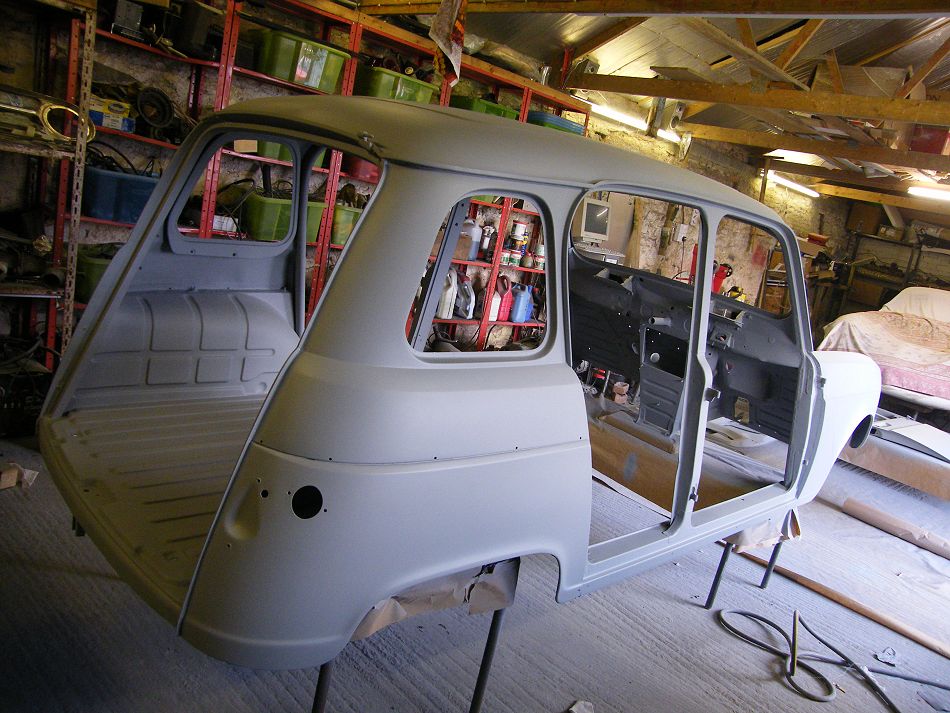
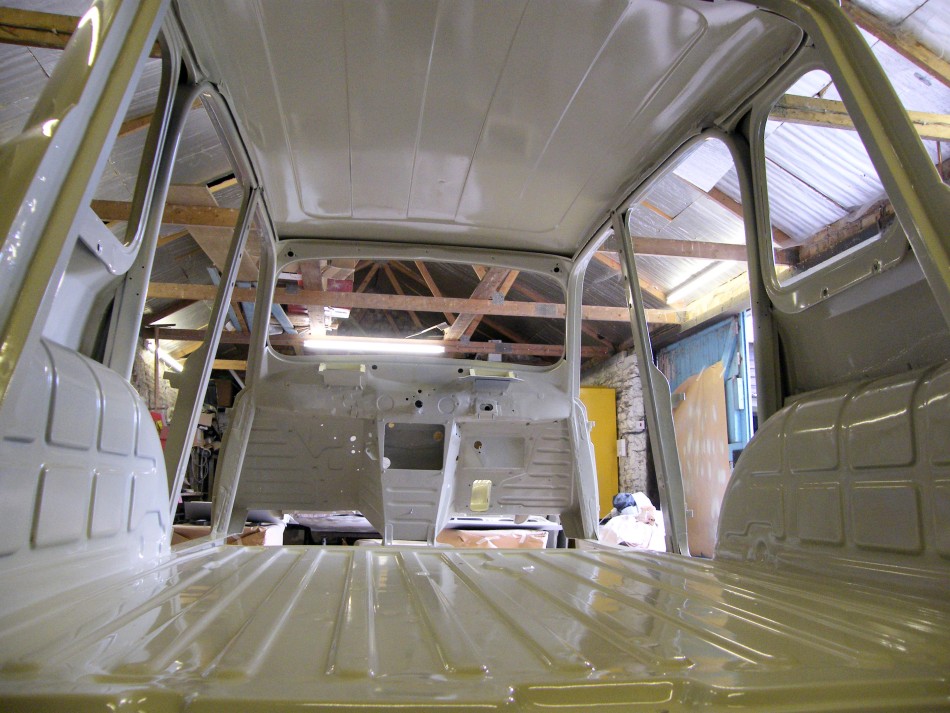
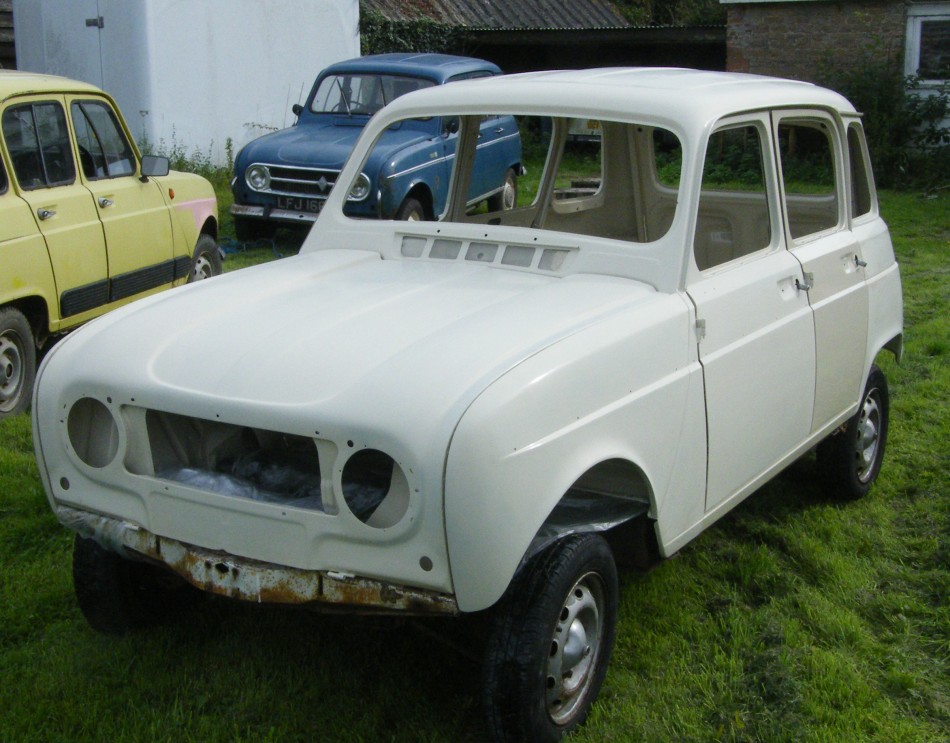
Finally the whole shell is the same colour. The photo was taken after the first coat of 2 pack high build primer sprayed inside, outside and topside.
Safety: 2 pack paint is not for DIY use - it can cause debilitating occupational asthma. I've used an air fed mask with appropriate air supply which can be had for under £500. Even then I'm not convinced it's a good idea for DIYers like myself.
The 2 pack high build is much more forgiving than cellulose high build primer, and the whole car has a nice silk sheen to it. Mostly the paint has gone on well, the only annoyances are overspray from the stonechip primer I'd not spotted, and the occasional bit of shotblasting grit still coming out of the bottom of the pillars. And thunder flies - though I think only one is included within the paint.
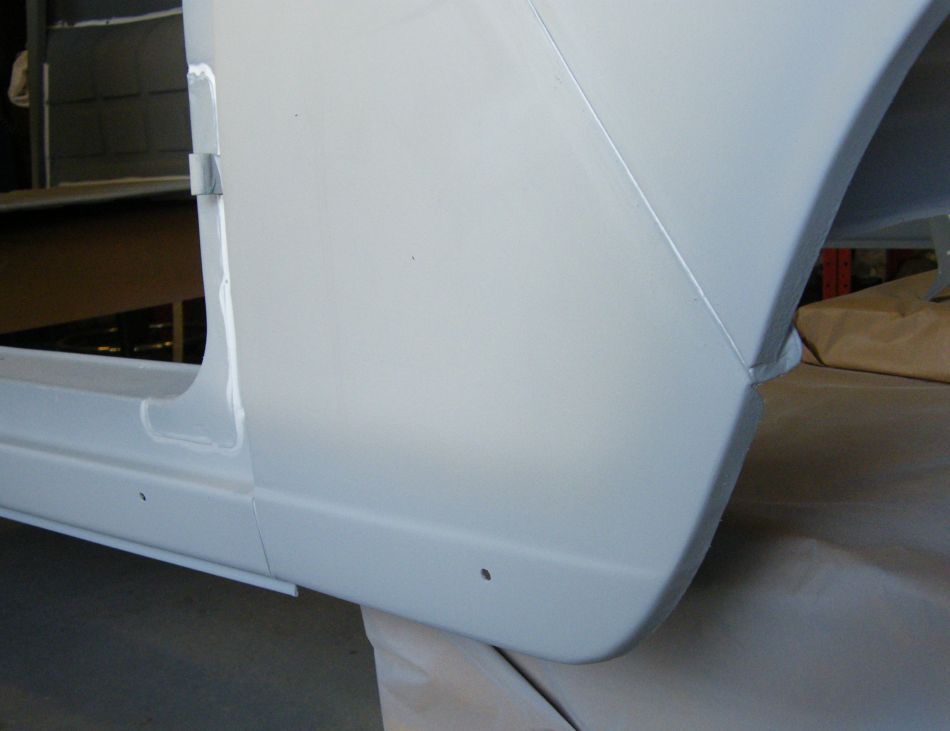
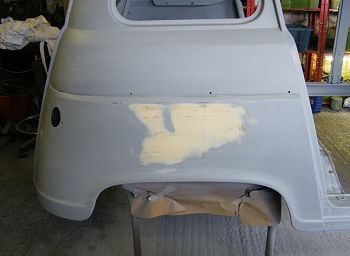
Disturbingly I've found a dent in the rear wing in the photo which I guess I caused while bolting it in place. Dents at this stage might be the sort of thing I would rather live with than sort out.
I decided to sort it out in any case. The little bulge in the middle of the filler roughly lines up with a screw that secures the wing.
It's not generally recommended to fill over paint, largely due to different sinkage rates of later coats into the filler and the paint which can leave visible edges. Though I'm hoping that will be less of a problem with 2 pack primer than cellulose primer.
I took the opportunity to wet flat the rest of the primer to de-nib and remove the overspray from the stonechip paint that I'd not noticed earlier. The filler in the photo had another couple of coats of primer to bring it up to speed with the rest of the car.
But what's this? Are preparation standards dropping in Clementine's garage?
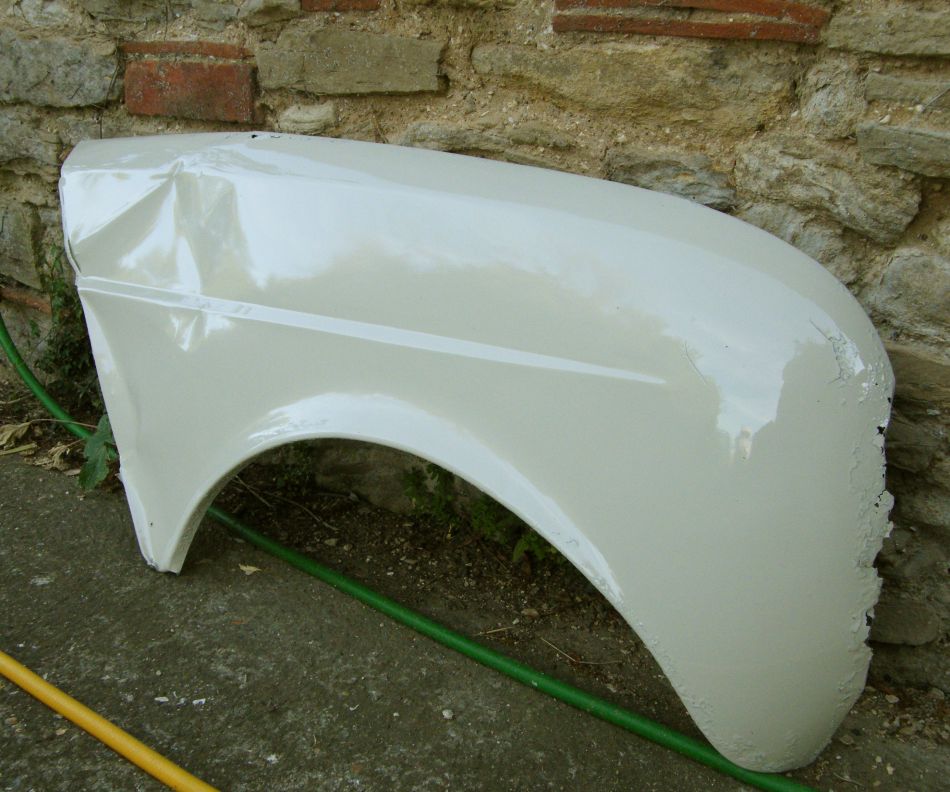
I've been having difficulty in deciding on an exact colour for the car. This is Renault 305 Rejean white which is actually a little more beige than it appears in the photo. I ordered half a liter from the paint shop and painted a scrap panel to see what it would look like on something Renault shaped.
I didn't like the colour initially, but it's growing on me. Especially when I put it in the sunshine.
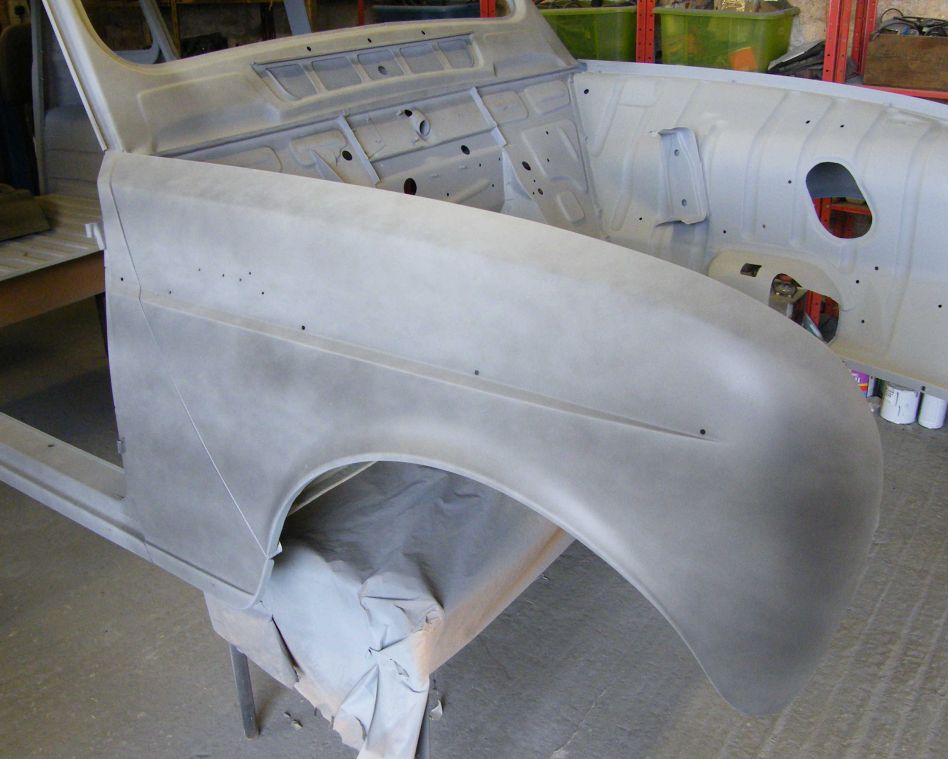
Here's the real front wing. All of the exterior panels have been treated to 2 coats of high build primer, and I've sprayed a fine layer of guide coat onto the panels.
The guide coat consists of heavily thinned colour mixed with primer sprayed thinly onto the panel. I'll flatten the panels with 600 grit sandpaper before colour coats. When all of the guide coat has been sanded off I'll know the panels are flat.
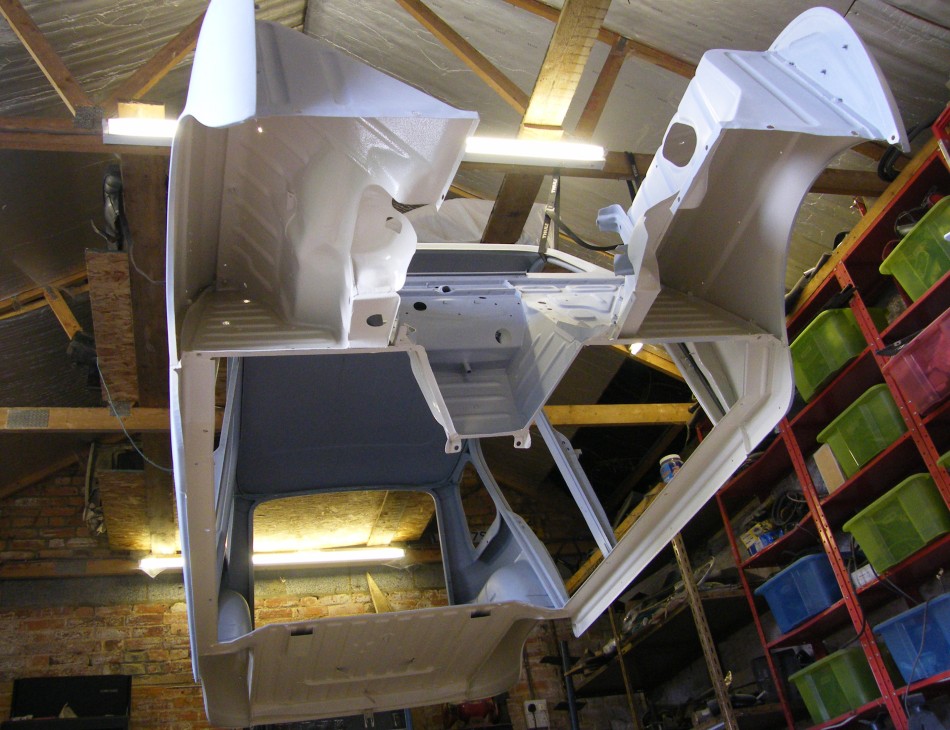
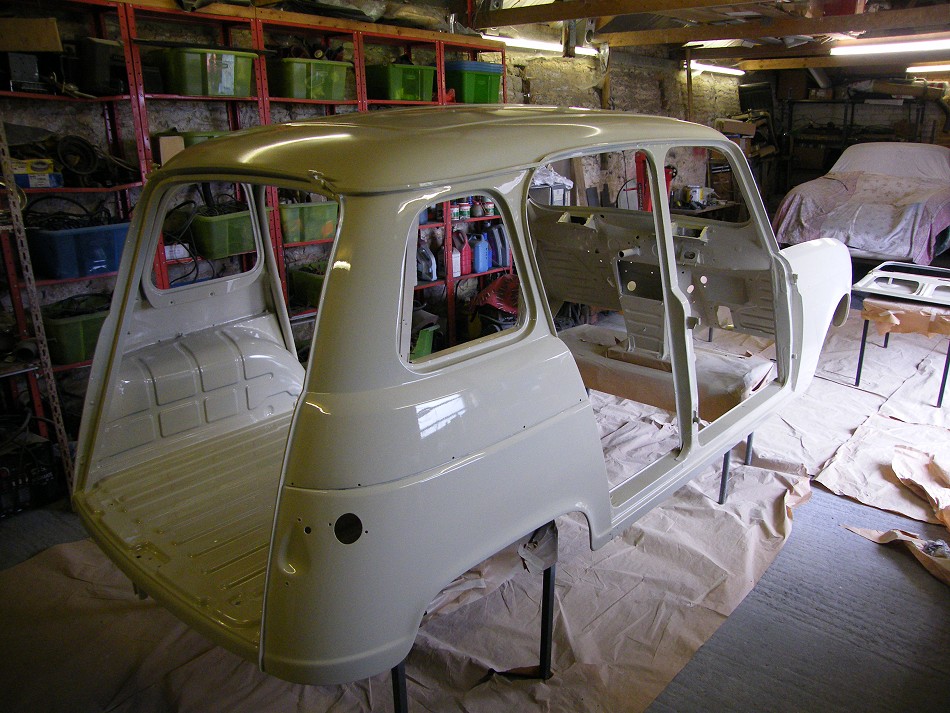
With the outer panels sanded flat the colour coat could begin. I've started by supporting the car in the roofspace again to paint underneath the wheelarches and the boot floor. The colour is the same as the test wing two photos above (rather than pink).
Painting under wheelarches is a nasty business. Light was poor under there, and while I could see the first coat reasonably well due to the colour change from primer, I couldn't make out the second coat at all. I went out to buy a hand held LED inspection lamp which was very useful. It was useful - Now it's covered in overspray.
The amount of overspray under there was terrible. It's a confined space and gravity was against me. The disposable paint suit and air fed mask were both covered in nasty sticky spray.
With the body back down to sit on a couple of tables it took a couple of hours to wipe over the whole thing with tack rags. These are cloth impregnated with glue which pick off all the fibres and dust sitting on the panels before paint.
I managed the whole shell in one go. Starting with the top of the roof, then the interior, the underside of the roof, the boot floor, then finally the outside.
What a transformation some shiny paint makes. The 2-pack paint has very good coverage and the job almost looks finished. Not quite though - I managed a few paint runs on the other side of the roof - mostly due to trying to get paint into the gutters that curve inwards. Ought really to have left that to dry and sprayed around the fiddly bits inside before tackling the rest of the roof, but I had a step ladder in the way at the time.
Also the tops of the outer panels had overspray on them from all the other spraying, and this shows up in the paint finish. My plan from here is not to touch the outer panels apart from rectifying and spraying over those drips. First I'll finish off the interior with a second coat in visible areas. After that wet flatting the exterior panels with 800 grit paper will have it ready for a final coat.
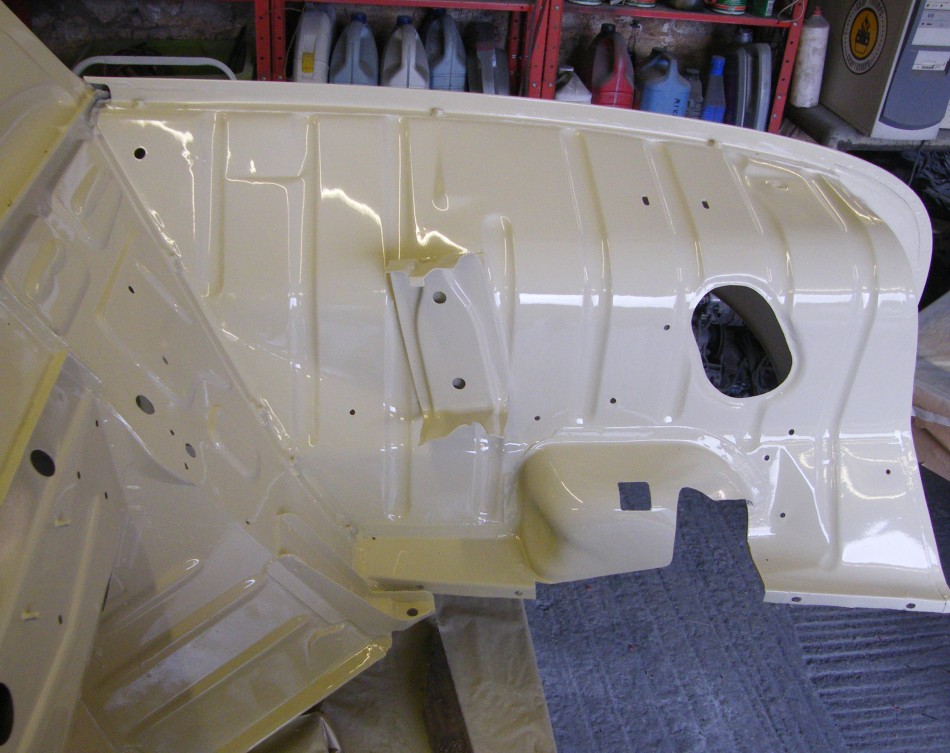
I think I may have the shiniest engine bay in the world at the moment. With the overspray problems from the first colour coat I decided to get the second coat out of the way on the interior panels before wet sanding the exterior panels.
I'll probably mask off the engine bay and interior prior to the final colour coats on the exterior to save the panels from overspray which would need polishing out.
I've been putting off wet sanding the colour coat on the outer panels. I've taken every excuse and followed every diversion. But it does need doing.
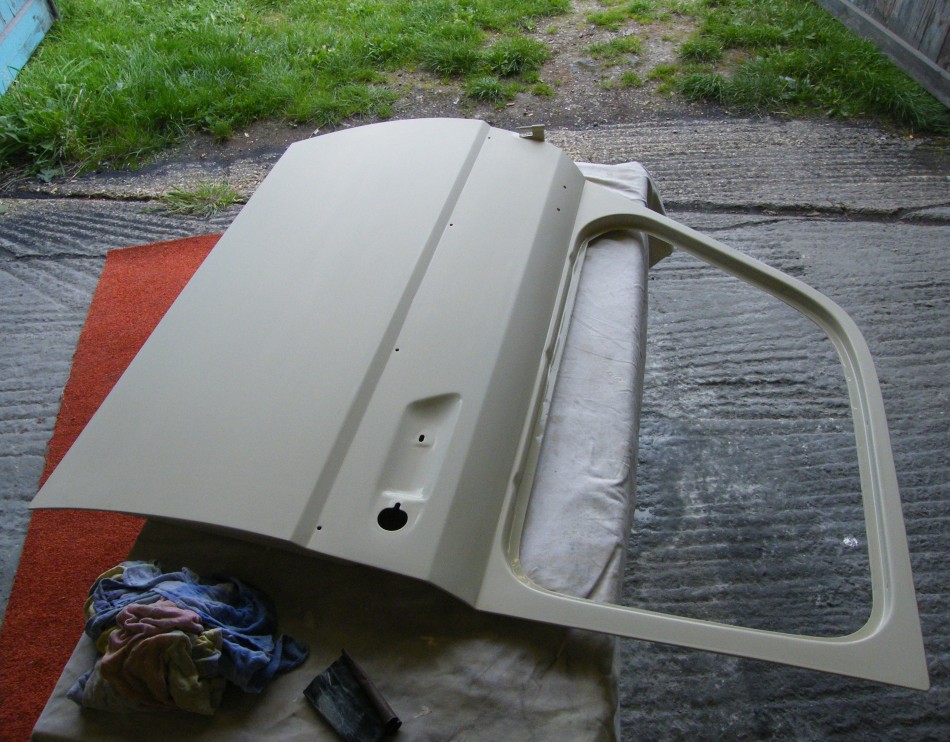
Here's a door panel sanded completely flat ready for the final colour coat.
But then disaster struck!
The top coat had fish eyes (small holes in the paint). I only sprayed a small amount of the bonnet, then a bit of a door to see if it had the same trouble. It did.
Turns out the most likely cause of fish eyes in paint is silicone contamination on the panel, and the most likely cause of that is the guy sharing the garage who has been sanding a GRP car.
Rectification work will take a while. I'll try washing the panel with soapy water, rinsing and drying then washing the panel with brake cleaner. The chances of that working are fairly slim, so silistop (a silicone additive that stops the problem but creates others) is a back up option.
Unfortunately none of that worked. The rear door panel is the only panel with a final coat, and that's full of fish eyes.
I suspect one problem is I've been waiting for reasonable weather to apply each colour coat, and the weather has been poor so I've had a long wait. Whatever silicone contamination there is in the garage has the time to spread.
I've given up and called in a professional painter. The panels are assembled onto the car ready to trailer over there in the middle of October. He's confident that sanding much of the top coat off and painting the car really quickly will get around most of the silicone trouble.
That wasn't the worst of it, and the project was abandoned for a few months. See the next page for why and how it was sorted out.


