Body sealant
I'll be painting the Renault in 2 pack paint. Probably in a cream colour, though I'm planning to not make my mind up until the last possible moment.
I'm going to aim for the sort of R4 colour you might see in the sunshine while on a French holiday. And it ought to be a Renault colour given my efforts to maintain complete originality in the faithful restoration of this car built somewhere between 1967 and 1985. Though the cream you sometimes see on the new Mini might look good on something other than a new Mini.
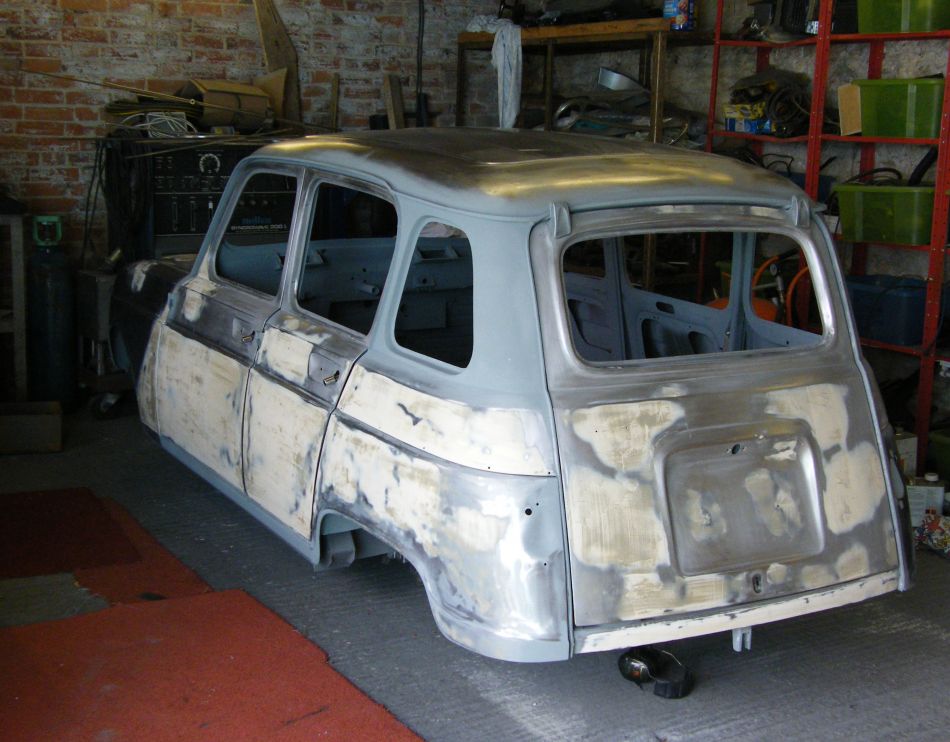
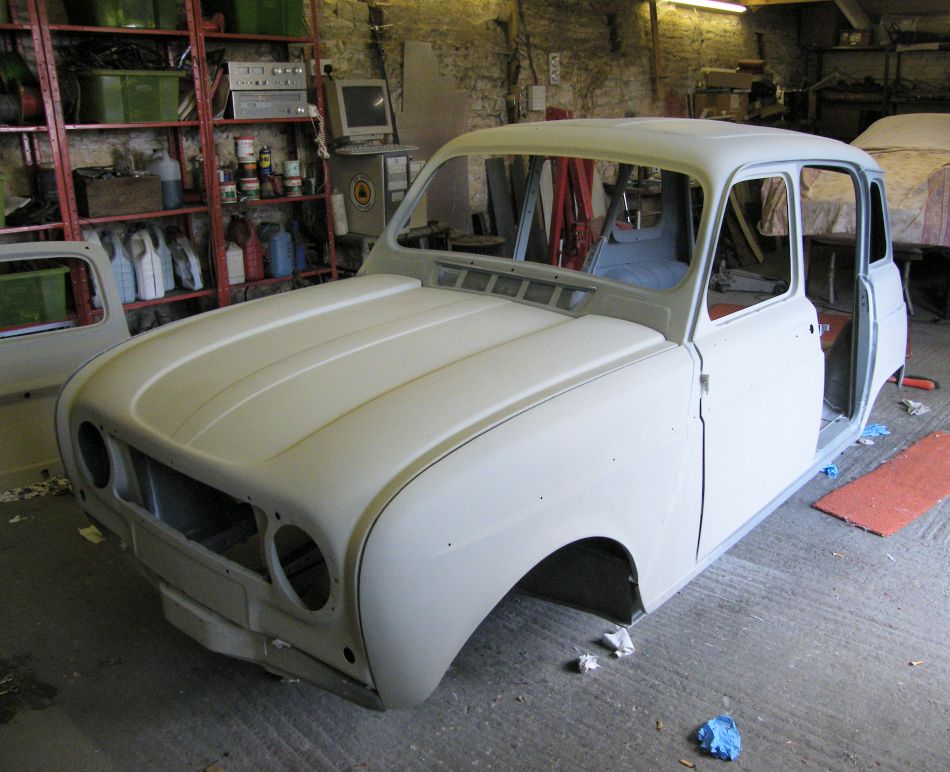
Here's the project after an extensive course of body filler and panel fitting, and a very good wipe down with panel wipe.
It's at this point where you'd hope things would speed up a little, but while the paint goes on quickly you'll have forgotten about the seam sealing. Sealing is critical to keeping rust away. All of the rust you'll see in a R4 body will be down to failures in sealing. Water creeps into the seams and can't get out again. It sits there and creates rust.
There are roughly 100m of seams in the Renault 4 which need sealing if you happen to have sandblasted all of the old sealant out. This would end up taking roughly 2L of PU sealant (seven of the little 310ml tubes) and 1L of brushable seam sealant.
But before I bore you with all that here's a bit of paint.
The chassis and insides of all the panels have already been painted with my magic 90% zinc primer which apparently acts as a poor man's galvanizing. It did seem effective in preserving the bare metal of the outer panels while I was doing the filling which is encouraging.
For the outer panels I'm starting off with self etching primer. It contains a bit of phosphoric acid which etches it's way into the panel and this makes it stick very well.
At this stage I'm spraying the panels off the car. There 10 outer panels and two inner wings plus the body itself, bonnet and tailgate hinges, the air intake flap, and the finishers behind the rear doors. I was spraying things in the same spot so had to wait for one part to dry before starting the next. So it took all day.
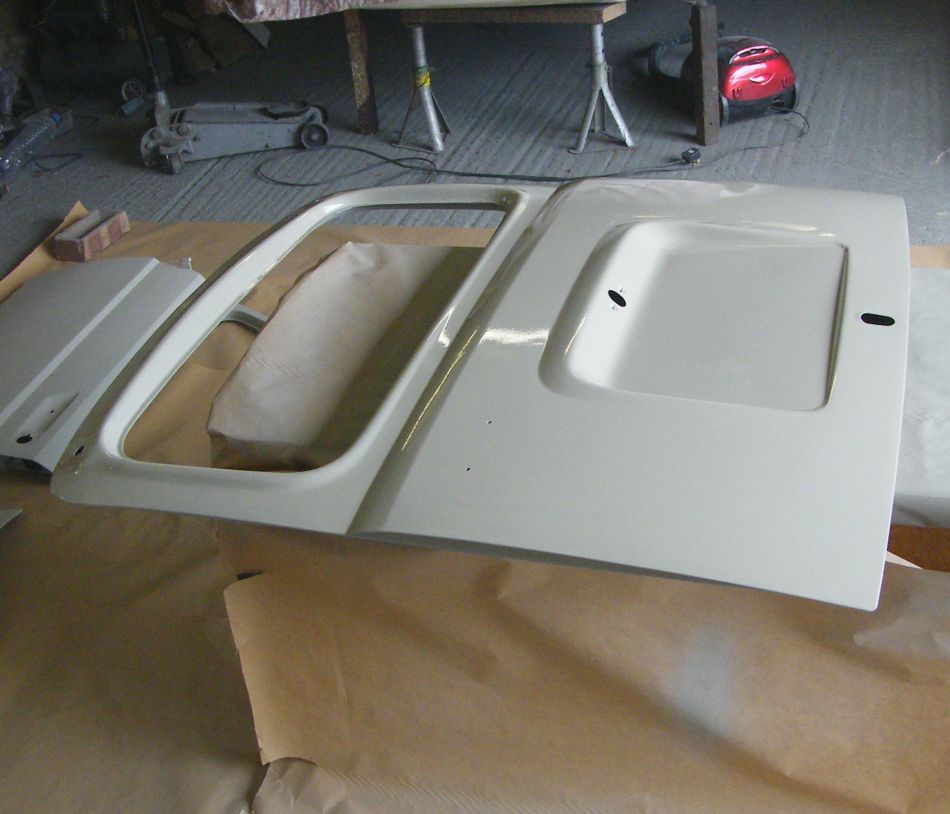
It's a good motivator to get all the panels in primer. Panels that looked like a dog's breakfast all through preparation now look like something that might end up nice.
But storing all of the panels after paint is troublesome. I share the garage with a weekend mechanic. During the week I can put the panels at his side of the garage and work away. At the weekends I have to bundle everything into my end and mow the lawn.
I suppose the panels could be stored in the house.
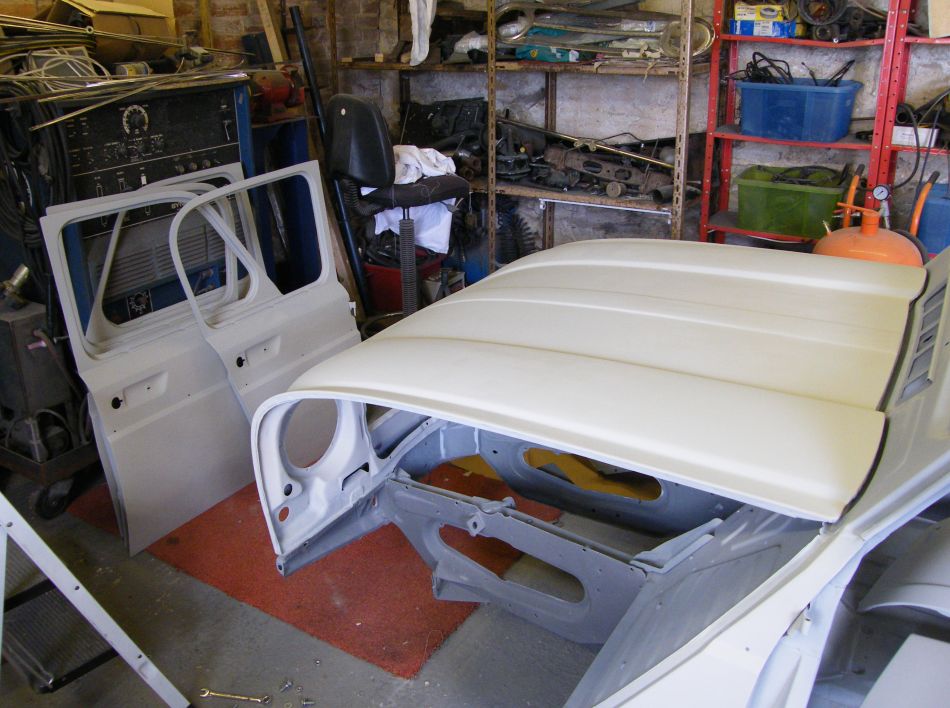
On to seam sealing. I removed all of the sealant before I shot blasted the shell as a lot of it was lifting. It only lasts for 25 years - possibly longer than Renault expected, but inconvenient for those of us with 40 year old cars. I've forgotten which seams were originally sealed so I'm planning to seal all of them.
My cunning plan with this project (and one I have never tried before) is to seal on top of my high zinc oil rig protecting paint. It's a similar approach to the one modern manufacturers take - they'll apply sealant on top of phosphoric e-coat dip paint. So my approach will hopefully work.
I'm using tubes of PU sealant. Using a sealant gun to lay the sealant somewhere near where it needs to be, then persuading it into the seam with a gloved finger rubbed with thinner.
The thinner (I'm using cellulose thinner which doesn't melt this paint) stops the sealant from sticking to the glove and leaving little strands all over the place.
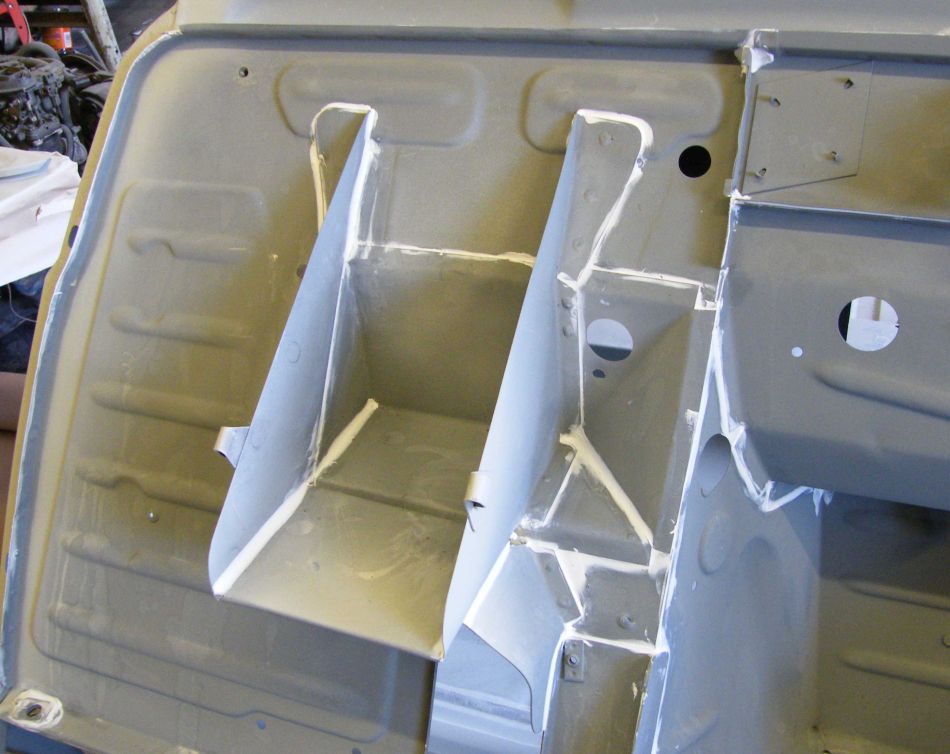
Incidentally, for attaching inner or outer wings the trick seems to be to coat the seam with a hefty bead of sealant, then carefully maneuver the wing into position. After bolting in place the sealant should have completely covered the mounting face, and spread out on either side.
The excess sealant can be smoothed with a finger, and anything too excessive wiped away with a number of rags soaked in thinners. The sealant ensures there will be no gap left behind the wing to soak up water and rust.
The outer wings on Renault 4s are a bit funny. In the factory they would be fitted before paint, but the sealant on the outer face was then wiped away as far as possible. After painting a bead of black sealant was applied to finish the joint.
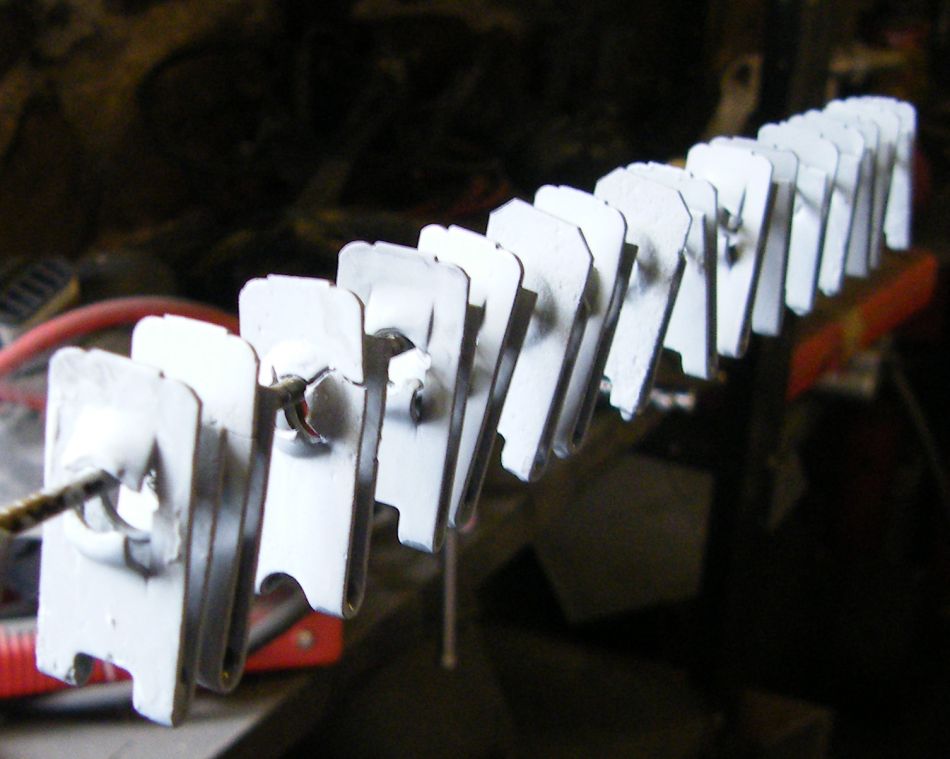
I had a great deal of trouble finding spire clips of the correct length for the wings. Most people seem to stock standard length ones, but the front wings on a R4 use extra long ones at the top and extra short ones at the rear.
Renault claimed to be able to source some, but this turned out to involve putting them on back order with an unknown delivery date. In the end I found a motley selection of used clips and sandblasted them before dipping them in my high zinc magic paint.
Of course the self tapping screws I bought were the wrong size for the nuts, so back to the sandblaster to prepare some original screws.
Fitting the wings for a final time is really a two man job (one to push and one to tighten the bolts). It would also have helped if the car hadn't been sitting on castors. It span around when I attempted to persuade a panel into place single handed while holding a spanner in my teeth.
I've ended up compromising the height of the bonnet again - anything up to a 10mm spacer below the bonnet hinges will probably be required to make it line up with the wings. Still, I had been worried about clearance to the 5 speed gearbox so this may not be a bad thing.
But isn't she starting to look sweet.
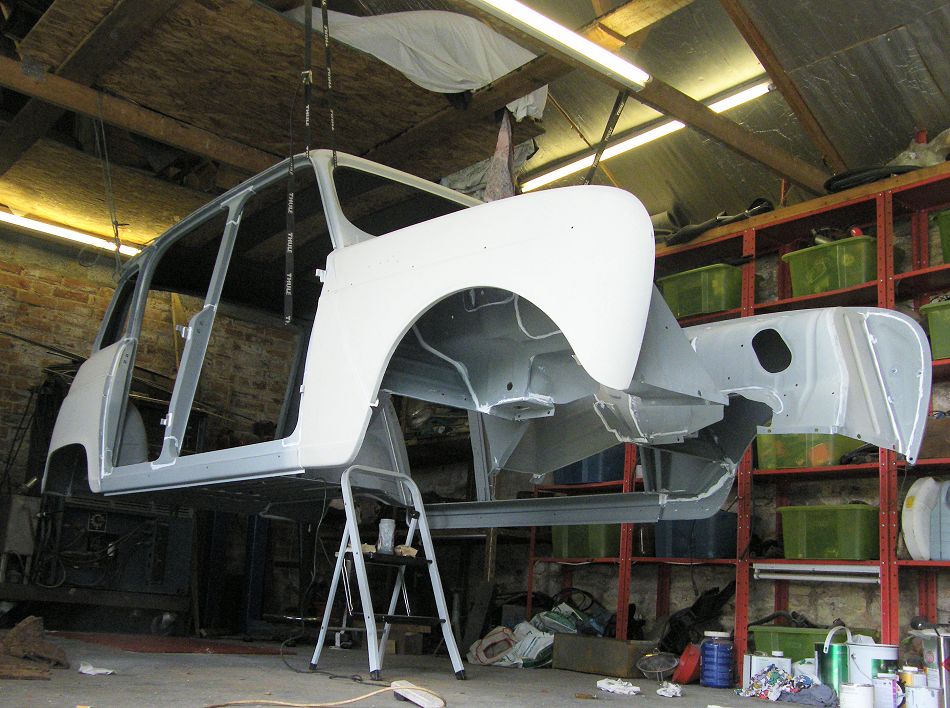
Of course there's still the underneath to do. I've suspended the whole shell on the roof rafters to make it easier to get to the parts that would have been obscured by the chassis. Very soon the underneath will be treated to anti-stone chip primer so it's handy to have the shell suspended.
I took the opportunity to remove the felt strips glued to the roof behind the headlining as rust was forming behind them. That's something I maybe should have done earlier in the project as it's causing quite a mess.
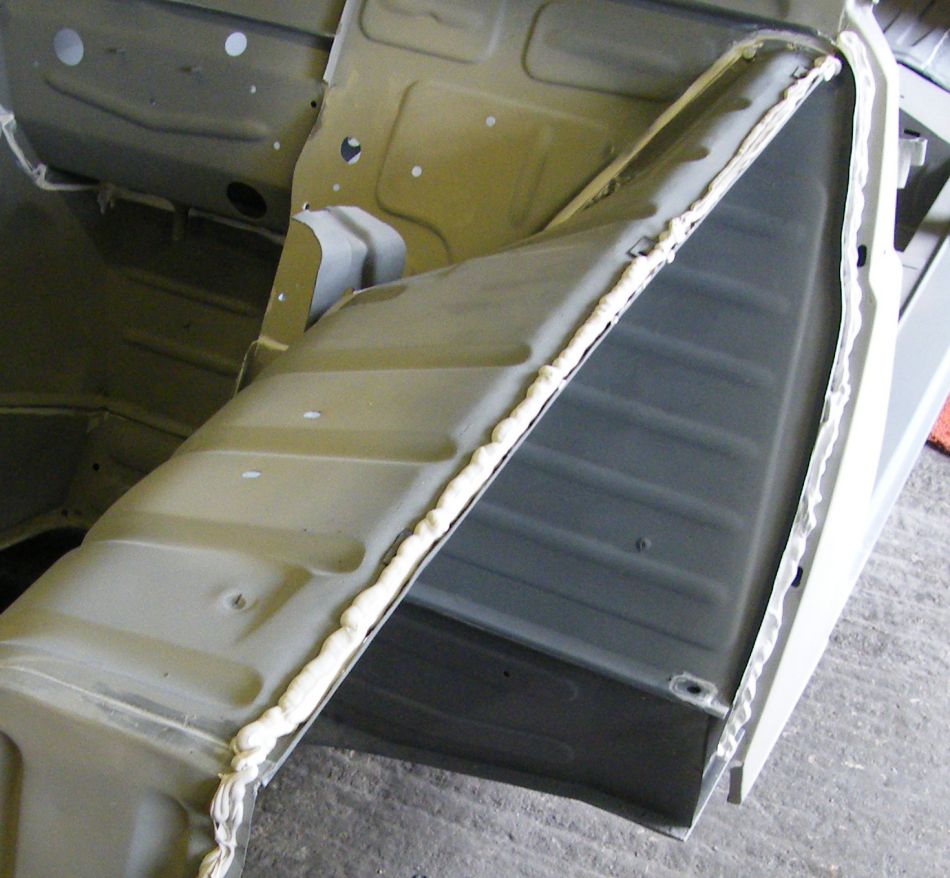
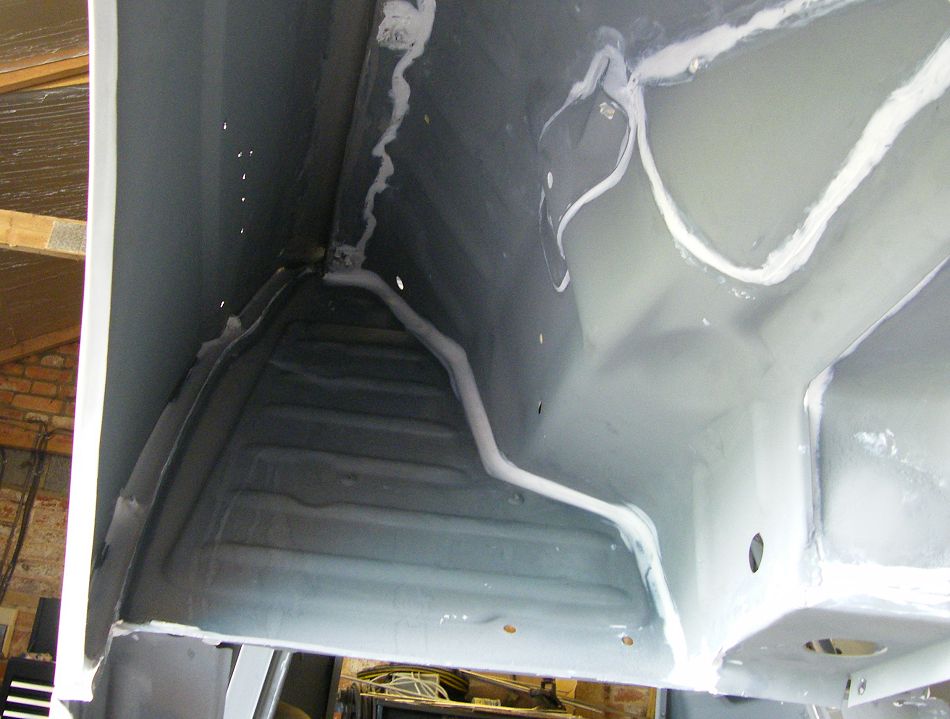
The squiggly line of sealant at the top of the wing is roughly along the line of my weld repair to the inner wing.
Just below that in the photo is the lip where the outer wing sits over the inner wing. Seemed silly to me to have a lip there which would instantly fill with mud to kick off the rotting process, so I've filled that with a dark brown brushable seam sealant that's just about visible in the photo. The little holes to the bottom right are for a badge that will read "Renault 4". The other wing doesn't have the badge, presumably as it would be reversed on the other side and read "4 tluaneR".
I've been using the sealant to smooth out mud traps like the ends of the screws on the rear joint of the wing. With luck the mud will roll off them. Ready for primer now.
PS - never use silicone sealant on a car. Paint doesn't stick to it, but worse the silicone evaporates off and coats everything else, so paint will steer away from your panels too leaving bare silicone spots that are very tricky to correct.
Next - Painting the chassis, or back to the Gordini Project


