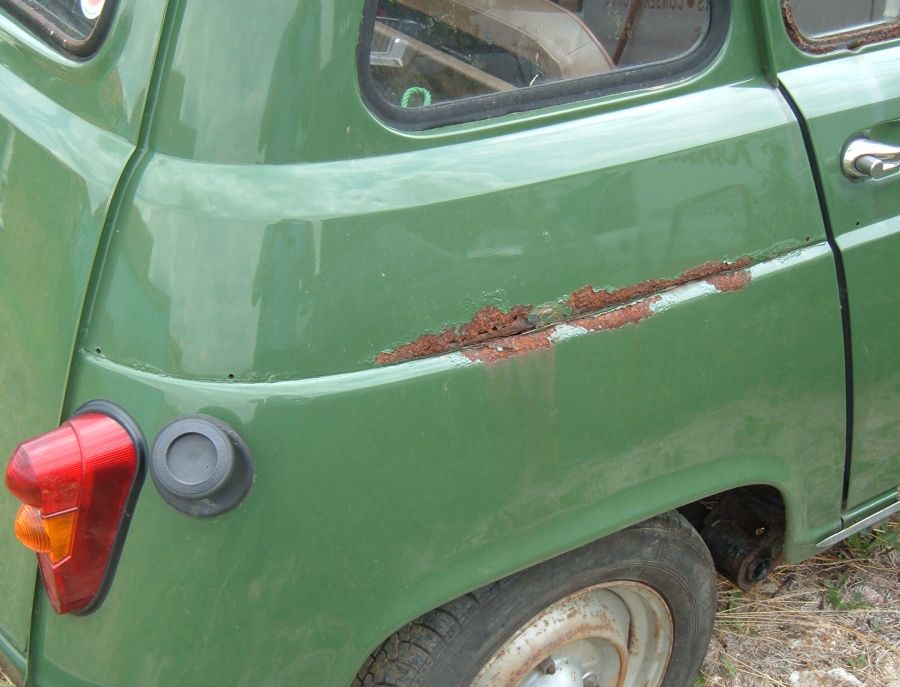
Rear body repair
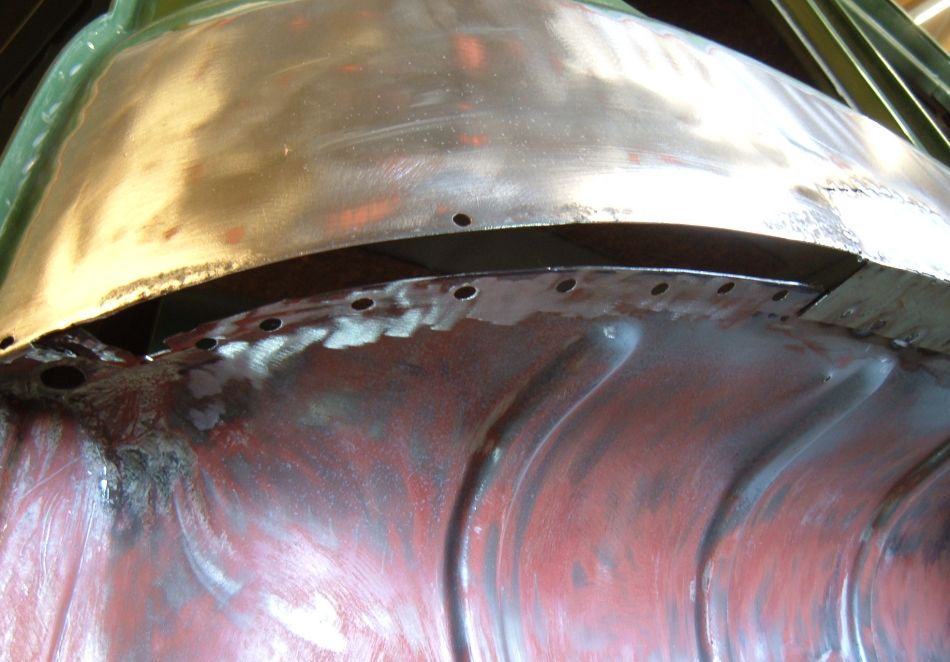
Rust in the top of the rear wing is a common problem on the R4.
The flange at the top of the wing panel is open on the inside to mud from the road and can rot through within a couple of years unless the joint is sealed properly when the wing is replaced (it rarely is).
The lower wings unbolt so aren't really a problem, but the upper wings are welded into the shell. They are a really fiddly shape and difficult to repair nicely.
This is the first time I've written about this repair. That's because I avoid cars with rust in this area - it's a fiddly job, but probably unavoidable on 40 year old UK R4s.
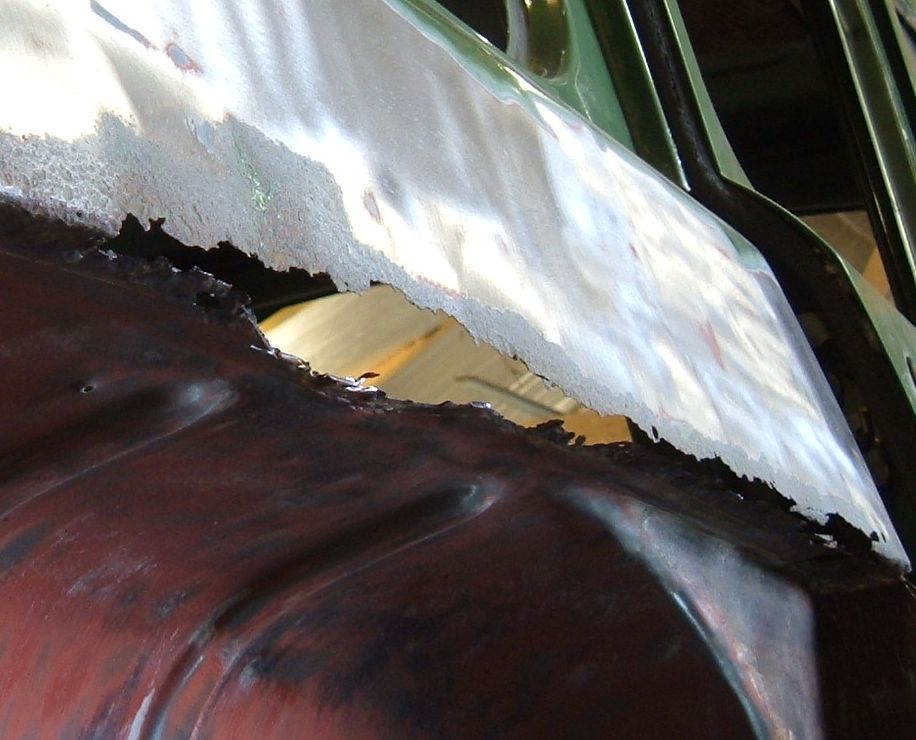
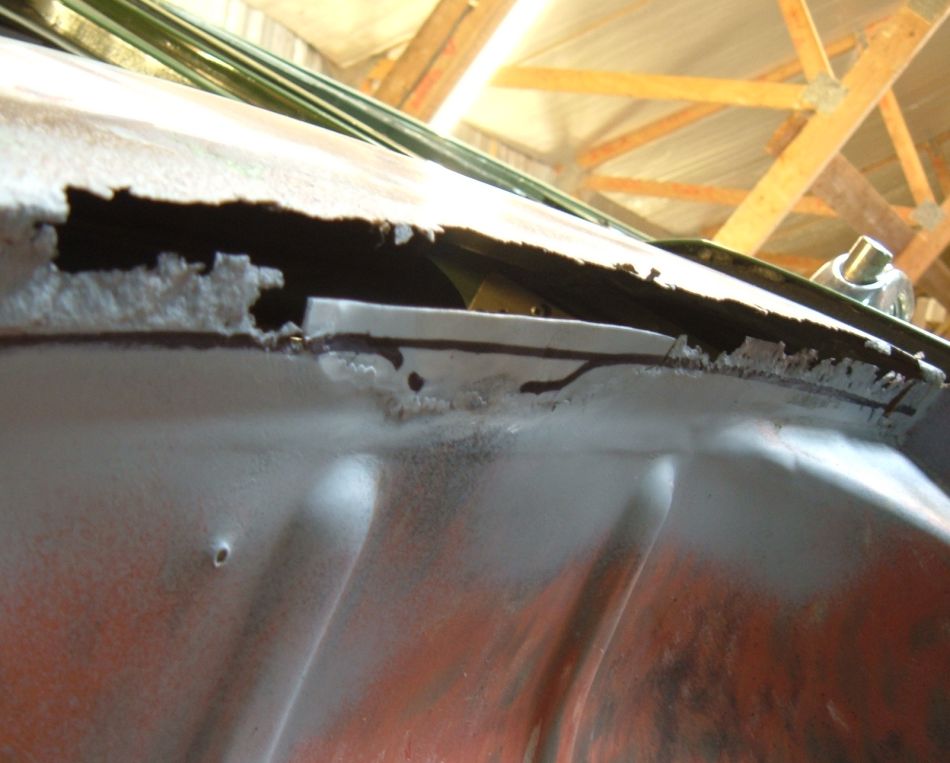
Rust is always worse than it looks from the outside. The paint was stripped away with a "clean and strip" disc (lovely things) and all the sealant inside the wing removed. Turns out the damage is extensive on this car. The outer panel has detached from the inner panel over most of the length of the join.
That makes things difficult for positioning. The joint that has rusted away would have held the outer panel in tension, and without that joint the panel is completely the wrong shape.
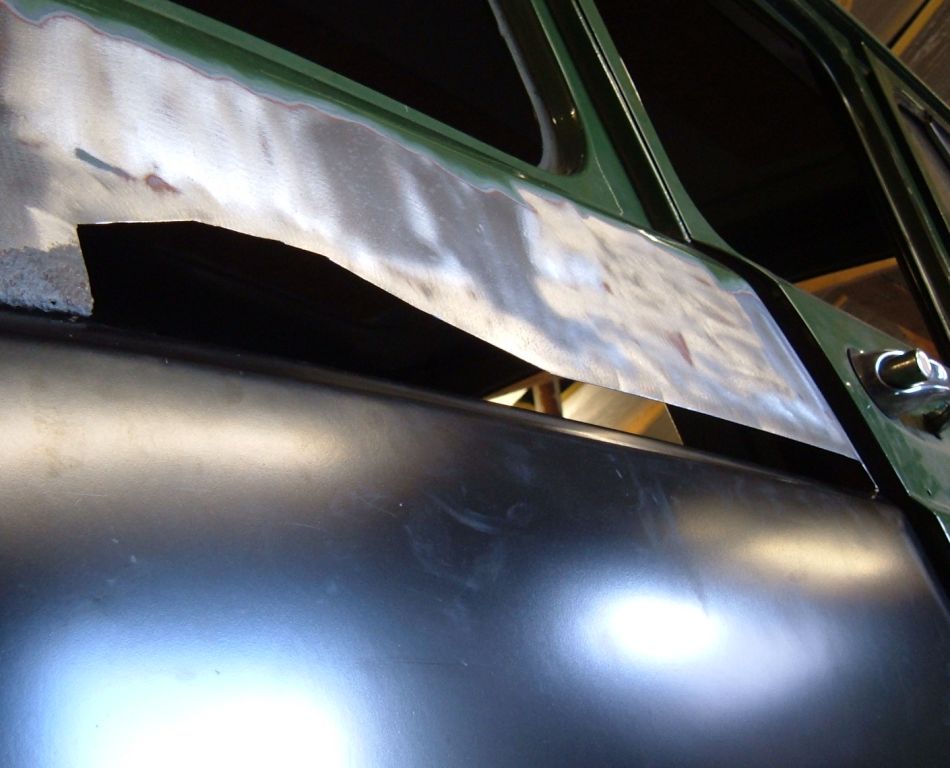
I refitted the door and an aftermarket rear wing to try and work out where the panel should sit. I very quickly got fed up with the aftermarket wing which could probably be made to fit a solid car but was useless for positioning. I found an old original one knocking about which was full of dents and a little rusty but had a straight top edge.
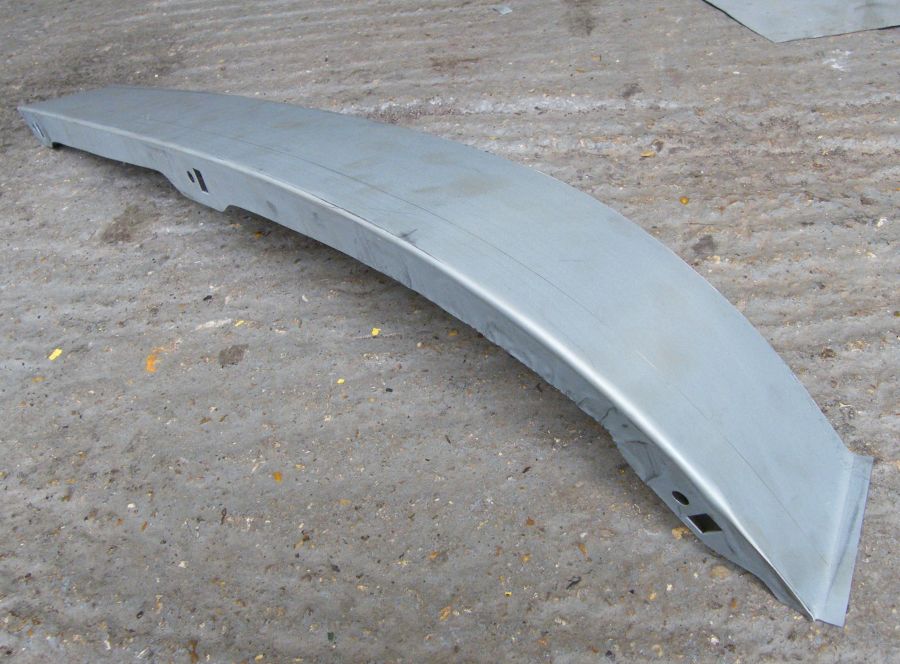
Finally I gave in on the rusty wing and bought a new one from Renault.
These cars are a pain to repair as they are made of tin foil. Those American Hotrod people have it easy working in 1.2mm sheet. The extra thickness makes panel beating much easier, and if that doesn't work there's a bit of scope for grinding excess metal to shape.
0.8mm offers none of those advantages.
Planning the repair is important. I'd put the job off for weeks as I couldn't figure out a neat way of doing it. It's really difficult to make a one piece repair for this section as it consists of a compound curve bending round more than 90 degrees around a curve into a flat section. Tried making a jig but it wasn't going to happen with my hammering skills.
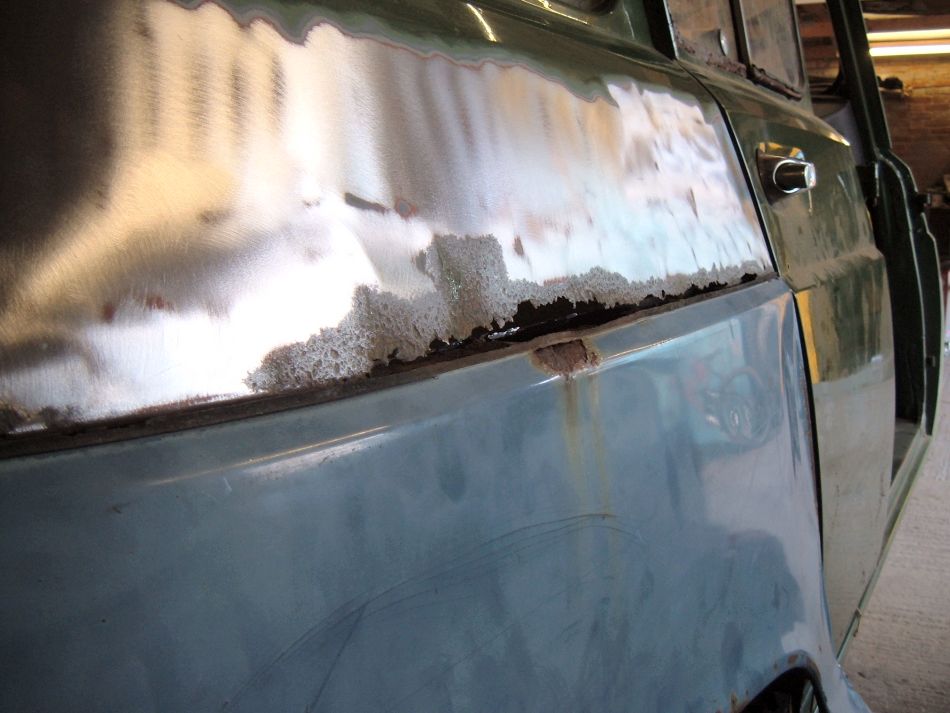
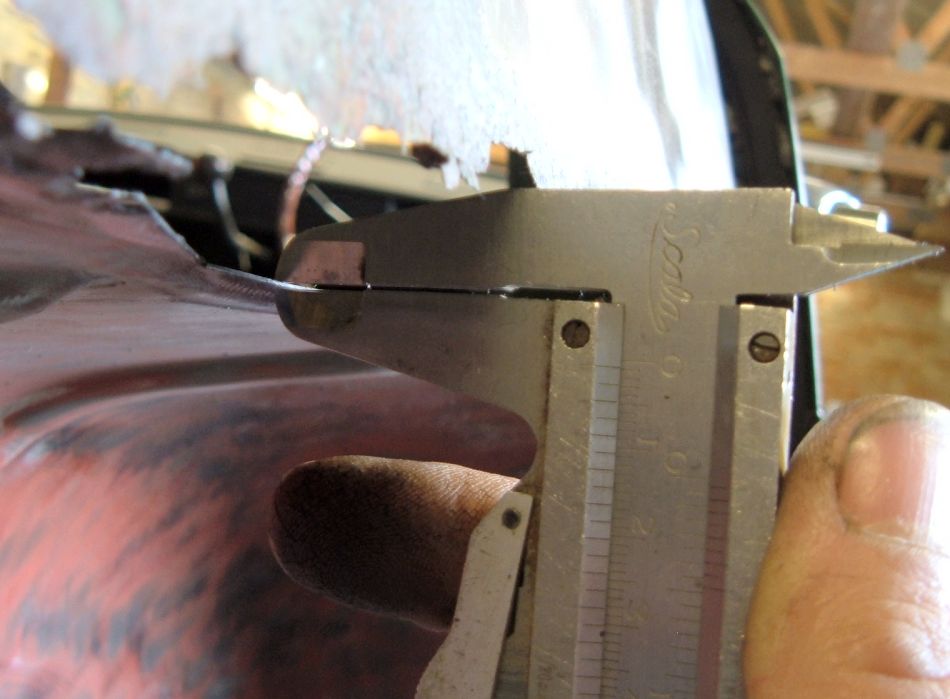
I decided to take the easy route and put a joint in the corner of the bend, then overlap the inner wing by around 15mm. The photo shows the rustiest bit of the inner wing extended so I have something to weld to.
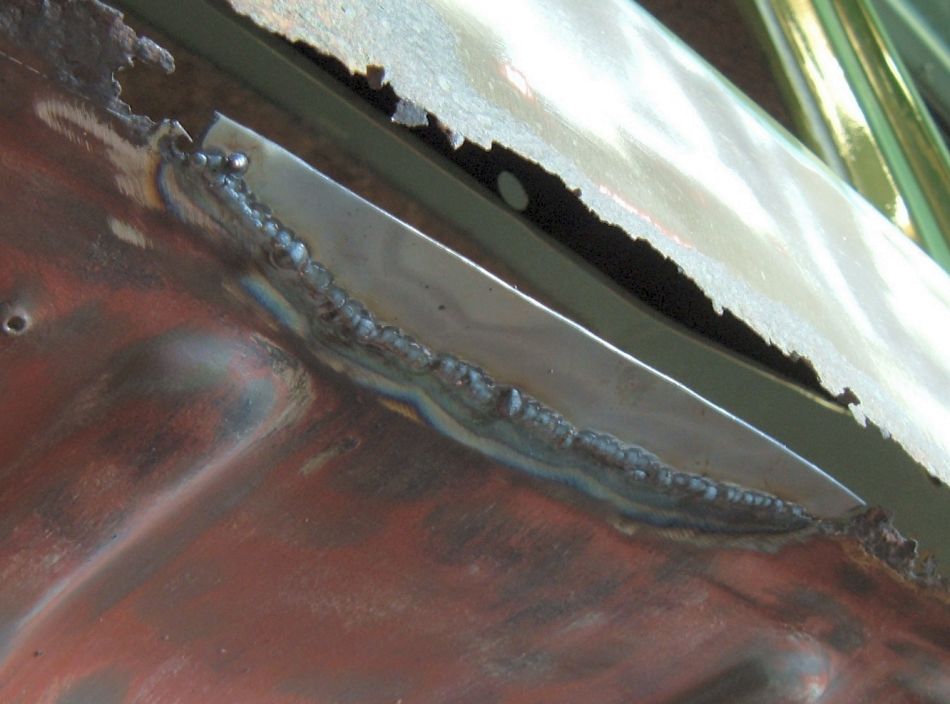
The black line was drawn along the edge of the replacement wing. That's roughly where the overlap from the upper quarter panel would have originally finished. I'm planning to cut along the line and make that new overlapping section.
With everything cut out the panel looks much neater even if there's nothing really going on structurally where it should.
That's the brand new wing being used for alignment. Did I mention it cost the best part of £150?
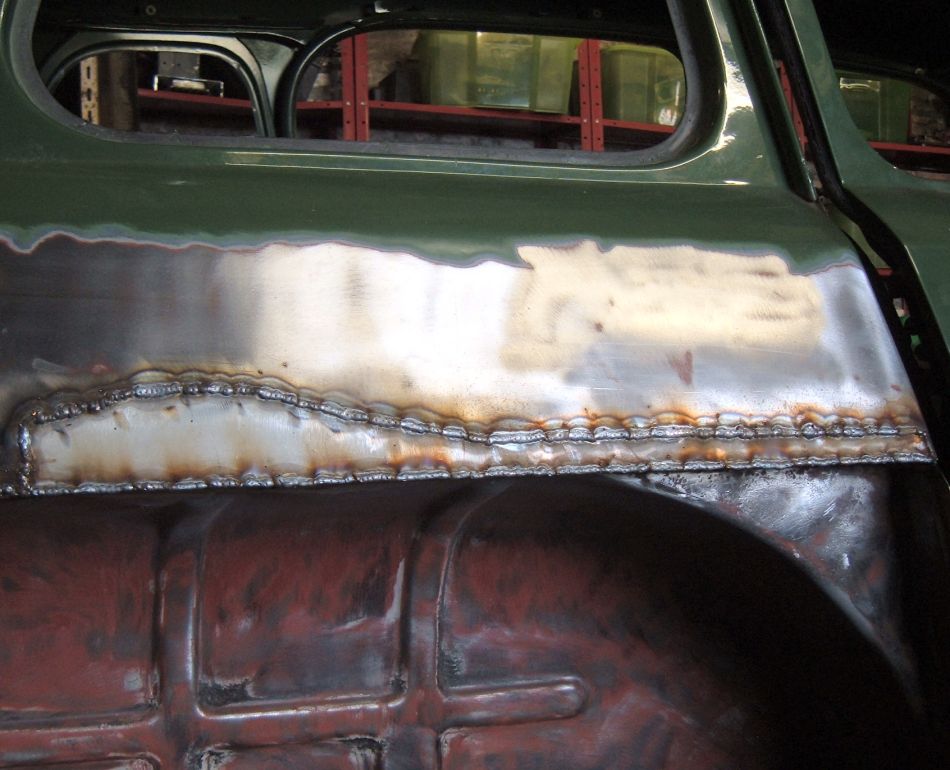
The repair consists of a couple of pieces lightly tacked together in the photo. The outer skin was tacked on first using a pair of long reach pliers to align the two sheets end to end. Then the lower section was tacked in place, it's outer curve made to match the new rear wing.
Of course if you scroll down the page you'll find repair panels are now available and there much nicer ways of doing this. Wish I'd scrolled a bit before jumping into the job.
I decided to do the repair in 2 parts to help with alignment. Once the front section had been tacked in the rear section was cut away.
In the photo I've prepped the inner wheel arch for plug welding the repair panel from above. This repair panel was shaped before the cut was made so it would be the same shape as the one being removed.
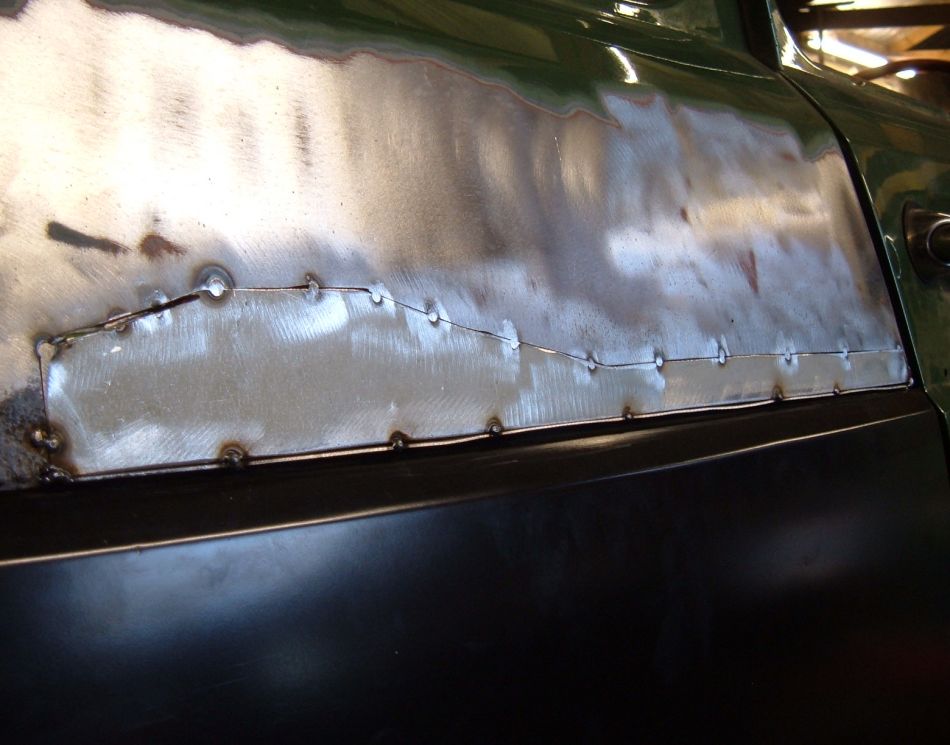
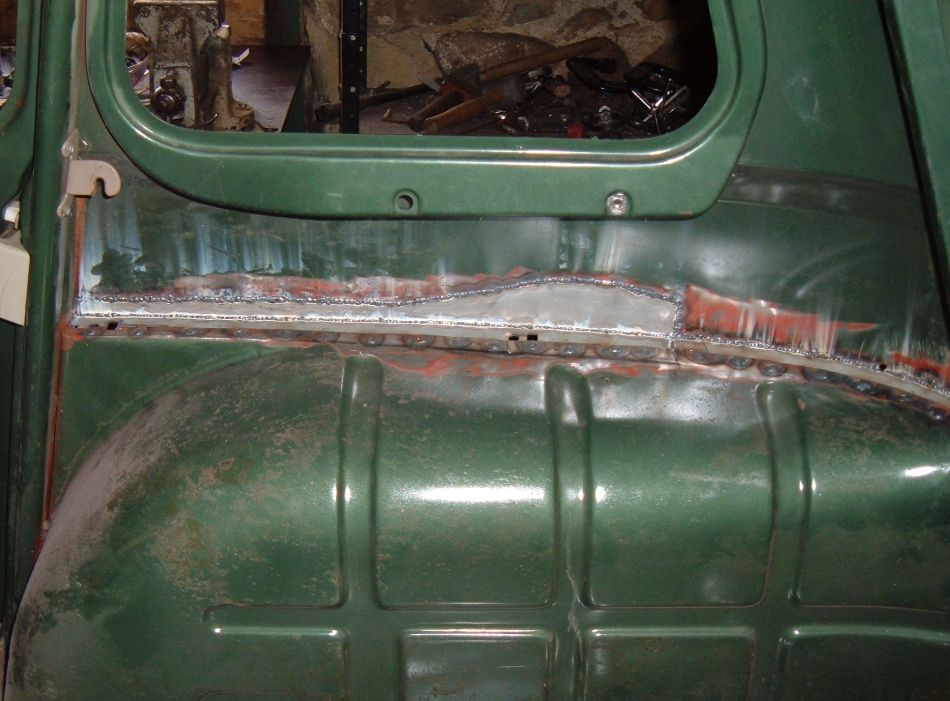
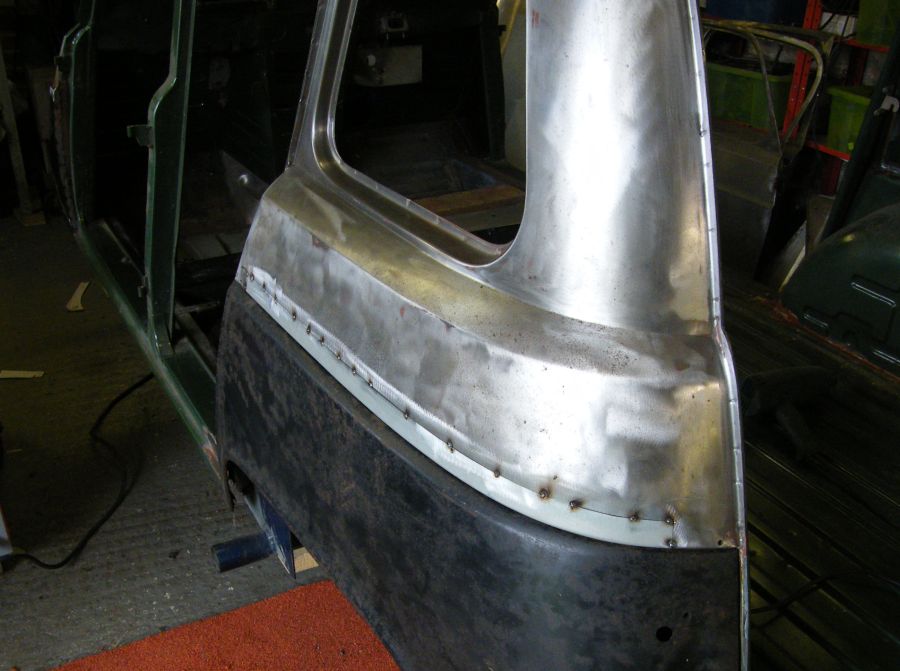
Here's the repair section tack welded in place on it's outer edge and plug welded on the inner edge.
This photo was taken immediately before seam welding, and the number of tack welds has increased to about one every 10mm.

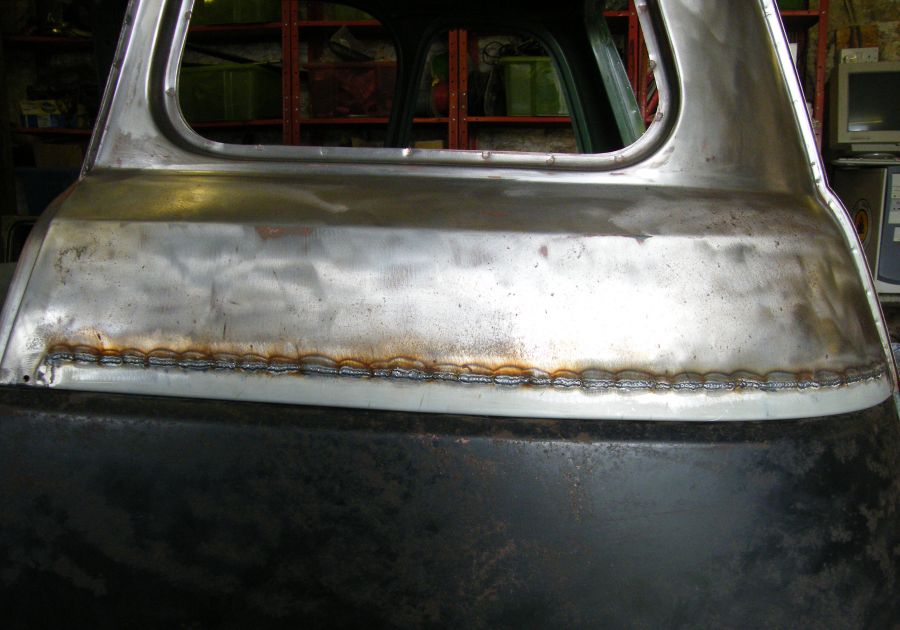
The seam welding was done in half inch runs scattered over the panel over a period of a couple of hours, with the panel allowed to cool after each set of runs. It's a time consuming way of doing things but it does help reduce distortion which is a pain when welding on thin flat panels.
It's looking quite neat from inside the panel now. Decent penetration isn't difficult to achieve with 0.8mm sheet, but I would have liked a little more in the corner.
The original corner was quite rounded. Though most of the rounding would have been covered by the wing sealant. I've rounded the edge a little on the side, but left the radius tight on the underneath where it won't be seen.
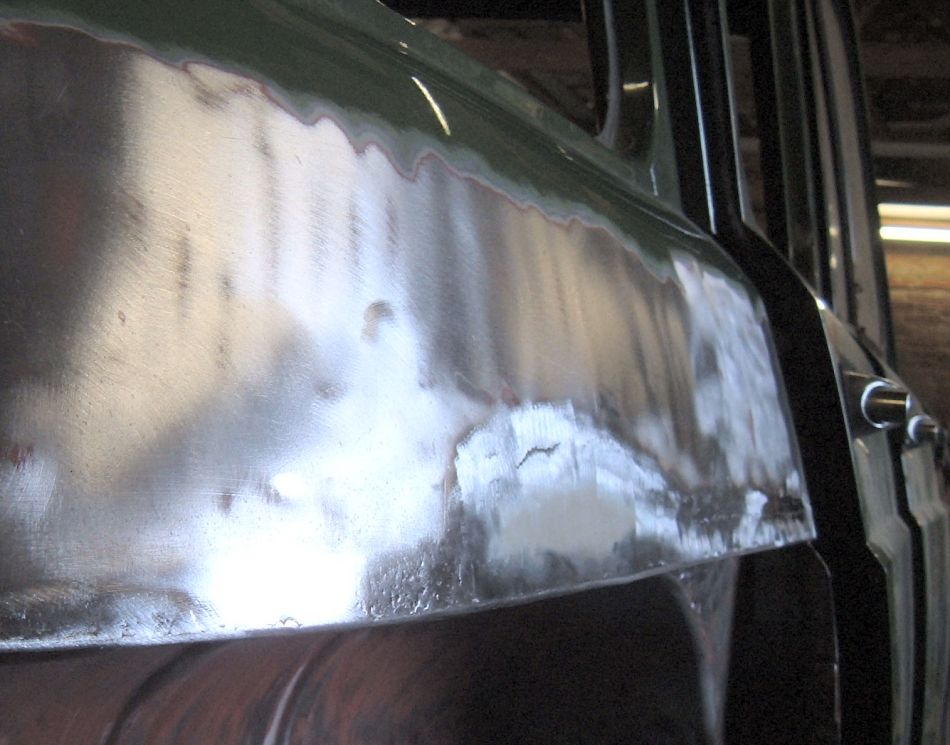
The weld was ground down using a 40 grit flap disc, and some care taken not to thin the metal.
The repair wasn't totally distortion free despite my best efforts. The seam weld in the middle of the panel didn't end up as straight as I would have liked, so a little thumping with a hammer and dolly was needed to straighten the panels. A little body filler will be needed to finish the job off.
Would you believe it? Repair panels are available from Der Franzose in Germany and they are very accurately made.
That's going to save some time on the other side of the car.
The repair panels are designed to be overlap welded in place once you've cut away all the rusty bits. I like to do things my own way and have butt welded this panel in place. In the photo it's just tack welded.
I've also cut the panel down to the smallest size needed to repair the rusty bits. The idea behind that is if the panel needs to be repaired again in the future then a sligltly bigger section can be used and whoever does the repair can just cut out my welds rather than having to weld to them. This will only be a problem if it's me doing the repair.
The repair panel saves a lot of time as it controls the shape where the lower wing bolts on.
If anything I've got more panel distortion than I had on the other side of the car. But that's OK as I've got a hammer. The edge where the rear wing bolts on is straight and won't need body filler, so there's less chance of rust on this side.
Next> Preparing for paint, or back to the Gordini Project


