Shot Blasting the Chassis and Body Shell
Part of the apparent slowness of the restoration over the last 6 months was due to me equipping the workshop with some new tools.
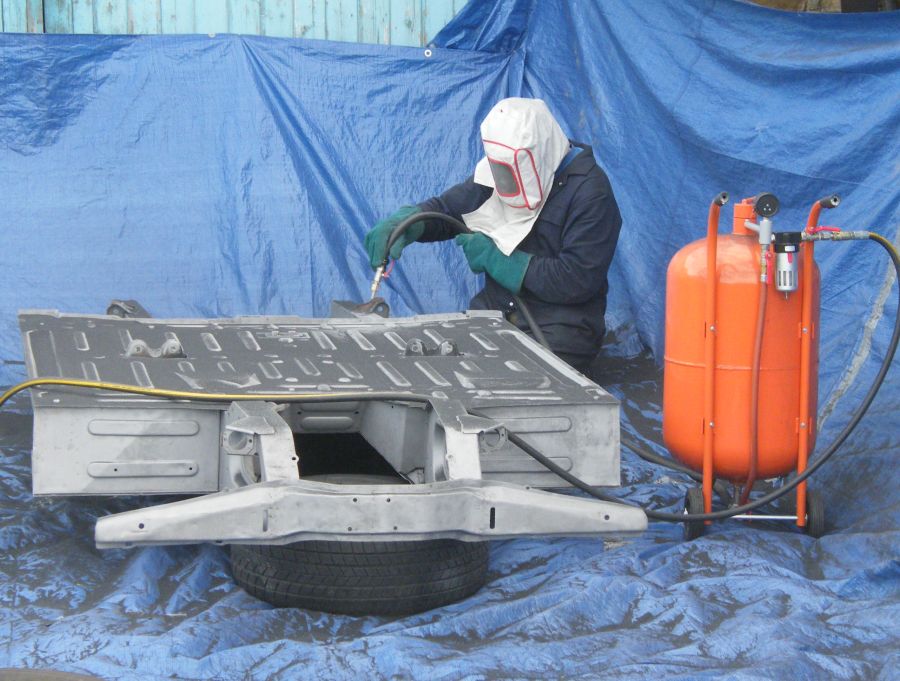
I now have the technology to sand blast. That's not real sand though - it's a copper slag grit which is less injurious to health.
The grit gets everywhere so I did the blasting outside. It does take a long time with DIY equipment - I reckon it would have taken a long day to blast the whole chassis, but with UK weather it ended up taking 2 days between rain.
With good weather I continued on. This photo was taken at 9 o'clock in the evening after a long afternoon of blasting.
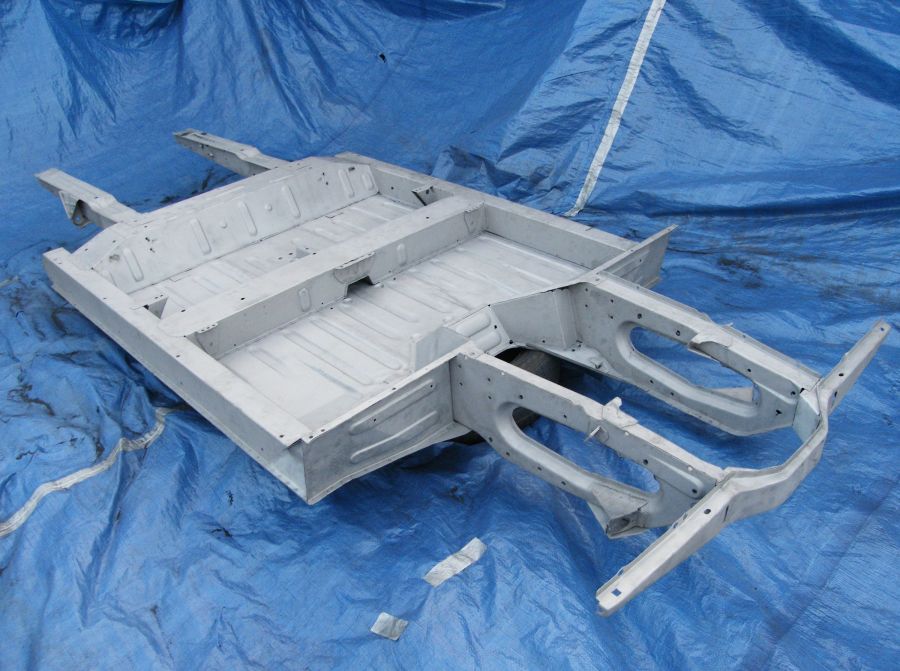
It's a superb way to prepare the chassis. Mechanical stripping would have taken weeks, and would never have removed all the rust in those fiddly bits around the front tie rod and rear damper mountings.
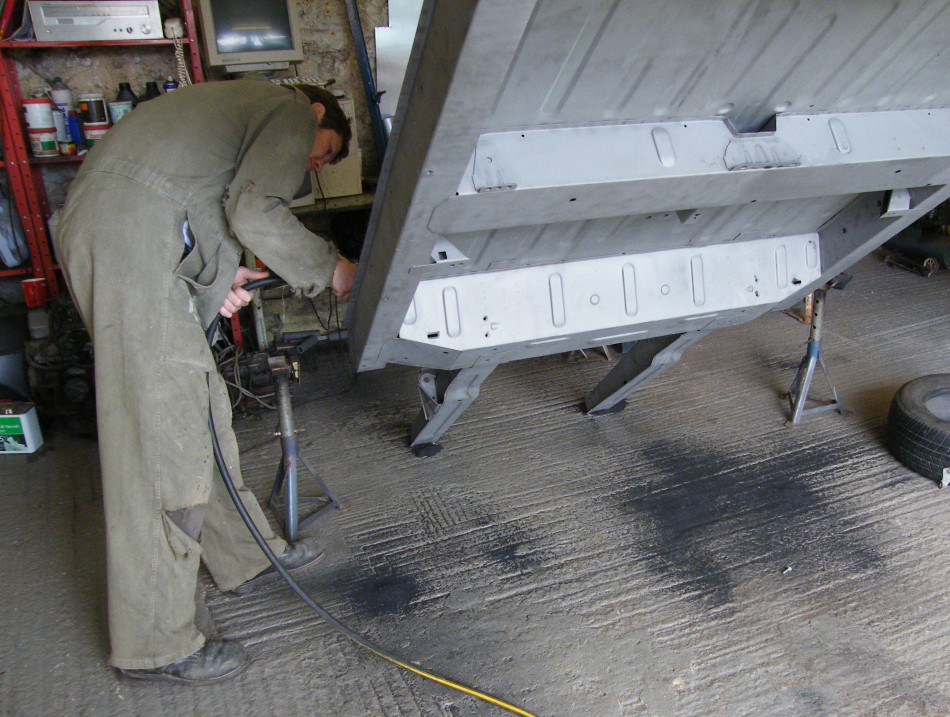
Grit in the chassis members is a pain though. Here the chassis is propped up and a friend is blowing out shot with an air gun.
I was quite careful to block the bigger holes during sansblasting, but the grit also gets in through seams and joints in the structure. Furtunately it can be blown out through the same seams and joints, but it's a long process that involves moving the chassis into all sorts of odd positions.
Even after all that the odd bit of grit would later pop out with pressure from the spray gun and sit in the paint.
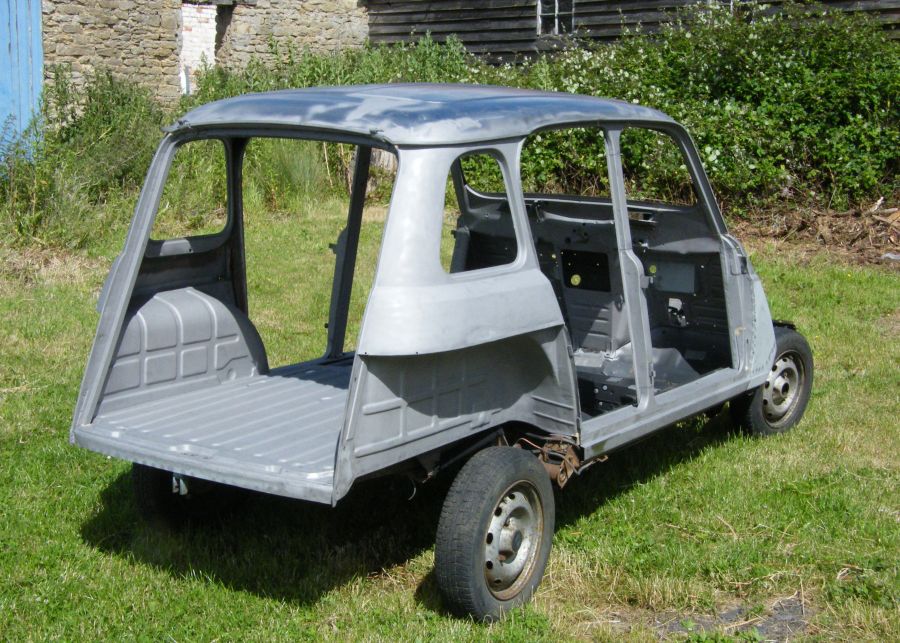
The body took twice as long to shotblast - 3 days to blast and paint. Here is is in bare metal. It's sitting on a slave GTL chassis so I can move it in and out of the garage single handed (in case it rains when there's nobody else around).
I should mention my DIY sandblasting setup is run from a couple of compressors and maybe manage a 17cfm flow rate (cubic feet of air per minute). A professional outfit would be running at least 200cfm. Mine is very slow, but the professional system would damage the panels.
I blasted the edges of the roof where the drain channels have surface rust (especially right at the back near those drain holes) but the rest of the roof has been stripped using those strip and clean discs.
For this DIY level of shotblasting I reckon the strip and clean discs are much faster for removing paint from big panels, but the shot blasting is much faster for the fiddly bits. Apart from where there's sealant. Then a hot air gun and a knife is the only way.
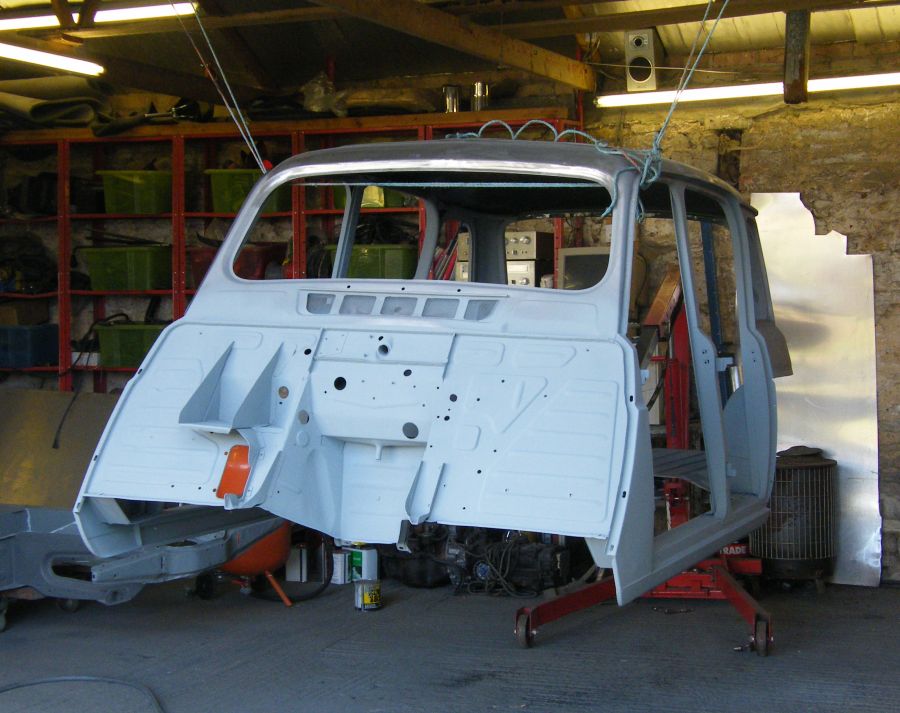
Here the body is suspended on an engine hoist on the tailgate catch at the rear and some ropes from the rafters at the front. That's so I could paint the underneath.
I've used the same zinc rich paint as the chassis for the chassis. I thought I'd continue with the paint in the spots that R4s normally rust so didn't need to tip any other paint into the spray gun.
The exterior panels will end up being cleaned off and sprayed in self etching primer. Though there's a fair bit of paint prep (body filler to smooth out the wavy bits) so the zinc primer will protect bits until I get around to doing them.
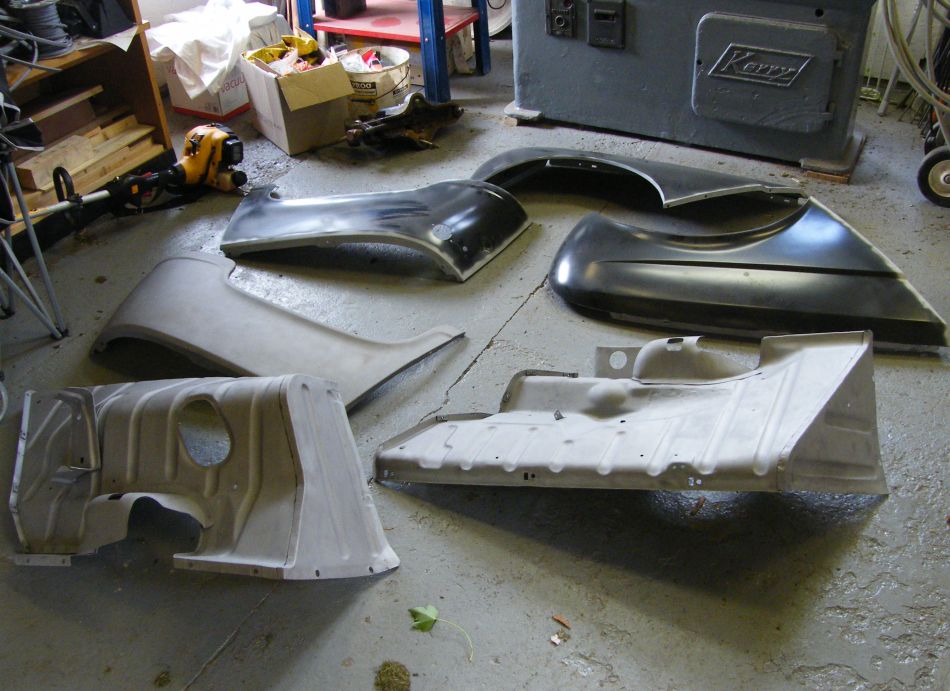
Of course it is possible to get carried away. I've sandblasted the front inner wing panels on both sides, and the outer wings on the underneath (apart from one of the rear wings which was old stock and quite rusty which needed the rust removing from the outside too).
My cunning plan is to paint the blasted parts with my 90% zinc primer, and mount the wings to the shell while they are in primer. That should simplify the assembly, and if the primer does what it says on the tin it should protect the joint if the sealant breaks. We'll see.
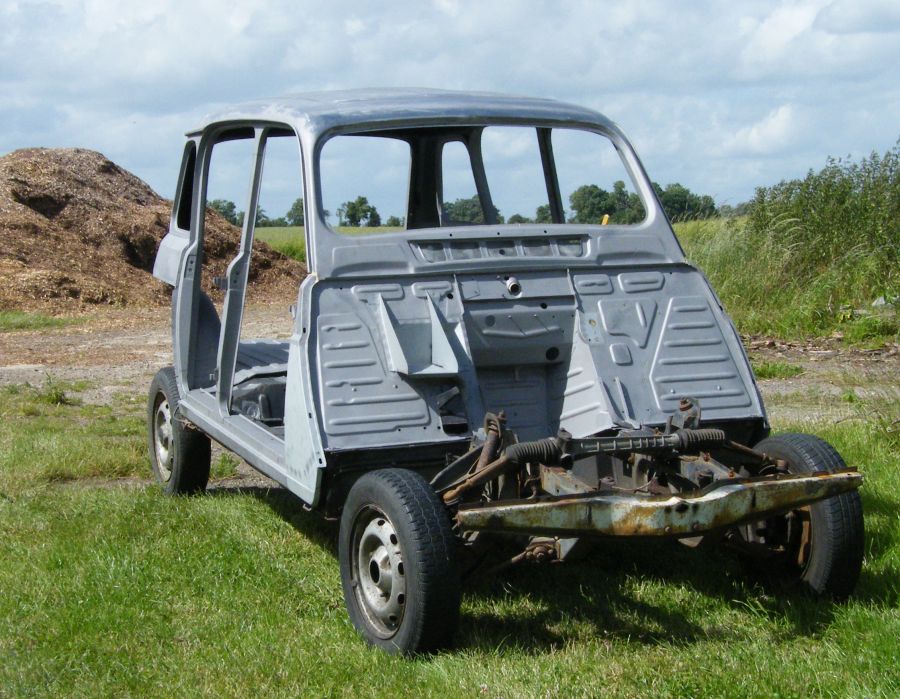
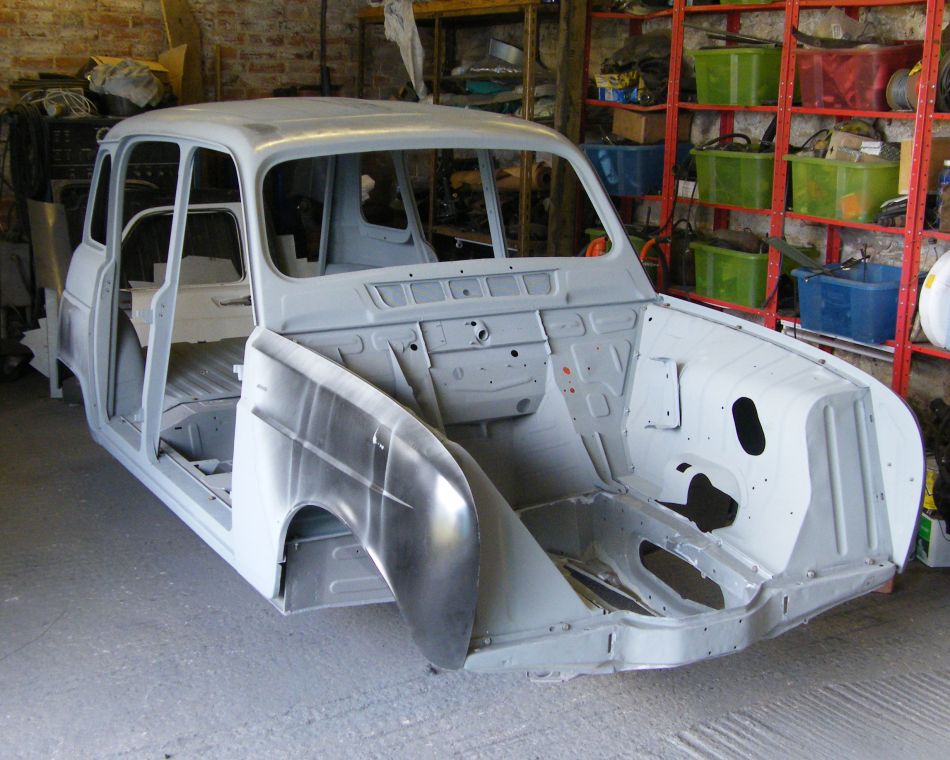
I've lowered the shell onto the chassis and loosely assembled all of the panels. Any primer on the outer panels is just for temporary protection - they'll be stripped one by one for filling and self etch priming before being permanently attached to the shell.
The Renault 4 splits into an unmanageable number of bits so it's nice to position a few together temporarily to get them out of the way.
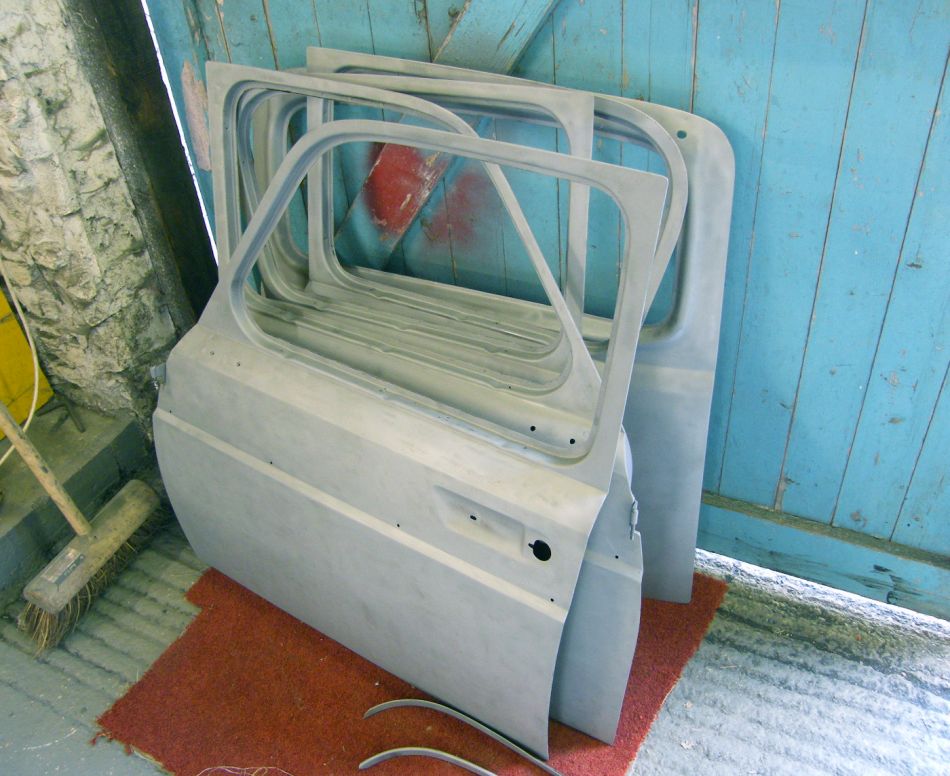
Here are a few more of the bits - I thought for the sake of completeness I might as well sandblast the doors too - not least because there was rust under the sealant around the external hinges which would have been fiddly to clean up by any other method.
There wasn't a lot of paint to remove (I'd already stripped the doors) but low pressure blasting got rid of the remains of the paint stripper in the gaps and leyed the panels for paint.
Next> Preparing for Paint or back to the Gordini Project


