Re-Assembly
I'm hoping to finish the car in time for a trip to France this summer (dates will depend on when the car actually works, but summer might best be described as autumn). Although Renault 4s are basic cars so there shouldn't be a lot to fit. I've placed an order for the rubber parts (door seals, window seals and windscreen wipers). The rest will come from the original car or various donor cars.
The wiper spindles on the early cars are a devil for seizing. With the wiper mechanism removed they can be unseized by clamping the crank beneath the spindle in a vice, heating the brass part using a blow torch, then gently rocking the brass part by means of two nuts locked together (too much force will break the spindle or the brass part). The brass part can then be removed to allow cleaning and greasing after the circlip at the end of the shaft is removed.
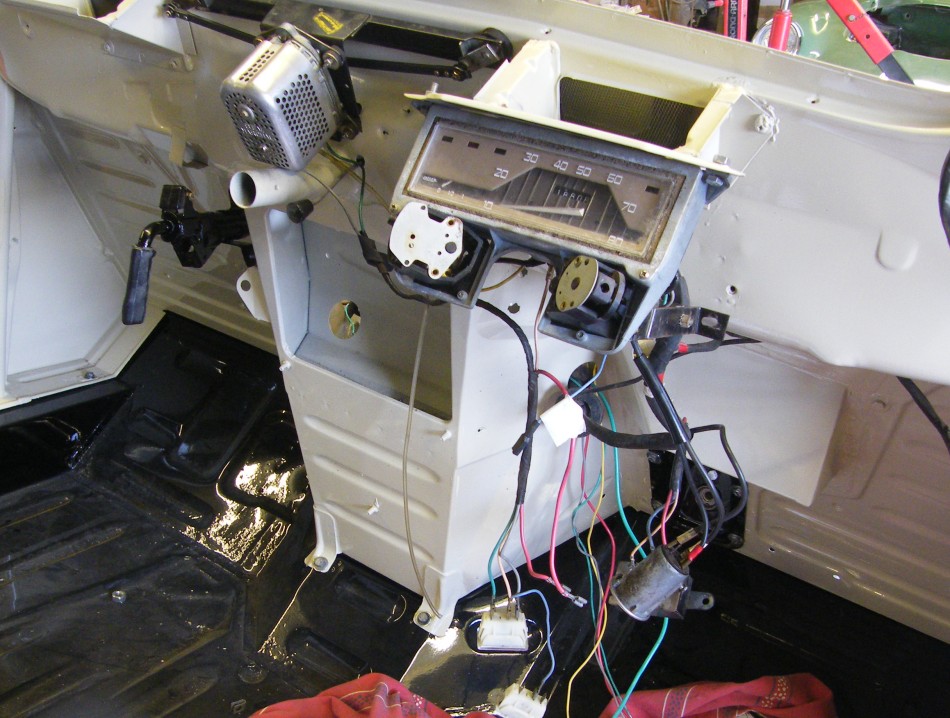
The wiper motor wasn't the first thing to be fitted. That was the windscreen washer jet. I've done this before you know.
I have begun the wiring and have decided to use the 1967 wiring loom as a starting point partly because it was in good condition and fits the instrument panel, but mostly because I was too mean to buy a workshop manual that covers a '73 loom. The Haynes manual is useless - their wiring diagram is a blurred copy of the '73 owners handbook diagram which itself is too tiny to read.
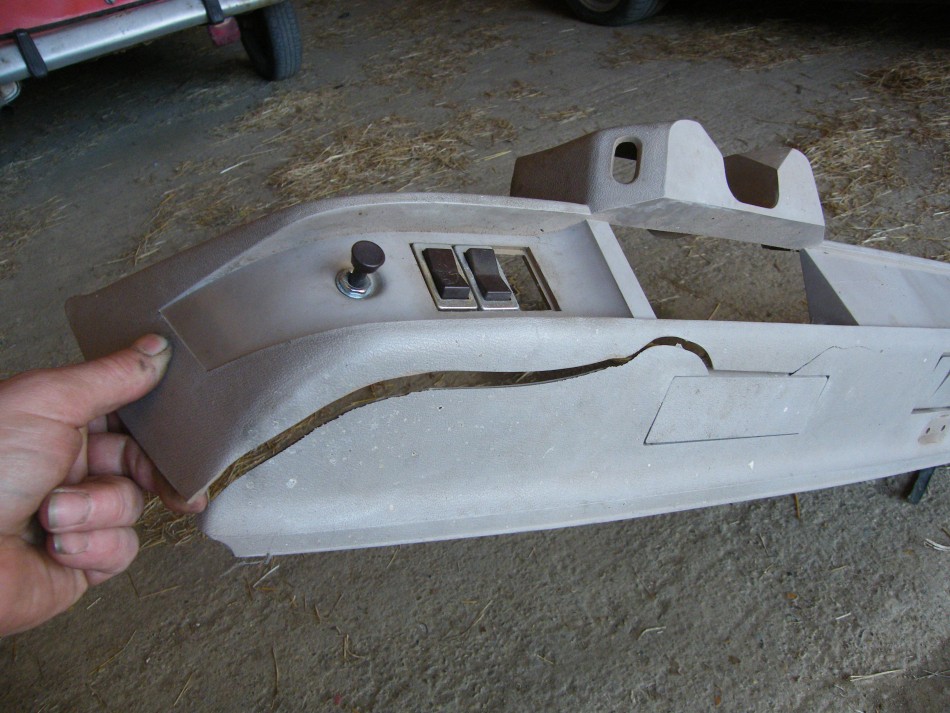
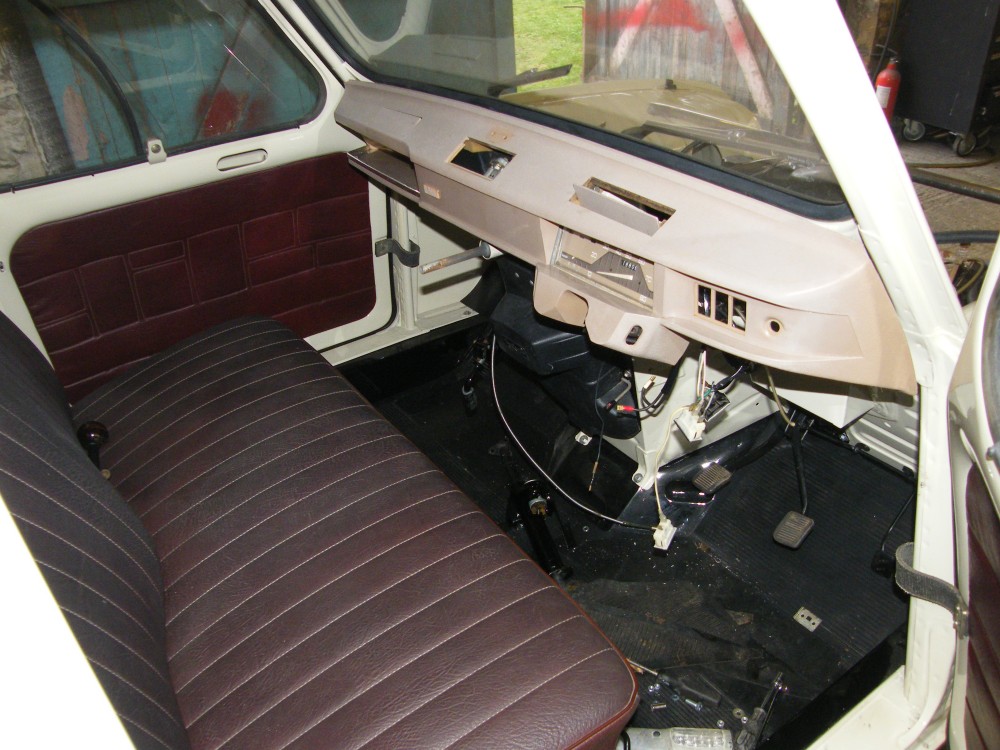
Again disaster involving breakage of rare and unobtainable bits has struck! The beige dash was only fitted to '67 and '68 cars. This one had been safe in the back of a spares car. I have no idea how it came to be broken, but have since found it to be very brittle (I broke it a second time).
Most likely replacement is a black dashboard painted with plastic paint. That would be a shame as the car is already starting to look over restored.
I'm tempted not to paint anything else in the hope of returning a little patina to the car. I'd prefer to drive something that pretends to have a little history, and best of all it's a cheaper and quicker.
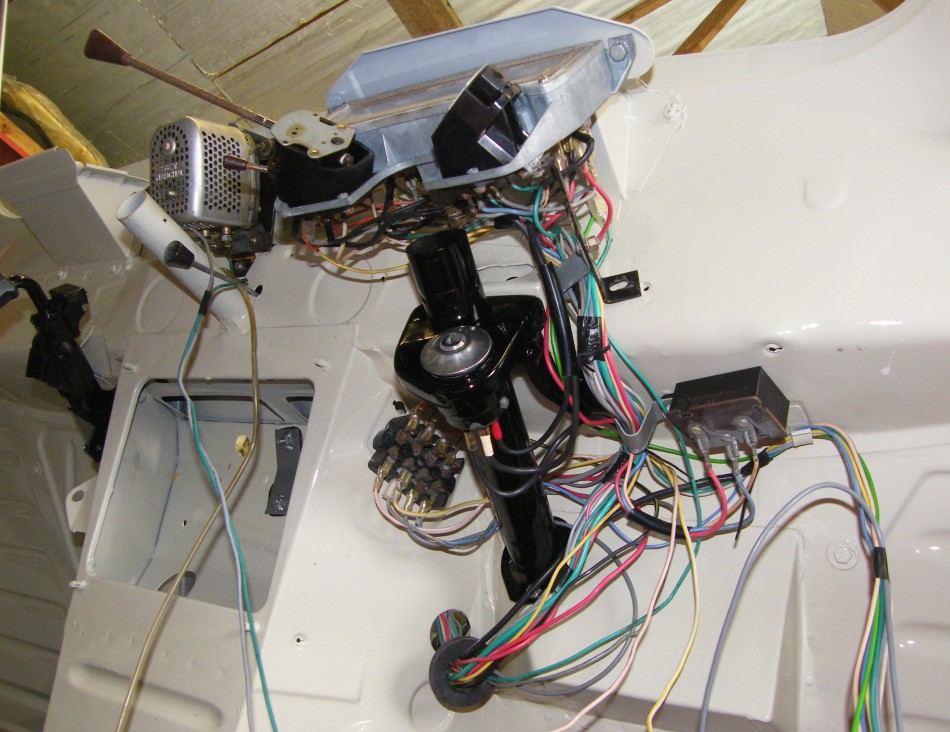
It's astonishing how long wiring takes. A few more wires have been added since the first photo. There's the conversion from dynamo to alternator, reversing lights so I don't crash when parking in the barn, rear fog lamp, an electric fan, a new supply for the brake light switch now I've moved the ignition coil, and the other bits I'll remember after I've taped up the loom.
I found myself short of ignition fed power feeds from the dash so added a fuse box which also allows me to fuse many of the circuits that were fused on the later TLs.
It's a '73 to '79 Renault 4 fuse box which is normally positioned in the engine bay, but I've already used the mounting location for the wiring loom to keep it away from the exhaust heat shield. Instead I've fitted it just to the left of the steering column where the handbrake lever can't be due to the carburetor manifold. It's fun modifying cars.
I had intended to finish off everything I could before fitting the doors, but I'm a bit behind in ordering bits and pieces. Every job either needs another part or can't be done before other jobs which need parts or materials.
I'm collecting another pile of bits that need painting. My plan to just bolt everything together didn't last long after deciding that rust doesn't really count as patina.
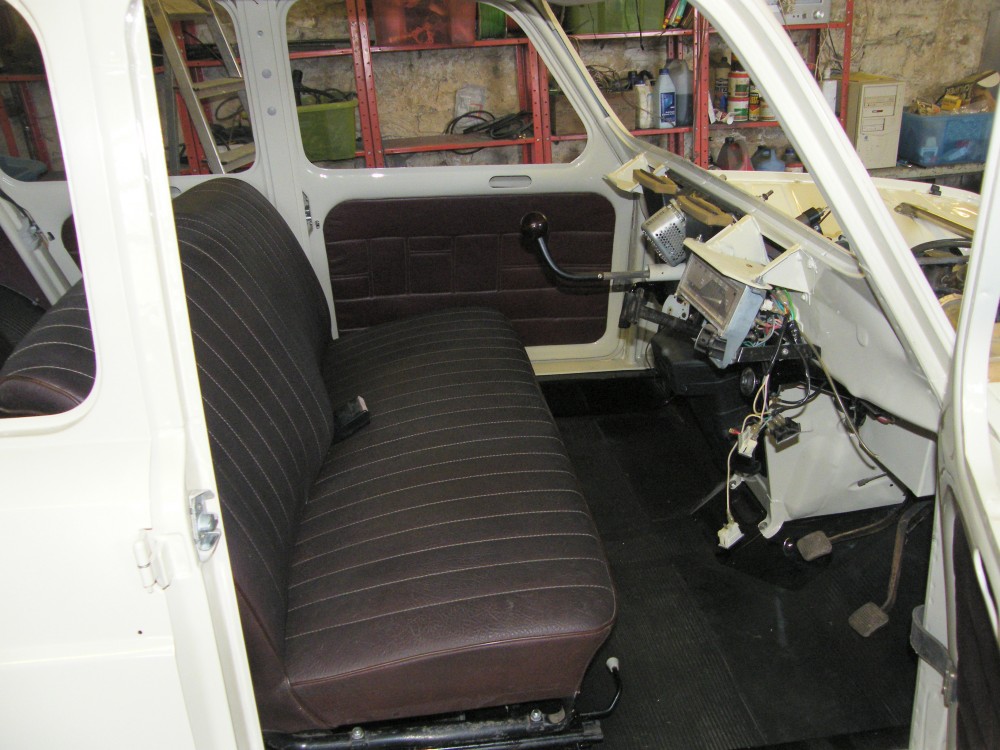
I've been having a clear out in the barn and have brought the seats into the garage even though it's a bit early to fit them. I spotted the rear seat doesn't have an attachment for mounting a parcel shelf. I thought that had been introduced in '67 model year, but it looks like it was either an option or introduced later. I'll add the mounting in as it's impossible to get away with a beige dash without also having a beige parcel shelf.
With the headlining in place I've been cleaning up and trial fitting the original interior. It turns out the parcel shelf doesn't mount to the seat at all, instead it slides onto two rubber bobbins on each side.
I've modified the front seat to accept 1973 bench seat mountings, and the whole seat moves backwards and forwards with almost no effort. A little fettling of the connecting rod between the rails will have the motion perfect.
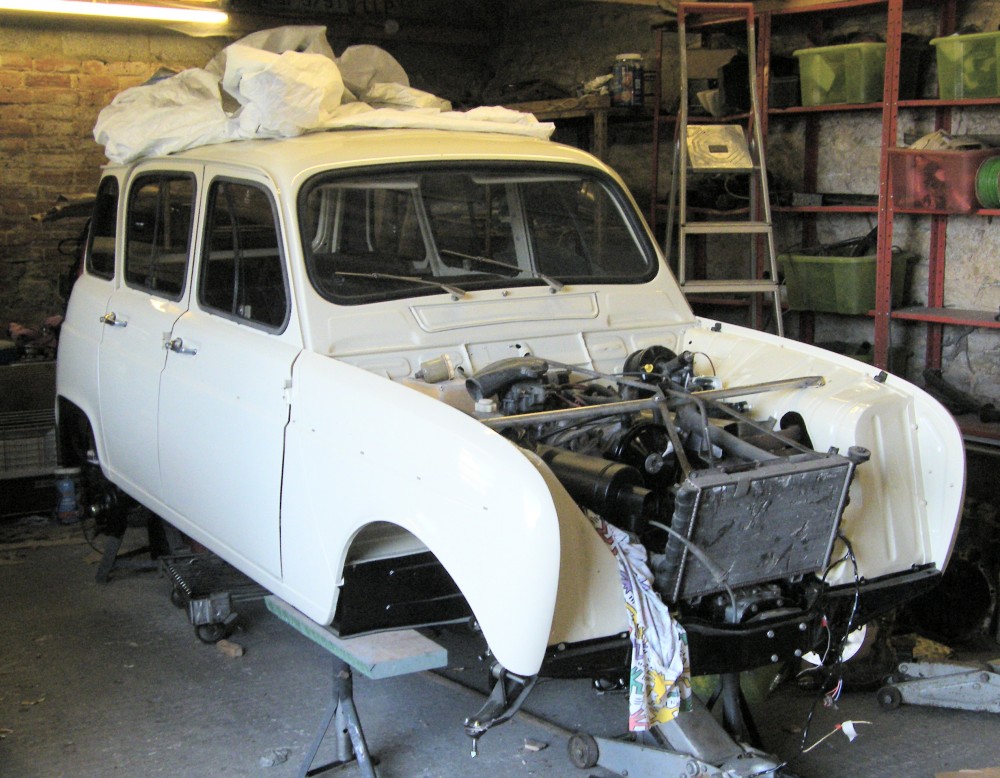
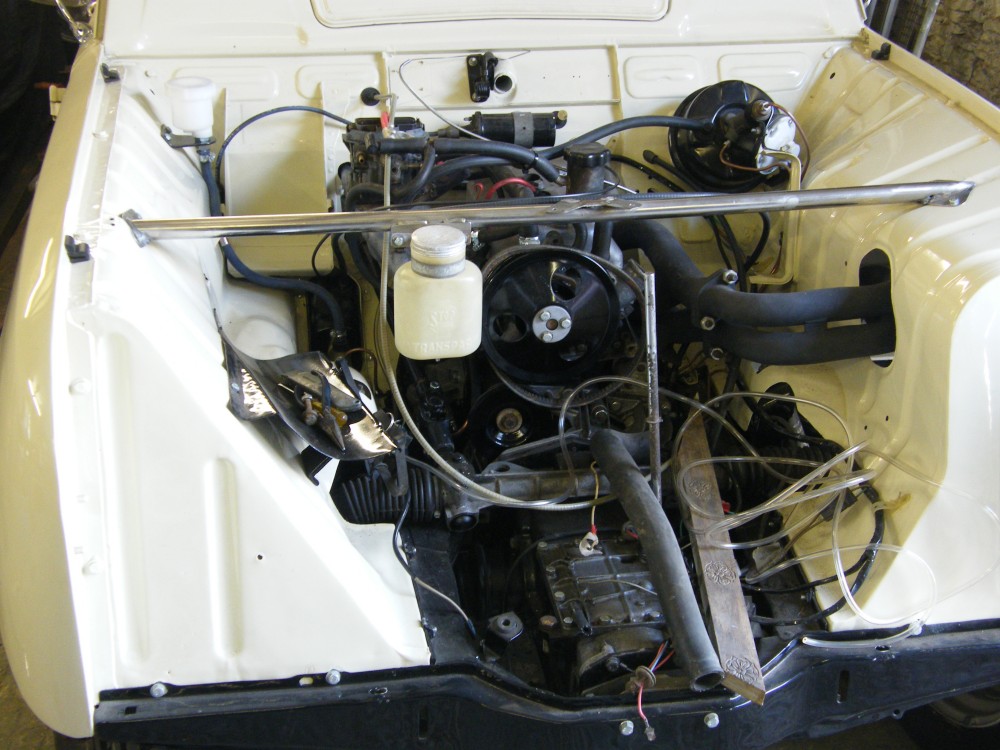
Meanwhile I realised I hadn't trial fitted the clutch and throttle cables in the engine bay, so everything is back in there while I figure out final positioning.
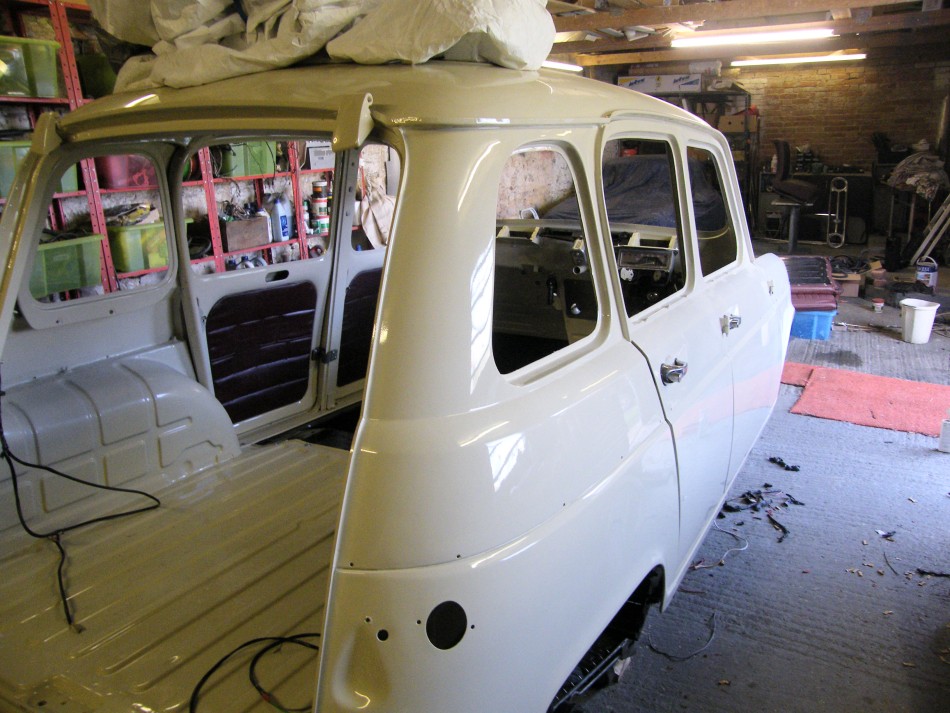
I've been continuing my plan of making the car look half finished (even though some parts will need to be removed again for painting). It's a useful tactic to identify what I still need to buy, and to ensure that everything that still needs to be painted is painted at the same time.
It's been very hot over the last few days. Progress feels very slow, but I have fitted the glazing. I've used GTL side windows and old front and rear windows fitted with new seals.
By now I will have enough weight in the car to fit the front torsion bars, so front hubs might appear soon.
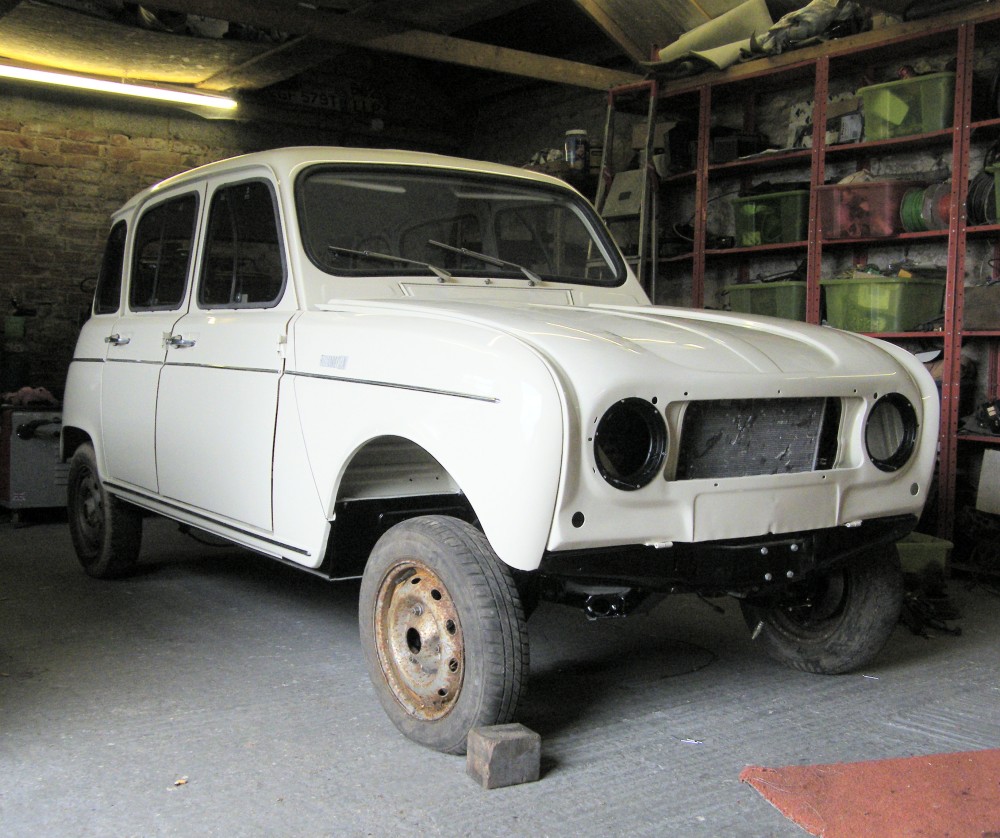
The garage had become a mess so I decided to add some wheels so I could push the car out of the way for a proper tidy. I might need to polish the wheels a little more...
The car might be a little high at the front. I changed the torsion bars and lost my reference for alignment, so made a guess based on the factory manual and another car. I can adjust the ride height based on measurements from the initial position, but in hindsight I might have been better starting low rather than high.
I've fitted the chrome trim from a 1973 car, but have decided I now prefer the earlier style, at least on the sill. This might prove inconvenient as I think the holes are in a different spot.
Nothing much happened for a couple of months, then I got around to shotblasting and painting the wheels. The tires were a pain. I decided I wanted to use Continental Eco-Contact 3 tyres as recommended by Reidalpine as they are made from a fairly soft compound so ought to be fairly grippy, and this car will be under-tyred with 145/80 tyres.
The tyre place couldn't order the tyres so I ordered them from the internet. Then they couldn't balance them due to the lack of centers (they didn't tell me that before they charged me for fitting) so I had to go elsewhere. The tyres were £150 and fitting and balancing totaled £90. Still, I know where not to go back to.
The door seals are on and work brilliantly (see the soundproofing page) and I've fitted some tail lights and a number plate to make it look a little more like a car.

With a bit of space having appeared in the garage the Gordini was pushed out for a bit more work on the interior. The dash repair went fairly well - fibreglass weave on the rear using Araldite as a resin.
But I'm not convinced I like it. The car looked sharp with nicely complementing colours, and a faded beige dash that doesn't match anything else looks out of place. There's a fair chance it will be replaced by a later black dash.
The engine bay is starting to come together. Accessibility to the lower part of the engine is poor so everything down there needed to be done before moving on. Positioning of the remote brake reservoir, the washer bottle, and a few bits I couldn't be bothered to paint had all held me up.
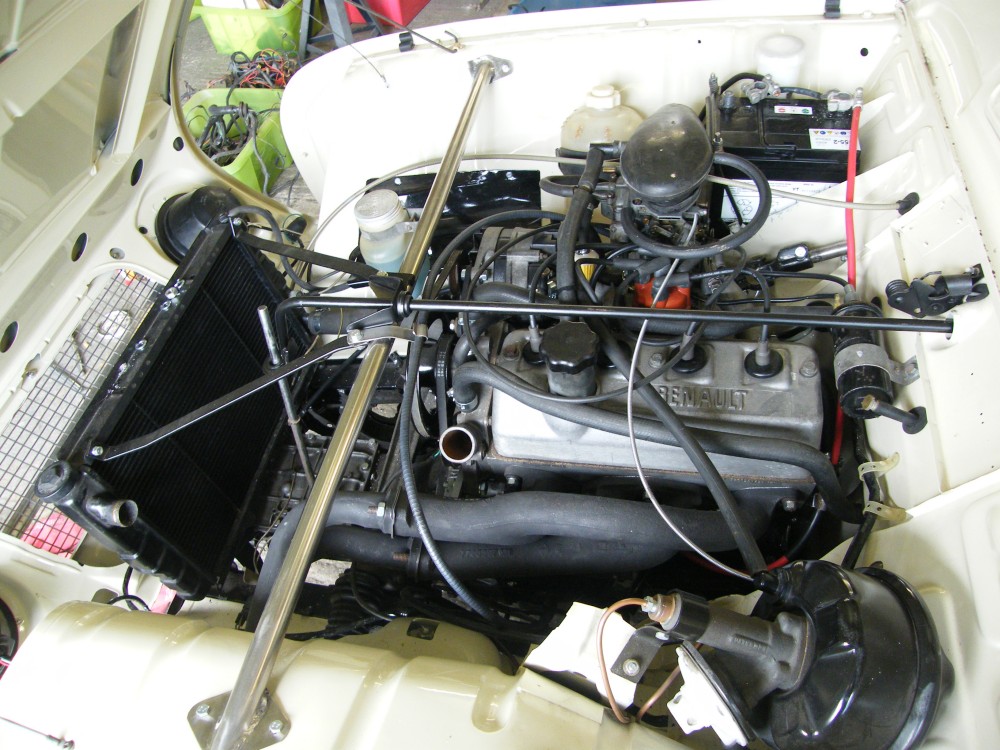
The breakthrough point was deciding to position the washer bottle where it is found on GTLs. I might well change it for a motorised one in the future, but not just yet - If I don't mess around I have half a chance of finishing the car in time for the run in Kent which is now only 2 weeks away.
With 8 days until the Kent Run the engine is just about complete.
I've had a difficult time finding gaskets for the exhaust joint between the manifold and downpipe - they are no longer available even from Renault, so the closest match was needed. I tried a number of motor factors but frustratingly none would spend 5 minutes to look at their stock of gaskets and select the closest one. Except for Central Auto Supplies in Bedford who were brilliant. The Reliant Robin one is very close - only the bolt holes need fettling.
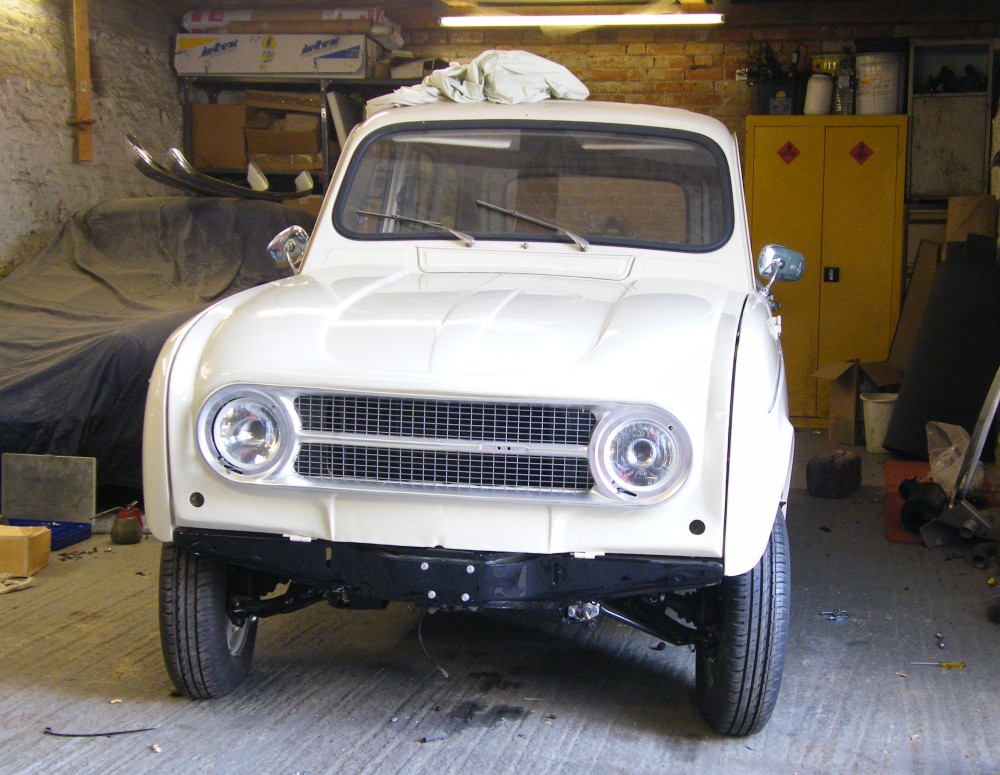
I was tired out by all that so fitted the bonnet and headlamps.
With 4 days to go until the last MOT opening before the Kent run, progress is slowing so it's time for an afternoon off.
The car looks complete apart from a missing front bumper, and the electrics are mostly working, but the engine still hadn't been run, the second exhaust gasket hasn't yet arrived, the brakes aren't finished, seats need to be bolted in, the suspension still needs a bit of work, and the interior is missing it's steering wheel, gear lever and seat belts.
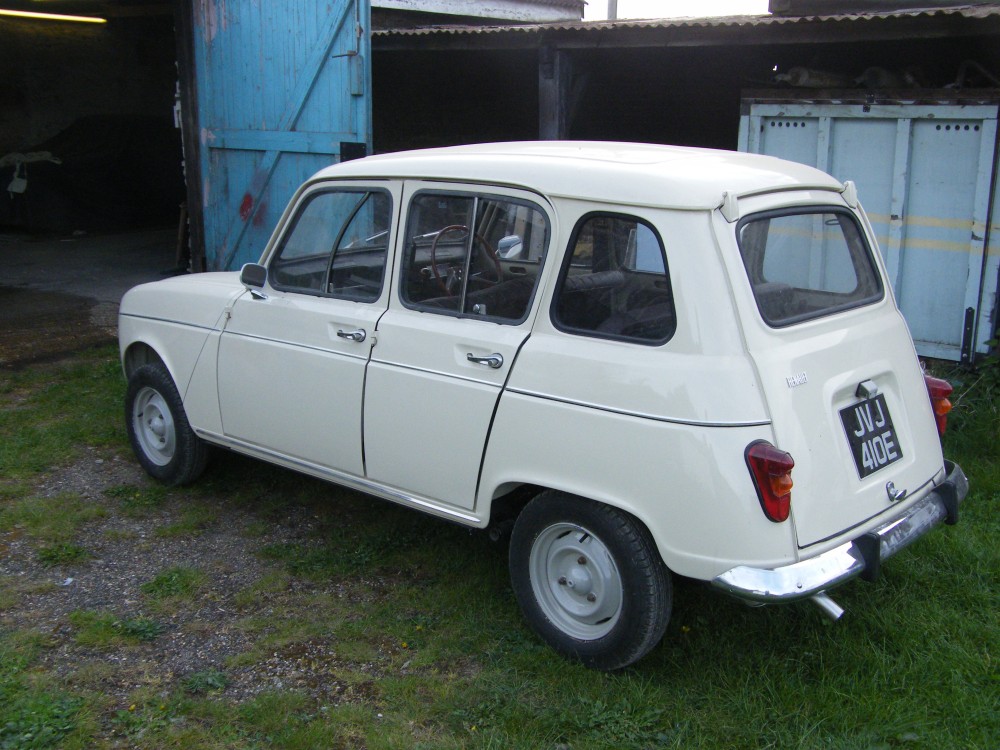
It's Wednesday night, and today, for the first time, she went outside under her own steam. A good thing as the garage was getting very disorganised and needed a good tidy up.
Only the front bumper is missing, but lots of bits and pieces will need adjusting. The engine isn't behaving itself at idle yet, and the tracking needs to be set, but hopefully a Friday MOT is possible, and if the car doesn't break down too many times on Saturday it's worth risking the Kent run on Sunday.
I had no time at all to update this page between Wednesday and Sunday, but she made it!
The MOT on Friday went without problems, but the seals on the water pump (stored without water for 3 years during the rebuild) had dried up. The local motor factors were very good and I had a new one by Saturday afternoon. After that there was only time for a 20 mile test run before embarking on the 300 mile round trip to the Kent run.
She ran OK, and there are signs that she'll be very nice, but she seemed down on power. It turns out the head gasket was on it's way out. More on the head gasket swap page.

Next: Wheelarch liners or back to the Gordini Project


